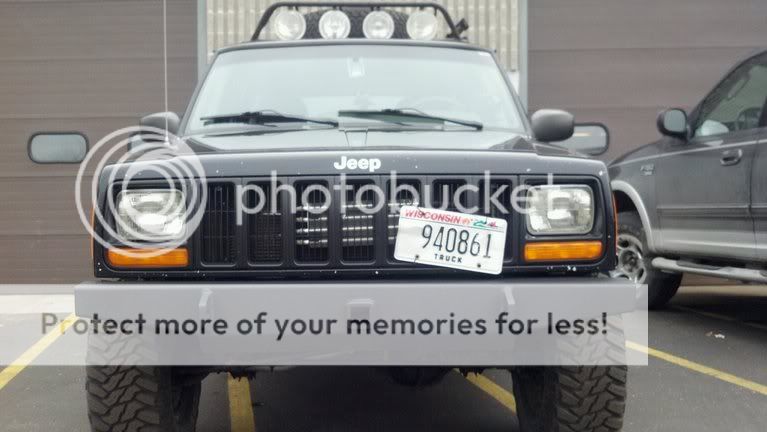
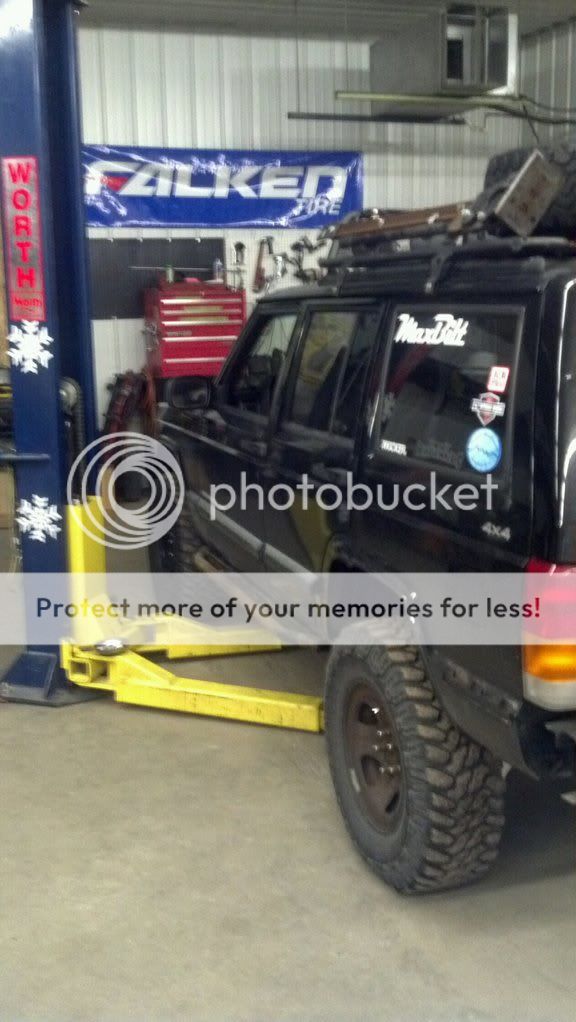
As seen in a picture above, I recently found that my upper control arms were badly bent causing my front axle to be not aligned and so on and so forth.
I decided to pick up new adjustable uppers from T&T Customs, as well as an adjustable track bar and track bar mount since I knew I would be raising my jeep a couple more inches in the future and still had the OE track bar that was also causing my some tracking issues. For that I purchased a R.E. adj track bar. All this I purchased through Phil at Max-Bilt along with some other misc stuff seeing as I planned on doing the whole project at his place.
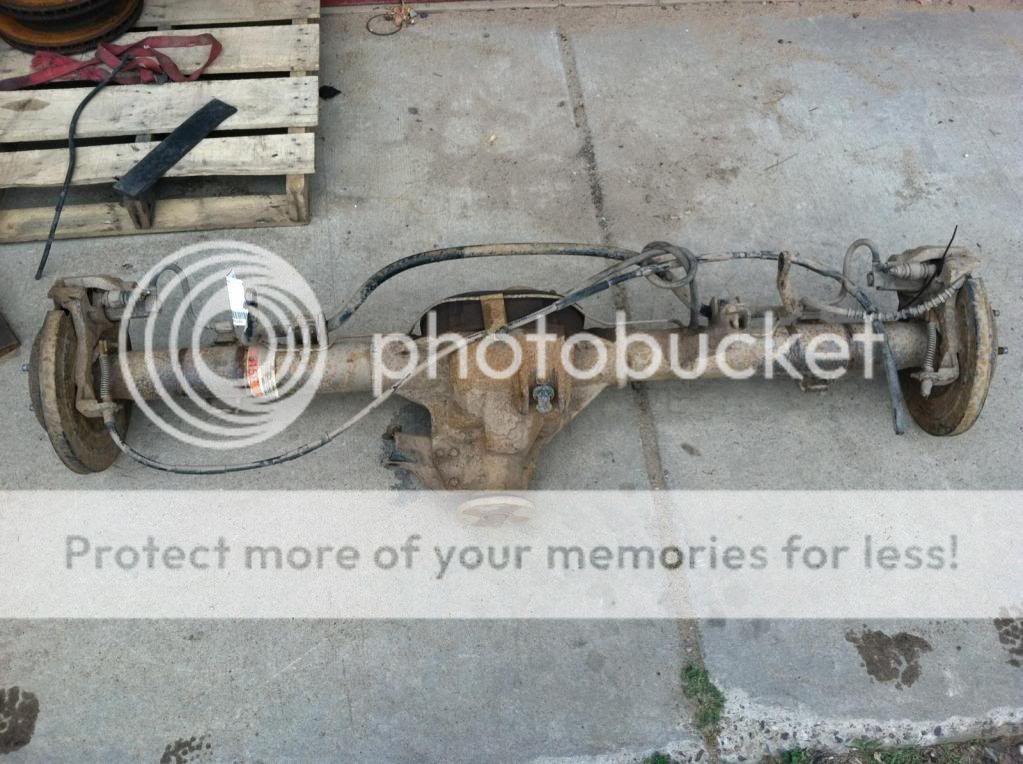
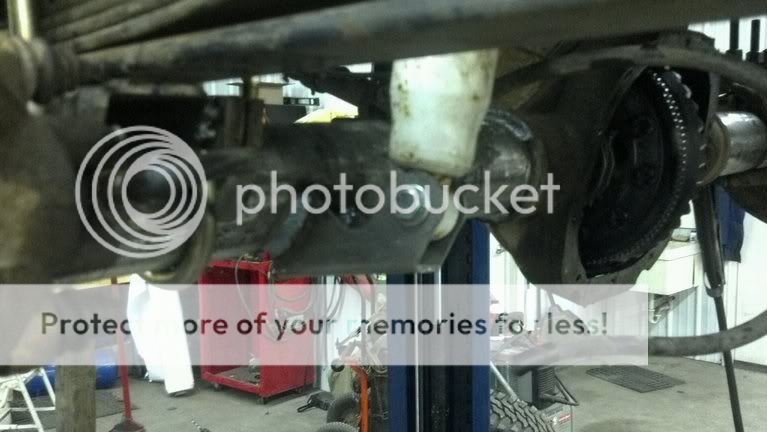
Since I was doing so much on the front end, I figured I might as well work on the rear/gears that I had been planning and ocasionally buying parts for, so for the rear I picked up a Ford 8.8 out of a 2000 Ford Explorer that had disc brakes, a LSD diff and 4.10 gears. Picked it up at a local salvage yard for $125
I bought some d30 gears off a guy on ebay, but when they got to me low and behold they were standard cut and not reverse, but thats a story for another time... For now I am still on a lookout for reverse cut 4.10s for the d30...
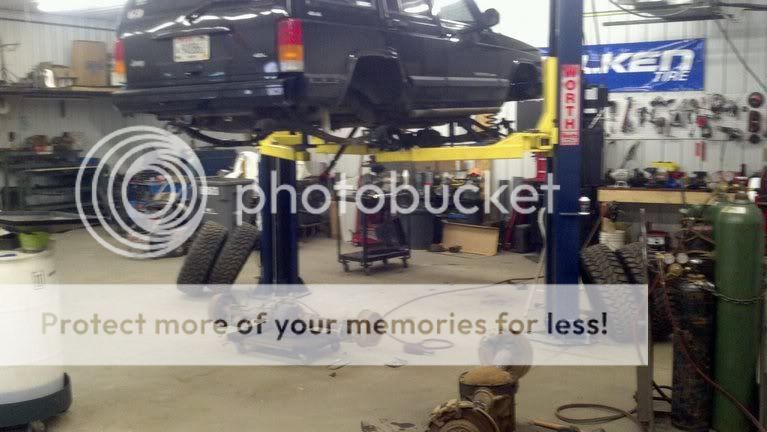
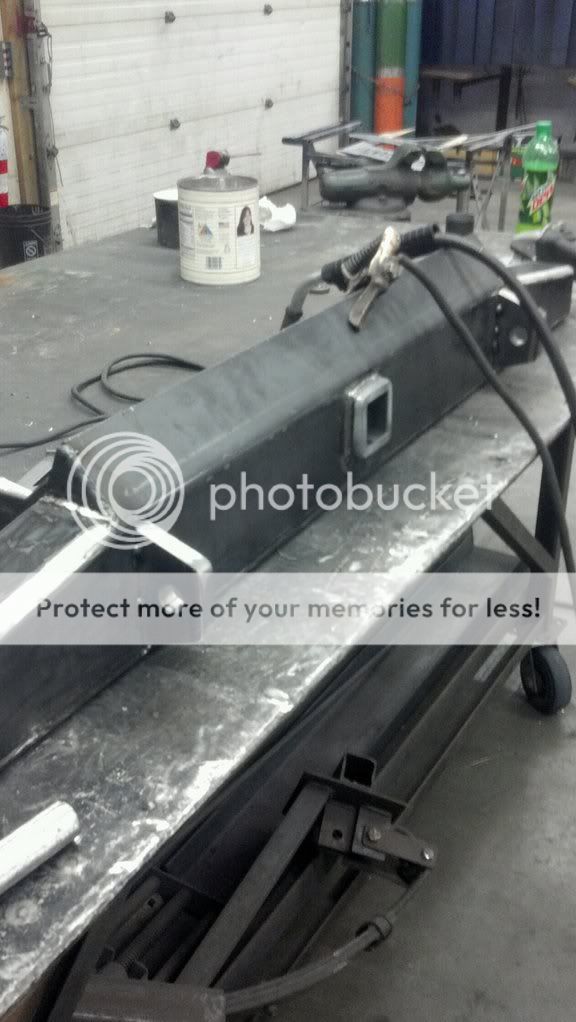
Pulling my Heep in onto Phil's new hoist...
Instead of working on it in 3 different sections over 3 different days, it turned into 1, 18hr long project... Should have been shorter, but we had to run to the parts hut a few times to grab things we forgot about...
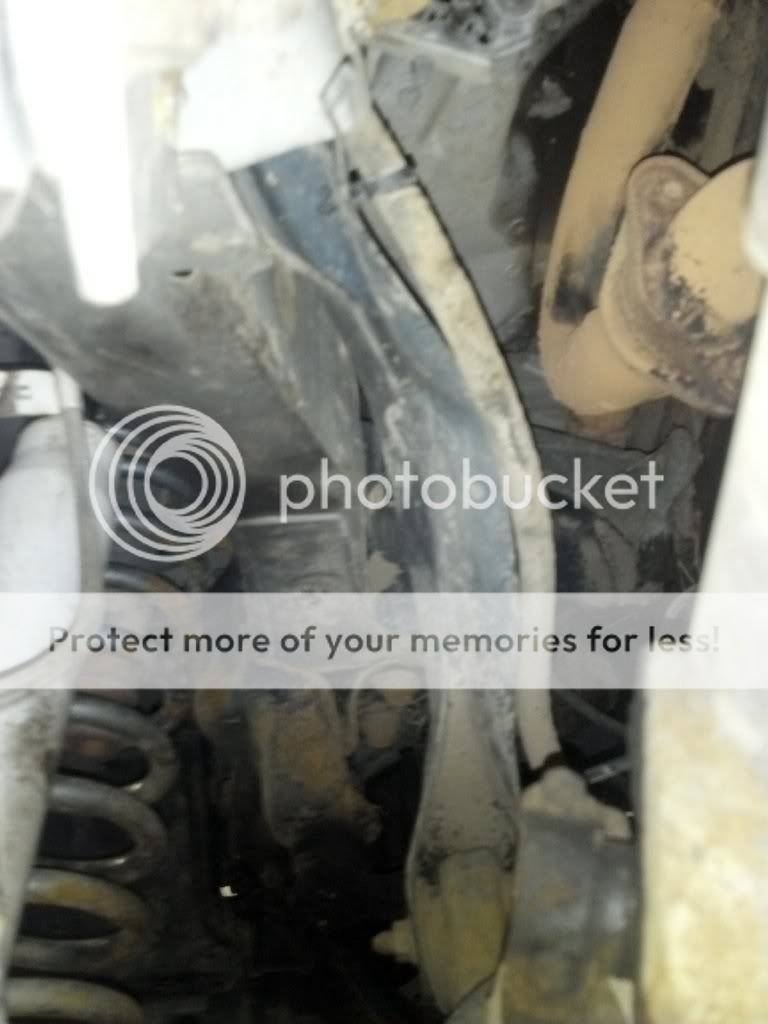
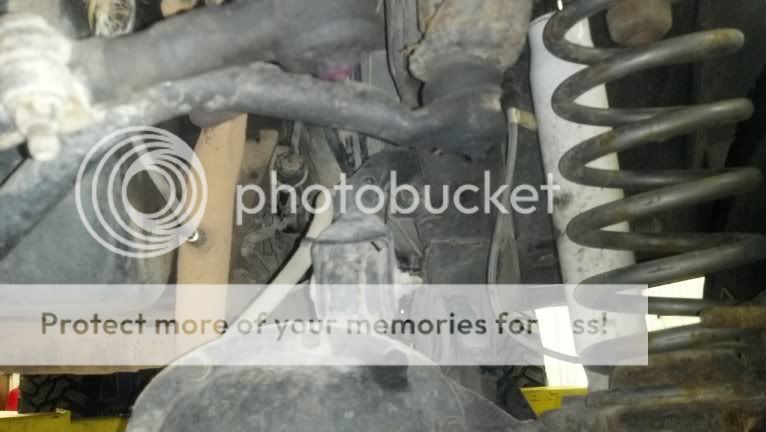
Now, for some reason I lost a bunch of pictures of the majority of the project, but the remainder are those of the rear axle...
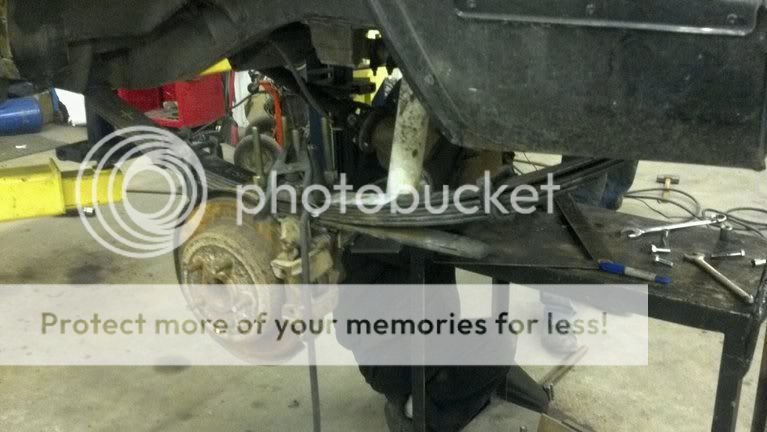
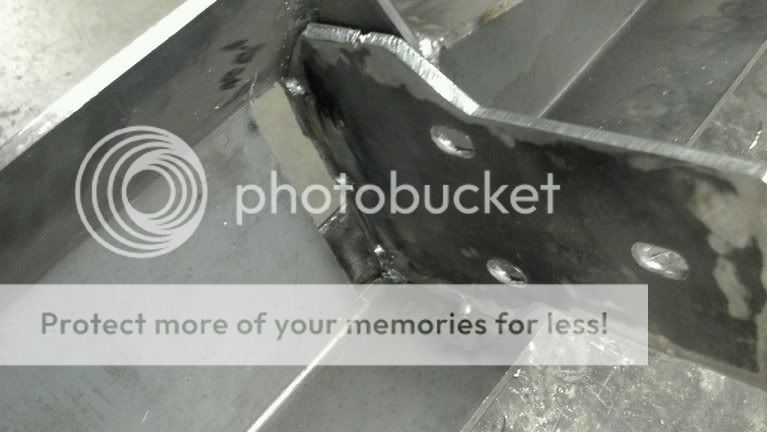
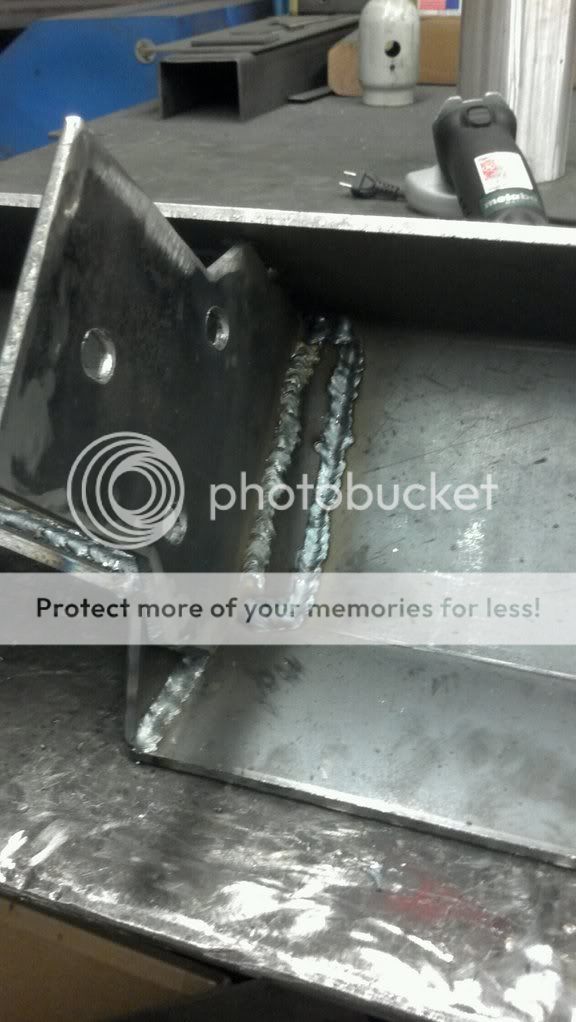
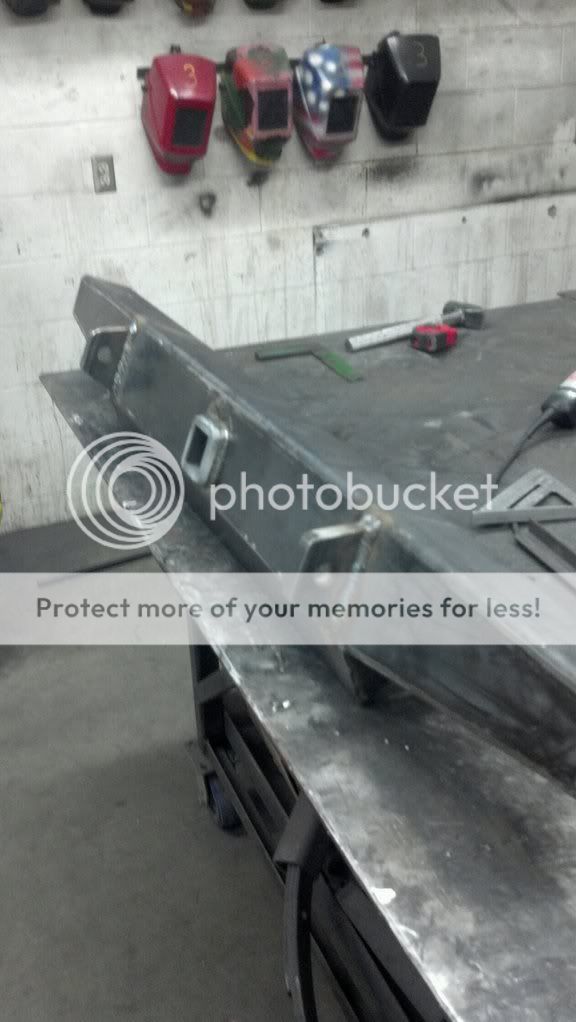
Getting it lined up so we know where to weld the mounts on...
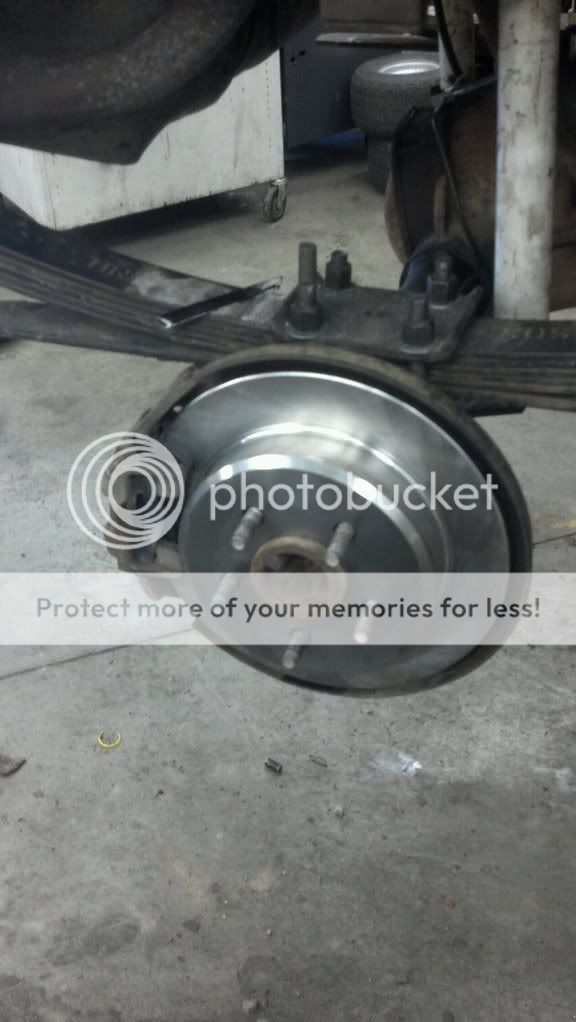
Driverside caliper we ened up using the passenger side stock brake hose, we simply welded the metal tab on it to the spring perch...
Passenger side brake hose we had to run to the parts hut for... We simply asked them for a rubber hose that had the ford banjo block on one side and 3/16in brake fitting on the other side. Again we mounted it to the spring perch.
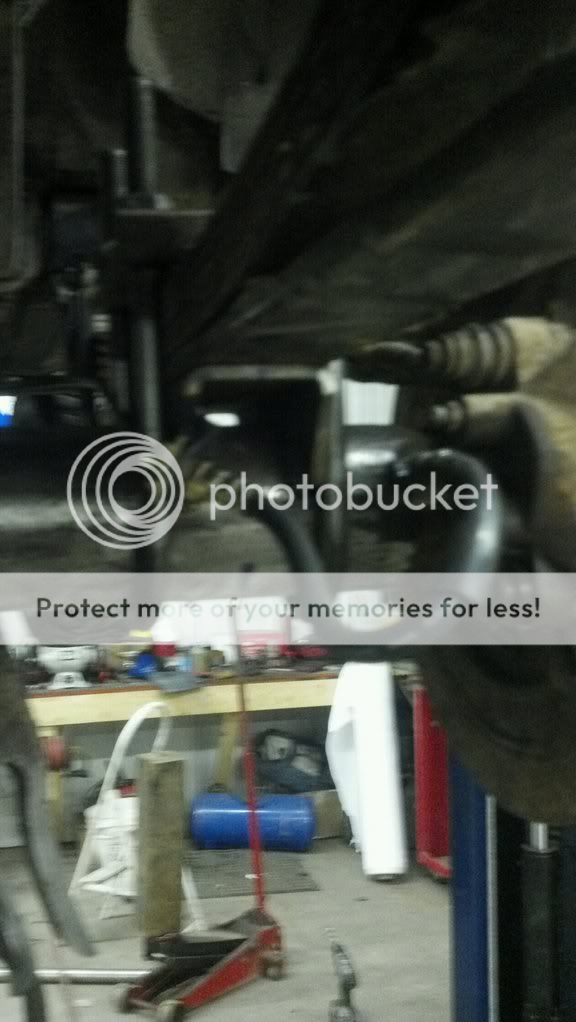
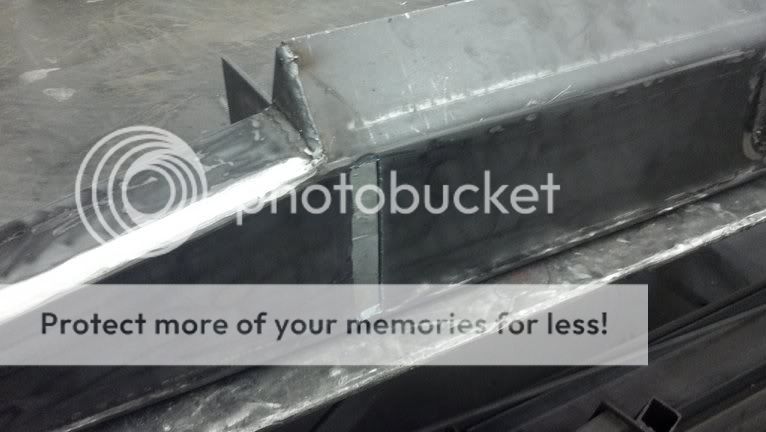
We decided it would be a good idea to mount the shock mounts up flush with the axle instead of hanging down under the axle like the OE ones were... After the project we realized we didn't think that through as we were still using the shocks for a 3in lift and were bottoming out over every bump... Yesterday I purchased some stock rear shocks figuring that we removed about 3in of height by moving the shock mount...
That pretty much wrapped up the project as we couldn't do the front gears so I just left the front drive shaft off. Driving back to River Falls however, I began noticing a lot of noise when I was using the brakes, so the next day I checked the rears at school and realized they were metal on metal! The calipers were fine the rotors and pads were junk from sitting so long, so I replaced them...
That's all she wrote for the moment! More pics will arise as I find/take them of the little projects comping up. Planned so far are using an old rubber door mat to make some wheel well guards to protect the front door hinges, rear bumper, front gear install, and replacing the exhaust manifold.
")