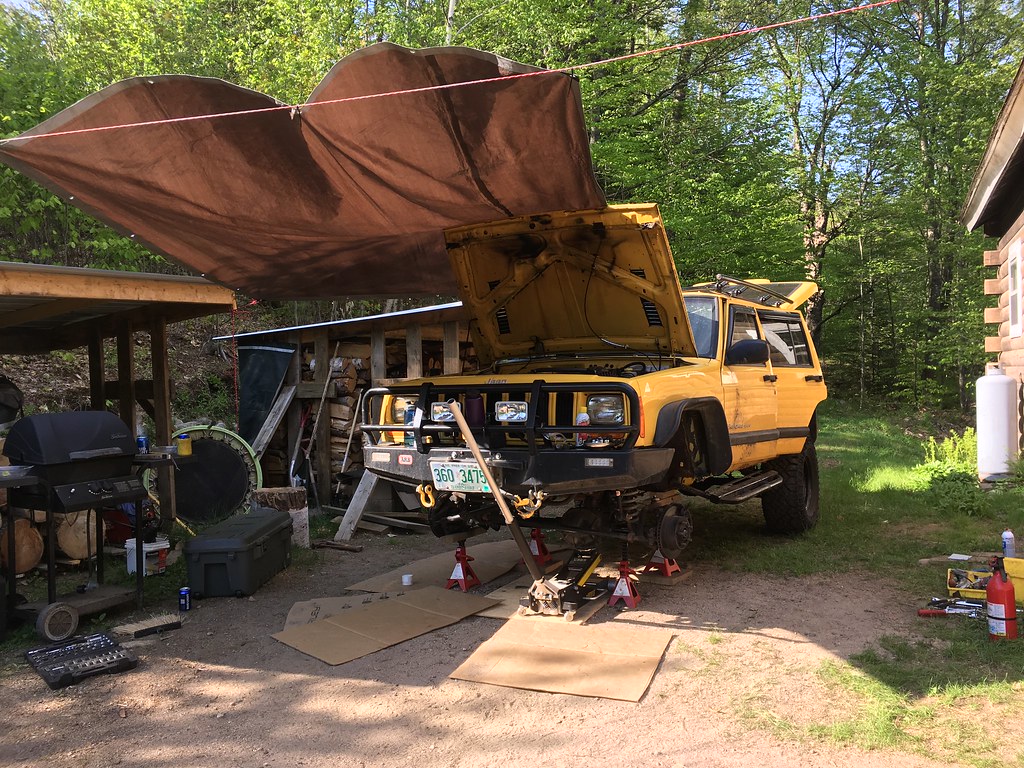
Haven't posted for a little while, as I have been working on the rig. Then I get busy, then I forget. It appears I have a short term memory problem...
But I've gotten to a point where I think I can start to give you all some updates.
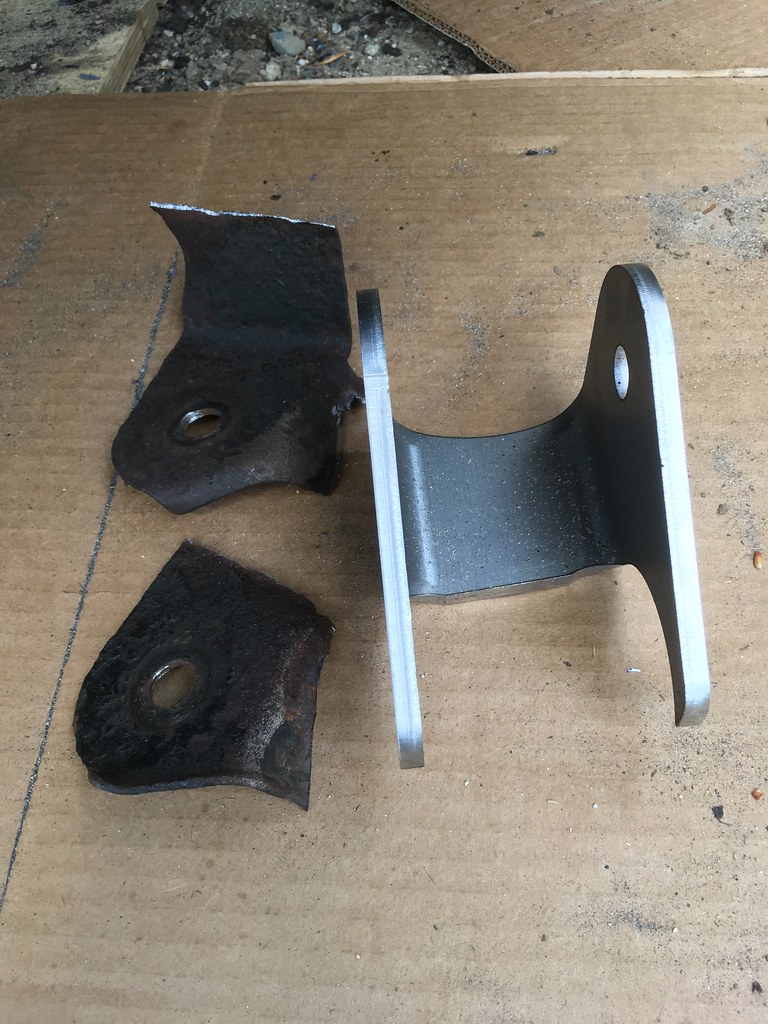
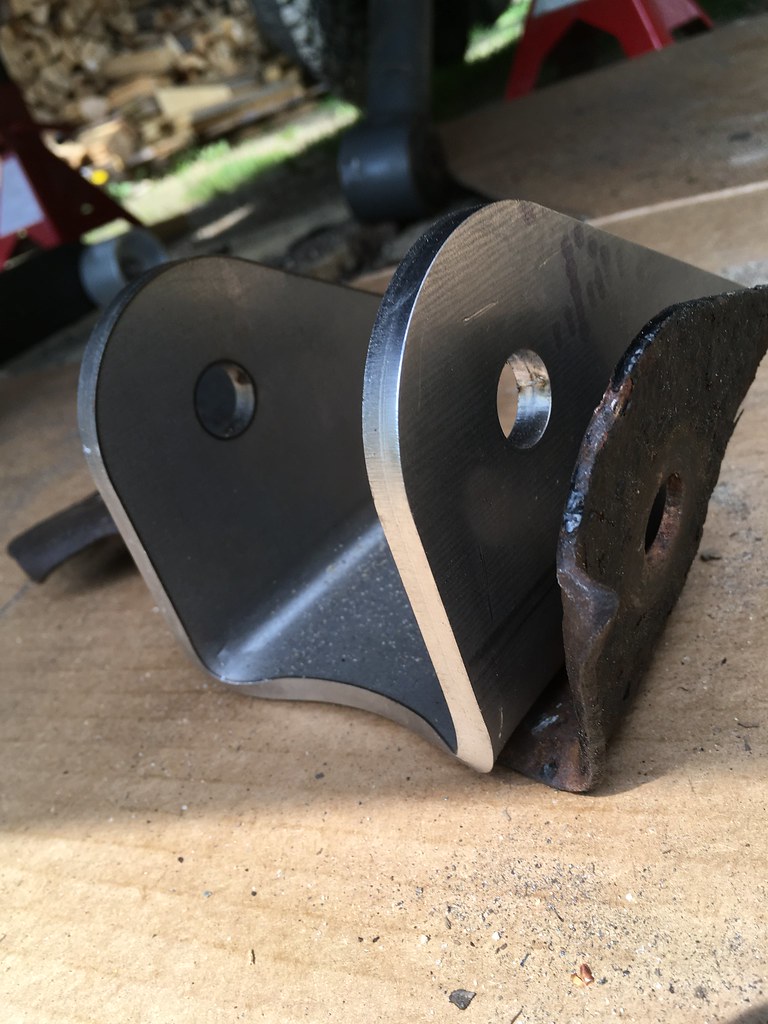
So I searched around and it seems that the lower control arm brackets getting tweaked is a lot more common than I had realized. So I decided to upgrade the brackets, and ordered some heavy duty 1/4 steel lower control arm brackets from Iron Rock. They are beefy, and I like them. They definitely instill confidence over the thin stock ones.
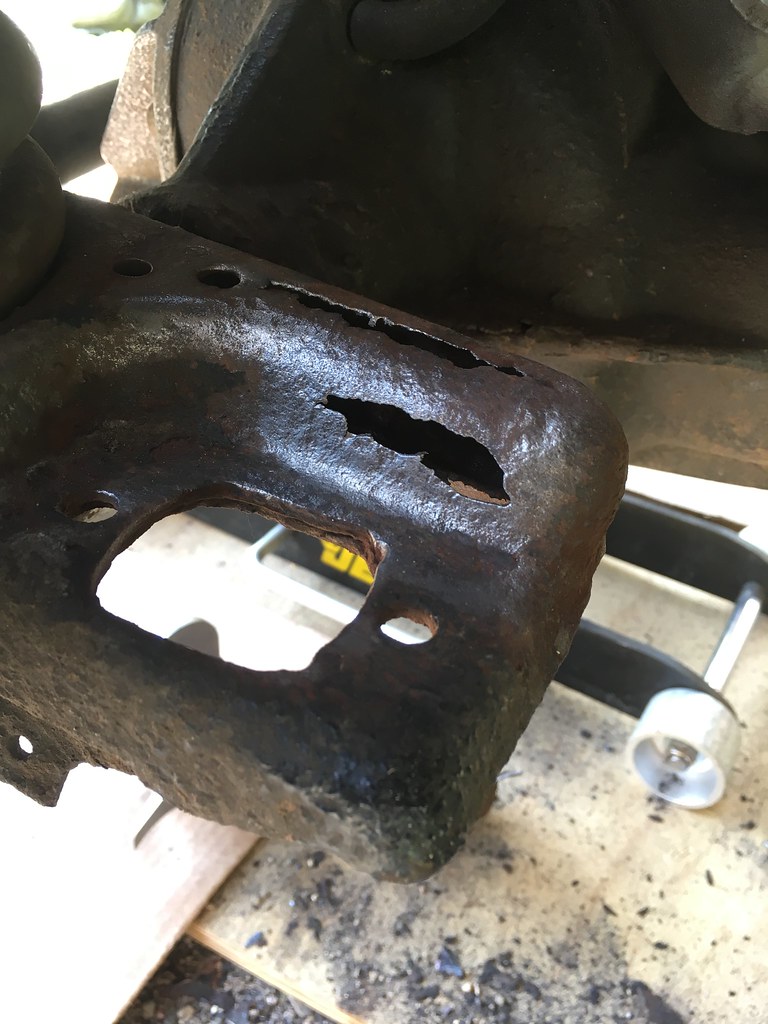
Disconnected the long arms from the axle and proceeded to cut and grind off the old bent ones. I was a little surprised at how thin and flimsy the stock lower control arm brackets actually were. Once I cut them, I could bend them by hand.
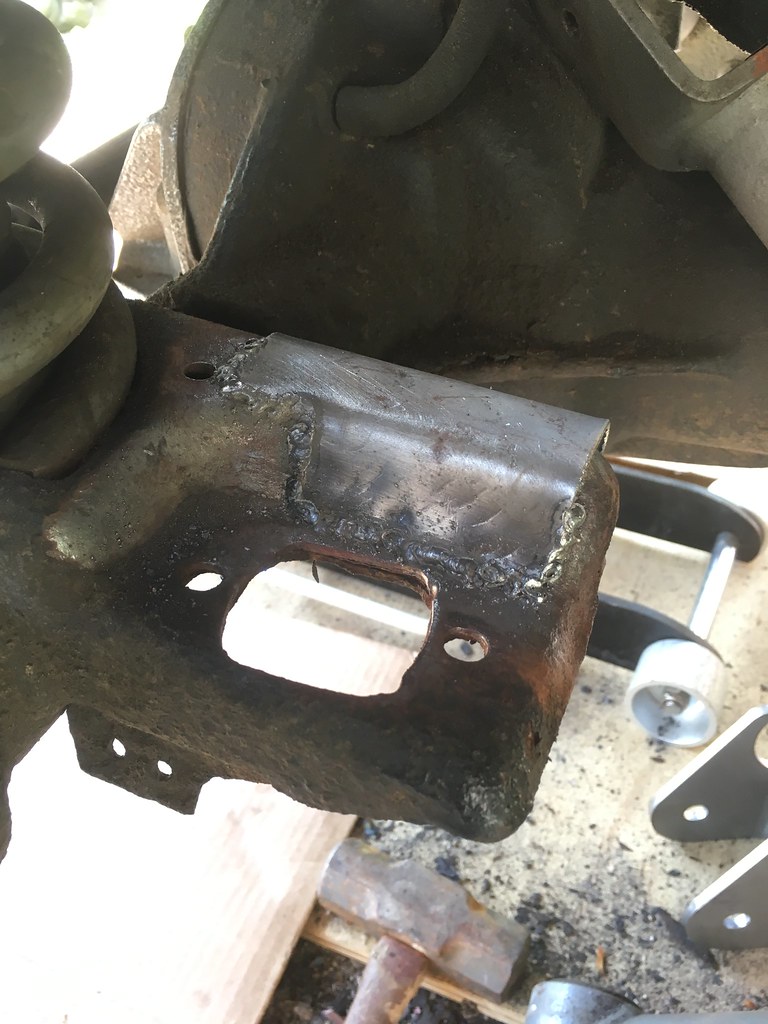
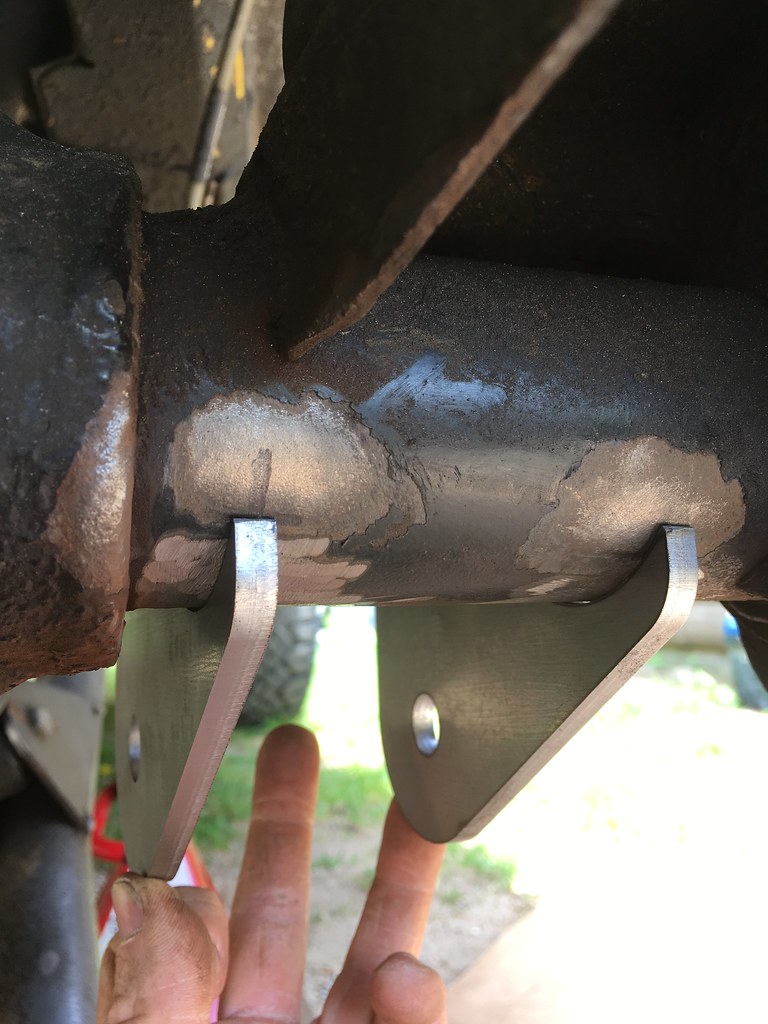
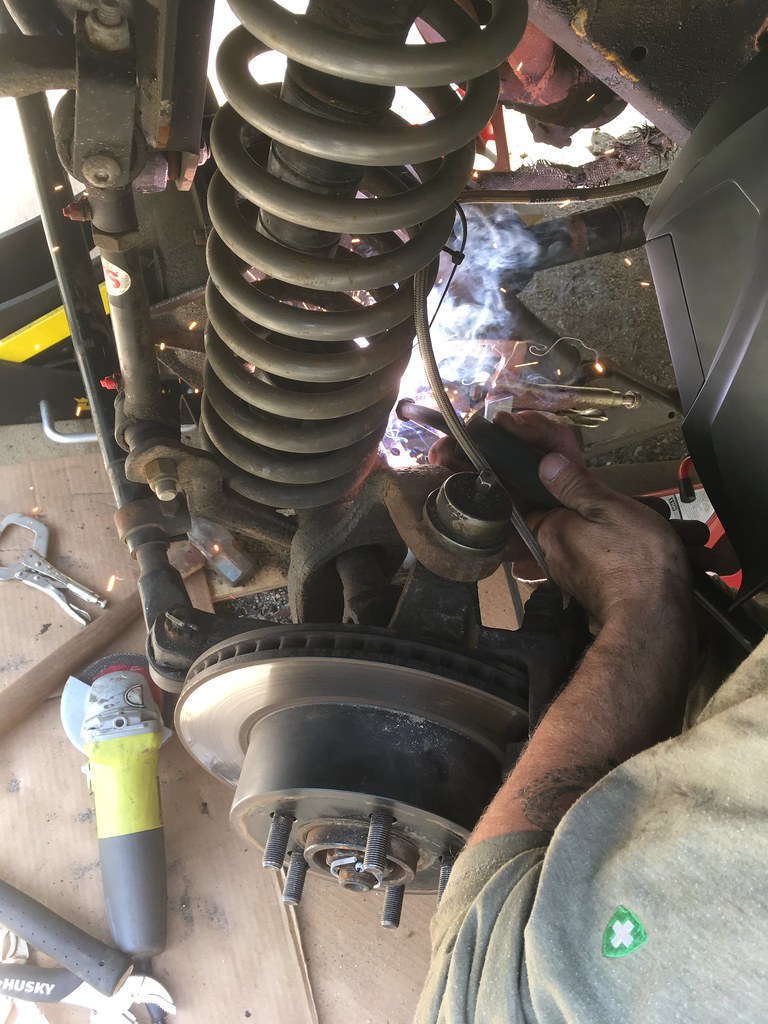
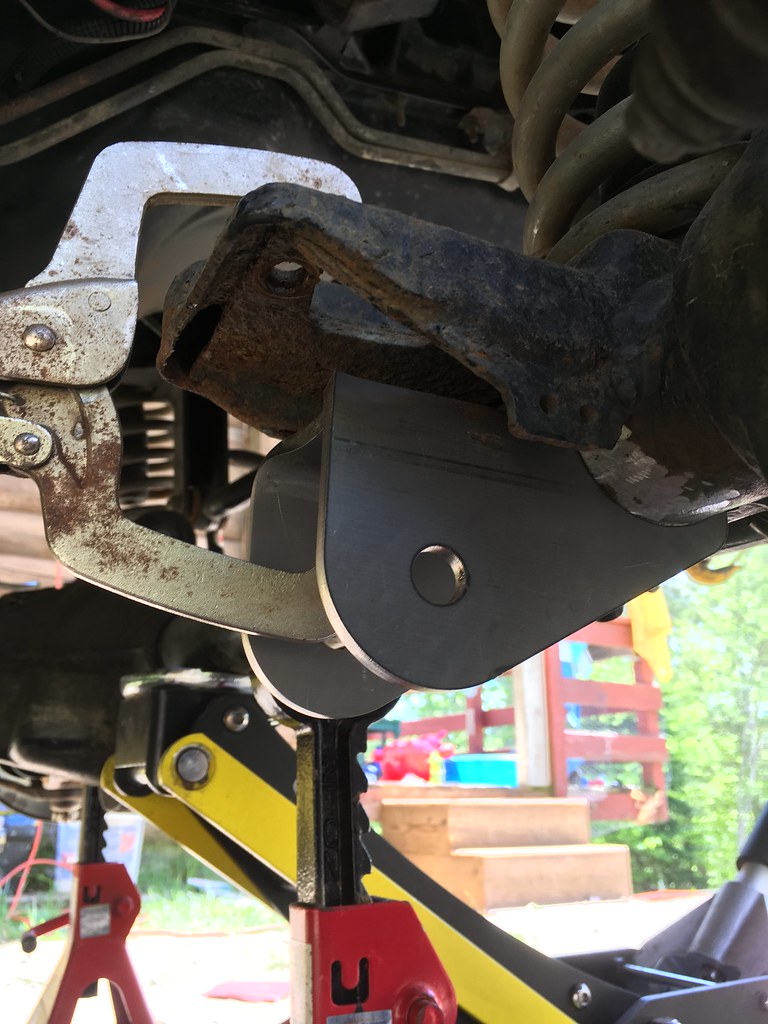
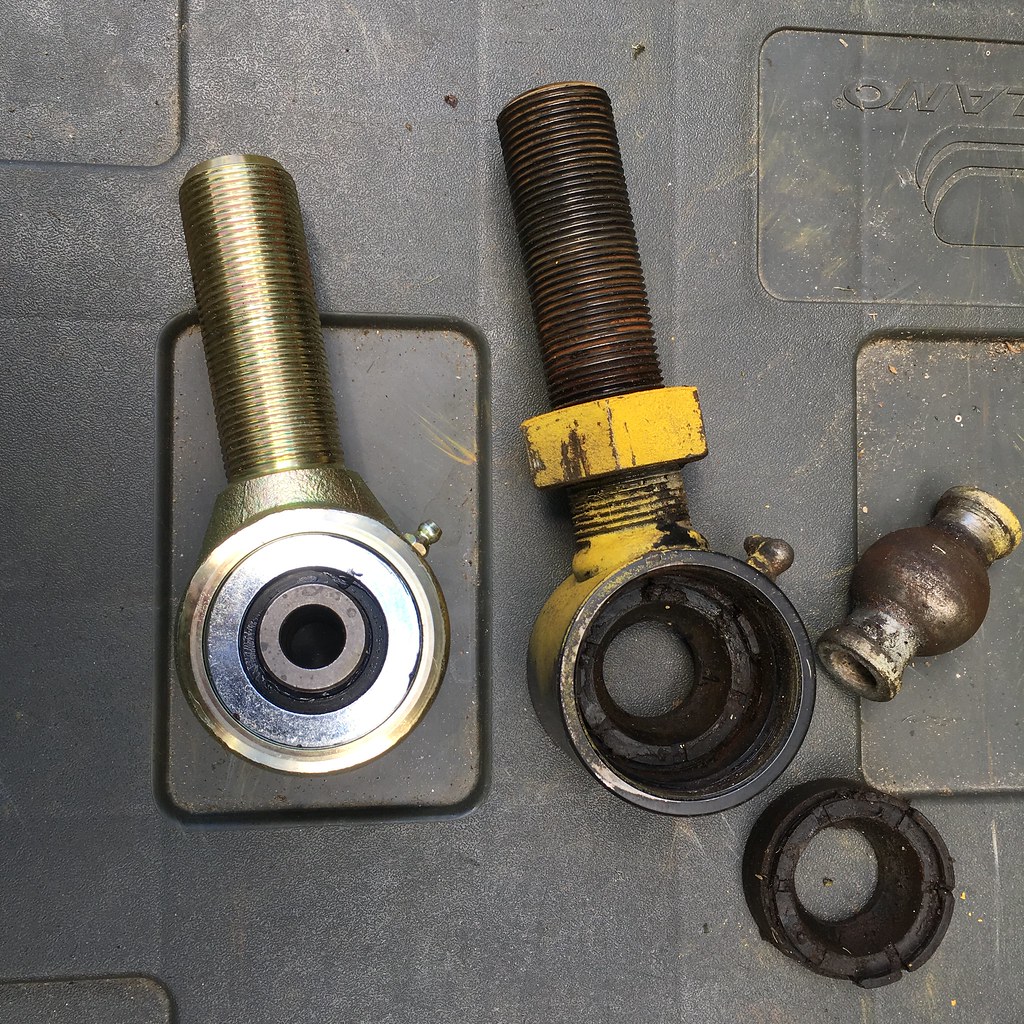
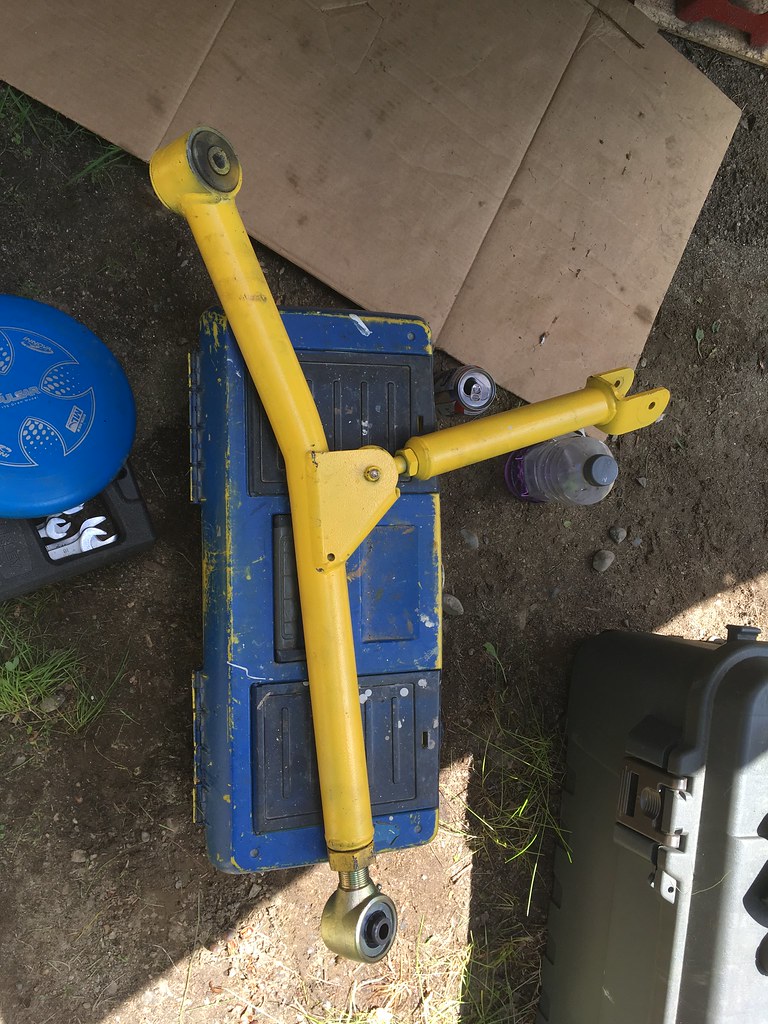
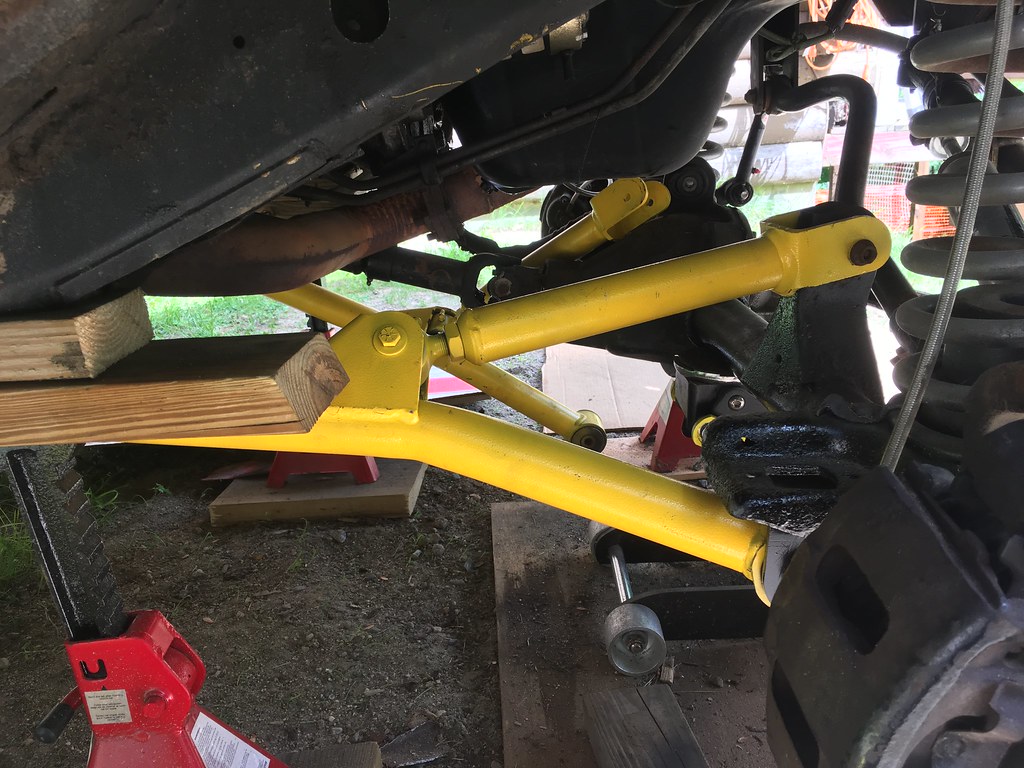
Cleaned it up, made some marks, did a mock up and liked what I saw. Until I noted a little bit of rot on my shock perch which the drivers side control arm is butted up against. So we had to clean it up and tack some fresh metal on it before we could continue. My buddy did the welding, as that skill is not one of my strong points. Got them all welded up, primed and painted, and good to go. But before we put it all back together we decided to take my long arms completely off to check the joints. We had been eyeballing them while we were under the rig, and the ones mounted to the transfer case cross member looked a little blown out. Good decision, because they were bad. More to come on that later.
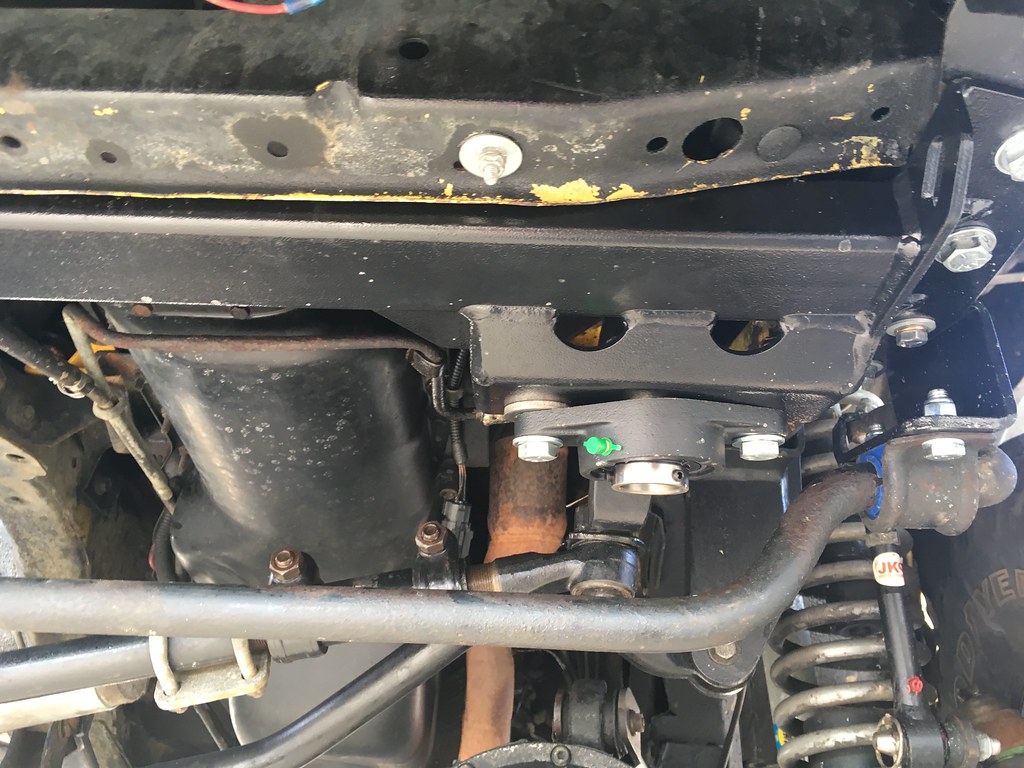
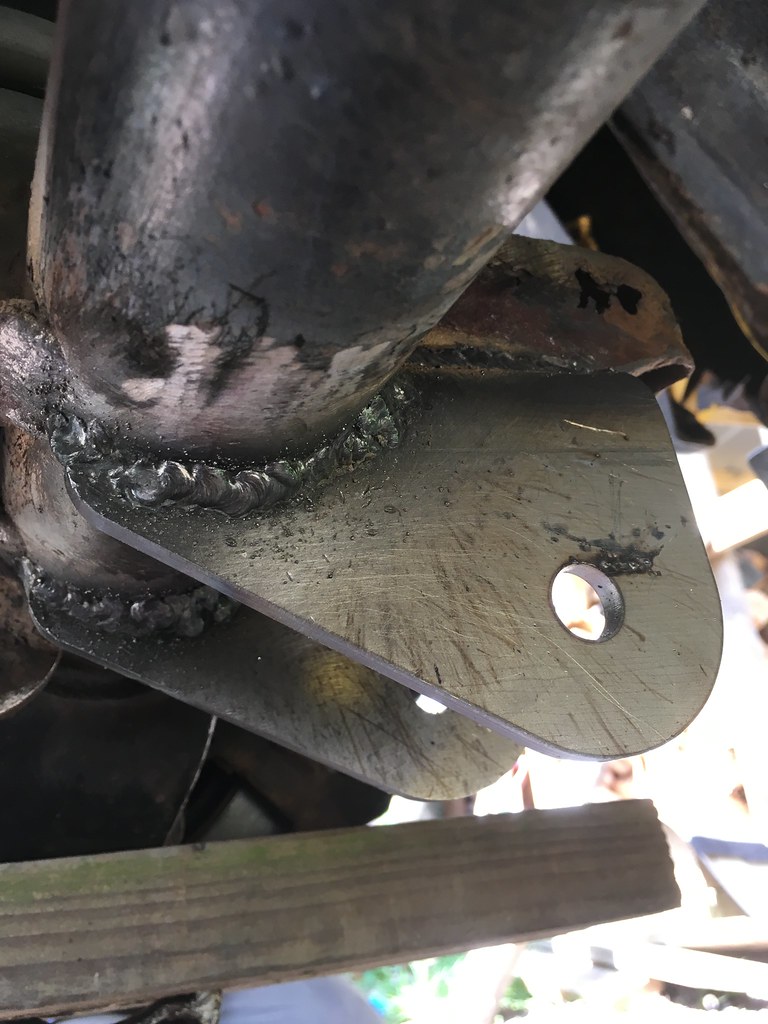
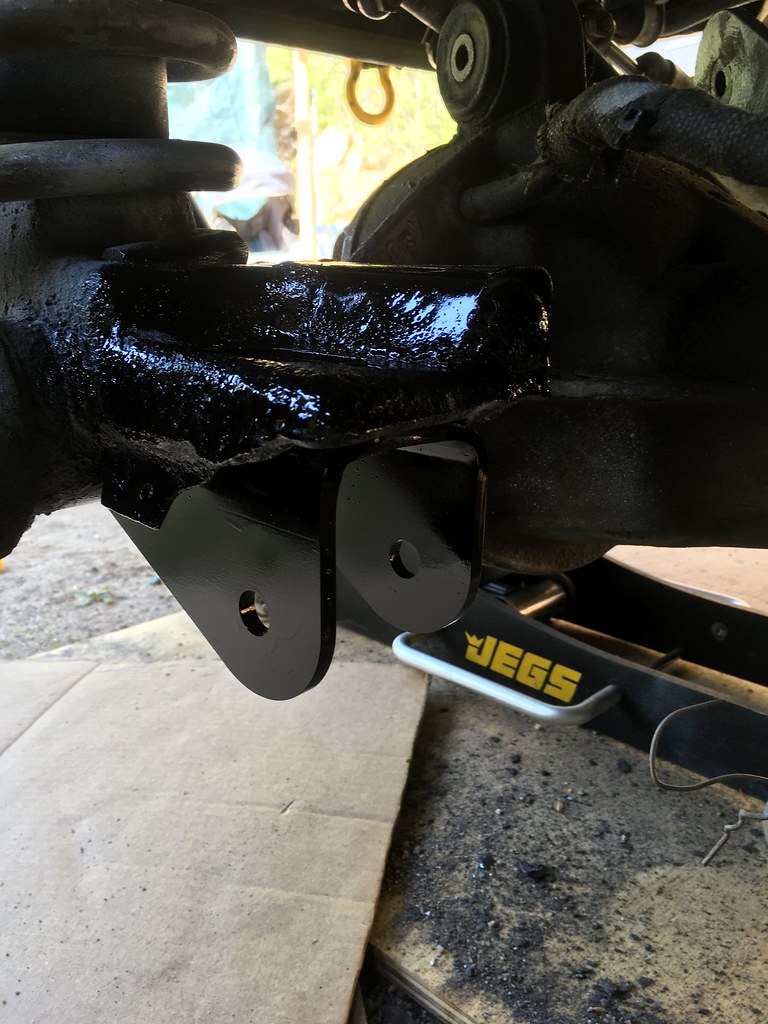
Meanwhile, here is what we did with the lower lca mounts upgrade...
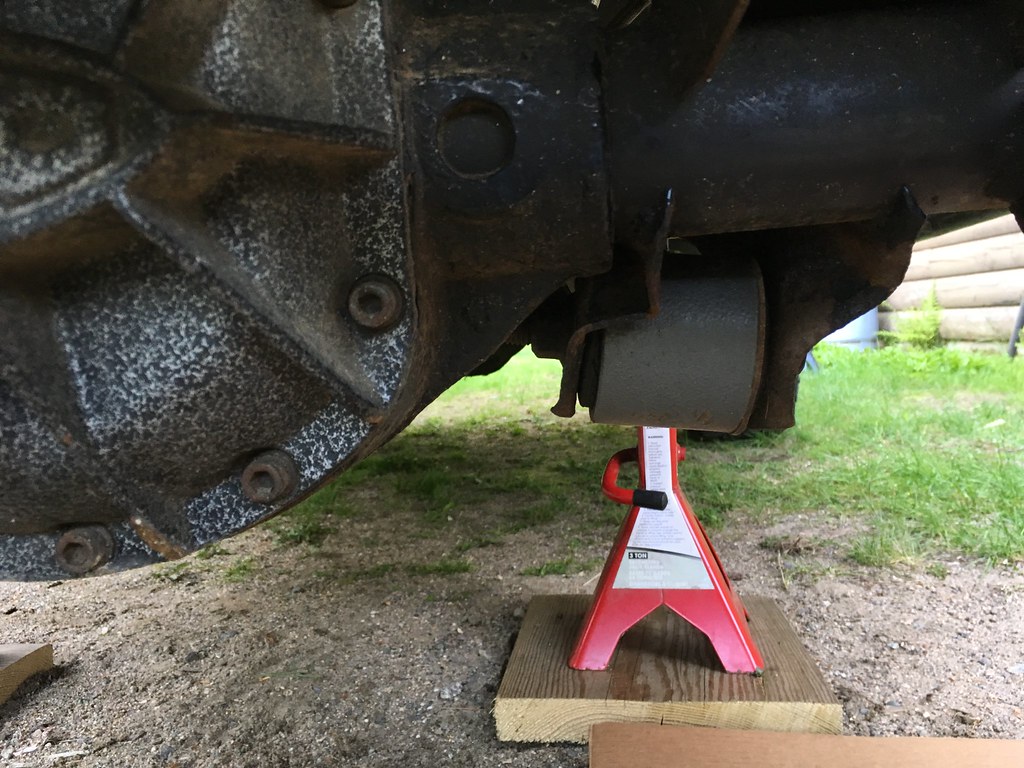
Bent Lower Control Arm, Drivers Side
Fixing Shock Perch
Lower Control Arm Bracket Comparison
Grinding, cutting, welding and replacing Lower Control Arm Brackets
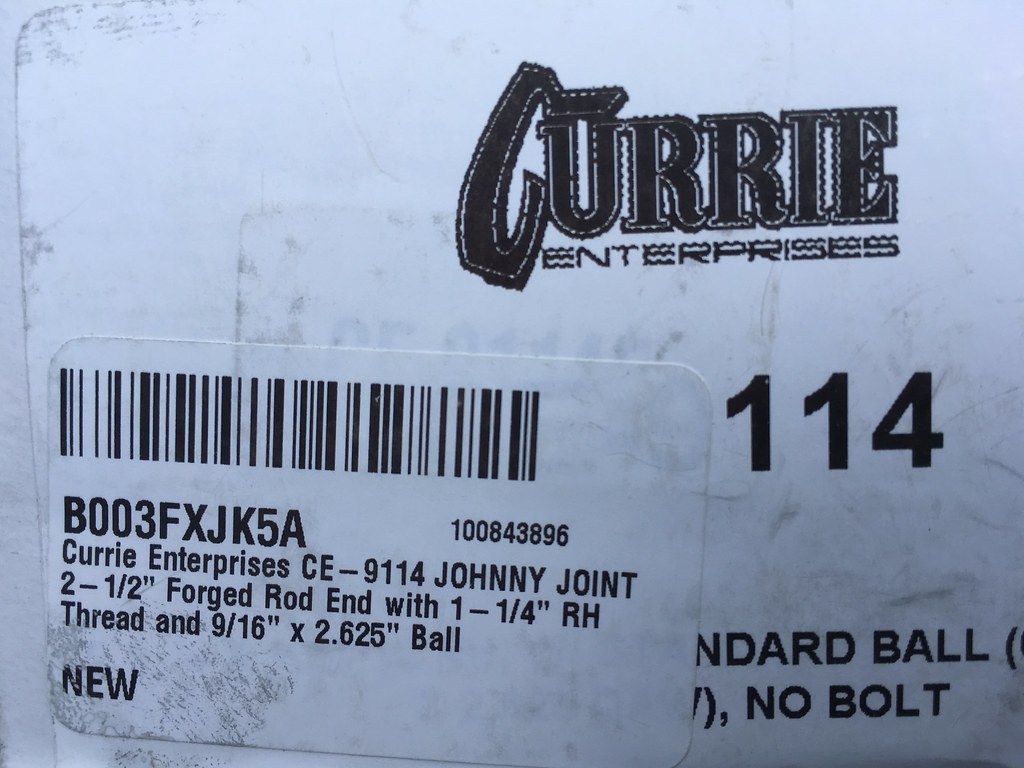
Next up, Long Arm Johnny Joint Upgrade.
Stay tuned, more to come...