PhotoJared
NAXJA Forum User
- Location
- Las Vegas, NV
After I posted that I looked at my wiring diagram. Looks pretty simple. What did that switch come out of? And I assume the up and down switch is for accelerate and coast (where'd ya get that too?)
")

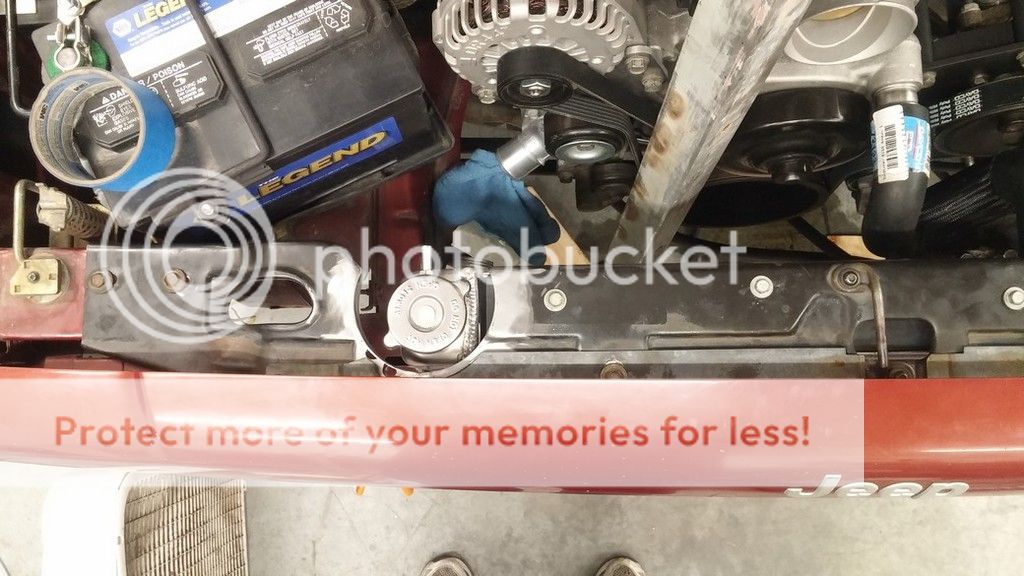
I'm curious how well your belt setup will work with the tensioner placed on the pulling side of the belt. I think you're going to see some belt slipping under hard throttle, because the pulling of the belt from the balancer will unload the tensioner and you'll have a lot of slack between the alternator and balancer. Just a thought anyways. Rest of the build looks good!
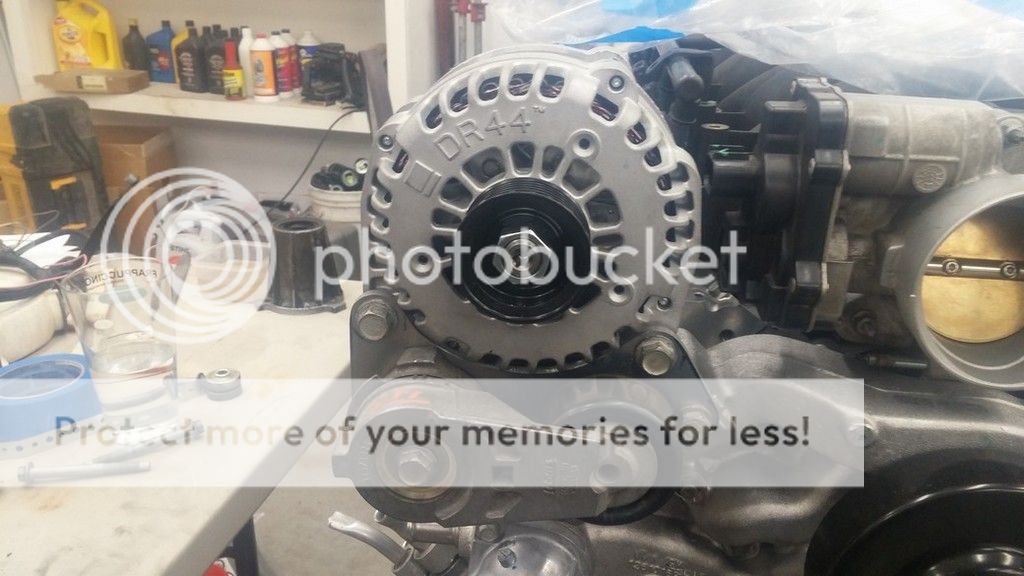
I need some help with alternator wiring. I have an AD44 alternator with the P L F S plug on it. Can't seem to get a charge going.
P - Open
L - through a bulb to ground
F - hooked to keyed 12v+
S - hooked to B+
Big cable hooked from back post to B+
What am I doing wrong? Its a brand new alternator and I switched the 2 pin regulator over to a 4 pin regulator. Everything is tight.
Any ideas?
Sounds awesome!!!! Congrats on getting it on the street!
Congrats! Love that GRIN on your face after burning some rubber...
After 6 months of it being in the shop its pretty damn satisfying to have it working correctly and on the road. 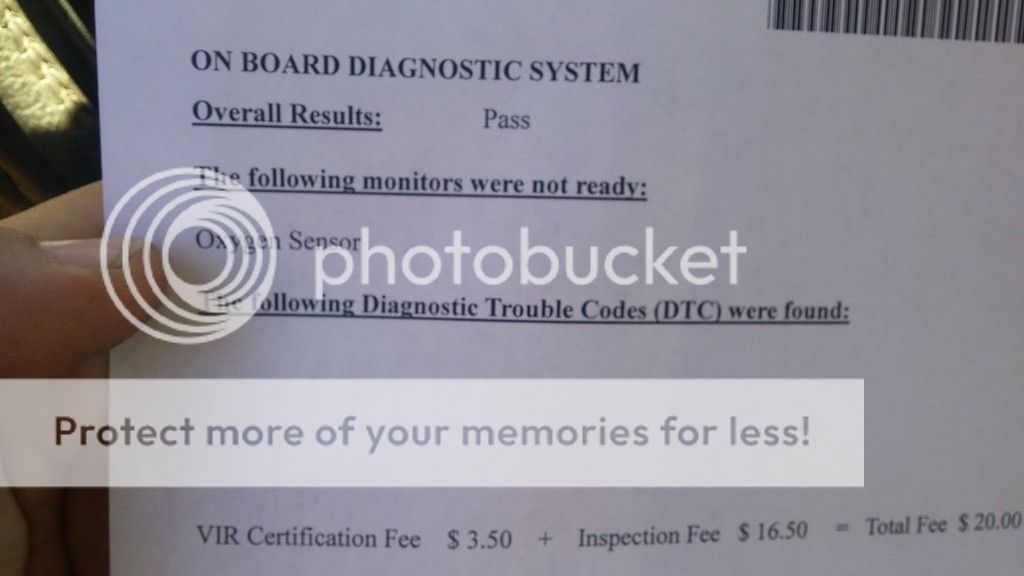
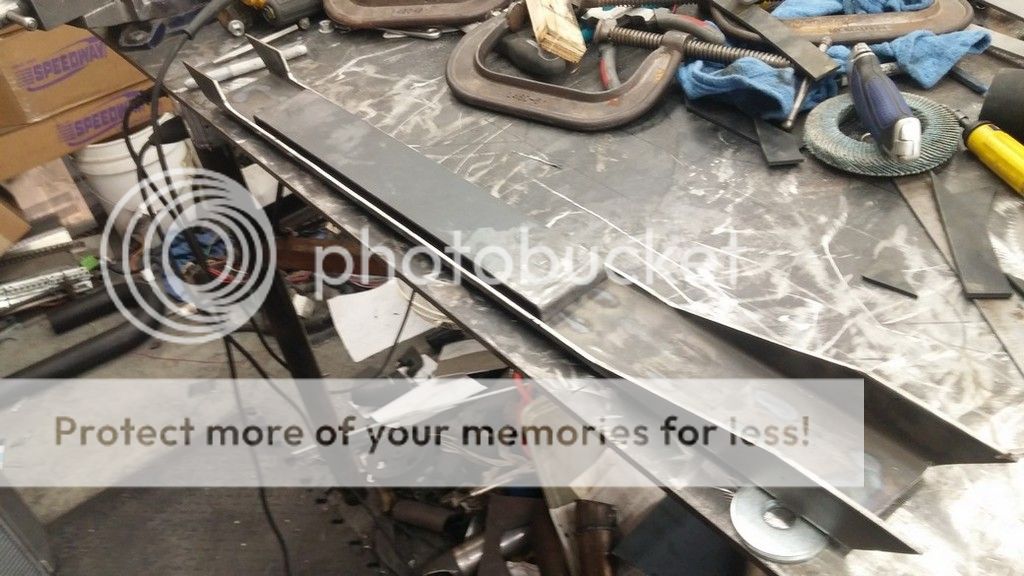
Thats an awesome tank! (any interest in replicating one?)
also, did you keep all emissions equipment or did you tune it out?
Building that tank was a gigantic pain in the ass. Now I know why Genright wants so much for theirs It's still overpriced but I can understand it a bit better.Thanks
I had the rear O2s set to no error reporting since I only have 1 and had the EVAP deleted and set to no errors by my tuner.