• Welcome to the new NAXJA Forum! If your password does not work, please use "Forgot your password?" link on the log-in page. Please feel free to reach out to [email protected] if we can provide any assistance.

beater!

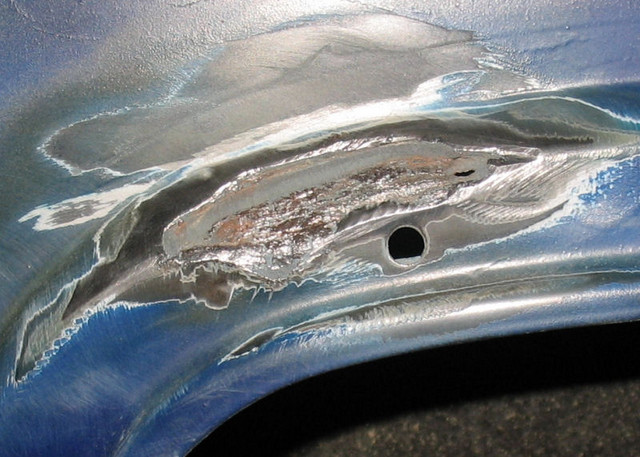
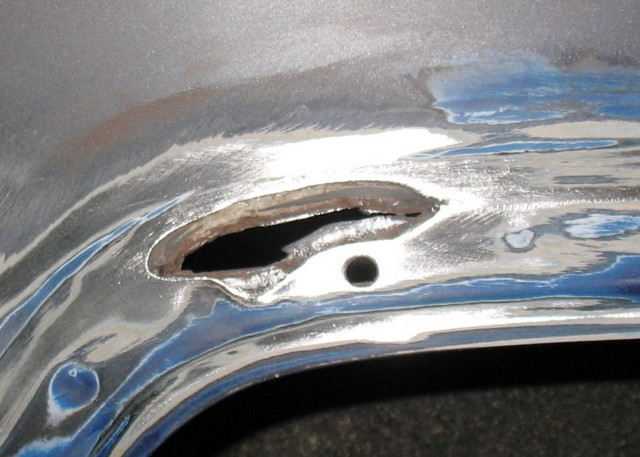
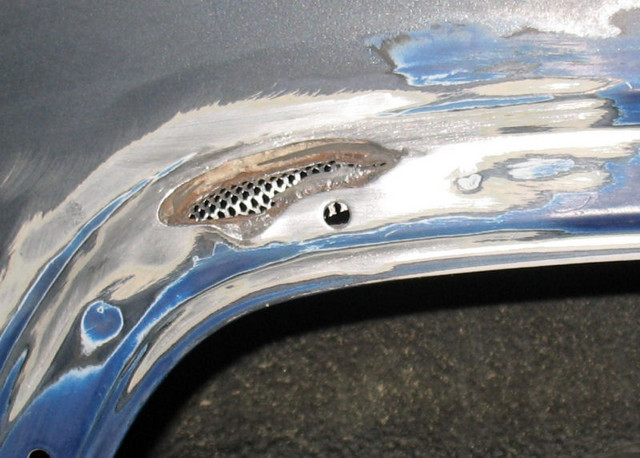
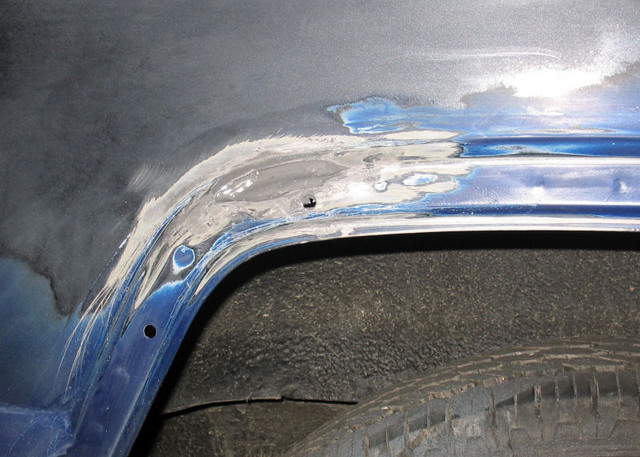
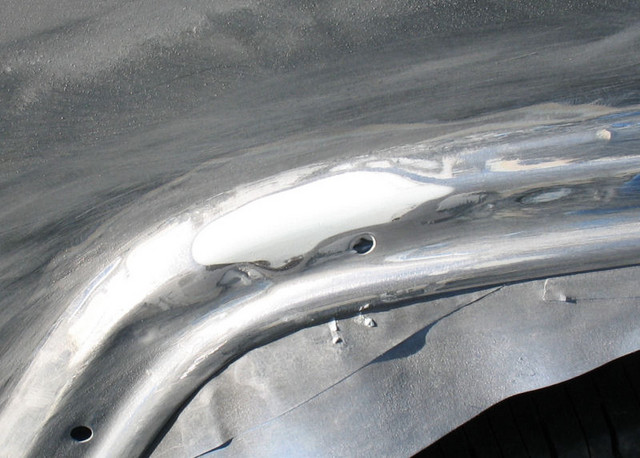
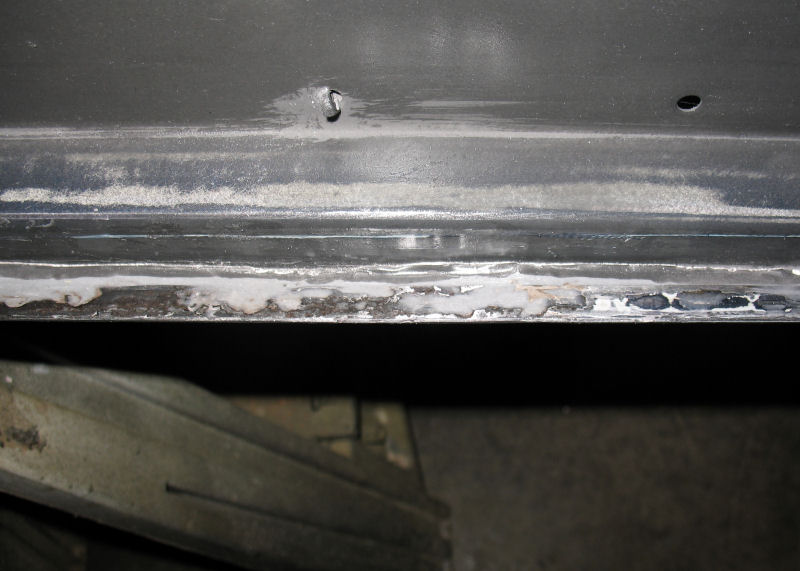
After letting the Perma-Poxy setup overnight, I used the sanding drum attachment for the Dremel and smoothed it down. Look Ma, new seam

Door_Prep_12.jpg


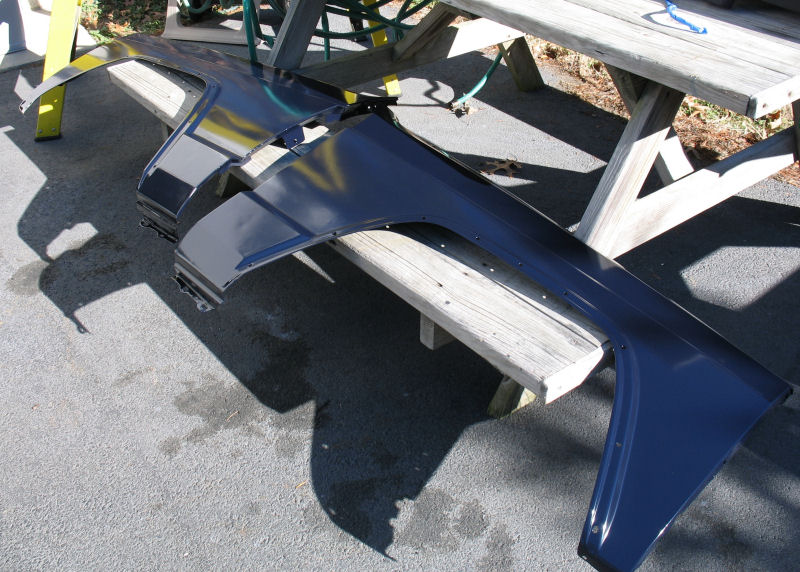
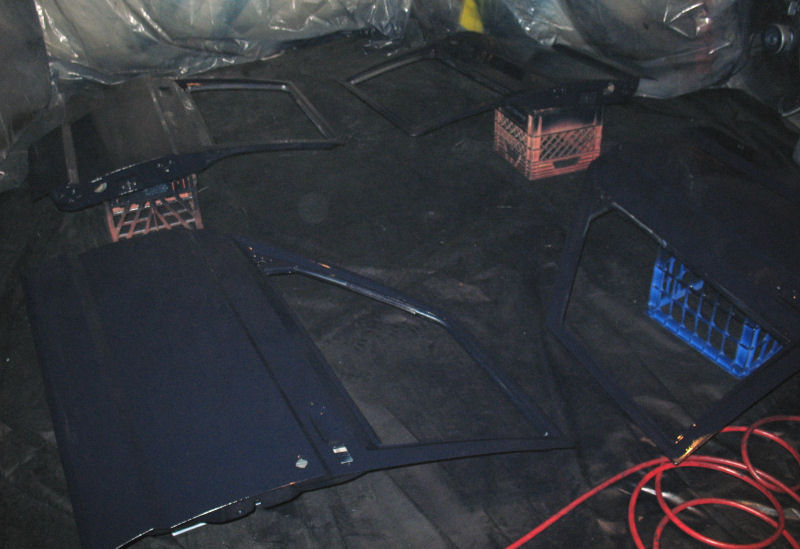
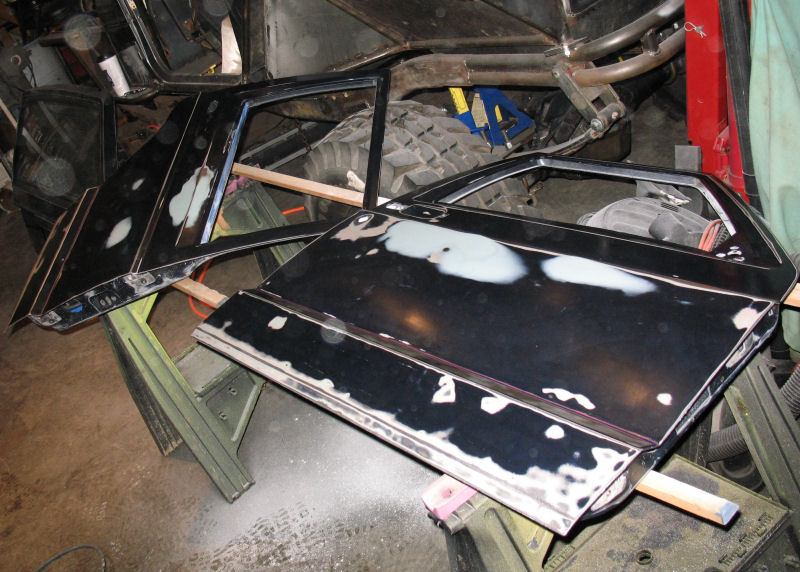
It rained all morning so I bondo'd and sanded the outside of the doors all day. The passenger side doors both had several dents and dings, and also had all of my color tests layered up. BTW, the metallic Rustoleum stuff is super tough, way harder than the Hammered Finish even

Door_Prep_13.jpg


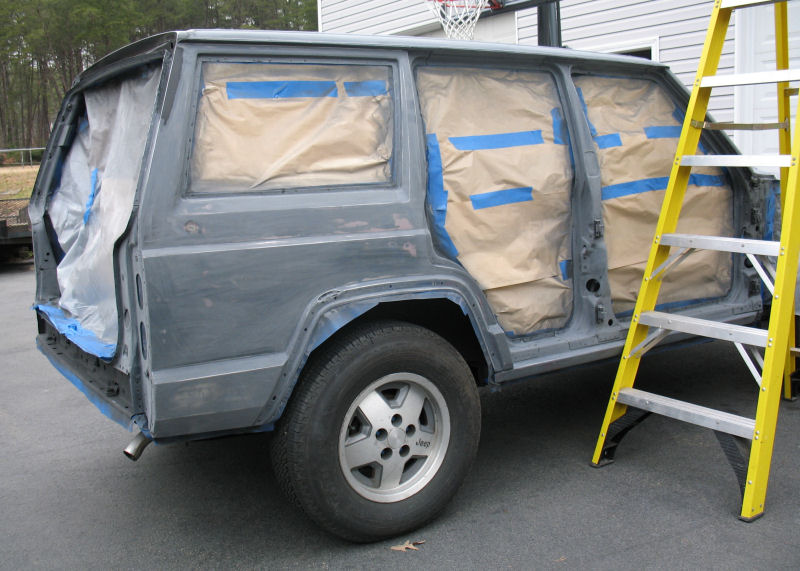
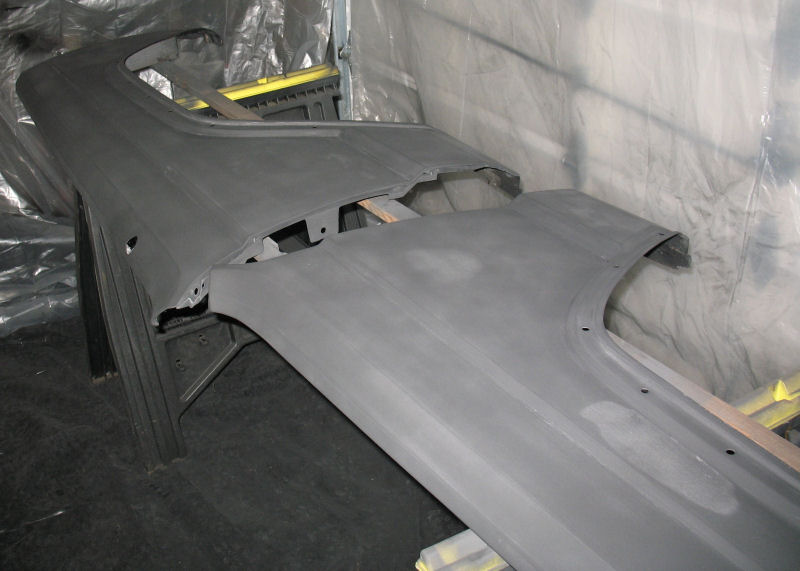
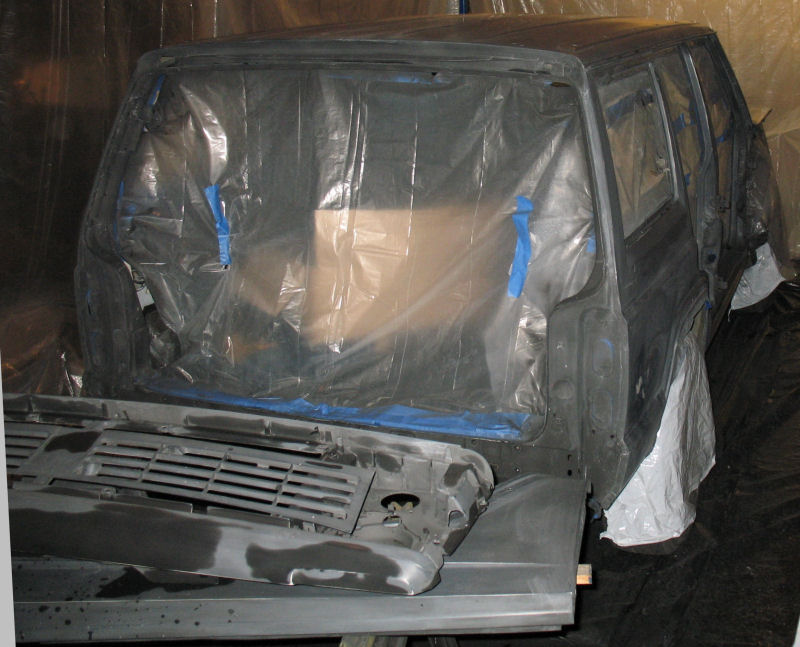
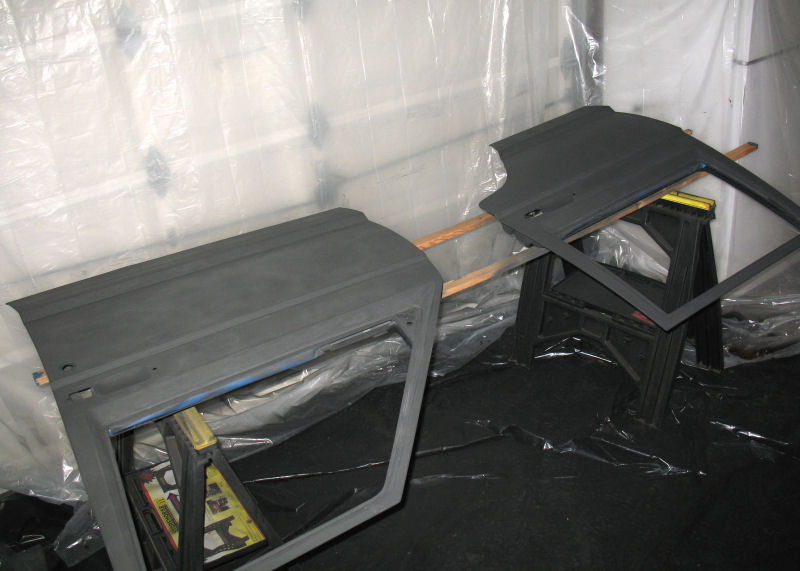
Once that was done I got them primered up

Primed_4.jpg


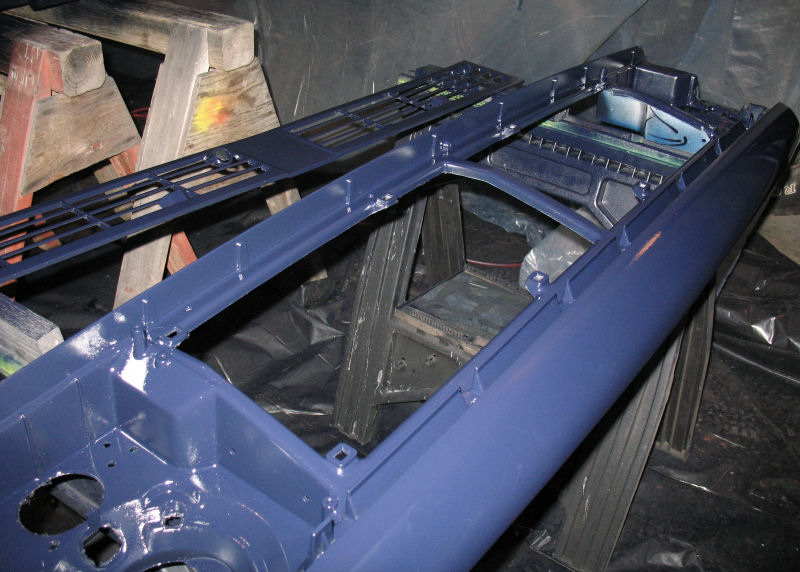
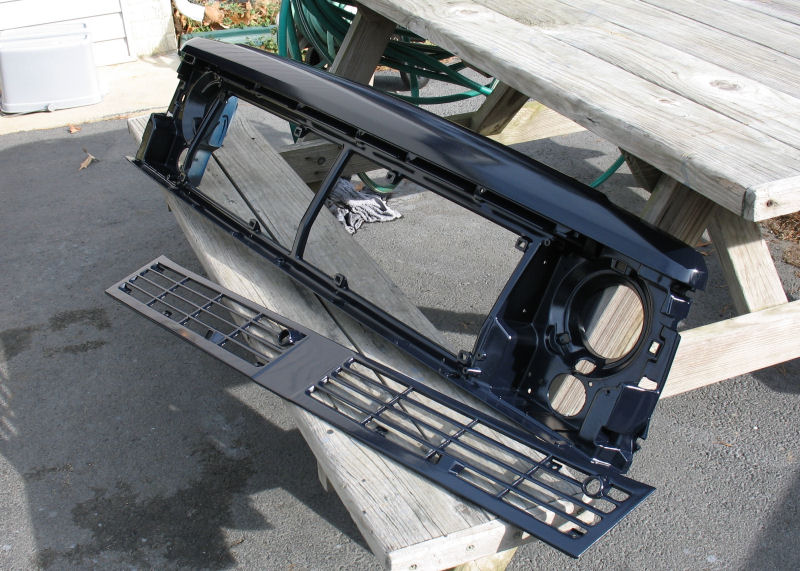
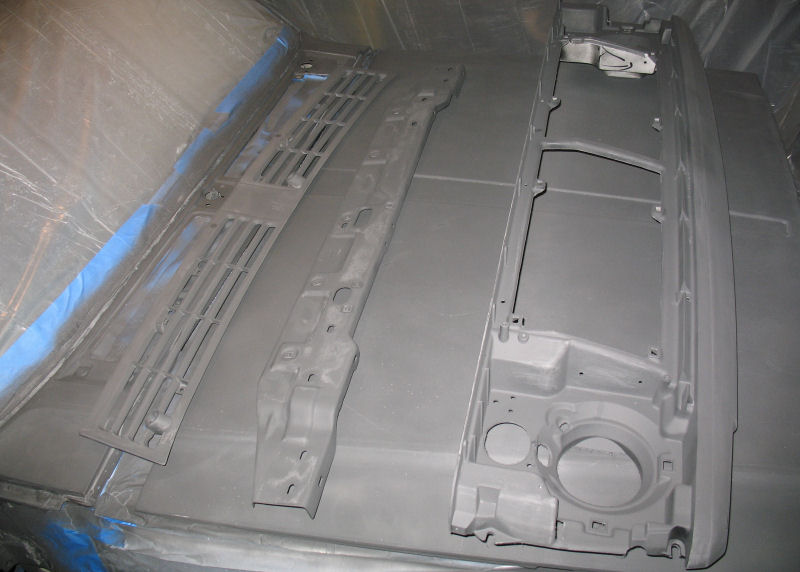
Also sanded and re-primered the header and cowl

Primed_5.jpg


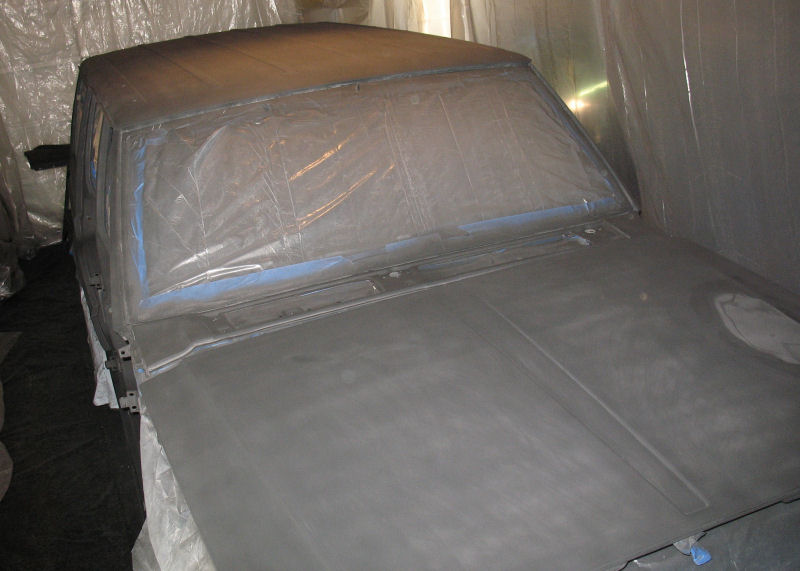
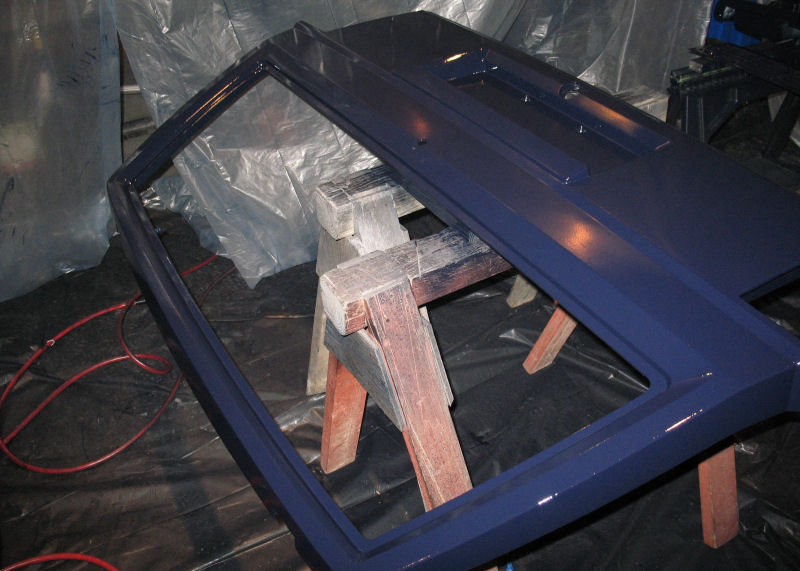
Everything now has at least one coat of primer on it, except for the hatch. Tomorrow I will sand the other stuff down and apply second coat to what I can, depending on weather. I need a few hours of predictable clear skies before I can back the chassis out of the garage and sand the primer down outside.
 
Very nice.
 
body was sanded today

Sanded_4.jpg


I found a few dings that need filling, not to mention I still had to fill the big hole on the quarterpanel that needed finishing. I got the bondo down, but ran out of daylight and don't trust work lights for that stuff

It's strange how there are so many dents and dings on the passenger side--the two doors also needed work, and you can see all the previous bondo work in the pic too--while the drivers side has almost no damage at all (one little crack in the paint is all). I guess mom had trouble parking the thing
 
That was fun

Quarterpanel_Rust.sized.jpg


Quarterpanel_Hole.sized.jpg


Quarterpanel_Patch_Panel.sized.jpg


Quarterpanel_JB_Weld.sized.jpg


Quarterpanel_Filled_1.sized.jpg


Also got the hood, fenders, and doors sanded (and the hood repaired--missed a big dent in it), and since I did not have any more outside work I got a second coat of primer on the chassis, hood and fenders. I need to put primer on the doors and hatch tomorrow, and then wetsand everything whenever it is clear again.
 
that's alot of good work!
 
not sure if you mentioned it or not but what color (if any) are you painting it?
 
I wish I had the time+money to do something like this.
Yeah me too! :roflmao:

Some advice to share here, don't wetsand with temperature dropping to 32, cause it WILL freeze and you'll wonder what the chunks of stuff are. Had to roll it inside to finish, but managed to get the chassis, fenders, hood, cowl and header all wet sanded--that stuff is smoother than a schoolgirl's powdered bottom.

Sanded_6.jpg


The doors are primed and need another sanding to smooth out last minute bondo work. Also got the glass out of the hatch and the first bit of primer laid. Popping the glass was actually really simple once I figured out the right approach. Just use a bunch of flathead screwdrivers, and walk the mold around the lip, nothing to it at all really.

Glass_Removal.jpg


We are supposed to get upper 50s over the next couple of days, so tomorrow I will paint the chassis and fenders and hood, then paint the rest of it on Thursday (Christmas).
 
Lookin good Eric.

If you havent found that pass side 1/4 glass i can grab one at the local upull. I have the next 5 days off and can grab/ship it to ya easily enough.

Looking fwd to color shots.
 
I got the paint down on the chassis, fenders and hood. Not sure how it came out yet, but I guess I'll find out tomorrow. I had some trouble getting the gun figured out. Right now the paint looks Navy Blue in direct light (flash, work light, bright light), but black in passive light, so I'm curious what color it will be dry.

Painted_1.jpg


Painted_2.jpg


Painted_3.jpg


Painted_4.jpg


Painted_5.jpg


Painted_6.jpg


It's still settling and leveling out. The stuff is pretty interesting--whenever I got a run I would use a foam roller to smush it, and the paint would level out again.

This is what I used: 12 oz of paint (4 parts Navy Blue, 1 part Black), 4 oz of Naptha, 1 oz of Valspar Enamel Hardener, and 2 oz of Penetrol. Then I added another 2 oz of Naptha in order to reduce it more, since it was low 50s when I started this, which worked out to be about 2:1 paint:thinner. I used one batch of that for each coat, and ended up doing 4 full coats and a couple of touchups.

Paint_Mix.jpg


I have the doors and hatch ready for wet-sanding. However I ran out of Naptha and all the stores will definitely be closed tomorrow, so I will have to use Acetone as a thinner. I'm not sure, but I may wait til Saturday to do the rest.
 
Last edited:
Right now the paint looks Navy Blue in direct light (flash, work light, bright light), but black in passive light, so I'm curious what color it will be dry.

Painted_3.jpg
look at where the flash lit up the side of the fender (in the middle between them) versus the flat part... weird

also look at the two hood shots, the first is with flash the second is without
 
:worship:

Very nice, good job. Back to sanding, then clear, then sand some more. :laugh:

Another week? Wanna see the outdoor pics.

Merry Xmas Eric.
 
Very nice, good job. Back to sanding, then clear, then sand some more. :laugh:
Thanks. I decided against clear coating. The primary reason for using Rusto like this is so I can repair whatever damage I do. With clear you have to strip down the whole panel to fix the paint, but with this stuff I will be able to just scratch up the problem area and repaint it.

Here are the outdoor pics. The color is mostly navy blue, sometimes midnight blue, and sometimes black!

Painted_9.jpg


Painted_7.jpg


Painted_8.jpg


Painted_10.jpg


Since it was still in the 50s this afternoon, I got the doors, hatch, header and cowl done today as well

Painted_11.jpg


Painted_12.jpg


Painted_13.jpg


sorry about that last pic, the flash couldn't fill the room

Anyways, I have to go out of town to visit family tomorrow and won't be doing anything more on this for a few days. I have to let the painted stuff cure for a week, then wetsand it with 1500 and 2000, then rub it with cutting compound and polish. In the meantime I will be cleaning and painting trim pieces to black.
 
Inspected yesterday's efforts. The header and most of the cowl look great, although there is a little bit of texturing around one edge of the cowl that should come out with wet-sanding

Painted_14.jpg


The outside of the doors look good other than the typical problems (dust, etc), but the inside of the doors need a lot more paint for the exposed areas to look good (my milk crate strategy didn't work out as hoped). The hatch has some really bad texturing in a couple of places and I may need to redo the thing, or at least parts of it.

I'll probably wetsand everything in a week or so as planned, then spray the door insides and any areas that need repainting, then wetsand and polish after it dries. I may also give it another surface coat after reassembly. I still have to paint some of the hinges and whatnot before I can reassemble, so I can't do it before then.
 
Last edited:
Back
Top