Lowrange2
NAXJA Forum User
- Location
- Abbeville, SC
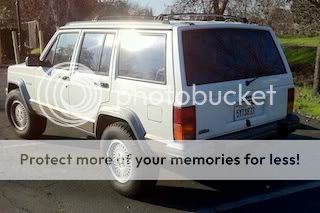
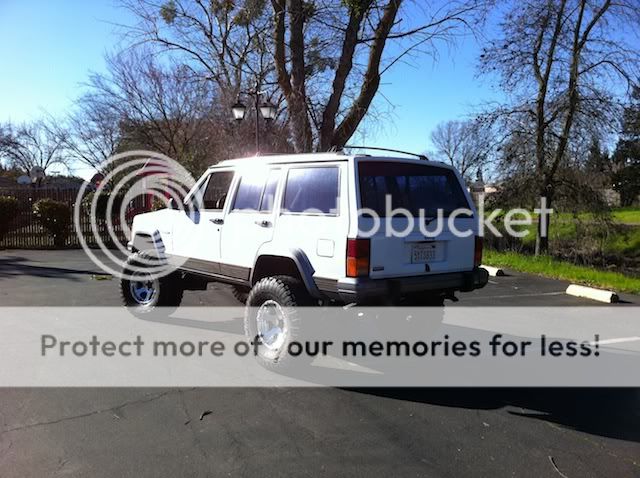
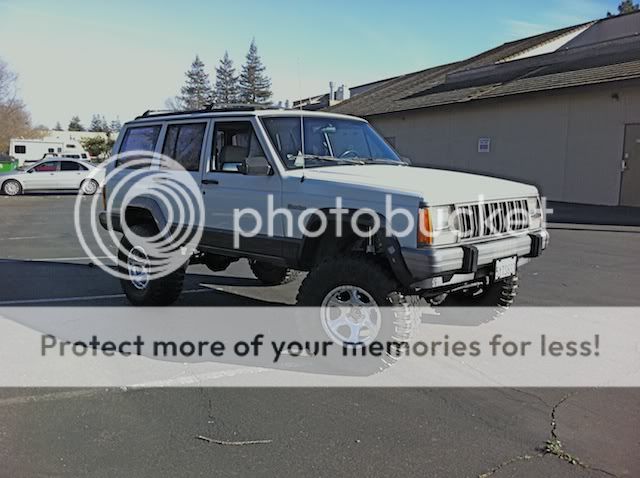
Looks good! How'd it drive compared to stock?
Looks good! How'd it drive compared to stock?
Most everything is in place and ready for final FINAL measure, tweak, adjust and relocate. So here is the plan for today …
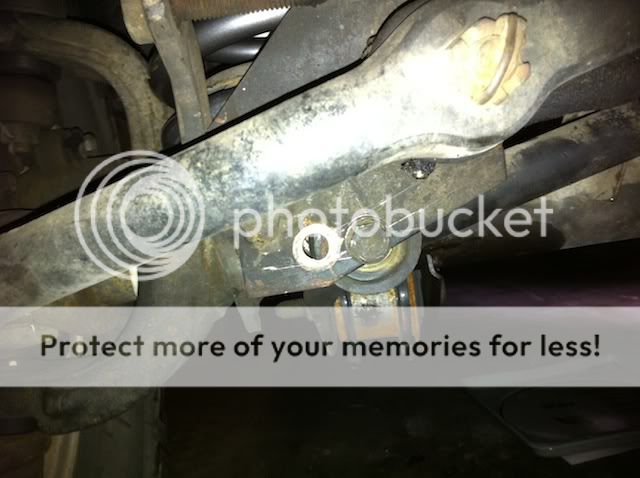
1 - Ronie, my wife, went out and helped me get the measurements necessary to center the front axle (thanks, GoJeep). Without going into all the math … and trust me, I can go on and on about numbers … the track bar needs to be relocated 15/16" toward the driver's side to center the axle.
2 - Then we GO ON A DRIVE! Realizing I've not yet done the SYE, speeds will be kept down but we just GOTTA take it out and see how it all feels. Of course, the parking lot "poser shots" will get done at the same time. Those will be uploaded later today.
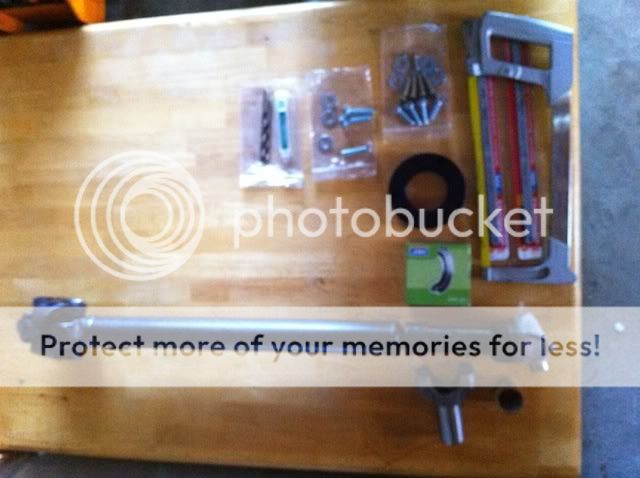
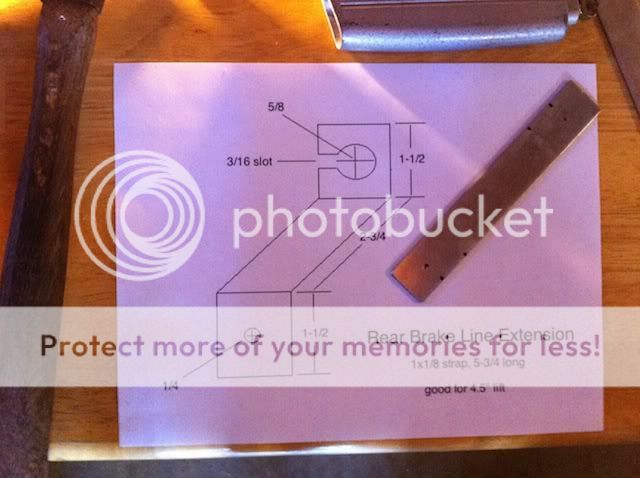
3 - While out and about, I'll pick up the strapping necessary to relocate the front and rear brake lines. Will get some pics of the fab and install process (Ronie will do camera … clean hands) then post those as well.
I think I will take a couple of days off before starting on the SYE. All that grinding and all. Plus, got a garage to clean up and parts to sell/swap.
Until later today, take care all.
")