• Welcome to the new NAXJA Forum! If your password does not work, please use "Forgot your password?" link on the log-in page. Please feel free to reach out to [email protected] if we can provide any assistance.

XJ "Budget Build"

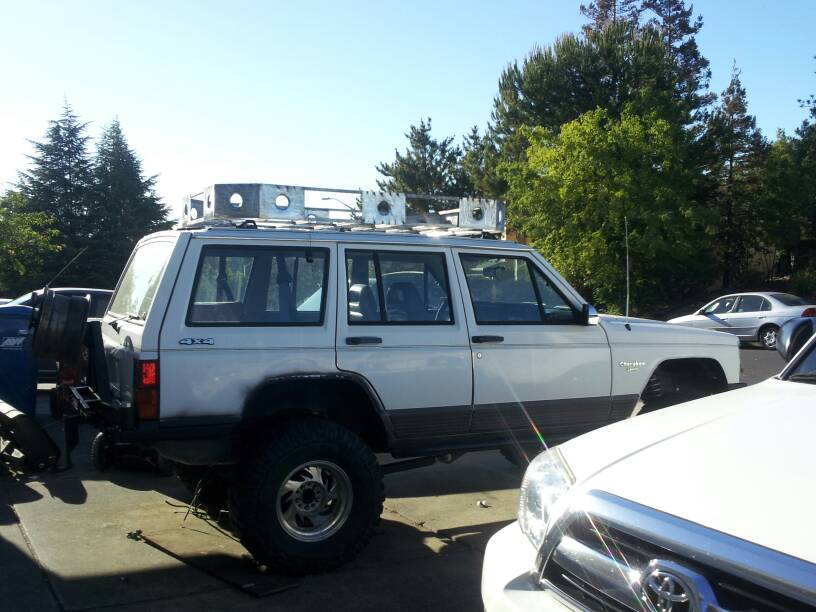
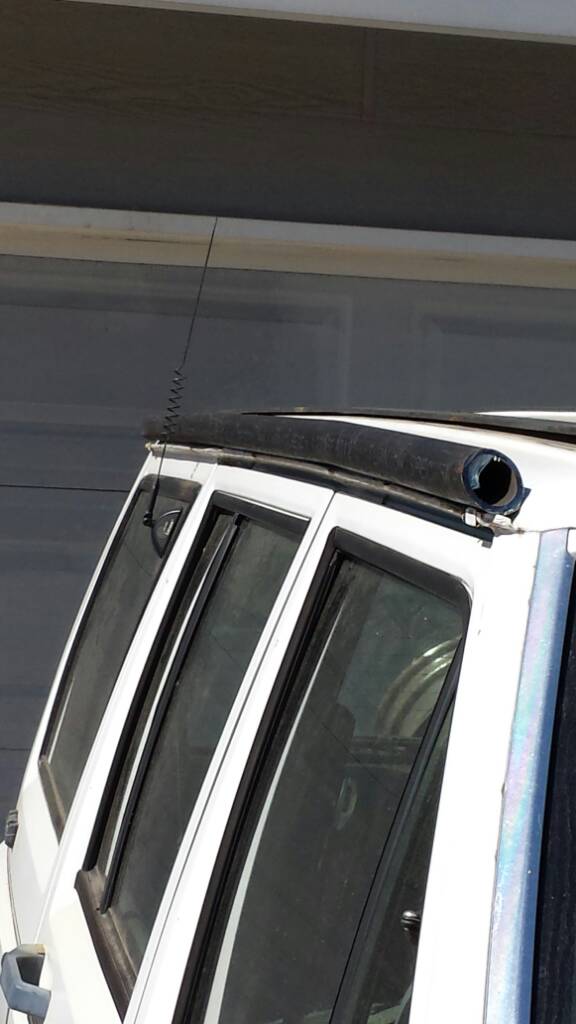
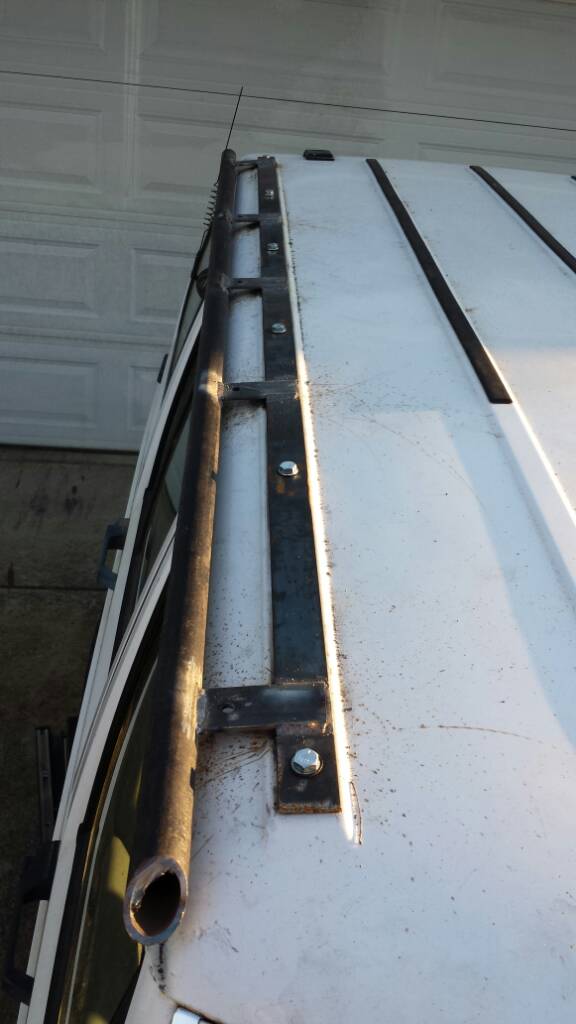
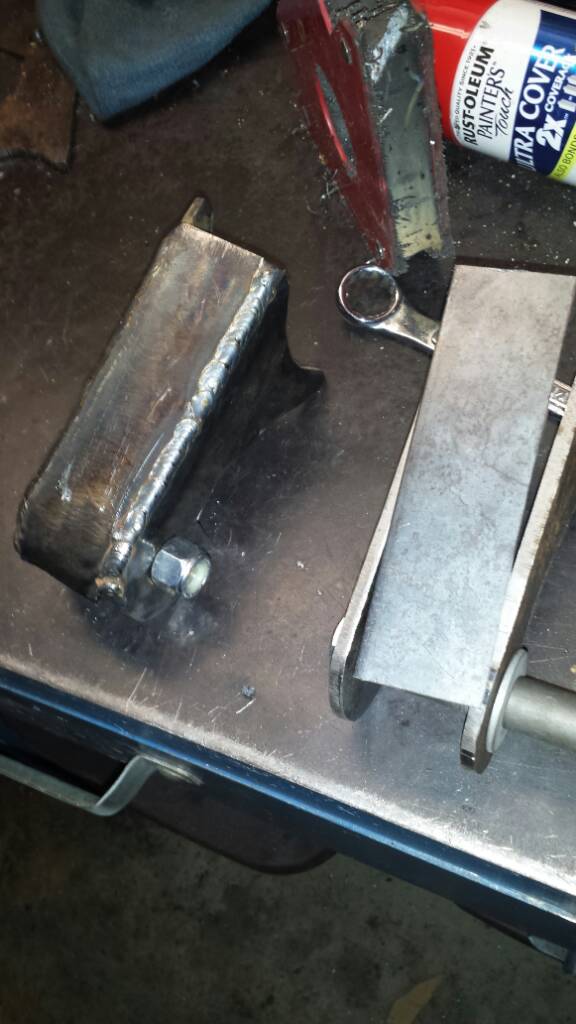
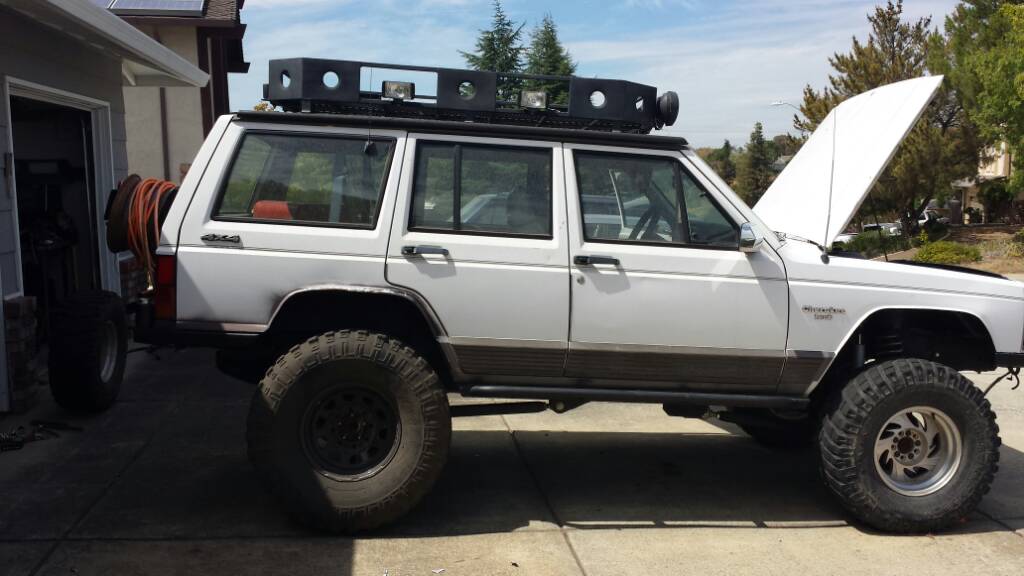
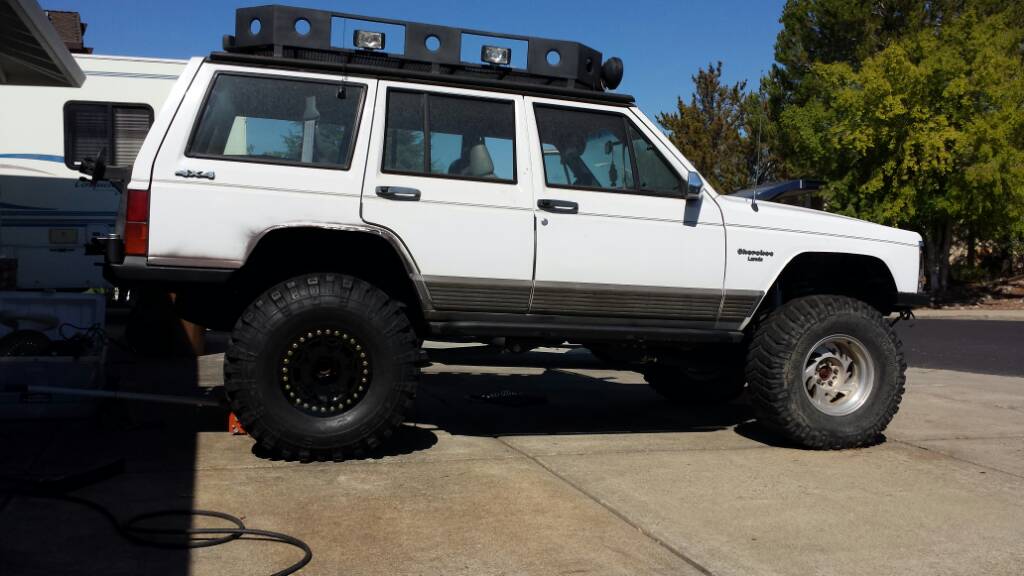
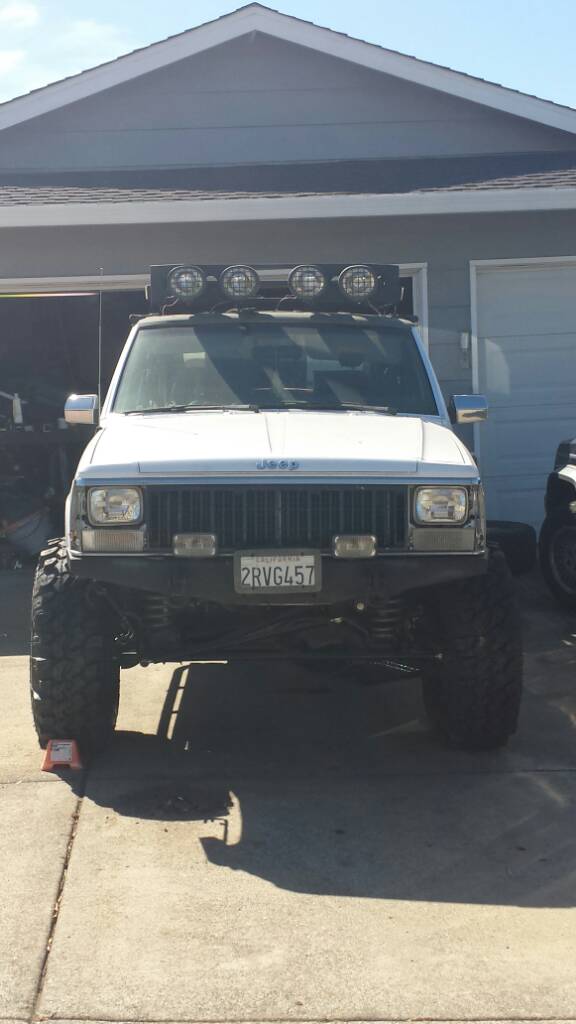
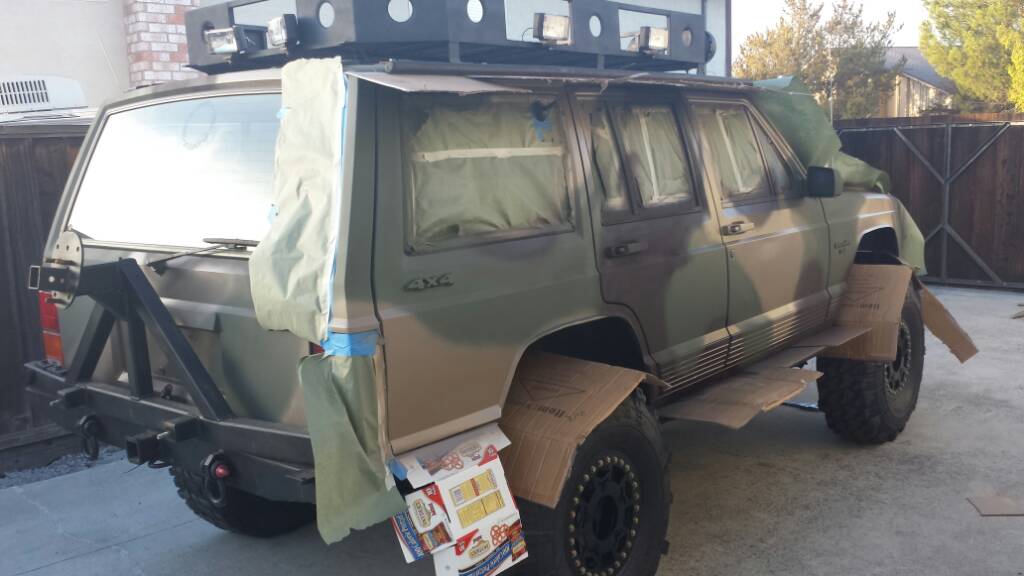
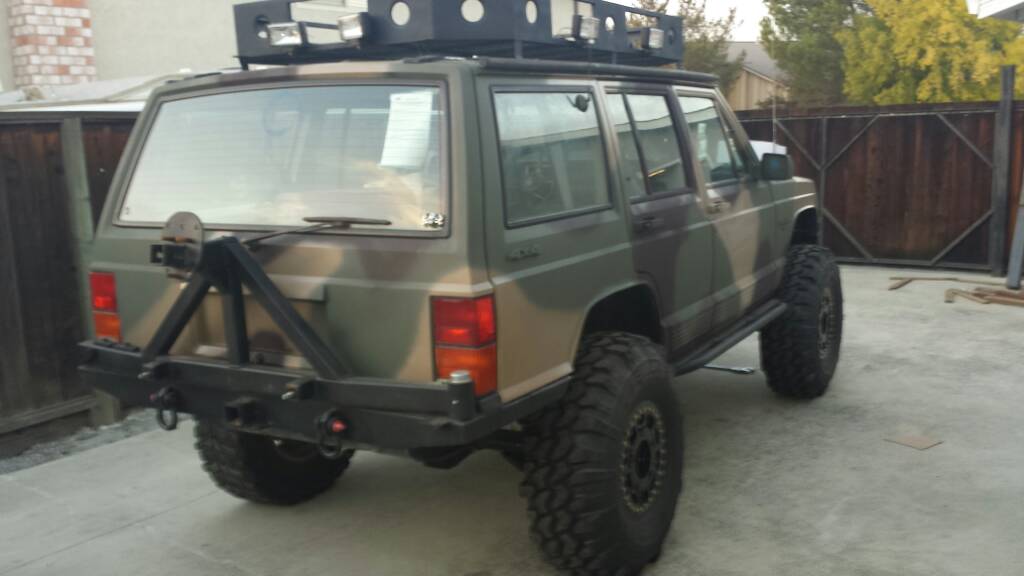
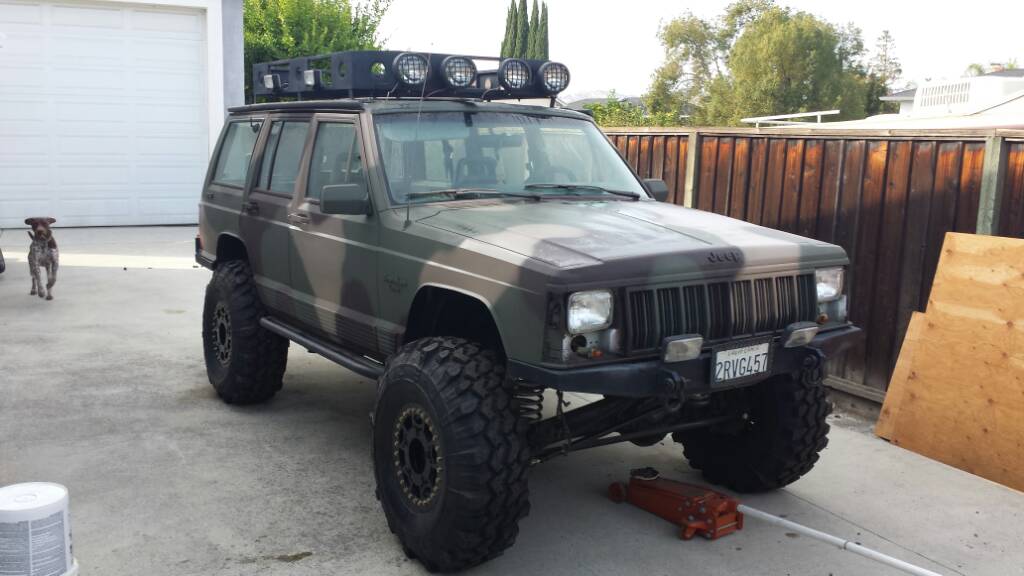
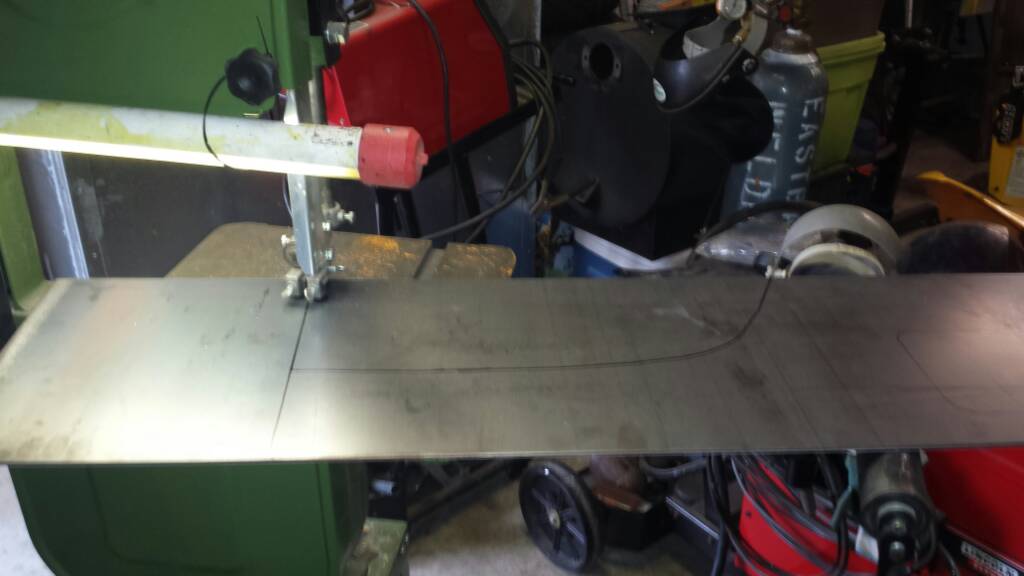
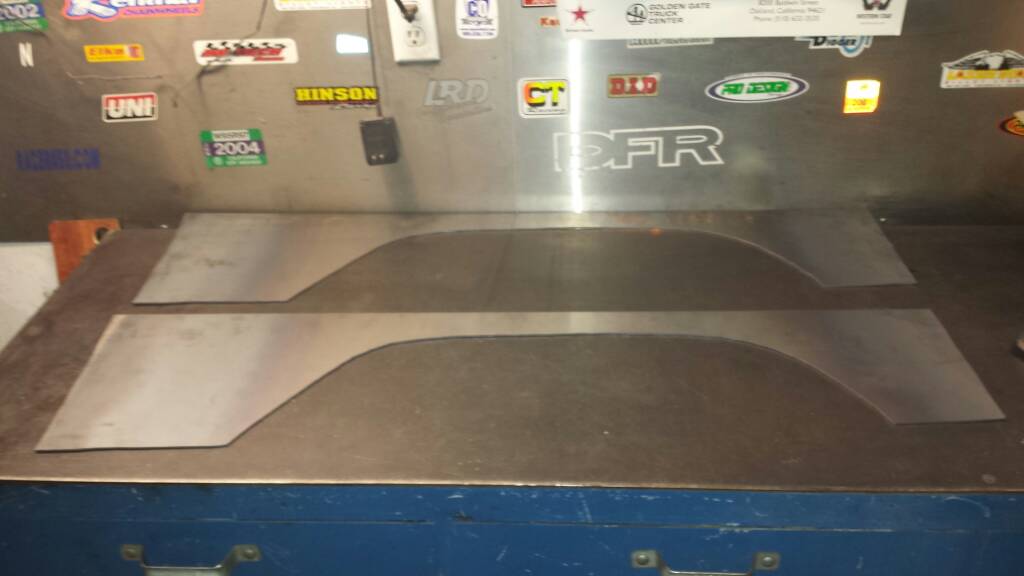
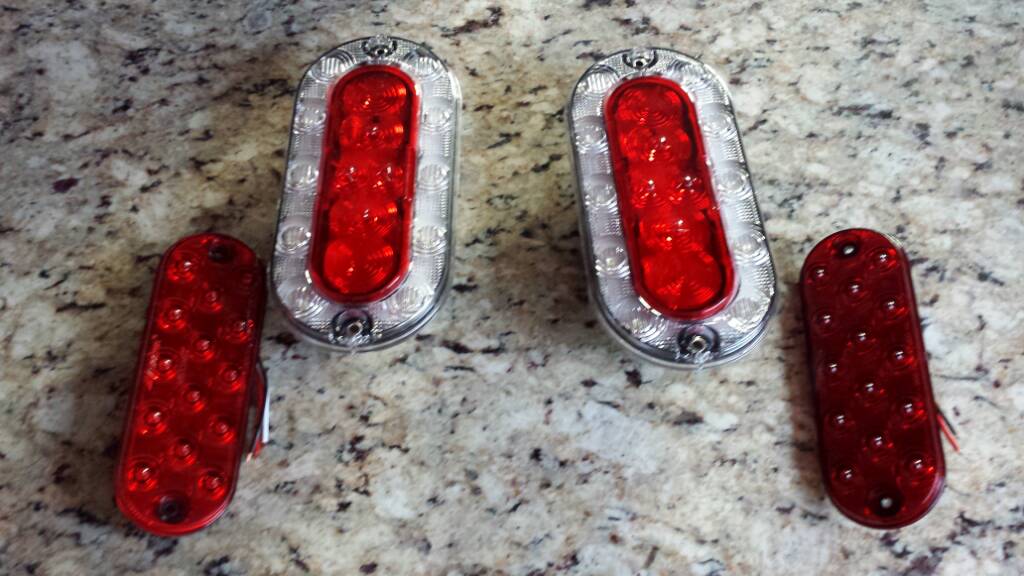
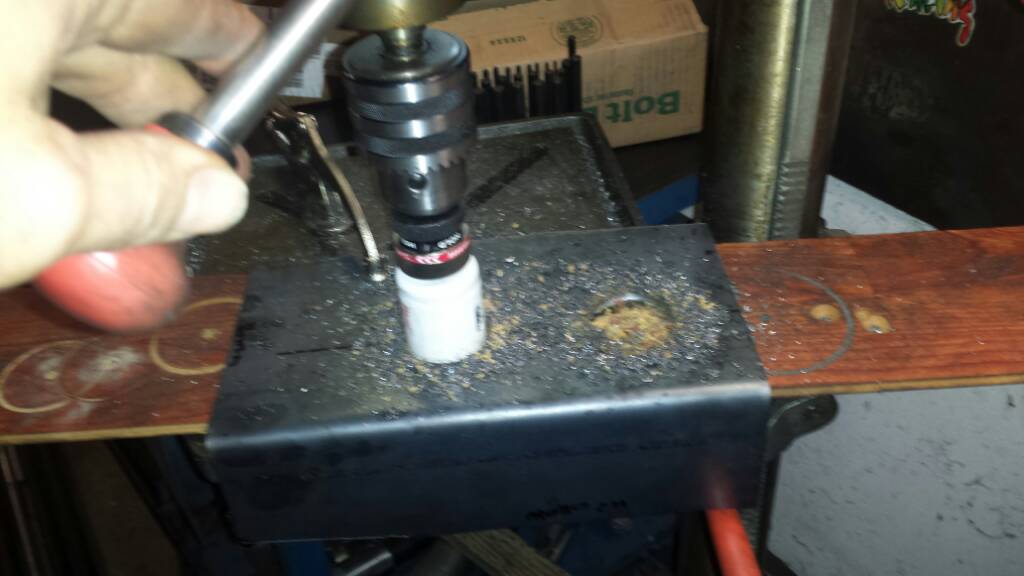
Next up was the roof rack. I used some 1X1 square to make the frame and then added some strips of sheet metal that I dimple died with my HF press. I added mesh to the bottom. I added some light tabs-front, back and sides. It wouldn't fit in the oven so it got the rattle can treatment
1ed22ac50e9533bc0440e2ec79977ff2.jpg

bf0bcd65c1ff7f08697f46fa10664da2.jpg
8d157200b7957a7b1b532f9cc5bb549a.jpg
9683a61b3b62cee7e52c572f2e1103c2.jpg
 
I looked at a couple of different methods for attaching roof racks, and in the end decided on something totally different. I saw where some folks made roof sliders to protect the gutters and the tops of doors. I thought that was kinda cool so I decided to make roof sliders that would also double as a solid place to achor the roof rack.
8c55e3fb9d2189184c3b15751f36ef46.jpg
ab947edda3a38c1da448c528aba6e475.jpg

It started with a straight length of 1 1/4" pipe, but when placed along the top of the gutter I quickly realized how much contour the roof had. I used the HF pipe bender to make a couple light bends. I think I got it pretty close.
 
I removed the factory rails and transfered the holes onto legths of some 3/16" flat bar which I bolted onto the roof. I then welded some flat bar to the roof sliders.
214c98df7cc7fd23f3b917aa880c583e.jpg

If you look closely, you will see each little piece connecting the slider to the roof mount has a hole drilled in it that has been tapped.

One thing I learned from doing this is that you have to protect your glass from welding splatter. All of my windows are a little F'ed up from from welding this stuff up.
 
Last edited:
Next I bent up some "L" shaped legs for mounts and drilled a hole in the lower part of the "L". I then welded the legs to the rack making sure that the holes were lined up so I could bolt it to the slider.
639e7f35faeb4a8db762180fa111fd8f.jpg

The rack is secured with 4 bolts per side.
 
My wife bought me some cheapie HF lights for my birthday. It was a few years ago before you could get affordable LED's. Anyhow 4 up front, 2 small ones on each side, and 2 small ones to the rear.
8587a186d298ea3f20a4ae3122b883cc.jpg
c5797d7119b8b154f624b28f94664535.jpg

You may have noticed the green roof in the last pic, it might give a clue as to what's to come in the way of paint.
 
Last edited:
After doing the 8.8 swap, I still hadn't done shock mounts yet. I had consideredd going through the floor but in the end decided against it because I could see myself sleeping in the back at some point and shocks through the body would kinda wreck that.
2563d9b906599d221969fa7a6fe61466.jpg

f0f92210d90bc4e200494d965c71e05c.jpg


So I decided to use the stock upper mounts and then fabbed some lowers. They hang down a little lower that stock, but I was trying to balance ground clearance with shock length/travel.
2d7789c45ada71bf634e4becc4c39bbb.jpg
 
This is the time I started really thinking about tire size. I have an old set of 36X12.5X16 Swampers on 8 lug rims. I mocked it up to see where I would be at ride height...
6f63a75ac714b65ce311db25601a665e.jpg

...at with the rear sitting on the bumpstops...
4cca8113fafebb69955461758cb1a0e5.jpg

I think 36's are just a tad too big. The tire is rubbing on both sides.
 
Last edited:
I decided on some Swamper 35X12.50X15 LTB's. They're bias ply, but I figured it would be on for a non daily driver.
c2cfcb4e9f9761d976c443d4312ffd16.jpg

I mounted them on some Punisher DIY beadlocks I bought on craigslist for $150. I painted the rims and powedercoated the rings
c023927a3c3e08d2df1315328430672f.jpg

Here's what they look like mounted
509c165859918c706609860c898d4c64.jpg
 
So after spending a ton of money, I thought I would do something cheap...like paint.

I knew from the beginning that I was going to camo it or do OD green Mostaliner or Raptor...

I decided I would try to stencil Multicam. Here are some of the stencils...
931fe9db671b398307fc475497e27b67.jpg

ec88c44b5828315d821f30d65889f919.jpg

1e21b88beb787a05e7a9587b70b3c4cb.jpg
 
Then I started thinking about some armor for the quarters and fenders. I liked the idea of 3/16", but I doubted I could contour it to the shape.
e122f92821455d24dfce784646166ef3.jpg

I ended up settling on cardboard, well actually 11 guage sheetmetal...I bought a sheet and had my metal supplier sheer it to my desired widths in 4' lengths. I then cut it out on the bandsaw.
9c733d1571446bb21050d41eae0c48ce.jpg

2e8fe0e45ea42d0a32c28d1665de6df9.jpg
7c8fcc63ea15d9141c18f582dd152373.jpg
 
For the rears, I decided to ditch the stock tail lights and work in some cool LED'S.
4c0778f4ca2fa837b4a4dc878287f9c3.jpg

I made the armor longer and created a sheetmetal box.
d043227cac4d87b490816a54fc64ca89.jpg
13929b1ccf9f4381629100e0fd08b19d.jpg
 
To get the armor to match the shape of the quarters/fenders, I set the panels over a 1X2 wooden garden stake and stood on it. I used my body weight to bounce/bend it into shape.
 
Back
Top