A good ground is essential. They won't even work if the electricity can't make it's complete circuit. You can test your ground choice by just hooking a wire up to the light and temp connect it to the + side of the battery touch the other wire to where you want to ground it and see if it lights up you're good to go. More than likely you're going to need to at least run a wire to the body of the jeep. You could do from each light, or you could ground the rack, and then ground each light to the rack.
Here are some pictures of how I did mine.
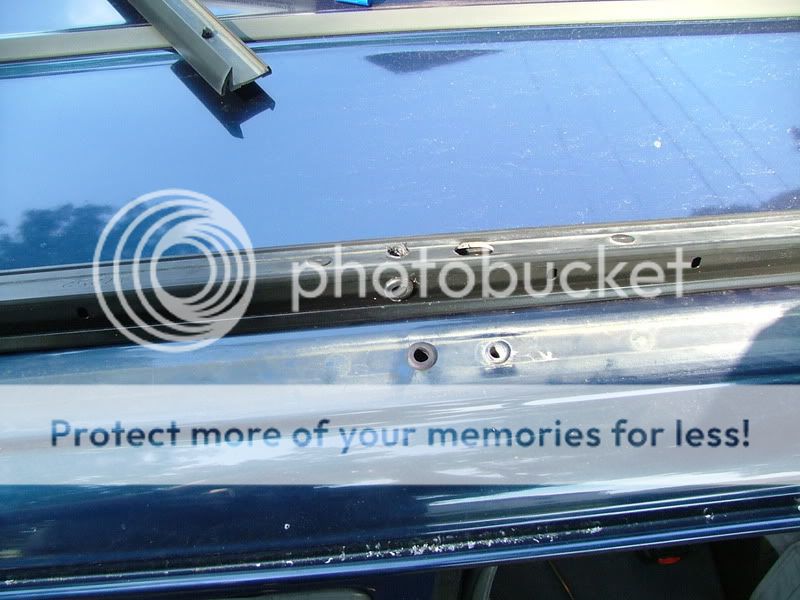
I remover the roof rails and drilled a hole directly above the C pillar, and ran my wires down the C pillar to my relay/power board I had set up in the back behind one of the trim panels.
Notice I used grommets to protect the wiring from getting chaffed on the metal.
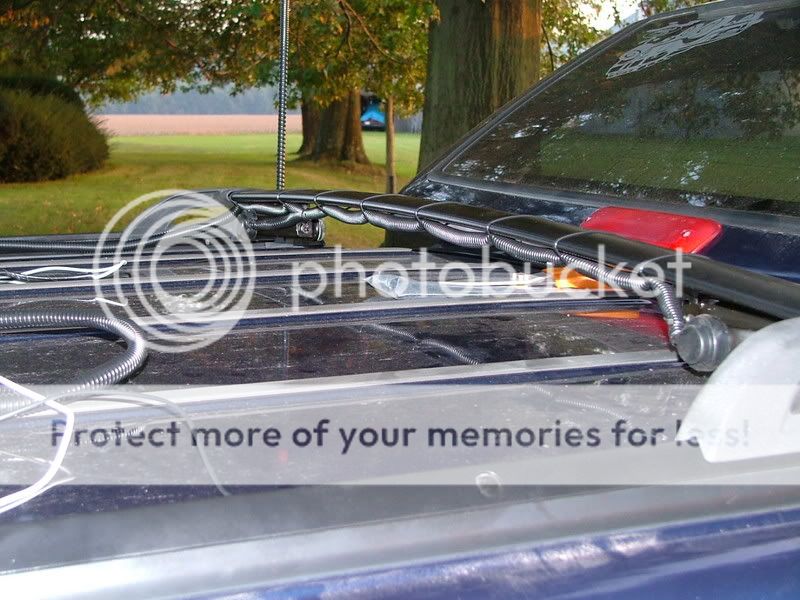
Here is the wires running down the rails.
The original lights that I installed (they where worthless).
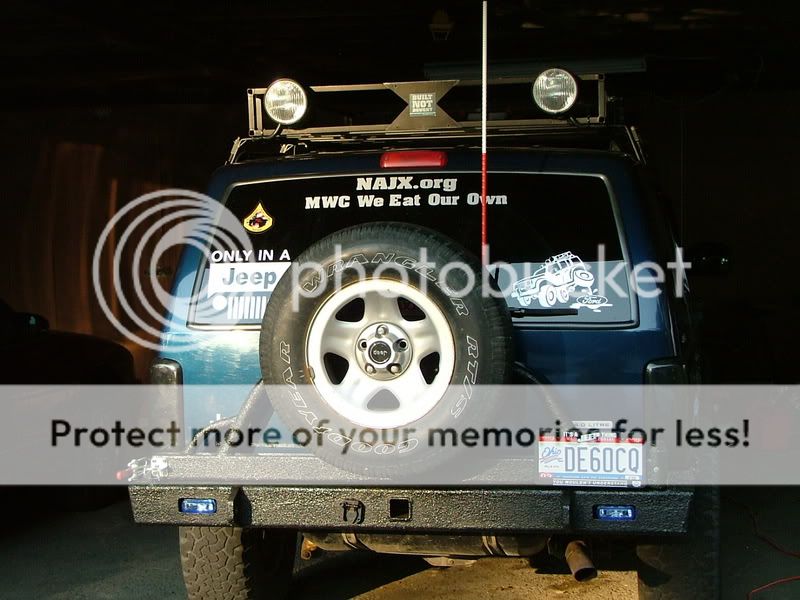
A later picture of the rack, and lights I had on it.
I never did install lights on the front of the rack. I did a H4 conversion using Cibie lenses, 90/100wbulbs and ultra heavy duty headlight harness, and a pair of 100w fluted ProComp lights on the bumper.
(Yes I know the naxja.org sticker was spelled wrong on the back. It was a misprint, and I didn't catch it till after I took the picture.)


 ) of your hardness set-up.