• Welcome to the new NAXJA Forum! If your password does not work, please use "Forgot your password?" link on the log-in page. Please feel free to reach out to [email protected] if we can provide any assistance.

O.K. B's Build Thread

OK So Now On To my Fender Trim
I Will run 33's Someday and I Wanted my rocker replacements to match up with the angle of my wheel well in the fender , So the trim had to be done first.

In the front i used the top of the stock fender flare as a line for the cut.

Here you can see We stuck a piece of plate behind the fender to make sure we didn't cut the window washer fluid bottle.

Fronttrim.jpg


We also welded the fender brace back in for support.

FFenderbrace.jpg
 
Apparently i lost the pictures of how we did the rear but All I Did was search on NAXJA and follow a writeup of the Cut and Fold Method For the rear .

I am Very happy with how it turned out .

Rearfendertrim.jpg


We sprayed some Body matched paint to prevent rust and blend in our work .

And then we used a large size pool noodle To fill the void behind the fender and cover the front of the door hinges .

It was a tight Fit and firmed up the fenders nicely.

we notched the noodle to go under the washer bottle a bit and over the fender brace like a tab. the washer bottle takes up the front of the fender gap.

CIMG0093.jpg


On the other side a whole Noodle is the perfect length to cover the whole fender

CIMG0099.jpg


The rear side got notched out a bit so it wouldnt stick out

CIMG0090.jpg


CIMG0091.jpg
 
While Im at It Lets finally show my rocker replacement !

First we cut out the side and bottom of the stock rocker pulling out basically an 90 degree peice of sheet metal.

And then welded a piece of 1" flat under the sheet that ran horizontally And a piece or 2x2 angle Iron to the vertical plane. This was to give us something more substantial to weld to .

CIMG0051.jpg


After that we were able to slide the 2x6 Right in and it would stay in place . We Followed the fender lines down and cut the 2x6 to match that and made caps for the ends.

CIMG0060.jpg


Here You can see it Slid into place

CIMG0048.jpg


And the Welding Continues

CIMG0061.jpg
 
And Finally I Did the Frame Tie ins to reinforce them a bit .

I Used angle iron (forgot how thick) And found a way to cut it that seemed like the way to go (i was just guessing).

Here you can see how i cut them to reuse the diamond shaped piece

Standoffab.jpg


I hammered the two fins Flat and spread the diamond piece to fit the gap .

CIMG0016.jpg


Here is Some Finished and sprayed with Weld through coating

CIMG0019.jpg


And Tack Welded In.

Standoff2.jpg


They got fully welded in and painted but i don't have a pic of that .
There are Four on each side (Pretty sure lol).

And I'm pretty happy with how they worked out They don't snag bad at all sliding over the frame tie in's . and aftyer hitting them a few times they seem pretty tough to me .
 
I Also have an outer Tube Step With Standoffs to go off of the side of the rocker rail.

but i didn't install it because of how good it looks just the way it is i think maybe the tube will stick out too far until i do my tube fenders .

So after my tube fenders ill either install or sell the outer tube step.
 
I decided to do a Spectre Cowl Intake After having my own jeep barely survive some water ingestion ( On the old Motor not the new one).

I also saw Someone at Winterfest ingest a bit of water on a Bigger rig than mine going through what seemed to me like not that deep of water. The stock setup just doesnt cut it.

So Back when i had my new Motor done I Bought the intake only to not install it until just recently i went wheeling and almost shut it down because i was deeper than i wanted to be . the jeep made it through but when i got home i saw mud in my air box so i finally installed it .

First i unhooked this push in wire tie that secured the wiring to the firewall and another towards the middle of the firewall to get some play to move the wires.

CIMG0001.jpg


And then After Pulling this thing (vacuum related?) out of its mount that it conveniently pulls right out of. and pushes right back on after the wire is pushed below it .

CIMG0003.jpg


Here you can see the 3" hole into the Cowl and the outline outside (above and below) of the 3" hole. this is the outline Of where the air intake could breathe if i widened the hole.

CIMG0005.jpg


I widened the hole to match the entire opening of the intake tube and used a file to smooth over the edges, In an effort to maximize airflow and maybe prevent some of the noise this will make.

I then used silicone and the supplied screws to mount the fitting that goes to the firewall. everything else is pretty self explanatory

CIMG0007.jpg


Its Been on for a few days and so far i love it I think it helped that i kind of expected it to be loud from the reviews and had read someone who widened the hole to match the intake and smoothed the edges noticed a bit of difference.

Also a friend of mine has a home brew setup that goes into the cab with his filter actually sitting on top of the dash in the cab , Now that is a LOUD setup!

Anyway i feel like my engine is much safer with the intake higher and I actually like the sound of it ! And now I can start thinking about running a dual battery setup with all that extra space.
 
Great looking jeep you got there. Really like the rocker replacement. That is what i want to do to the girlfriends jeep but am a little nervous about doing it. Maybe we will see you at winterfest this year.
 
Great looking jeep you got there. Really like the rocker replacement. That is what i want to do to the girlfriends jeep but am a little nervous about doing it. Maybe we will see you at winterfest this year.

I understand being nervous about cutting the rockers out !
If you have a competent welder (i am not) its not so bad once you get going.

I will be at Winterfest So Hopefully well see you out there !
 
Last edited:
On a Side Note Anyone that reads this and considers doing The same air Intake

Make extra sure you check that the Spectre intake is not contacting your hood.
I thought i was okay but noticed a nipple dent poking up on my hood from where the intake had been touching the inside of the hood just after the vertical to horizontal 90* bend coming out of the intake.
It was pushed all the way down into the fittings when installed , so you maybe would trim a bit off of the pipe to shorten it on install.

I Just made it fit without removing it by grinding down that weld right there at that 90* that sticks up almost an extra 1/4" and then I taped and tapped with a hammer to give just a bit more clearance.
It scuffed the finish a bit (who cares) but it no longer makes contact..
Also where it goes into the cowl make sure to remove not just the underhood light above it but the bolt and mount for it as well (i hammered the hood brace a little as well just to be sure).
 
Last edited:
Had to get out and test out the rockers and new skids so we went back To Washita Offroad park to climb back up to bald knob.

This was also the first time I really used the lockers And They sure live up to their reputation for Maintaining traction and allowing me to ease up and down obstacles with control instead of momentum.
I am Loving that they are selectable and help me keep maneuverability

Here we are Testing the 2x6 Rockers:

CIMG0012_zpsaa81195d.jpg


I was able to slide down them a couple of times and they worked great !
 
Last edited:
And a couple more just for fun

CIMG0007_zps25075c70.jpg


Heres a tight fit

CIMG0020_zps7e9fda7e.jpg


CIMG0016_zps9d086da8.jpg


I Did manage to bend my reinforced front skid pretty good on one side where it mounts to the jeep . but other than that No damage.

I will be reinforcing it more and putting it back on i'm pretty sure it saved my steering .
 
I was getting a bit of play in my steering and my Jeep didn't feel quite as stable as it should over bumps on the highway.

After looking at my front end i saw the Rod end at the Pittman arm was bad and had alot of play in it .

I had replaced all of the Rod ends multiple times since i bought this jeep I was using the Lifetime cheap ones from auto zone .
Who cares if they replace them if you have to keep changing them out ?
So the last time i did it i said when they went bad again i would upgrade.

So I Upgraded the steering to a Currie Currectlync Setup and I am VERY happy with it .
I Am also very happy with my Lifetime alignment from Firestone , I have definitely gotten my money out of that deal.
I did a driveway alignment once and it was almost dead on but this is easier and doesn't cost me anymore

Before When I hit a bump on the highway I would get just a second of wobble you could really feel at the steering wheel .
This made sense because i could grab and flex the stock tie rod.

The Steering is SO much tighter and So solid I Don't feel any movement in my steering even on the highway over bumps.
It Just Feels so much better and I feel A LOT safer this thing is way stronger than the stock setup!
I Hadn't bent up a stock setup yet but I heard being locked in the front made it more likely to happen , I am not as worried about it now !

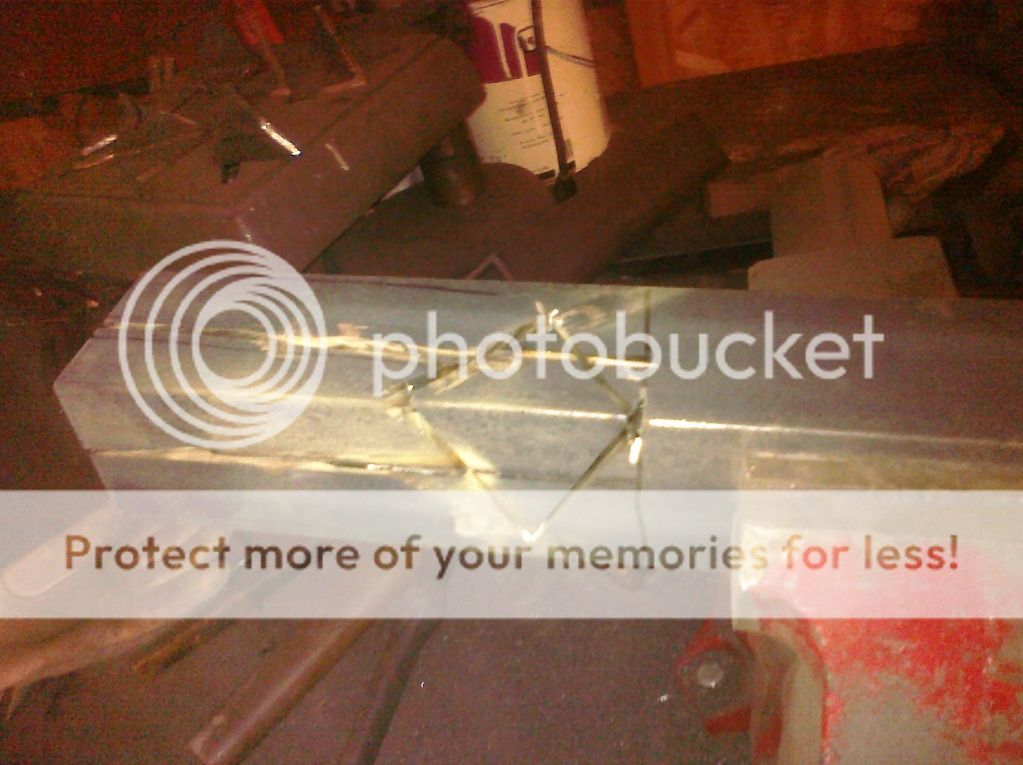
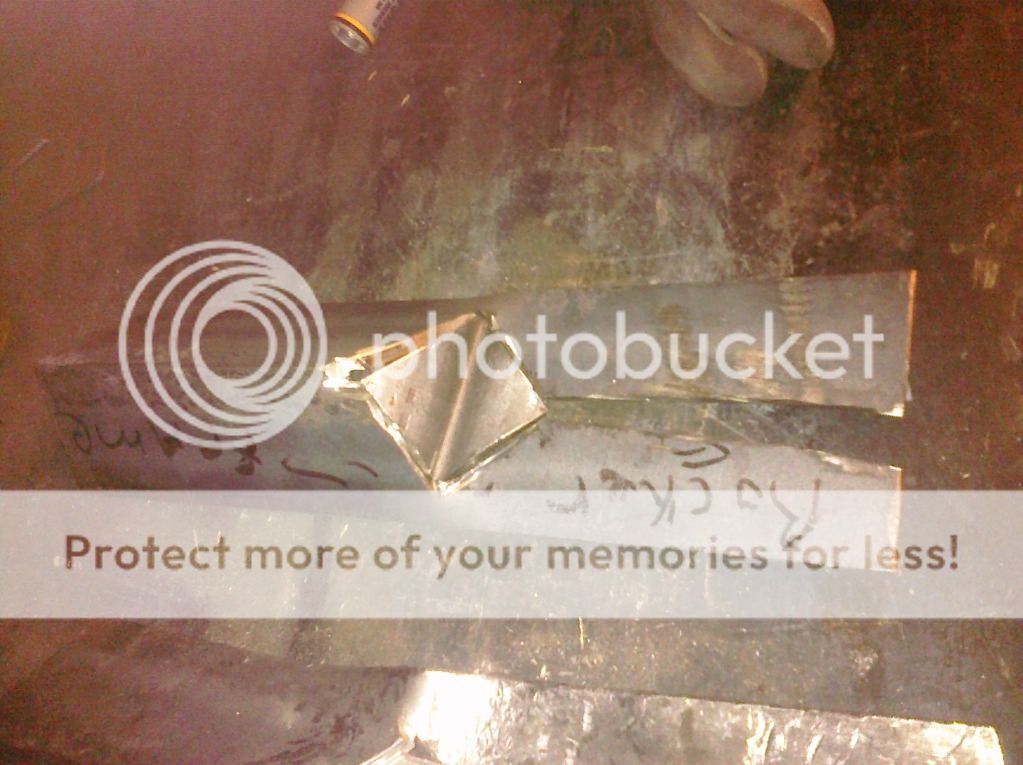
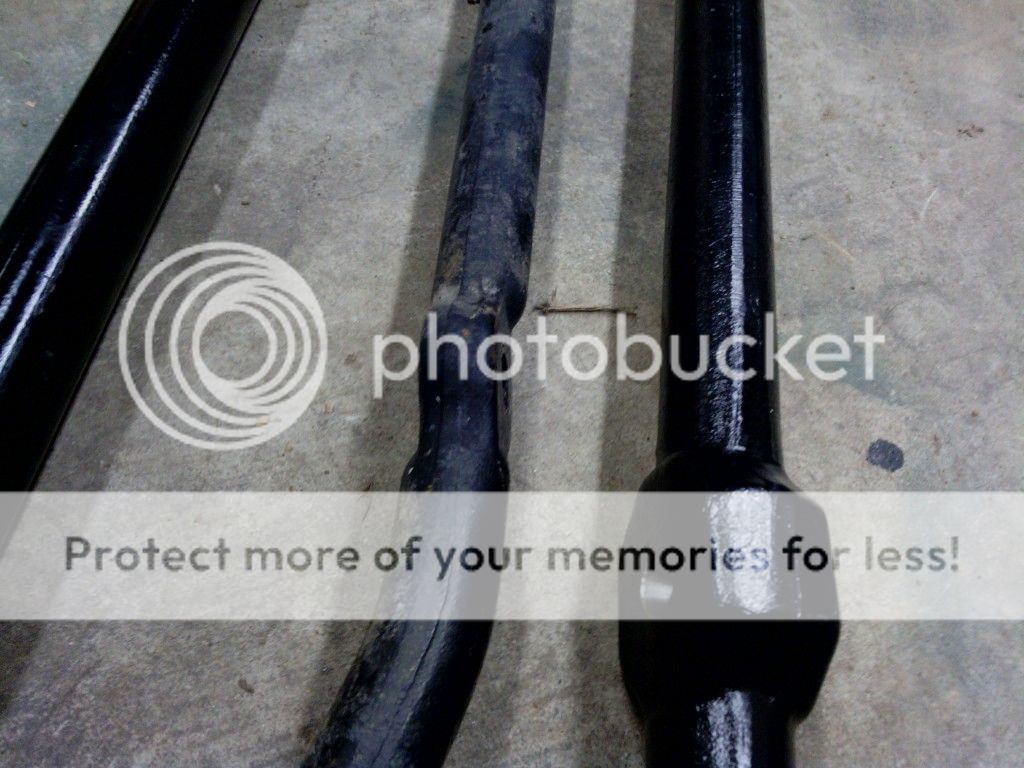
Here is the Size Difference Between The hollow Stock Steering Vs The Solid Alloy Steel Currie Setup.

IMG_20130216_211232_zps6d5f245b.jpg


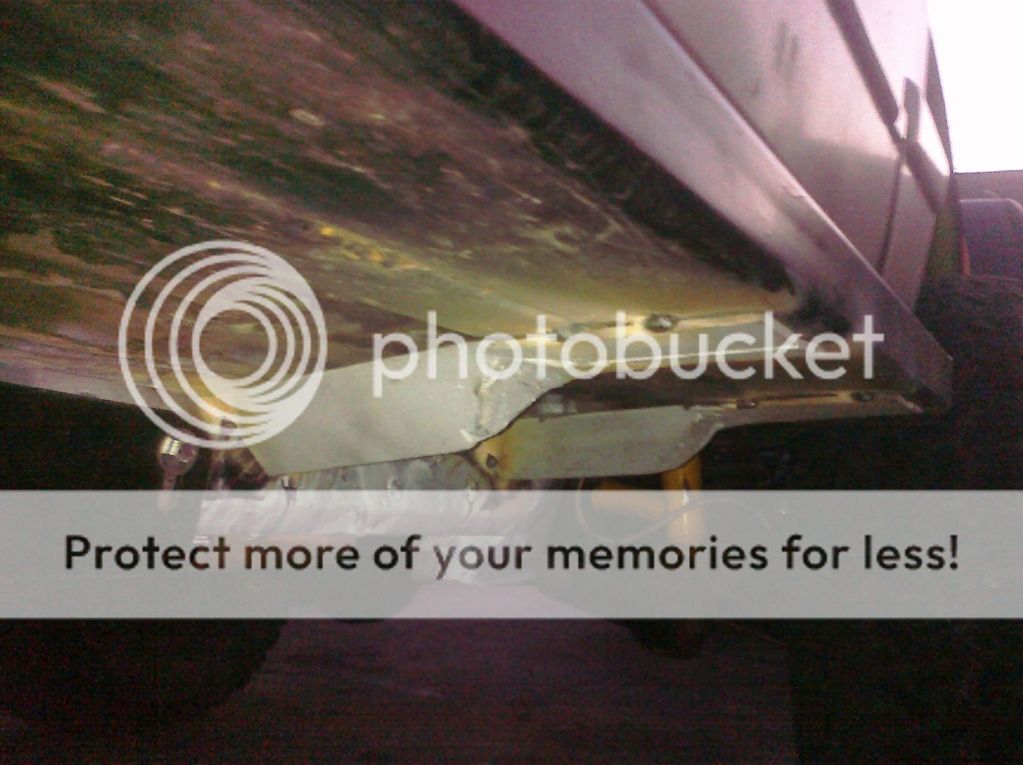
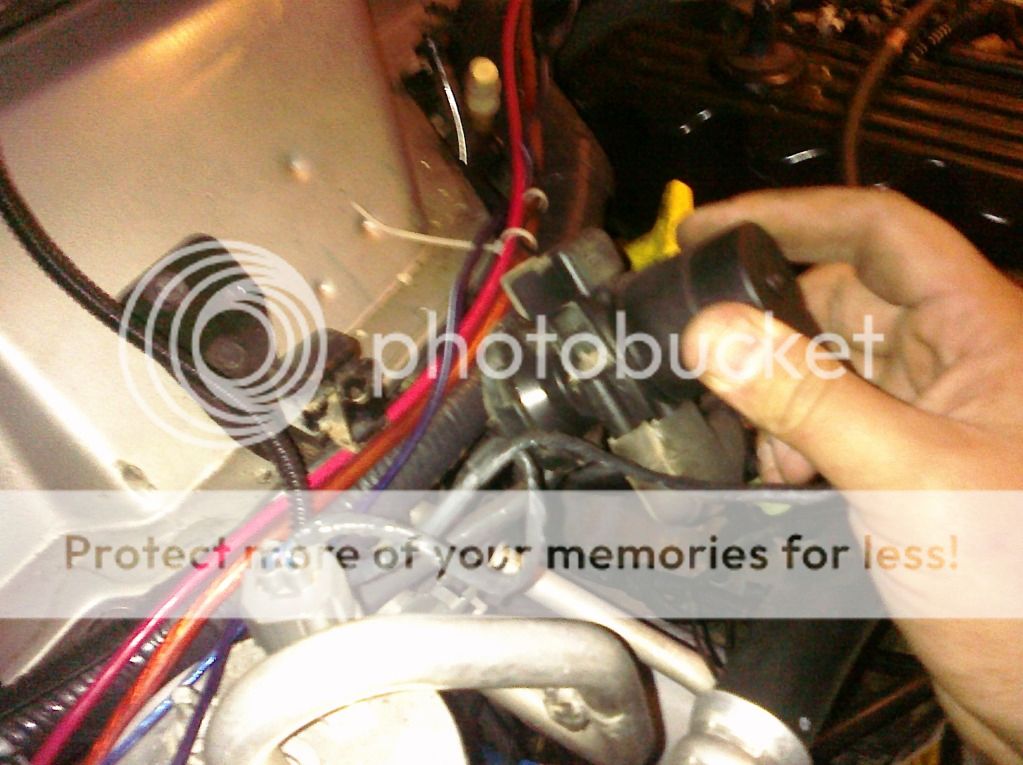
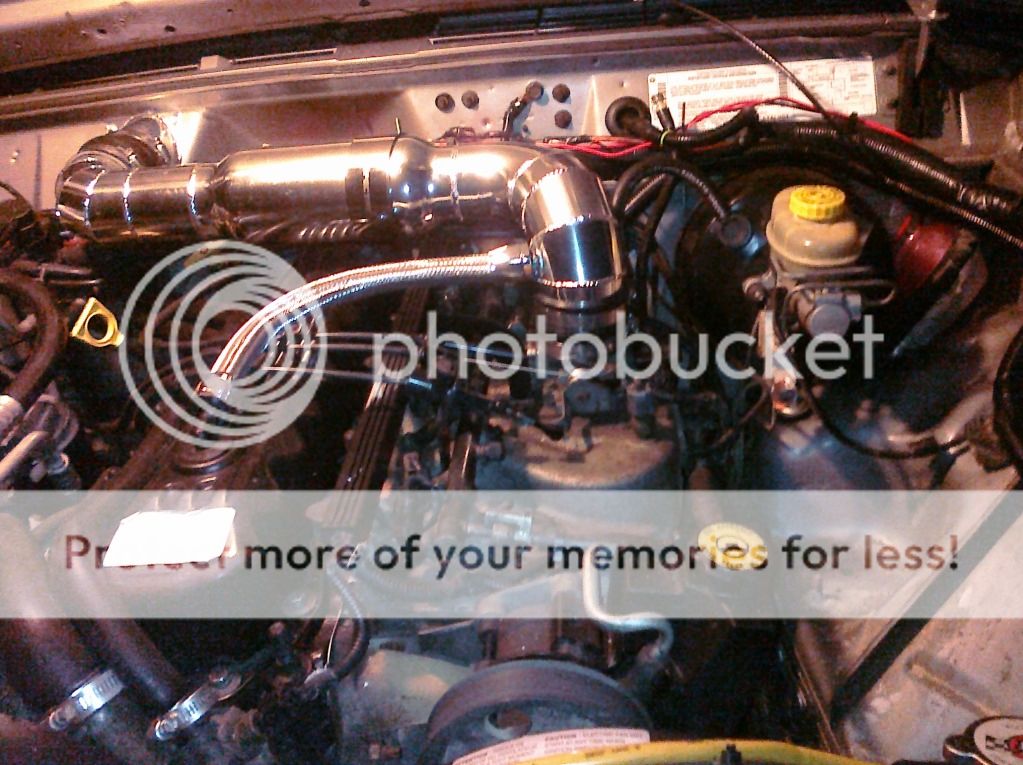
And Here it is installed

IMG_20130216_232026_zps12d19743.jpg


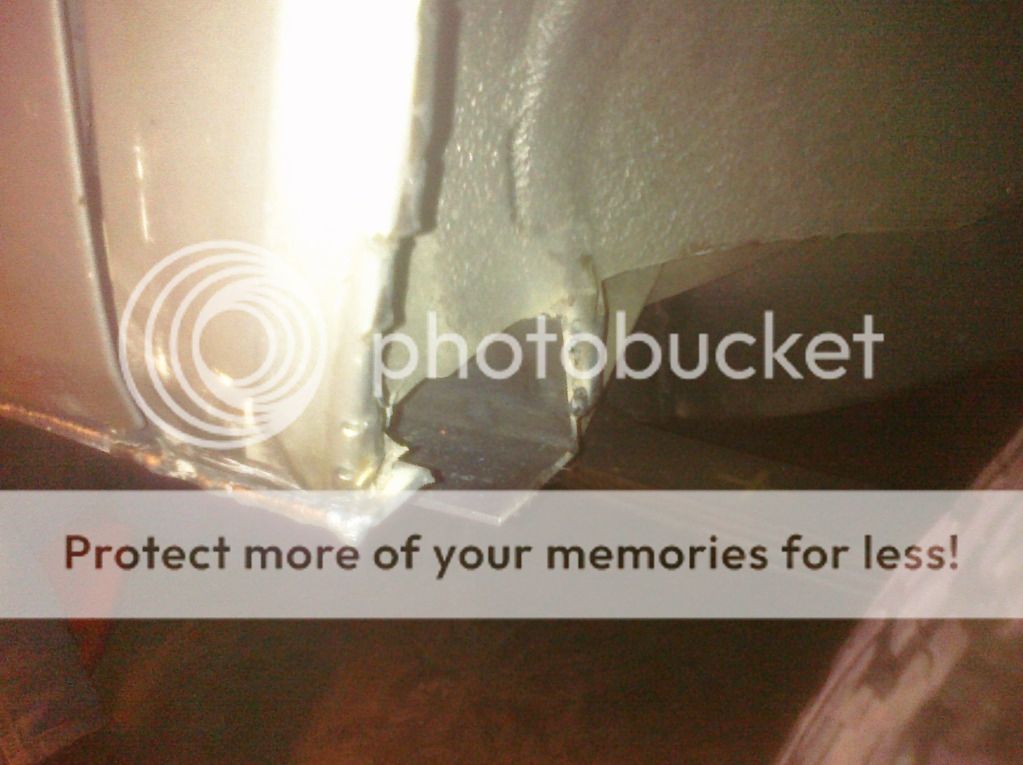
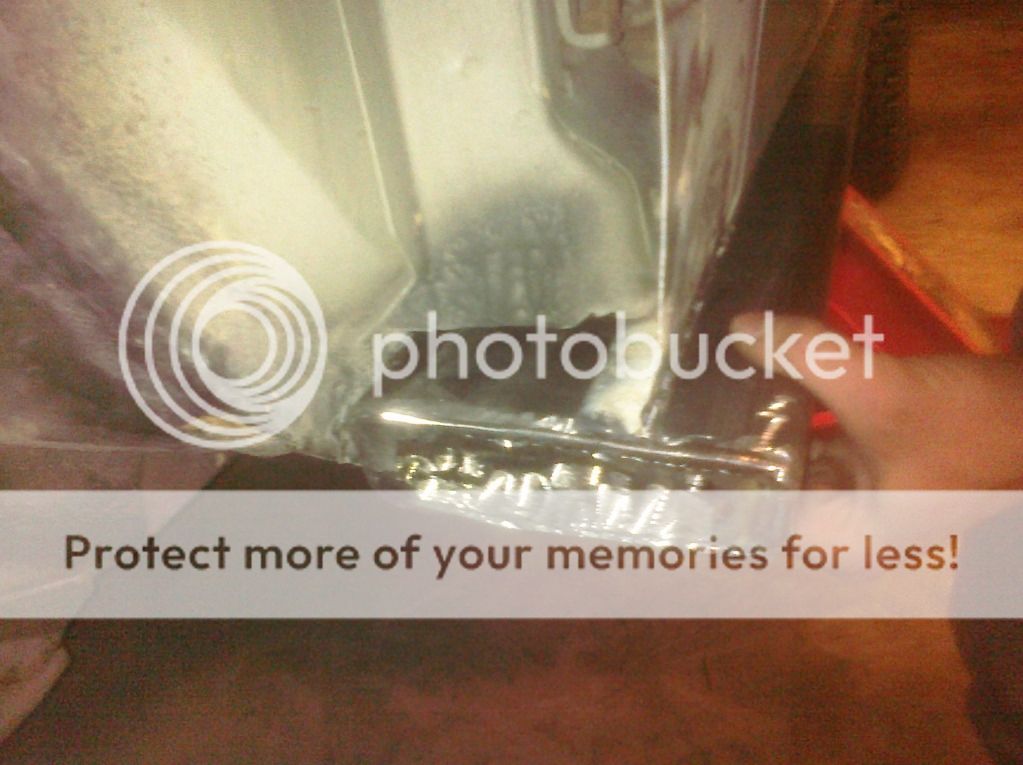
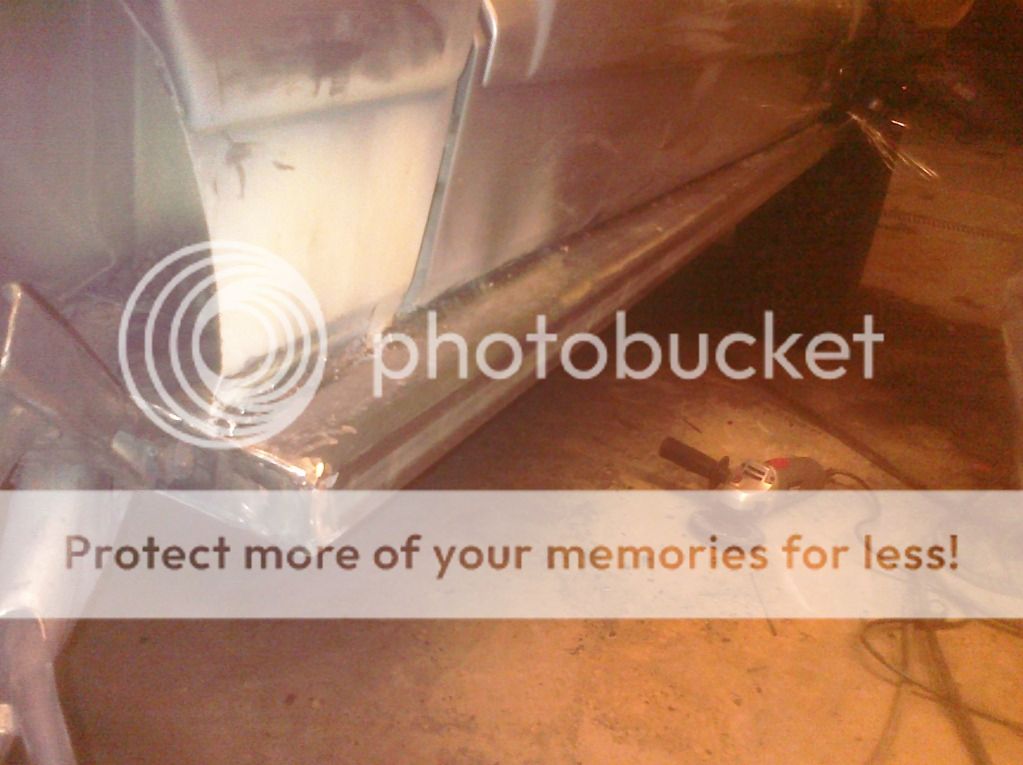
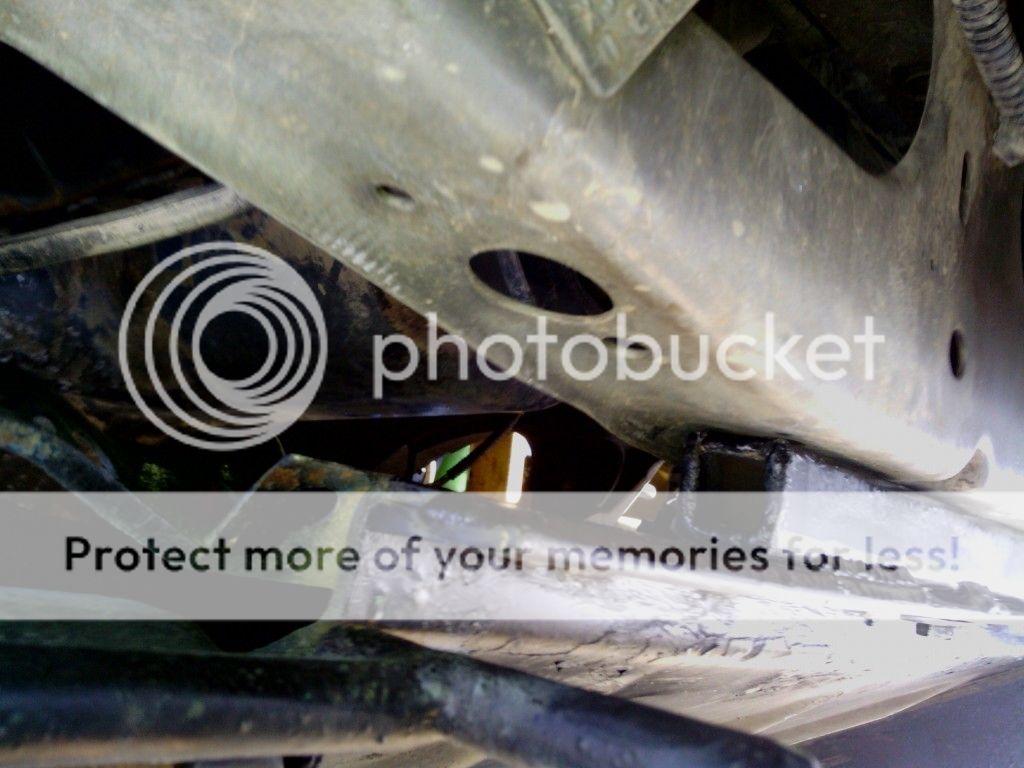
Now I Need to repair my front Skid and remount it For WINTERFEST !!
 
When I got my Front skid it had been reinforced with angle iron along the bottom edge and light cages added to it .

But my last time out in the rocks i bent it up on one side pretty good where it goes vertical to the uni body and crushed one of my 1" spacers.
My steering was untouched so it did its job .

It was a Battle getting it to fit right again so we reinforced it some more !

I found some square tube that slid right into my spacers and we welded them at the ends and to the skid this time .

For the Front mounting lip we welded 1" flat bar under the lip and the front turned out like this .

IMG_20130224_131004_zpscd2af045.jpg


For the Side Mounts we Used some scrap steel plate and welded peices to Both the Vertical plane wich is also welded to the angle iron across the bottom edge . and the Horizontal plane where the Skid Meets up to the spacer and Uni body. After that we threw in a gusset for extra strength.

it ended up like this

IMG_20130223_174147_zpsfe8f6e3c.jpg


The left side was a bit different But same idea

IMG_20130224_131414_zps0d7d9f57.jpg


Now I Have to wonder if i need to plate the uni body where it meets so thats not what bends next time .

The Skid is pretty dang solid now though !
 
Matt: the plating of the Uni body is not a bad idea. We noticed two HD trac bar brackets starting to rip out off the Uni body after the full width converstion. Since plateing the area both jeeps have been fine......

See you in Attica
 
Matt: the plating of the Uni body is not a bad idea. We noticed two HD trac bar brackets starting to rip out off the Uni body after the full width converstion. Since plateing the area both jeeps have been fine......

See you in Attica

thanks for the heads up i will definitely add that to the to do list.

I cant wait to be in Attica for W.F.
I pulled my carpet earlier and that's when i start getting exited because i know its time to wheel !
 
Your hatch is stuffed in the back of my Jeep! :)
 
I decided to do a Spectre Cowl Intake After having my own jeep barely survive some water ingestion ( On the old Motor not the new one).

I also saw Someone at Winterfest ingest a bit of water on a Bigger rig than mine going through what seemed to me like not that deep of water. The stock setup just doesnt cut it.
I can't believe I have never gotten in on your build thread Matt, I love everything you've done to it. This mod is my favorite though, especially since I was the one you were talking about ;)

Great wheeling with you again :)
 
Back
Top