OutkastBoss
NAXJA Forum User
- Location
- Saint louis
Our latest mods are the results of some minor carnage in Harlan.
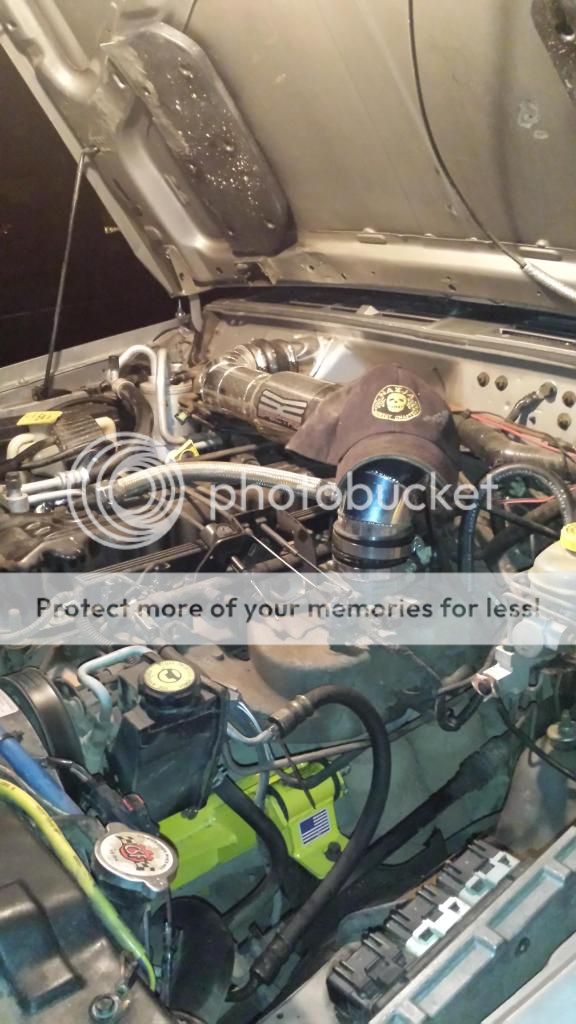
Our Motor mounts did not give away completely but they cracked and allowed for way too much movement when we were doing "Lower Rock garden". The motor shifted enough that it completely ripped the spectre intake boot where it connects to the intake.
Luckily the firewall side Fitting is the same size and we were able to hook the filter back up and let it breathe from under the hood. I do not blame the intake for this, but Spectre replaced the part at no cost. They even offered to send a second firewall fitting since it is thicker and has a bulge to allow for a bit more offset if I have further issues!
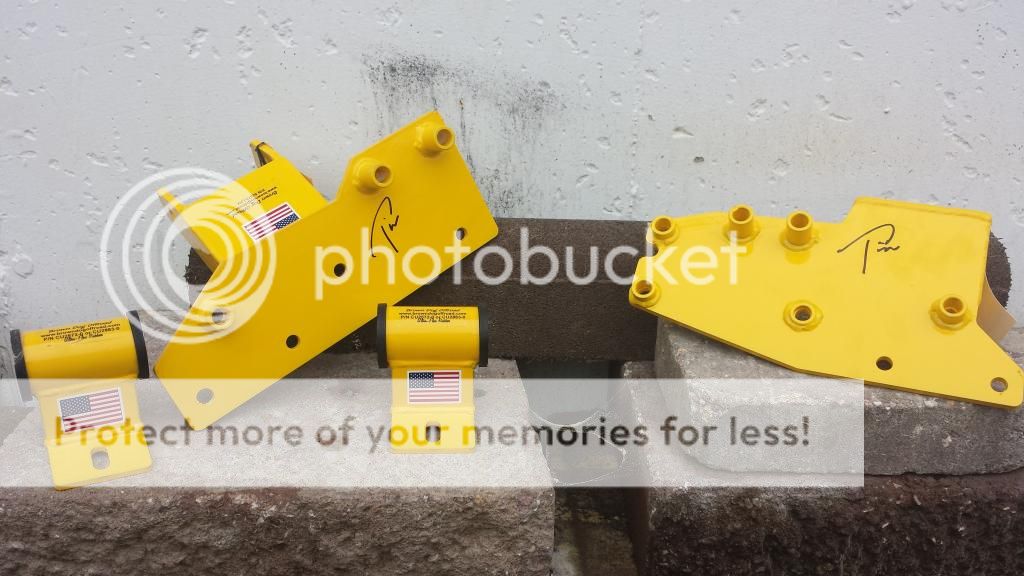
To ensure we would not have further motor mount issues we got the Brown Dog motor mounts and brackets. You know it is a great part when the builder puts his name right on it!
And here they are installed, we threw Chachis MWC hat in there to represent!
The Service from brown Dog was exceptional and they handled my questions and kept me up to the minute on when they were being assembled and shipped. They did however forget to throw in a couple bolts, which was called unconscionable and rectified immediately. They also came with clear instructions and a B.D. sticker.
The fitment is tight on the passenger side and with the larger bodied Durango alternator things are extra tight. I have been told that I can get the alternator bracket to come out without taking the Brown Dog bracket off of the motor by a few people but it just doesn't look like it to me. I guess we will see when the time comes.
As far as the ride quality goes it vibes more than I thought it would and I was careful to follow the instructions on tightening. I probably should have replaced the trans mount because it feels like it vibes in the middle. I thought it was probably still good because it was only 2 years old, the same age as the stock style motor mounts were. So maybe I should have known better?
I hope replacing the trans mount helps a bit since my XJ has always rode so nice. Really though I can live with it being a little rougher for the trade off of not having to worry about my motor mounts or brackets.
Our Motor mounts did not give away completely but they cracked and allowed for way too much movement when we were doing "Lower Rock garden". The motor shifted enough that it completely ripped the spectre intake boot where it connects to the intake.
Luckily the firewall side Fitting is the same size and we were able to hook the filter back up and let it breathe from under the hood. I do not blame the intake for this, but Spectre replaced the part at no cost. They even offered to send a second firewall fitting since it is thicker and has a bulge to allow for a bit more offset if I have further issues!
To ensure we would not have further motor mount issues we got the Brown Dog motor mounts and brackets. You know it is a great part when the builder puts his name right on it!
And here they are installed, we threw Chachis MWC hat in there to represent!
The Service from brown Dog was exceptional and they handled my questions and kept me up to the minute on when they were being assembled and shipped. They did however forget to throw in a couple bolts, which was called unconscionable and rectified immediately. They also came with clear instructions and a B.D. sticker.
The fitment is tight on the passenger side and with the larger bodied Durango alternator things are extra tight. I have been told that I can get the alternator bracket to come out without taking the Brown Dog bracket off of the motor by a few people but it just doesn't look like it to me. I guess we will see when the time comes.
As far as the ride quality goes it vibes more than I thought it would and I was careful to follow the instructions on tightening. I probably should have replaced the trans mount because it feels like it vibes in the middle. I thought it was probably still good because it was only 2 years old, the same age as the stock style motor mounts were. So maybe I should have known better?
I hope replacing the trans mount helps a bit since my XJ has always rode so nice. Really though I can live with it being a little rougher for the trade off of not having to worry about my motor mounts or brackets.