• Welcome to the new NAXJA Forum! If your password does not work, please use "Forgot your password?" link on the log-in page. Please feel free to reach out to [email protected] if we can provide any assistance.

O.K. B's Build Thread

P8280525.jpg
 
Now that ive Shown you where i like to play Ill keep it on the subject of the mods from here on out .

It Performed Beautifully and drove very nice on the street for about a year.
and then one of the tires slipped a tread and i drove it like that (idiot) for a minute messing up the old 130, mile ball joints and etc.
and giving it D.W.

So we replaced EVERY bushing (except what was still pretty new that came on the lift kit)
and the Ball joints ( wich was a great excuse to go buy a nice press set with a bunch of attachments)
And the T.R.E.'s and while we were at it we put an O.M.E. steering Stabiliser on it .
And a brand Spanking New set of BFG a/t 31 10.50's (we are planning on going up to 33's eventually)

Replaced all of that and it drove great for a bit and then the rear D-Shaft joint started making noise..
so I decided i would run a front Driveshaft in the back and ended up using the Iron rock Offroad Hack and tap with the included d-shaft ( i cant seem to find 'rokees in the local yards besides skeletons)
To be even lazier i had them send me the tap and bit kit as well..
I bought a magnetic angle finder and ended up with a 6 degree shim on my rear to get the pinion angle where it is (wich if i remember ended up 3 degrees under)
 
Last edited:
I only skimmed this, but if you're buying a new radiator why do you not buy a 3 row?

from what i read i was going to do the Champion 3 row over the CSF because its fully welded and seemed like it was a better deal and may last me longer. Really my stock setup never let me down but i figure if im going to replace it i dont want crimped on end caps (like the Csf still has)

i had a thread where i decided at one point
http://www.naxja.org/forum/archive/index.php/t-1077727.html

Champion is not making their 3 row for the xj currently its supposed to be under redesign because of minor fitment issues that would not have bothered me at all.

Their guy said that the 2 row was just about equal with the their 3 row anyway becuse of the smaller diameter tubes in the 3 row. :dunno:, besides my stock setup never ran hot really
 
Rev That pic of the Ubolts was during install they got trimmed before it left the garage .
when i did it i messed the threads up pretty good though so when i did my axle swap i had to get new ones and found the correct length at the local parts shop.


Good. You should not re-use u-bolts anyway.

Rev
 
Looks great!

Agreed on reusing ubolts. They stretch a little every time (retorque after a few hundred miles, and I always check mine when I'm under there for any other reason) and the more you try to reuse them the more you risk the threads rounding and stripping out. I always go with RuffStuff bolts as they are about $50 for a set of 4, 5/8" diameter, and come with the super heavy washers and tall nuts that you basically cannot overtorque.
 
Thanks for the tips on the U-bolts i knew they stretched and needed to be retorqued periodically but in the future i will not even try and reuse them .

Ill have to check out 1-800-Radiator thats about $50 cheaper than the one i was going to get.. ( i am kind of hung up on getting a fully welded one though)
 
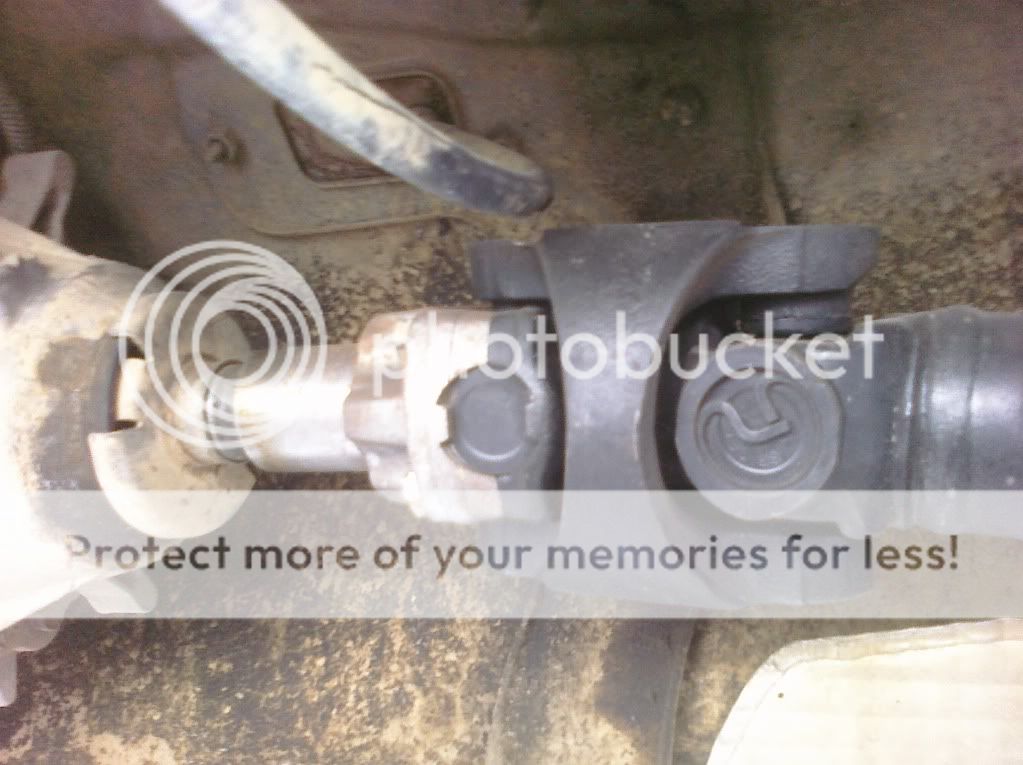
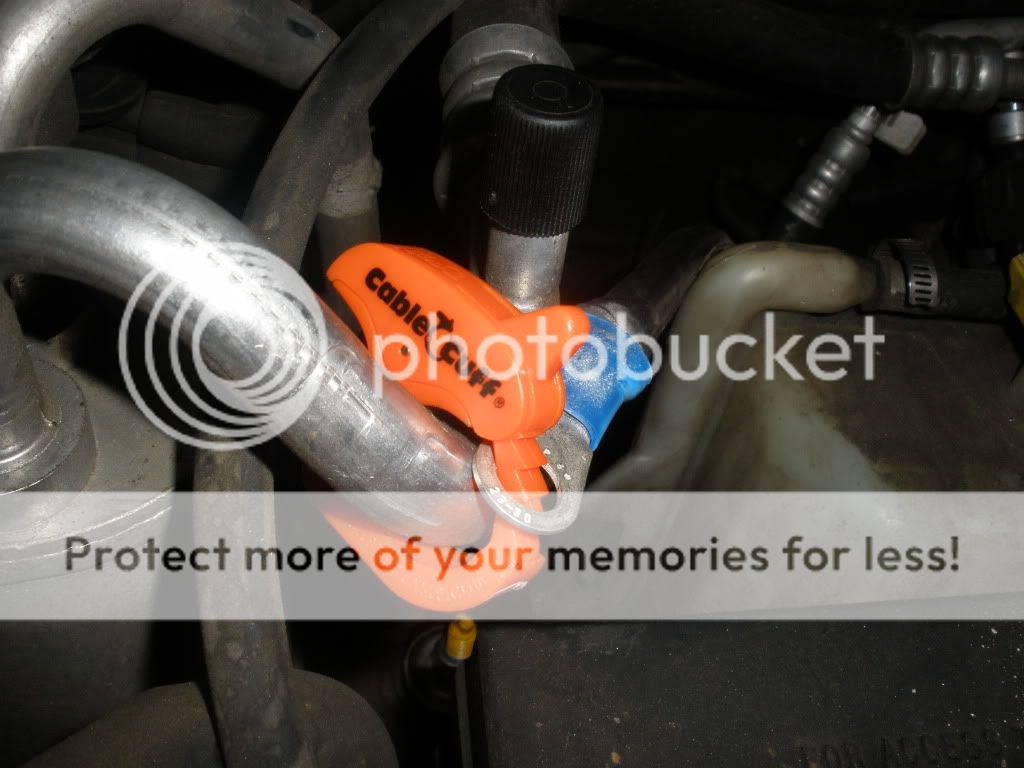
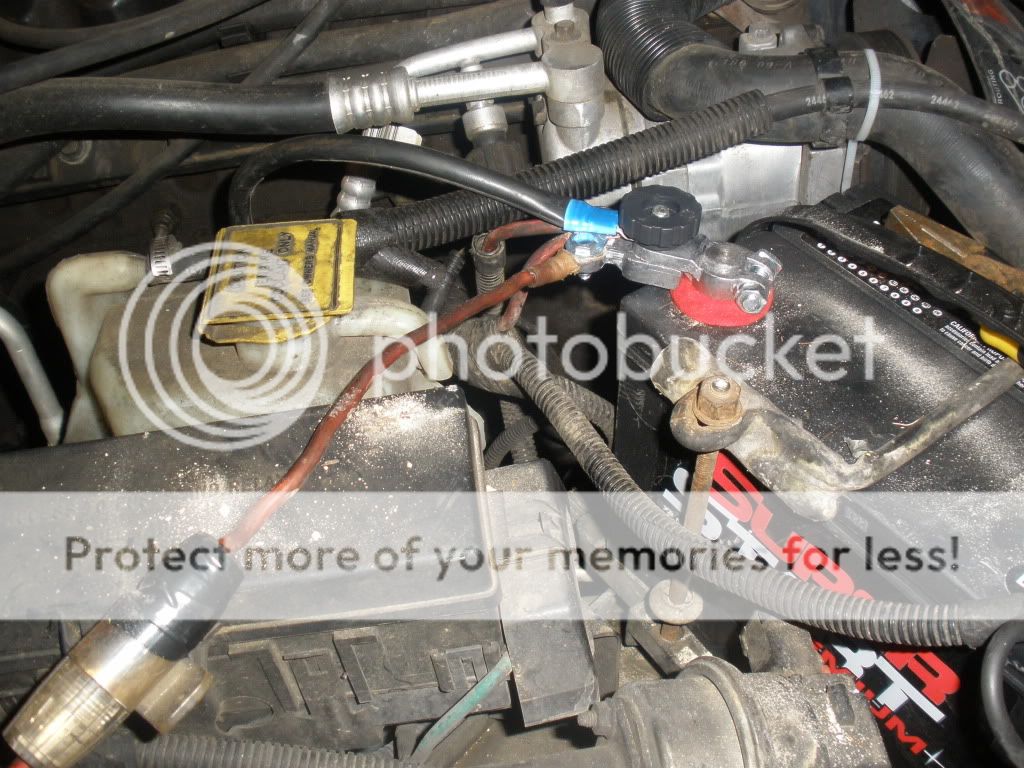
So Then I started leaking Trans fluid from the stupid quick disconnect at the lower radiator fitting.

So i figured why not do a trans cooler while im at it, And after searching a while i found Talyn's walkthrough of converting to AN fittings and a pushlock type hose and installing his trans cooler.
http://www.naxja.org/forum/showthread.php?t=1026658

And Grimm Jeepers of changing the quick disconnect out on the Transmission end .
http://www.naxja.org/forum/showthread.php?t=1045807&page=3

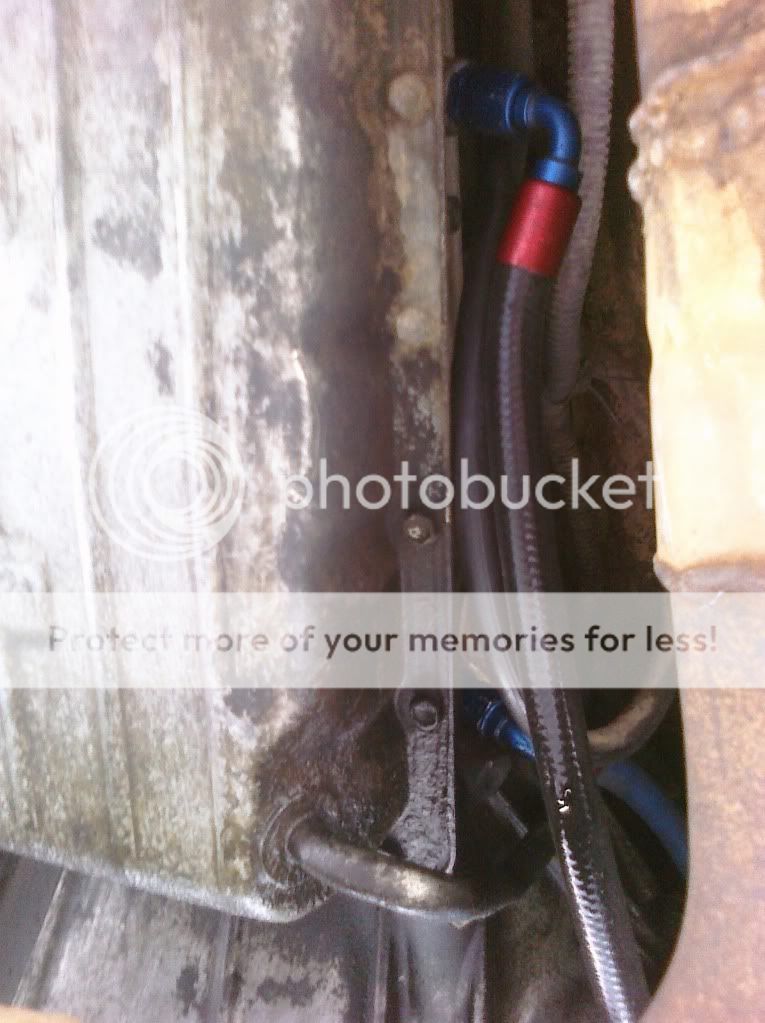
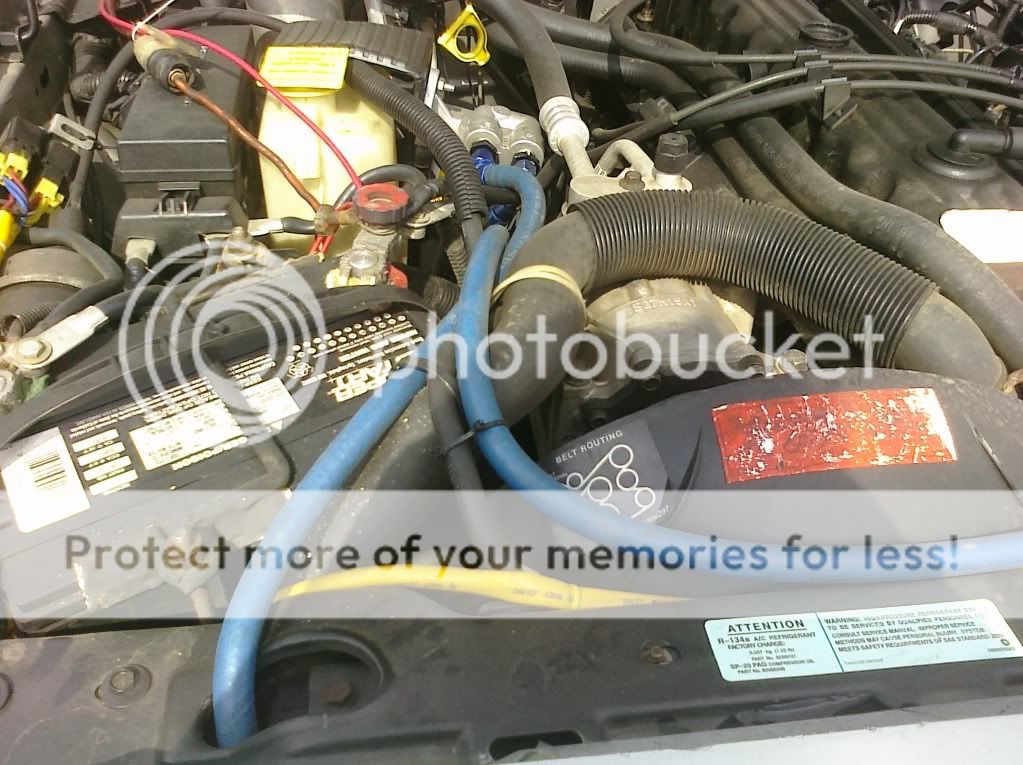
I Replaced ALL fittings and hose with 6AN fittings and Jegs Pushlock hose

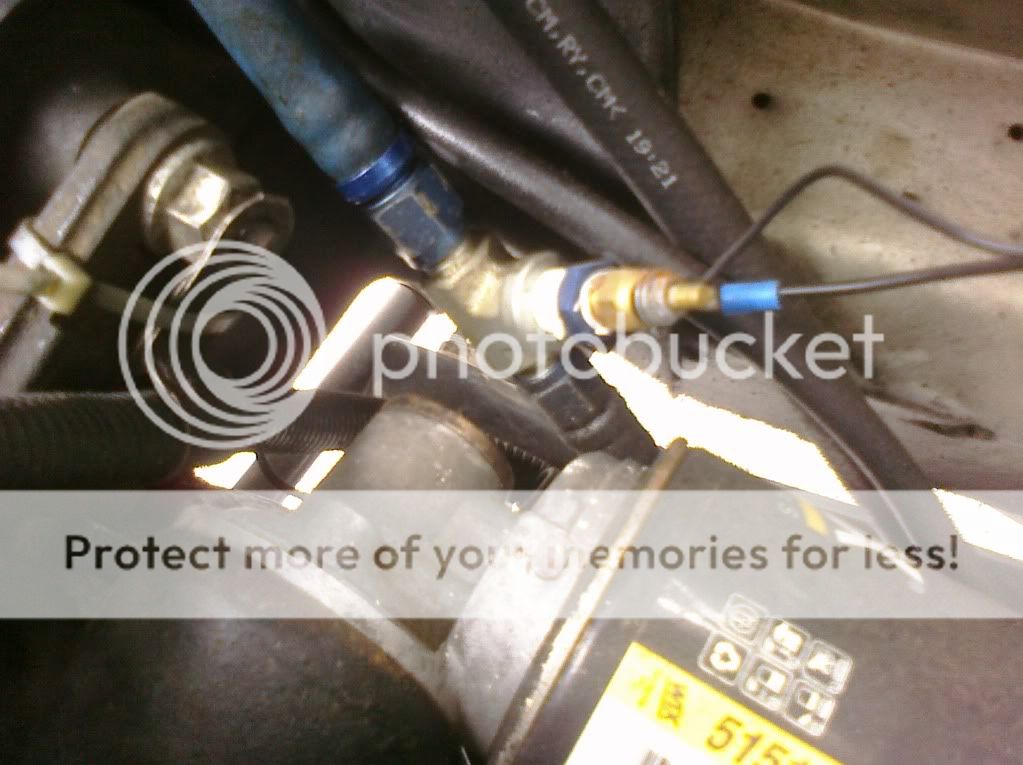
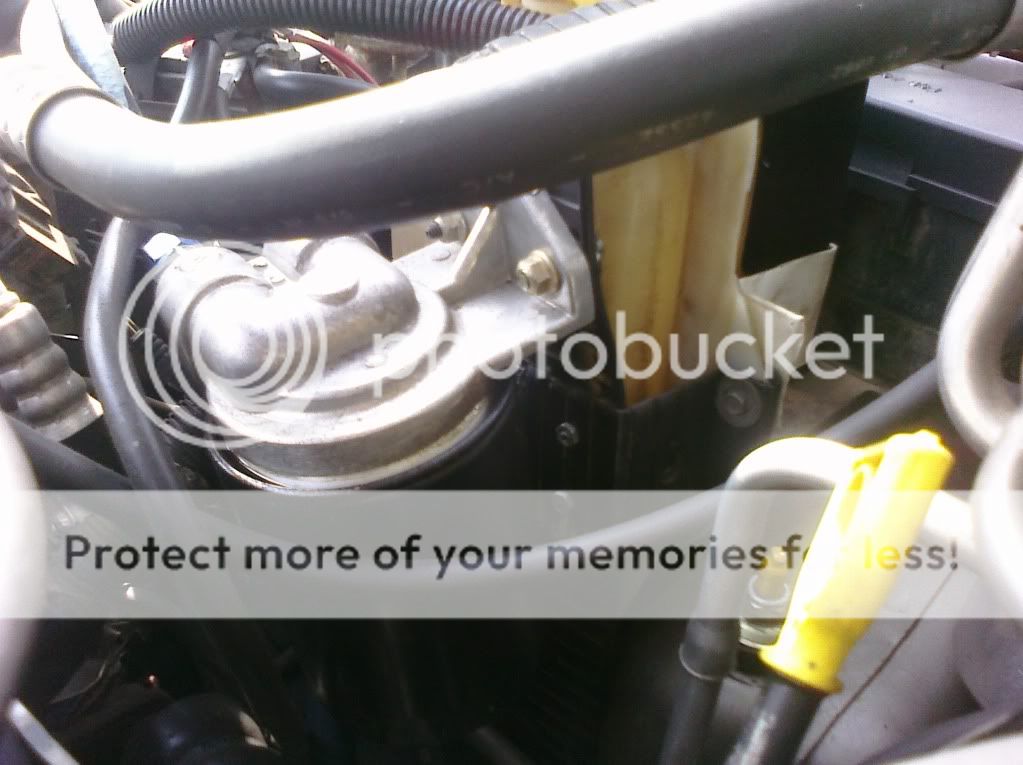
Mine is plumbed from trans to temp sending unit
(with added ground to body of sender)

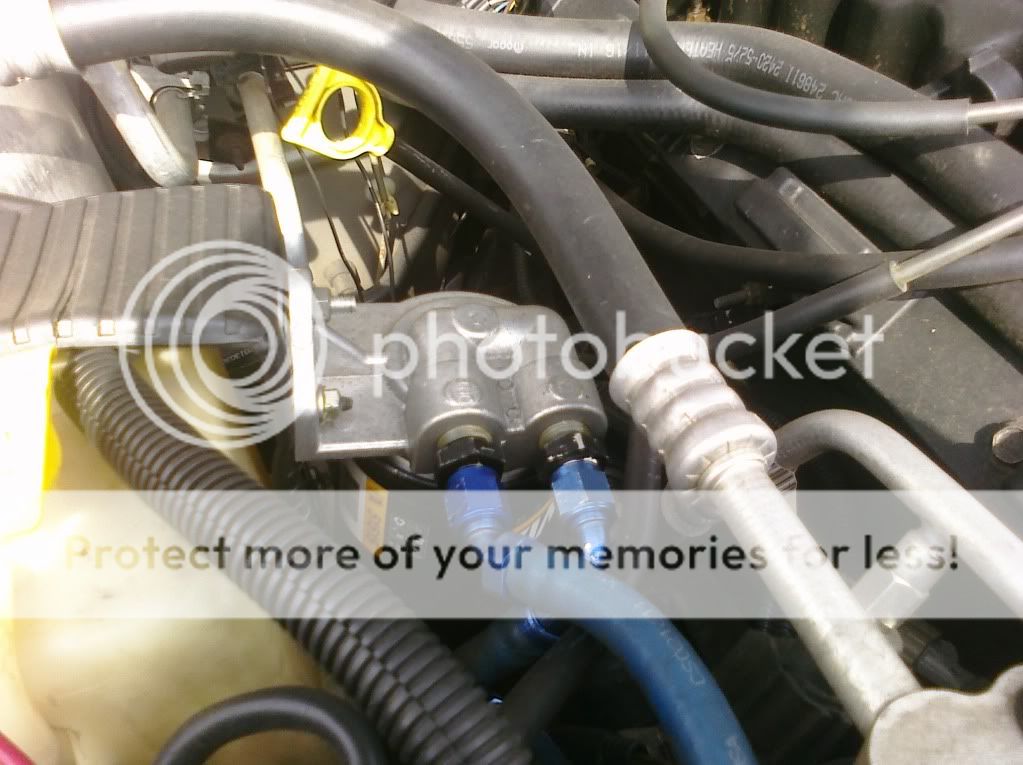
then plumbed to a filter adapter with a wix 51515
(to gain volume and a real filter).

then through my after market cooler
(in front of ac condensor and fan pass side)

then through radiator heat exchanger and back to Trans..

In winter it runs at about 100

in summer about 150 under normal operation.

if im towing or wheeling it goes up to around 160.

I didnt expect it but my motor runs a noticeable notch under the 210 it allways did .

when i am working the rig and it goes up to 160degrees in the trans fluid my motor will go up to its old 210 and stay there

I never really had it puke from overheating or anything i just figured if it could give me longer life for my trans then why not
 
Last edited:
Heres where mine come out of trans (that fluid on the hose is from an oil leak not trans fluid)
transinout.jpg


Here you can see my Temp guage sending unit is mounted by the oil filter and you can see the added ground i did since its going to hose and not metal hard line for the ground.
tempsensor.jpg


Then it goes up to a filter that i mounted (pendant style) with the tread step from the inside of our parts cherokee Over the Coolant bottle
CIMG0016.jpg


In this pic you can see how its mounted to the coolant bottle mount (There are no holes in the bottle)

CIMG0018.jpg
 
The Left hose is coming out of the filter and going to the Aux Trans Cooler.

, and the one on the right is after it goes through the aux cooler and then through the radiator heat exchanger.

The hose Goes back the Same route right by the filter on its way to the ingoing side of the Trans.
CIMG0013.jpg
 
And the Guage got mounted on the side of the center console just under the clearance of the Glovebox when open
CIMG0066.jpg


I ended up going back and Putting Bullet connectors on the wires for the guage after getting tired of having to disconnect the guage when pulling the center console wich seemed to be happening alot to do my mods
( like when i did my pneumatic switches for my O.B.A. setup and mounted them in the console )

Got plenty more mods that are already done so More To Come!
 
Last edited:
In winter it runs at about 100

in summer about 150 under normal operation.

if im towing or wheeling it goes up to around 160.

I didnt expect it but my motor runs a noticeable notch under the 210 it allways did .

when i am working the rig and it goes up to 160degrees in the trans fluid my motor will go up to its old 210 and stay there

These were my numbers with stock gearing and 31/10.50 tires.
I am currently geared down to 4.56 (i wonder if its cooler now)
Cant tell right now as my motors being rebuilt currently
 
Im not entirely shure im going in the correct order with these mods but what does that really matter..

anyway after being repeatedly submerged (and after being super old) the alternator gave up on me .

So back to Naxja for more research the results of wich were to Upgrade to a 160 Amp alternator Out of a 2004 Dodge Durango

And upgrade the Wiring mains to 2 Guage wire with a 175 amp Fuse between the new alternator and the battery. ( to handle the added Power)

To Install the Durango alternator I had to Remove the alternator bracket and see where it needed to be ground down to make clearance for the wider body of the durango alternator.

After grinding the bracket I installed just the bracket and then ground down the bit off the block protruding into the clearanced bracket..
I dont have any pictures of the clearanced bracket or the Alt anymore but this thread has good pics of the trimmed brackes to fit a wider alt.
for anyone thats curious
http://www.naxja.org/forum/showthread.php?t=1076427&page=2

When i did this my stock alternator was held on by a single aluminum bracket (the one i ground to fit) .

About a year after i did this mod i had the bolts i think back out on the alt (maybe i didnt get them tight enough) and the bracket was tweaked to the side and broke (on the highway)..

When i went to the Junkyard to get a new bracket to grind to fit i noticed that the ones at the yard had another bracket that braced them from the front that was steel. so i snagged one of those and it too needed to be clearanced to fit. With that steel bracket on the front (and making sure it got on good and tight this time) i dont forsee any other issues.
 
Last edited:
And For the Wiring

I was looking for fine stranded welding wire from the welding supply shops but ended up finding a fine stranded battery wire at wal-Mart for pretty cheap

Wal mart also had a Battery stud that fit right into the pdc
(i just used a bolt and ground the head to fit)

They had lengths of 2ga Battery wire with ring terminals on both end 55"
(i think i bought 3)

and I bought the biggest ring terminals they had as well
(got biggest i could and trimmed wire to fit)

4. Advance auto parts had the fuse.
(i walked in and said whats the biggest fuse you got)

I used the existing ring terminal on one end of each upgraded wire and Cut the other end to the length required and crimped another ring terminal on that end. (i bashed with hammer on top of bolt head to crimp lol).. then tape nice and good!

Once i figured out where my wires were running i used sandpaper to clean all the connections.

and heres where i ran the wires.

Negative
1. - batt to fender well (replace stock location throw out stock wire)
2. - Block to firewall (replace and throw out braided crap ground)
3. - Batt to group of ring terminals grounded behind alt.

Positive
1. + Batt to starter
2. + Batt to P.D.C. (right stud)
3. + from added Stud (left) in P.D.C. to Alt +

connect the two studs with the fuse ..
Cut little plastic cover for p.d.c. to fit back on and voila!!

I didn't like the idea of cutting out the old wires or leaving them hanging so i reconnected all of them besides the crappy braided ground from the block to the firewall and the negative from the batt. to the firewall.


It has Been setup like this for over a year by now i think and had worked out GREAT for me . between my A/C headlights and foglights and the subwoofer my stock system wasnt cutting it and i feel like my winch and on board air actually run better with better support to the Battery from the alt.

Eventually i will do a battery isolator with a deep cycle battery in the stock airbox location. to power all of my aux items and light up the campsite or play music without the fear of stranding ourselves with a dead battery in the morning.
 
Here you can see the Negative ground to the fenderwell and the positive ones Going into the added part of the P.D.C.

The wires you see in the yellow casing with the 2 relays are from the Eautoworks Headlight Wiring upgrade harness i Did at the Same time as this ( To ensure i allways get full power to the headlights)

vvvvv.jpg


Here is a Picture of the fuse i added by adding the left stud it attaches to and trimming the plastic to fit back over

Altfuze.jpg


And here you can see the upgraded wire from the engine block to the Firewall

cccc.jpg


I dont like to leave my winch wired in all the time so i use this reusable cable tie to hold the wire when its doing its normal Daily driver Duties.

xxxxx.jpg


And a pick of the winch connected to the quick disconnect i added to the positive terminal (only pic i have is from before wiring mains).
I have since marked the disconnect Red after someone tried to jump me by connecting to my battery backwards
gtyuiop.jpg
 
Back
Top