_MURDERED OUT_
NAXJA Forum User
- Location
- Hernando, MS
It will hold once its braced, gusseted and with the 1 5/8" pipe tied into the hitch...


Oh yea, here it sits now.

Update time: didn't get a ton done. The thunderstorms were moving in fast. But I figured out a lot of things. The left side is pretty much mock tacked together. I still have to work a few gaps and clearances out. It sucks though, I ran out of carbon steel after doing the passenger side, so now the entire drivers side is out of stainless. We'll see which side lasts longer :shhh: The trailer also got painted tonight.


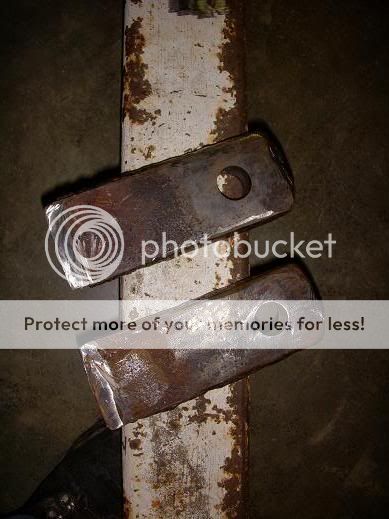
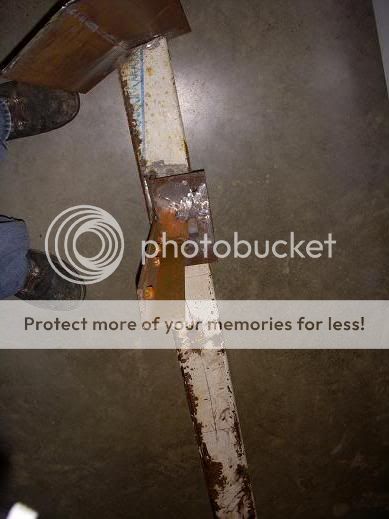
You all will notice my bumper on this thread. Over the corse of time I have noticed my swing out on my bumper has been flexing a lot. It even flexed to the point that it was hitting my gate when I went over bumps. I built the gate with 2X2 square tubing that was 1/8" thick and used 3/16" 2X1 tube for bracing. I was tryting to save on weight and that is why I did not go with 3/16" on the 2X2. So I went to town on the bumper and cut out the spindle and welded patches in it and choped up the swing out to salvadge the tire mount and outer spindle. I am going to rebuild the bumper a little different and beef it up with 3/16" in effort to eliminate flex. I may also through in some off the wall things. Pictures are comming soon. Any ideas for improvement will deffinatly be considered.

Ok, so I've read through all 12 pages of this thread between last night and this morning...
chris420 -- your photobucket account is dead, so I can't see any of your pics.
I like all the ideas thrown out, and the builds are great to follow.
Regarding the d-ring tabs -- do you mount them at the same point in the bumper where the rear supports joins up?
It's hard to explain what I'm asking...
The rear "frame rail tie-in" comes forward and gets welded to the body of the bumper. This seems like it would be a good place to insert the tabs through the face of the bumper and shove them into the center of the tie-in tube and it would be very strong.
It seems like the force would be applied more directly to the frame by doing it this way?