SacXJguy
NAXJA Forum User
- Location
- Sacramento, CA
Go 2-tone it if ya wana make it different.


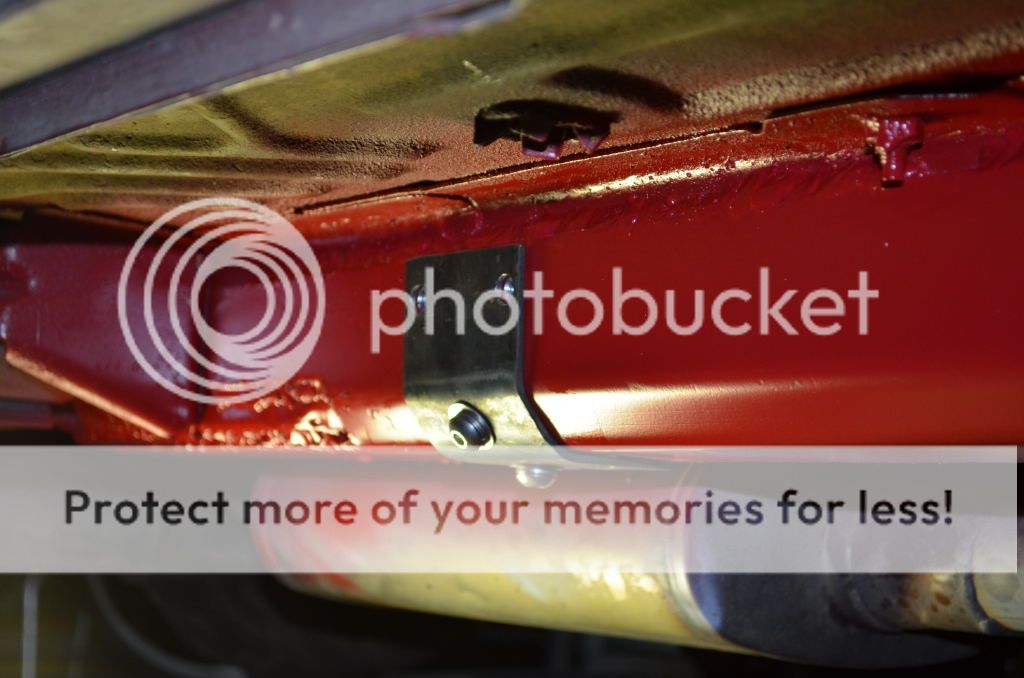
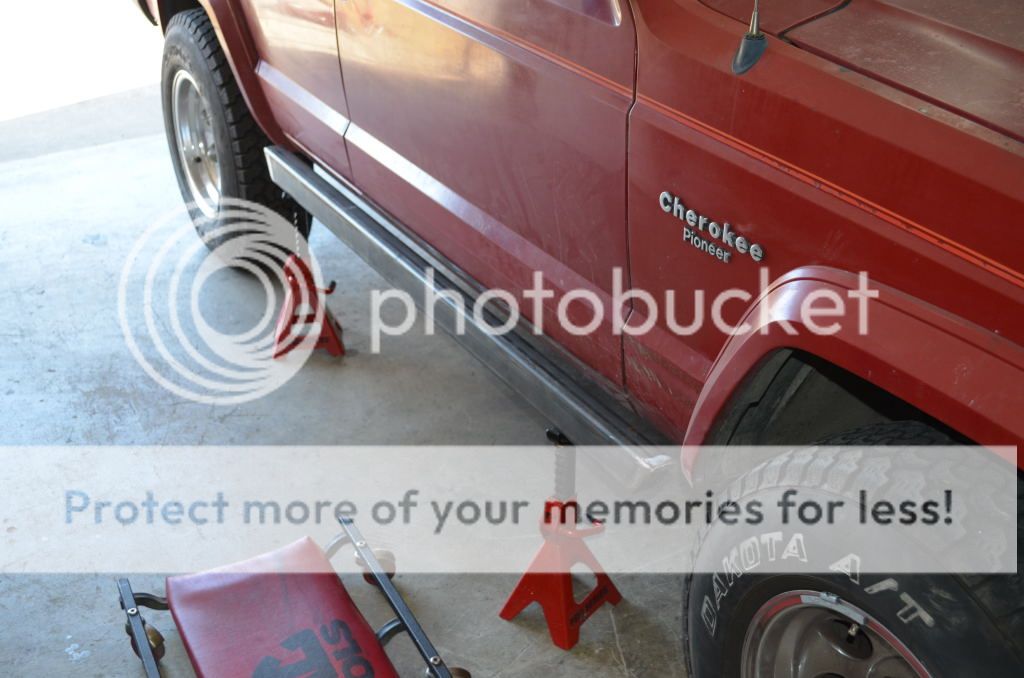


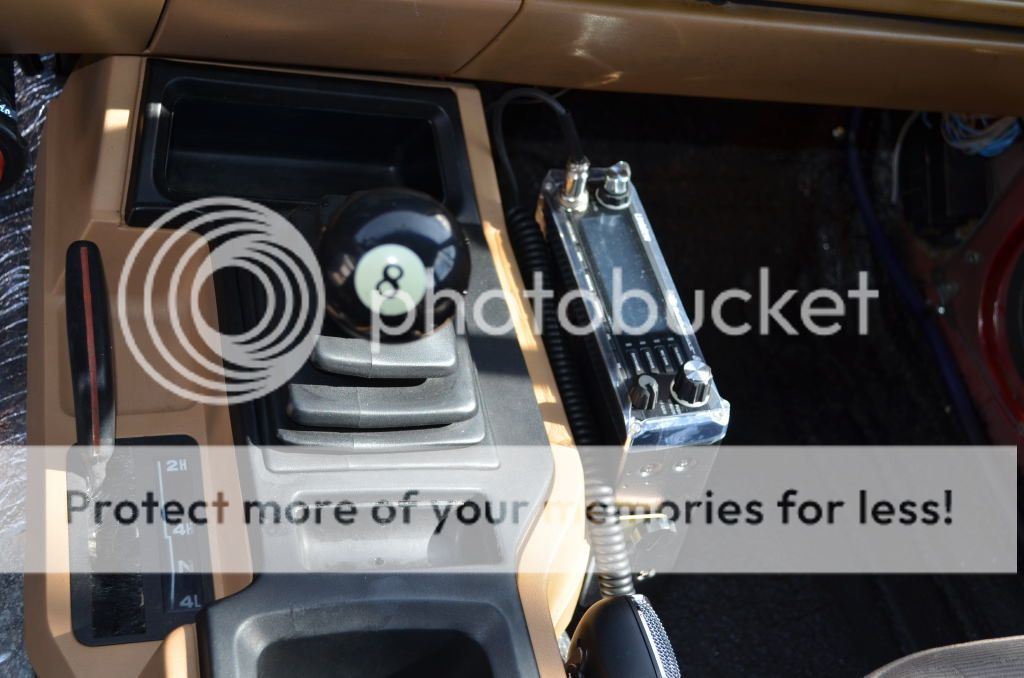
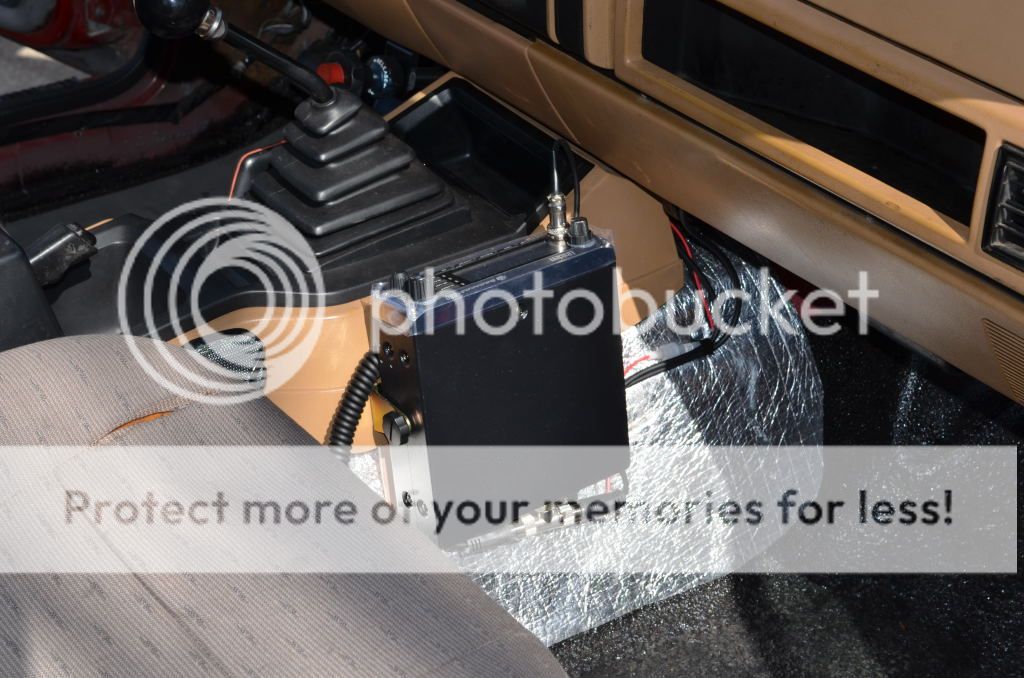
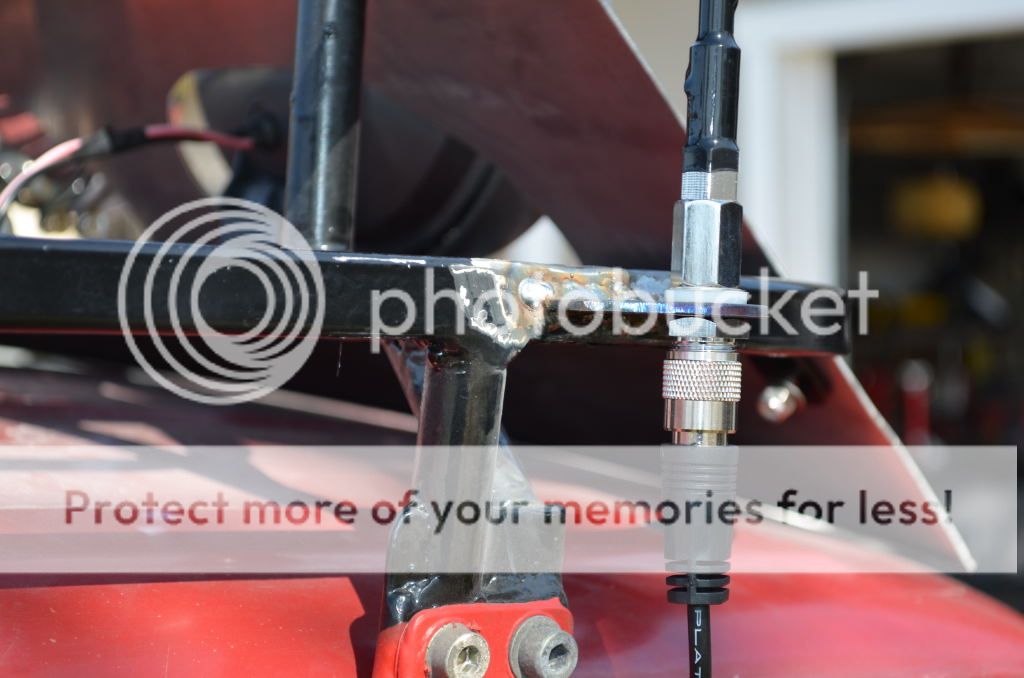
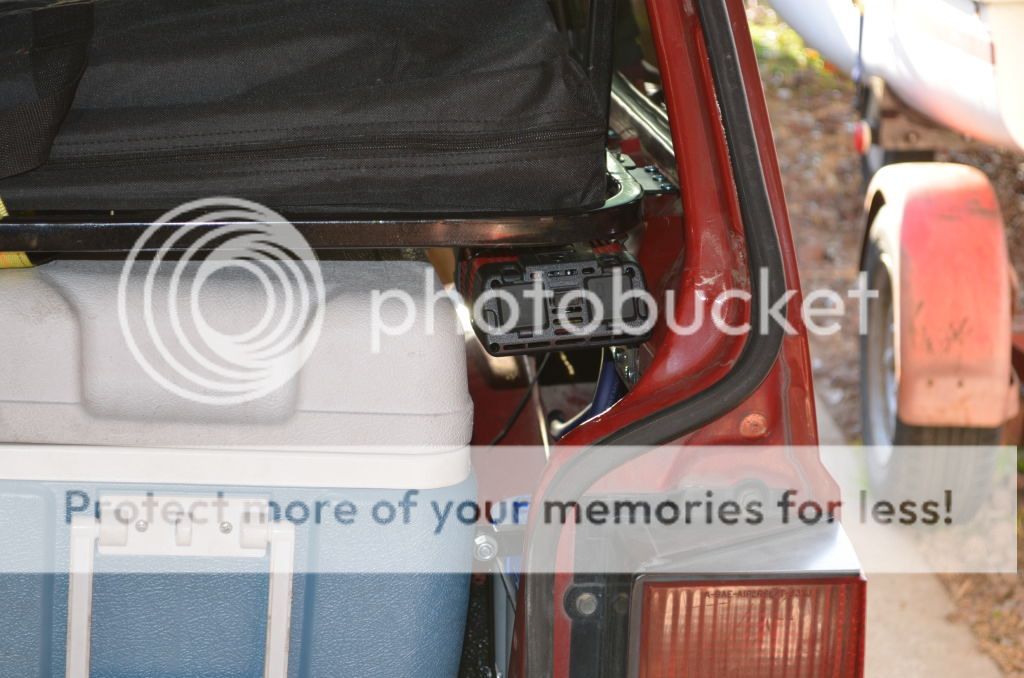
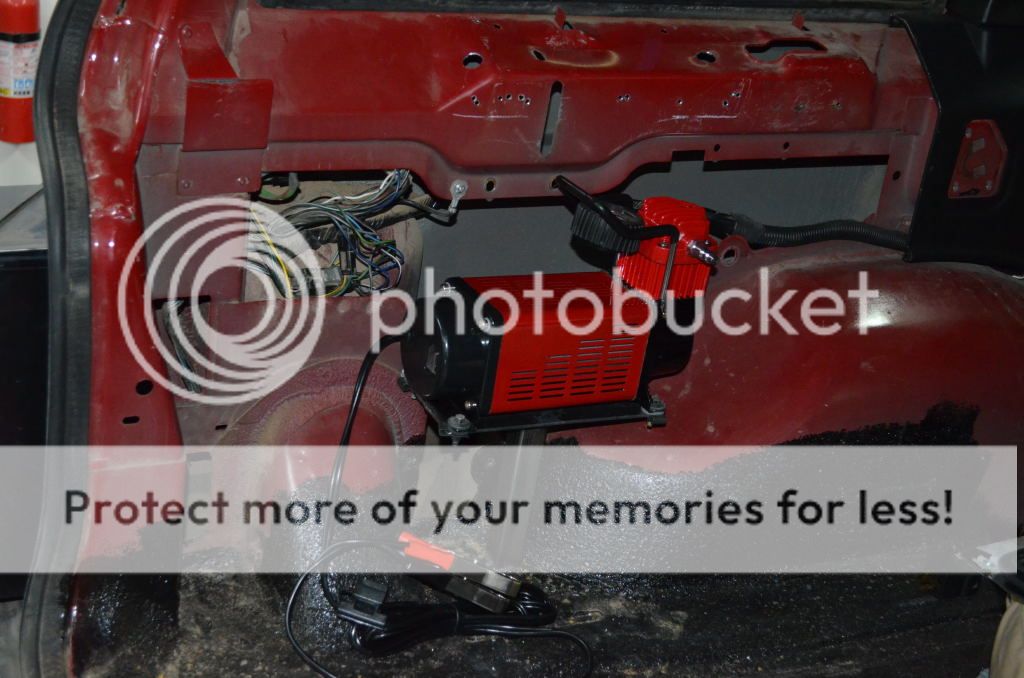
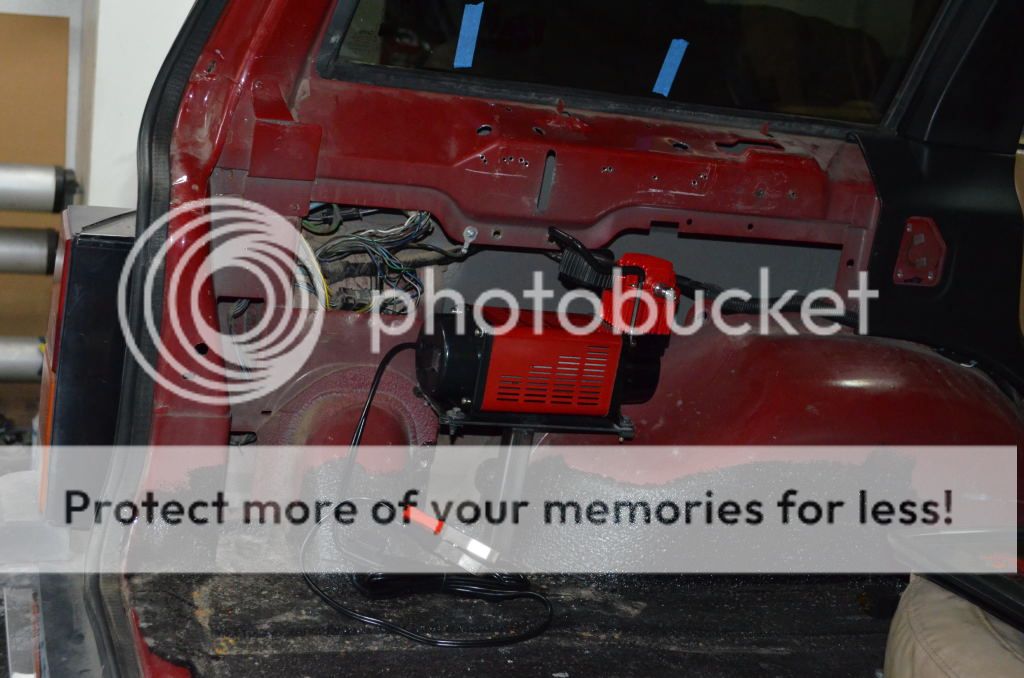
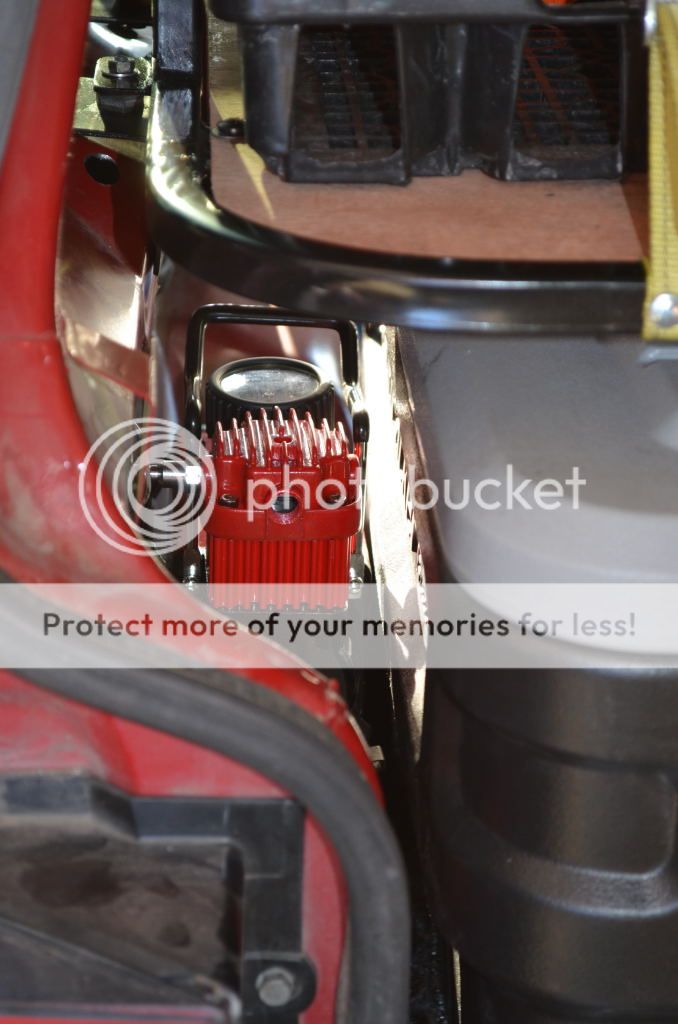
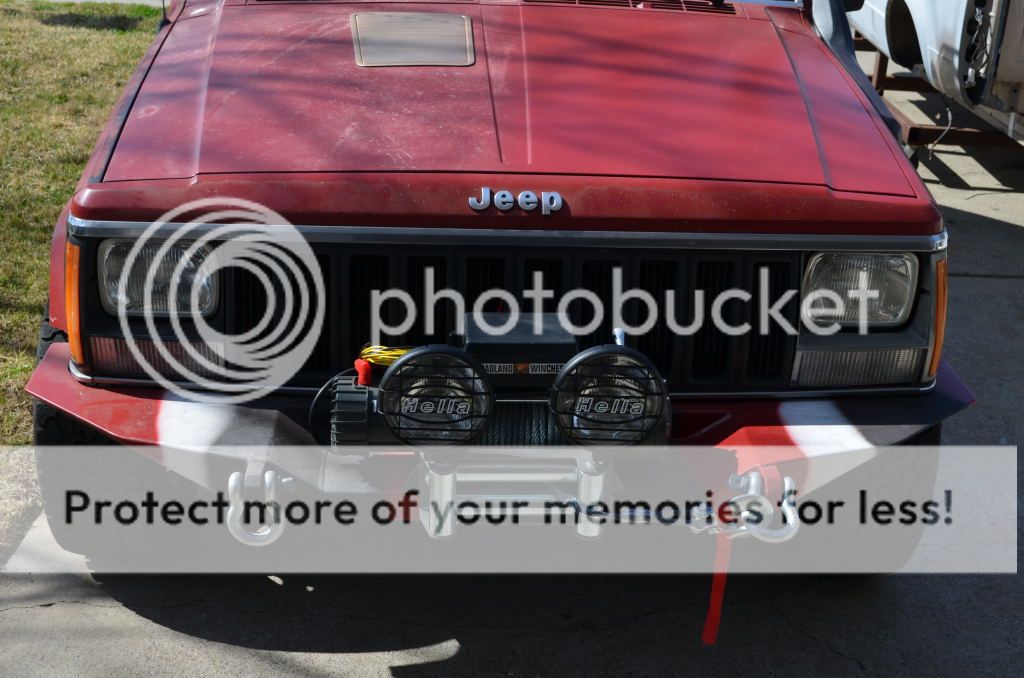
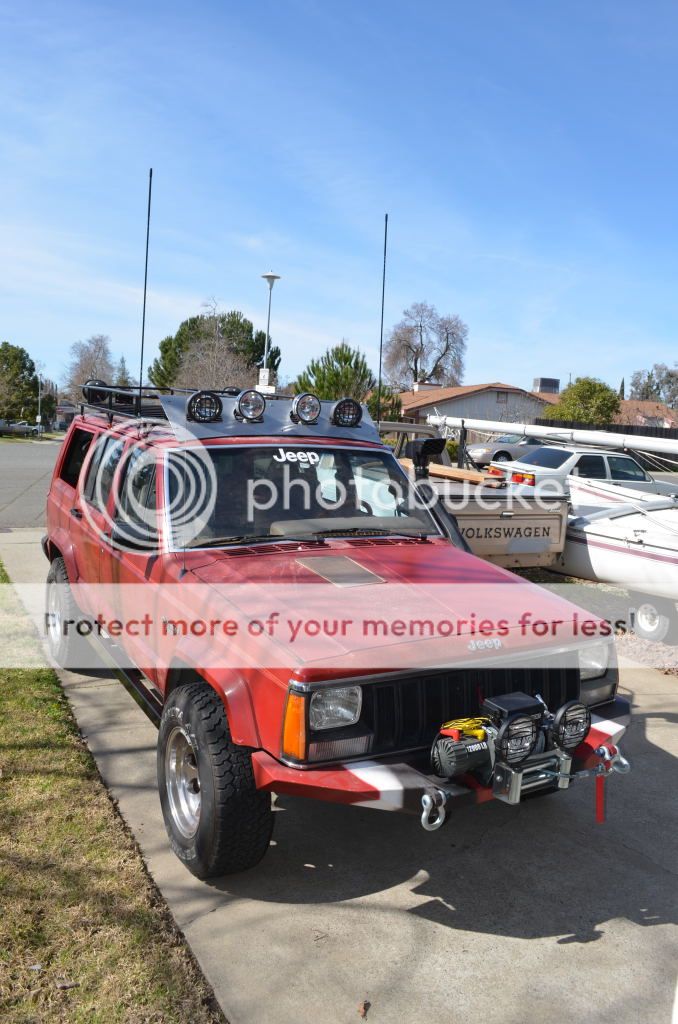
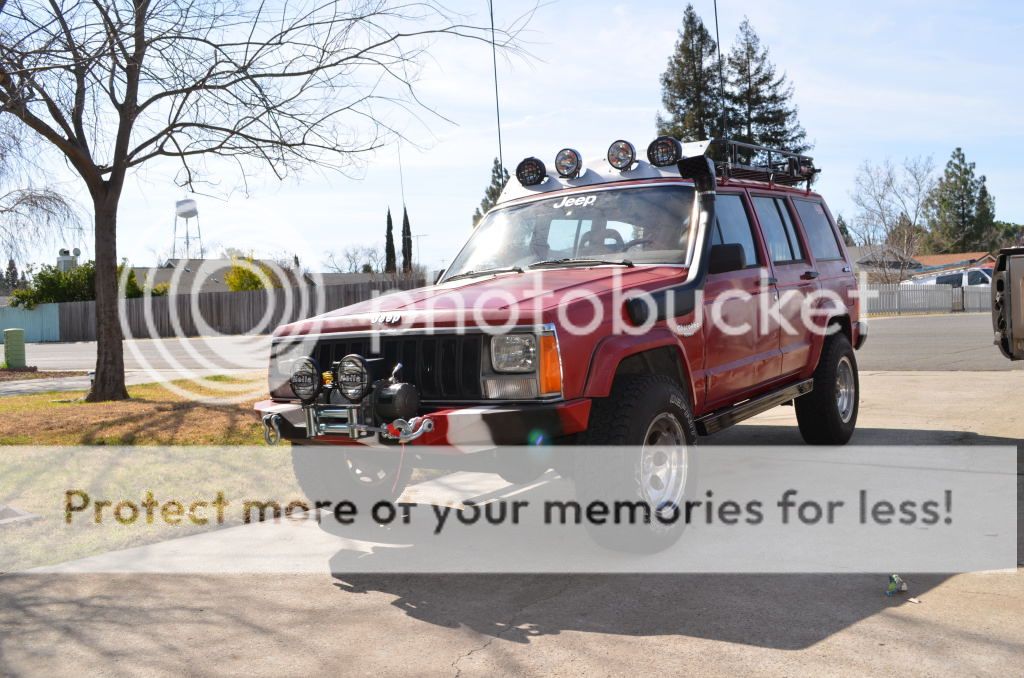
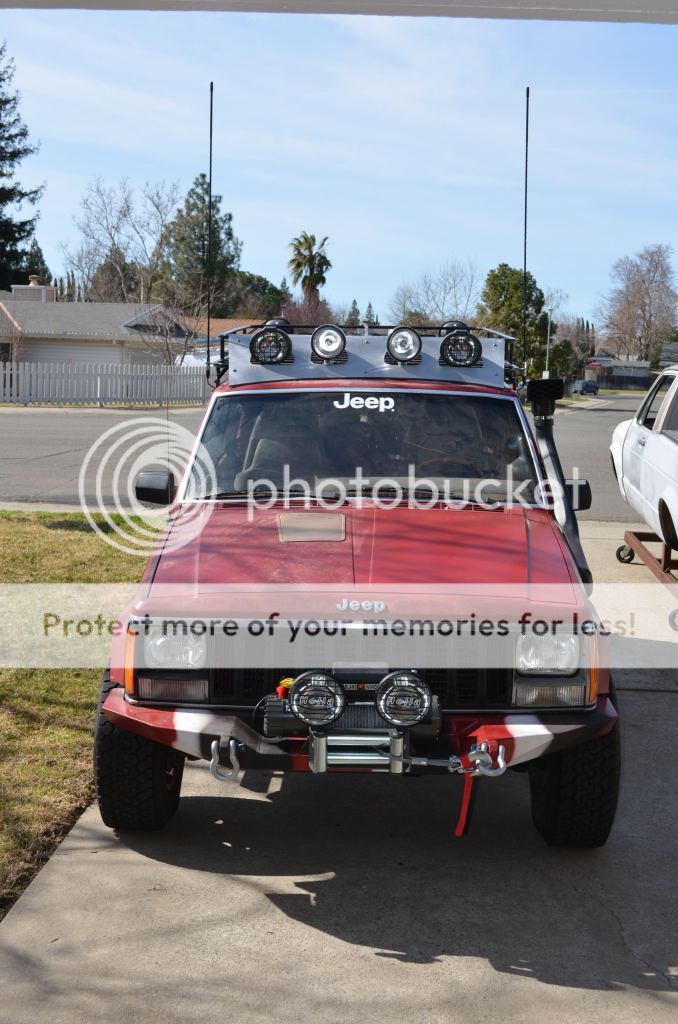
Not sure I get the dual antenna but everything else looks awesome. Coming along nicely. What model air compressor is that? Is that a 980 or 880 you got there for a cb?
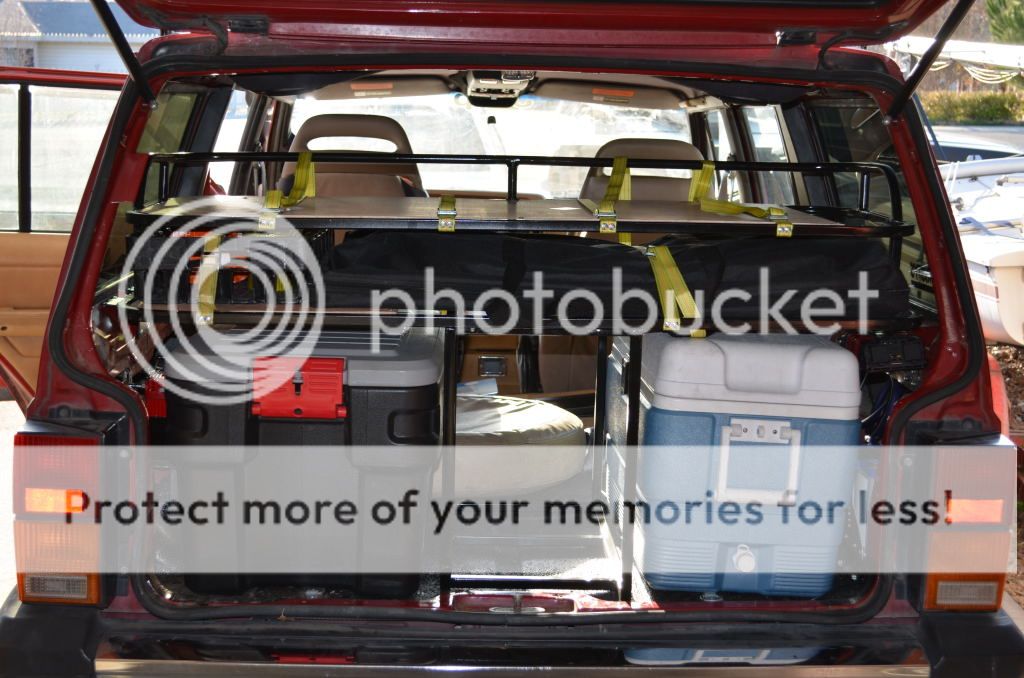
Love the progress on your jeep. Everything is very clean and has the professional touch/ attention to detail :worship:. Would love to check it out sometime and maybe bounce some build ideas off one another. I unfortunately wont be making any headway soon with mine because my wallet will be focused on my crawler getting ready for the con this summer.
Thanks, and I would be more then willing to get together and bounce some ideas off of each other sometime. In fact, when you get to that stage, I would be willing to help out with some of the fab work. Having most of the equipment helps.