• Welcome to the new NAXJA Forum! If your password does not work, please use "Forgot your password?" link on the log-in page. Please feel free to reach out to [email protected] if we can provide any assistance.

Introducing Little Orphan Annie and Myself

16vvincent

NAXJA Forum User
Been poking around for a while now and thought that a build thread and a introduction would be appropriate. For me, my name is Vince and I am a auto mechanic for a Dealership in the Sacramento area. Time for a little bit more about me. I am a Technician for a Dealership in Elk Grove. I am a drivability and transmission technician. I have built several cars before, but this is my first attempt at a 4x4.
When I was deciding what type of vehicle to use, it was down to 2. Ford Explorer and Jeep Cherokee. The Explorer was an option as it is a vehicle that I know inside and out (and now you know what brand I work for). However, the Explorer does have that wonderful Twin I-Beam front suspension. Not my favorite, and clearly not the best for real off road. And, I have had an Exploder before and was not happy with it. I have read Eric's book on Building a Cherokee and liked what I read and the possiblities. Then Cherokee pretty much fell into my hands and the price was very right.

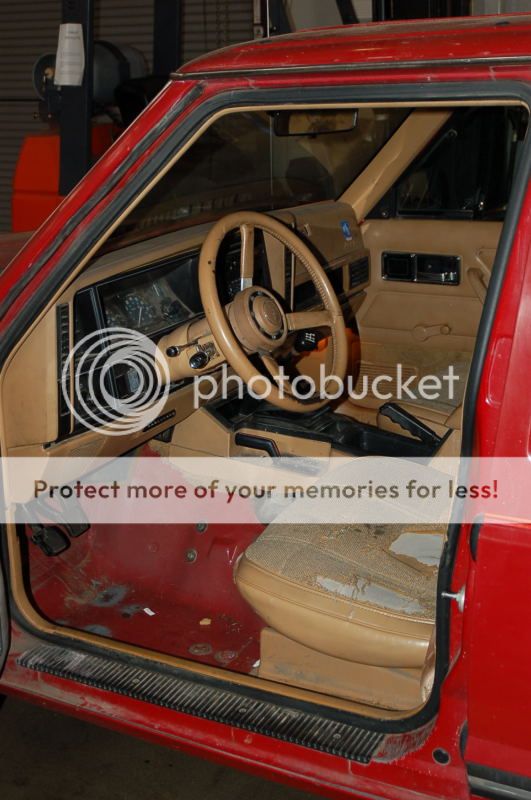
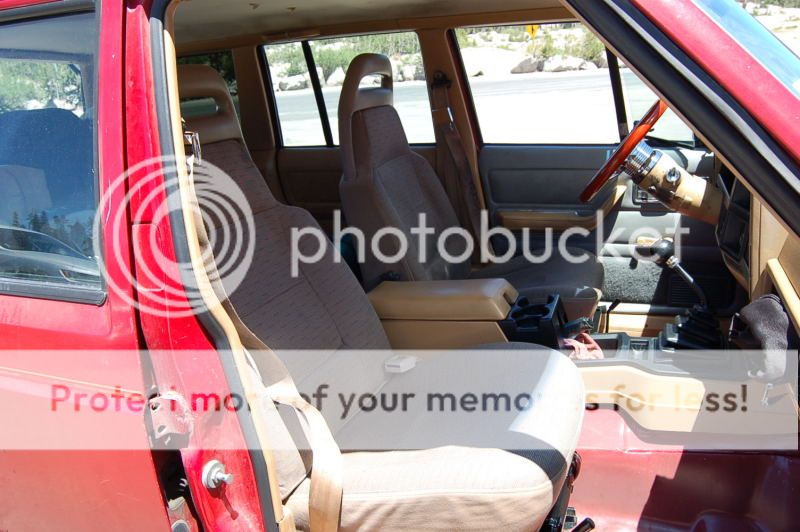
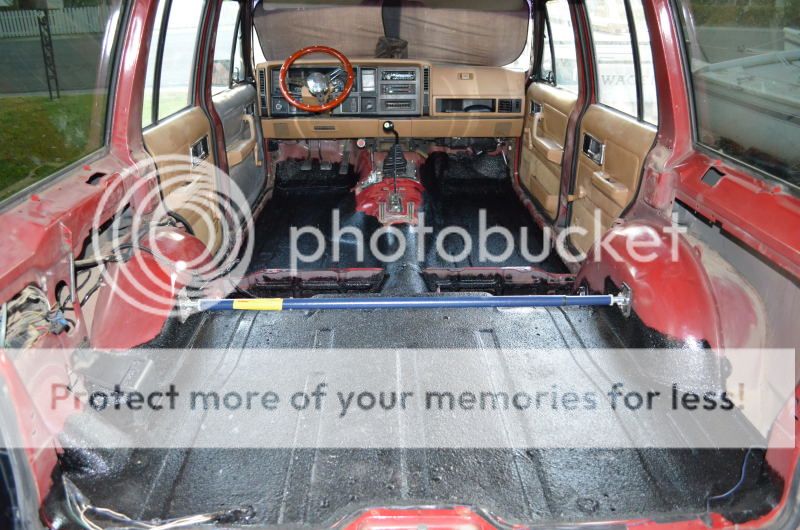
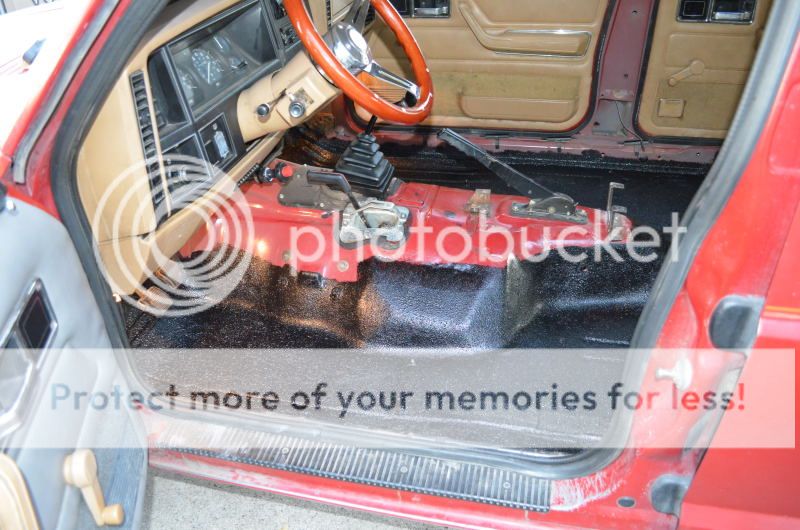
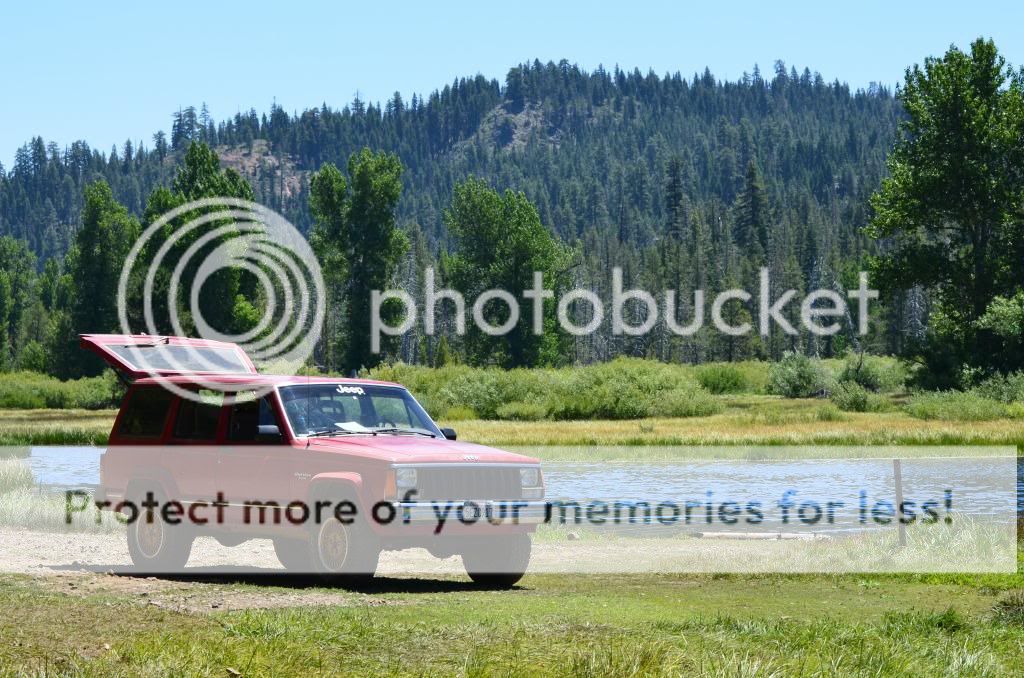
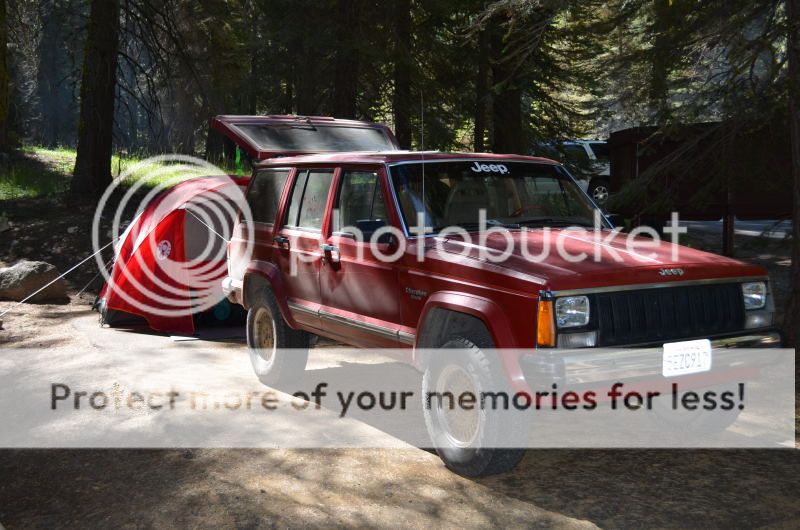
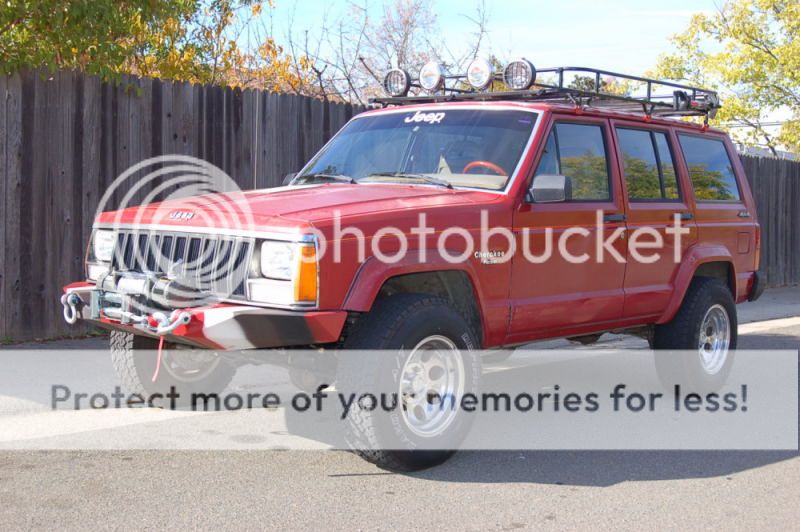
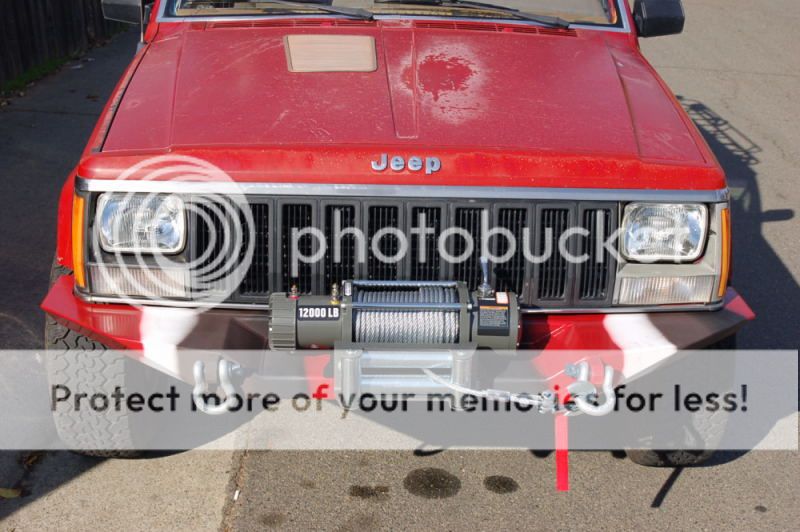
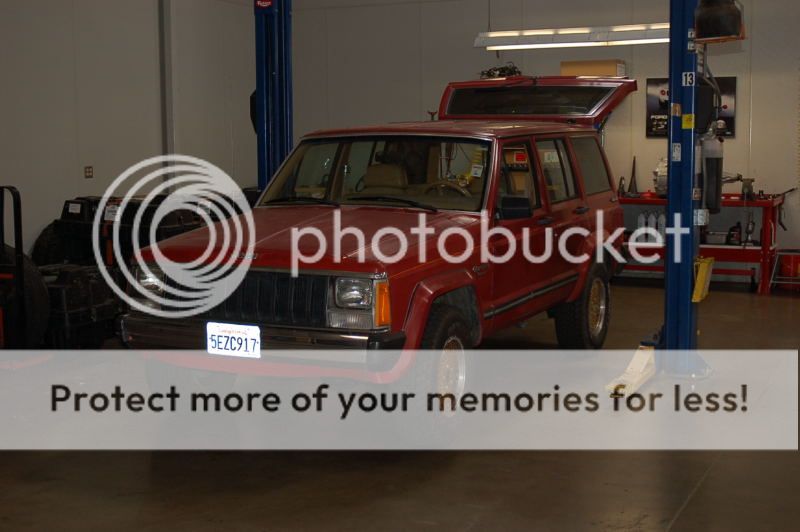
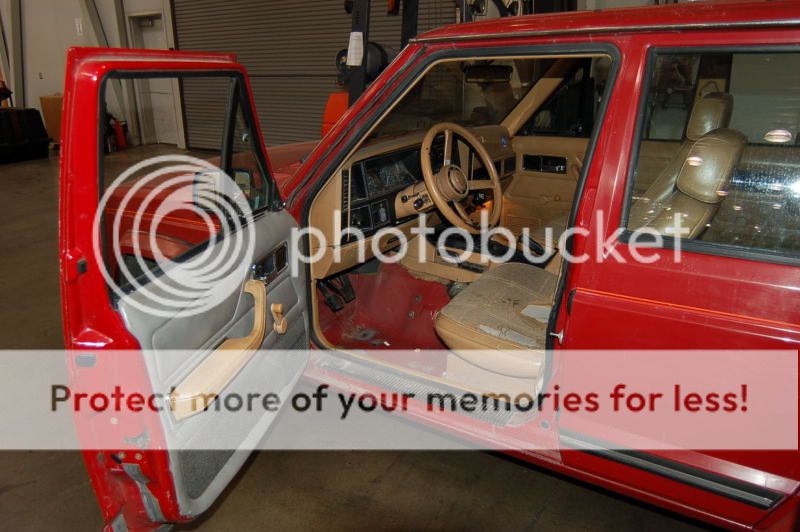
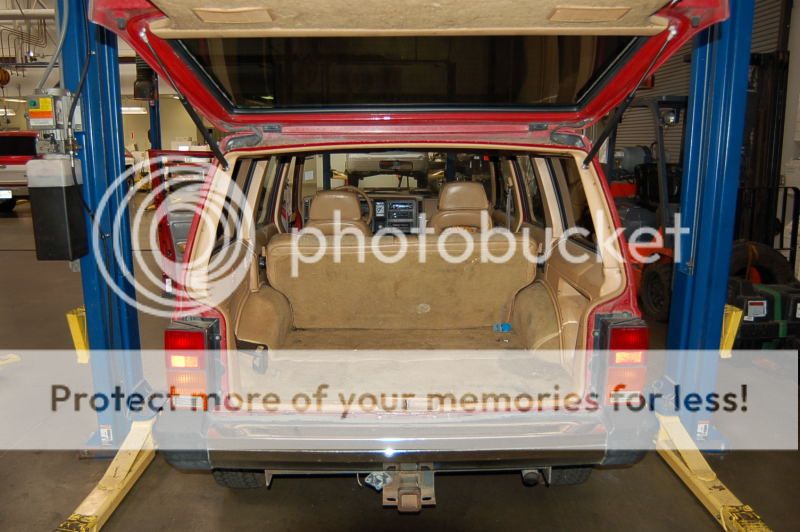
Ah yes, my XJ. Or Little Orphan Annie, as I call her. Clearly because she was unloved and left on her own way too many times. I picked her up for $350.00, she ran (poorly) and looked like ass (still does really). Fortunately, as a mechanic, I was able to fix the running issue pretty quickly.

But want is Annie? She is a 1987 Jeep Cherokee Pioneer 4x4 with a 4.0, 5 speed trans and really rough paint / body. Her rear brakes were shot, run on 4 cylinders, with an occasional jump to 6, the 4x4 didn’t work, and the steering was stupid loose.
XJ1.jpg

XJInterior1.jpg

XJInterior4.jpg
 
XJInterior2.jpg


So time to be fixing the important stuff first.

Rear brakes, rear shoes were beyond metal to metal and the drums on both sides were scored. A trip to Pick n Pull (our local pull your own parts wrecking yards) got me a set of good rear shoes and a pair of very good drums, Cost = $30. A new hardware kit was another $30 and the rear brakes were back into shape.

Rough running: Who ever owned her / worked on her before didn’t know a lot about electricity. They had replaced the injector connectors with crimp connectors, the un-insulated kind. What was happening was the connectors would touch each other, causing the injector to shut down and causing the engine to loose that cylinder (or cylinders). Luckily, it didn’t damage the computer (any short on a driven circuit can cause the circuit driver to fail, meaning a new computer). The fix (for now): Wrapping the connectors with heat shrink tubing. The cost = Free. I had the tubing in my tool box.

Loose Steering: Front track bar was wasted. The fix: Rustys Off Road Track Bar. I wanted something that I could upgrade as the vehicle was lifted and Rustys has an additional bracket that I could add later as Annie gained in altitude. Cost = $100.00

4wd inop: Of course with this vehicle, that means that the front disconnect axle is not working. Probably a ton of vacuum leaks. With the truck in the air, found that the plastic lines at the transfer case were all cracked, the disco is not connected to the vacuum lines, and covered in oil. The Fix: Cable operated disconnect. Cost (off of Ebay) $130.00.

Interior is ugly and seats were stupid uncomfortable: Stripped out the seats and carpeting and used Hurculiner on the floors. Another trip to Pick n Pull to look for some seats, found a Land Rover Discovery with a pair of decent seats in the right color. Had to build some brackets to install the Discovery seats in the XJ, but they look decent and are comfortable. Another feature found when cleaning the seats, they are treated with something that makes them pretty water and dirt resistant, Cost = Herculiner - $85.00, Seats - $40.00, brackets – free.
XJSeats1.jpg

CherokeeProject33.jpg

CherokeeProject34.jpg
 
you should throw down insulation carpet over the herculiner. My jeep runs crazy hot in the summer. I have 3 different layers of insulation, new carpet, and lined the actual underside of the center console, and all the places in the console not lined underneath get crazy hot. just an idea. might be fine for winter, youll be quite hot in the summer.
 
oh ya nad welcome ! haha
 
The repairs got the truck to a point where she could be driven at least to and from work to work out the bugs. It was also the point where I started thinking about mods. The tires that came on the truck are 30 x 9.5 x 15 and are in pretty good condition, They should last me until it is time to put some 33’s on her. But I do want to get a little height on her. Owning Erik’s book on the XJ, and read through it cover to cover, several times, before buying Annie, I knew that I could easily find a set of front springs off of a V8 Grand Cherokee. So back out to pick and pull I went. V8 springs found and I also found a set of later model XJ springs that were in really good condition (non-rusty). Back to the shop and installed the front springs with a gain of about 1.5”. Took the rear springs off and used the main leaf as a add-a-leaf for the new rear springs. Gained about 2” in the rear. This is step one and mostly to compensate for the amount of crap that I will probably carry on camping trips. I also took this as a opportunity to remove the rear sway bar. Cost = $50.00 (another half price weekend)

The truck and I paid a visit to the alignment rack. Cost = free. (one of the advantages of being a mechanic at a dealership)

At this point, Liz (my girlfriend) and I took Annie on her first camping trip. Having read several 4x4 trip books, we decided to do the Henness Pass Road starting in Verdi and ending in Comptonville. The truck performed better then expected and we had only one mechanical problem. One of the connectors on an injector slipped off. Felt the misfire, pulled over and slide it back in place.

CampingTrip2.jpg


CherokeeProject29.jpg


Trip2Loaded.jpg


We did notice that there was a considerable amount of dust getting into the truck. Guess from where? All the door seals were junk. Guess where I was off to, to fix this? Yep, my favorite used parts shop. Came across a ’97 XJ in almost new condition. Grabbed all the door and the rear hatch seals, but it also had a overhead console (one thing that we had noted is that the overhead lighting in the XJ sucked). Grabbed it as well, knowing that I will used it in the future. New-ish door seals installed. And a couple of car washes verifies that the truck is much tighter to leaks.
I had also found the front lighting to be in need of help. Stopped off at 4 Wheel Parts and picked up a pair of Hella replacement lights. Installed, aimed and a couple of weeks later, we went on another camping trip.

As everyone knows, the Cherokee can carry quite a bit of gear inside, However the target for Annie is to be able to carry 4 people (my girlfriend has 2 daughters) and all their required gear. Having loaded the truck to the gills and only able to hold 2 people, getting some out side carrying capability is mandatory. However, spending $1000 on a safari rack is not within the budget. I also want to come up with some way to load things in the back in such a way as to be able to get to the cooler without unloading everything on top of the cooler.

I did manage to build a Safari rack, but did not take any photos during the build. Having several different tubing benders on hand helps.
 
After this trip, I stripped the headliner off the roof and lined it with the same material I used on the floor.

CherokeeProject41.jpg


I also recovered the headliner with some material from Pep Boys and installed the overhead console. Interior lighting is much better. The compass does work, but I cannot get it to calibrate, probably due to the Safari Rack.

CherokeeProject31.jpg


I also found a set or wheels on Craigslist for $250. 4 ProComp 15 x 8 wheels in very good condition. Took the tires off of the ugly stock wheels and mounted and balanced on the Pro Comps.

Here is a shot with the Safari Rack, Wheels and the Bumper and Winch.

CherokeeProject45.jpg


By now, you know that I built the rack, the lights and winch came from Harbor Freight, the bumper from Logans 4x4 Metals. It was the only bumper that I came across that I liked the looks of and that I figured it would cost me more to make then to buy ($300 for the bumper)
 
welcome to naxja!! nice looking jeep so far. why just one hood vent though? and how do you like the pep boys headliner? i work there as a mechanic and want to switch to black headliner, just didnt know how good that stuff was haha
 
Hey Vince. Welcome to Naxja. You should search for the cargo storage mega thread. There are some really good ideas in there. Some of the guys have figured out some really ingenious ways to store theyre junk and still have good access to everything. Your jeep is looking good mang.
 
This is me not even trolling, keep an eye on that Rusty's track bar. I have heard iffy things about that specific part.
 
Welcome. I like your build. Very maticulous. Seriously 300 bones for that bumper? How much does it weigh?
 
I like the low cost/versatile aspect of your build. That has been what I have done with mine so far. For the price, I would have gone with a L and L fab bumper. From what it seems you are not into rocks and such at least for meow, so how far the bumper sticks out and the thin metal shouldn't affect your goals. Another thing you can do for storage is a rack that attaches to the hitch receiver. I have one and works well.

Did the hatch struts work correctly when you got it, or did you replace them? I finally picked up ONE for my hatch, stromarm brand off amazon, and strong enough to hold the fiberglass hatch up by itself.
Welcome. I like your build. Very maticulous. Seriously 300 bones for that bumper? How much does it weigh?
I think those things are only made of 1/8" . NorCalChris has one that was on his renix white POS. Pretty sure he wants to sell it. Sure he would make you a deal.
 
and how do you like the pep boys headliner?

Actually the material is pretty decent and I like the results just fine. Just make sure that you use some really good contact cement. I use 3M 90 spray adhesive.

why just one hood vent though?

I have only found one so far, but if / when I find another, it will go on. It really does help to get the hot air out from underhood.


Seriously 300 bones for that bumper? How much does it weigh?

The Bumper weighs around 80 to 85 pounds, it is made of primarily 3/16 plate, but the winch plate and the mounts are all 1/4". The mounting brackets also double as a steering box brace at the box bolts go through the bracket on the drivers side. I am really not very worried about bending anything on that bumper.
I am quite happy with the construction of the bumper.

Did the hatch struts work correctly when you got it,

The hatch struts worked just fine at purchase and are still working. In fact, once I got the injector wiring cleared up and changed the oil, the truck passed the State smog inspection with flying colors. I was most impressed.

Some of the guys have figured out some really ingenious ways to store theyre junk

I have already built most of the interior racks and will get some photos posted soon (as soon as it is done anyway). I have looked through some of the posts about storage, but I was also trying to solve other concerns.
It will be clearer when you see my solution.

And thanks for all the positive comments. It is apprecated!
 
sounds like you are kicking some butt on this thing I like it!
 
I have already built most of the interior racks and will get some photos posted soon (as soon as it is done anyway). I have looked through some of the posts about storage, but I was also trying to solve other concerns.
It will be clearer when you see my solution.

Looking forward to it. I'm about to redo my storage for more camping duties so I'm trying to get all the ideas I can.
 
The Roof Rack:
The base is made out of 3/4" sq tubing and the upper rails are 3/4" round. The center spine is 1" sq.

RoofRack30.jpg


The lights are from Harbor Freight.

I also mounted 2 lamps on the rear of the rack to use as back up and camping set up lights.
The red lights are brake / running lights.

RoofRack1.png


Mounted a cheap shovel on the drivers side of the rack, using a interior spare tire stud / wing nut and a strap clamp.

Racks27.jpg


The rack mounts, I also made and this was the hardest part of the rack to figure out.

Racks28.jpg


The interior rack is made the same as the roof rack 3/4" square and 3/4" round, with the cross bars 1/2" sq . It is mounted to both interior 1/4 panels.

RoofRack33.jpg


Racks05.jpg


The idea was / is to be able to get the cooler and action packer out without having to unload a bunch of crap off of them.

Racks01.jpg


And the center shelf was built to hold a folding camp kitchen table with a little extra on the end. Again without having to unload a bunch of stuff to access the table.

RoofRack31.jpg


Here are the brackets that I made, however what you cannot see is the rubber mounts between the rack and the brackets.

Racks07.jpg


And in order to get the rack in / out of the back end, the side glass has to come out. I became very adept at removing and reinstalling the glass.

And here is a shot of the switch panel that I made for the outside lighting.
I figure that a couple of the switches will be used for more then just wiring (like a E-locker). All the switches are relayed, even though they all are not being used, presently.

RoofRack34.jpg
 
Back
Top