Alternator Relocation
Decided to relocate my alternator to a more elevated position.
I will be installing it where my Air Conditioner Compressor was.
I don't like AC, it's a Jeep and I drive with the windows down.
I had previously completely removed my AC System (compressor, condenser, canister, hoses etc) and had a basic bypass pulley in place.
So I decided to relocate my Alternator to where my AC was, like it is on the Grand Cherokees. Makes more sense to me, it is up higher, more out of the elements.
Bottom of the engine will get more water and road/trail dust, and wear out alt's rather quickly.
I live in the "North Country" and as such I do a lot of water crossings.
This will be the 2nd alternator i will be replacing in as many years.
So before I get a new alternator, I am going to relocate the old one and field test it.
Keep in mind that as usual I did not take a lot of pictures. I always seem to forget to take pictures while in progress of vehicle modifications. It is usually an afterthought when I am done.
And lately when I do remember it's now December so it's cold and my cell doesn't like to take pics and shuts down. So limited pics.
Parts Removal
- Loosened Idler pulley
- Remove Serpentine Belt
- Remove or unbolt Clutch Fan Shroud
- Remove Radiator Hose
- Remove Battery and Tray
- Remove AC Bypass Pulley
- Remove Alternator and Brackets
Getting as much out of the way as possible so that we had more room to work with. Pretty standard stuff so far.
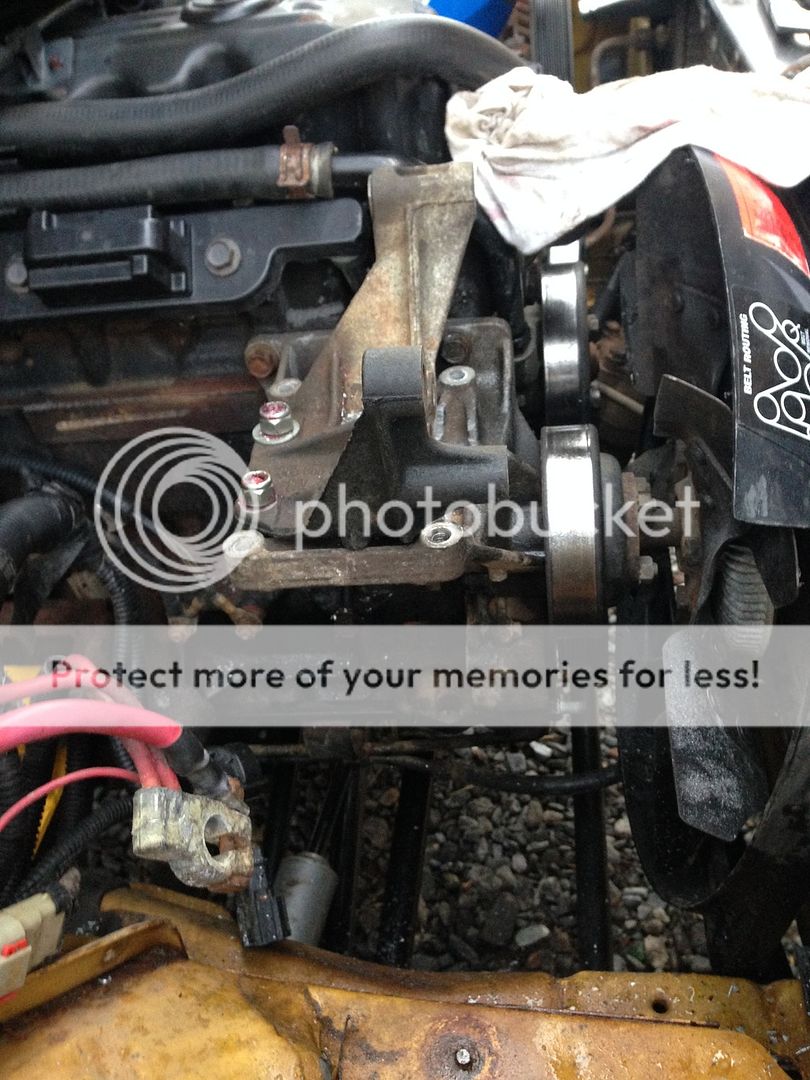
I will be using the AC bracket, so we left it connected.The Alternator bracket we will save, and mount it to the AC bracket up above.
Modifications
We line up the Alt Bracket onto the AC bracket, decide what we need to grind down to make it fit flat, and make the necessary alterations.
We then drill holes through both brackets, secure bolts and attach Alt bracket to the AC bracket, thus becoming one Alternator bracket.
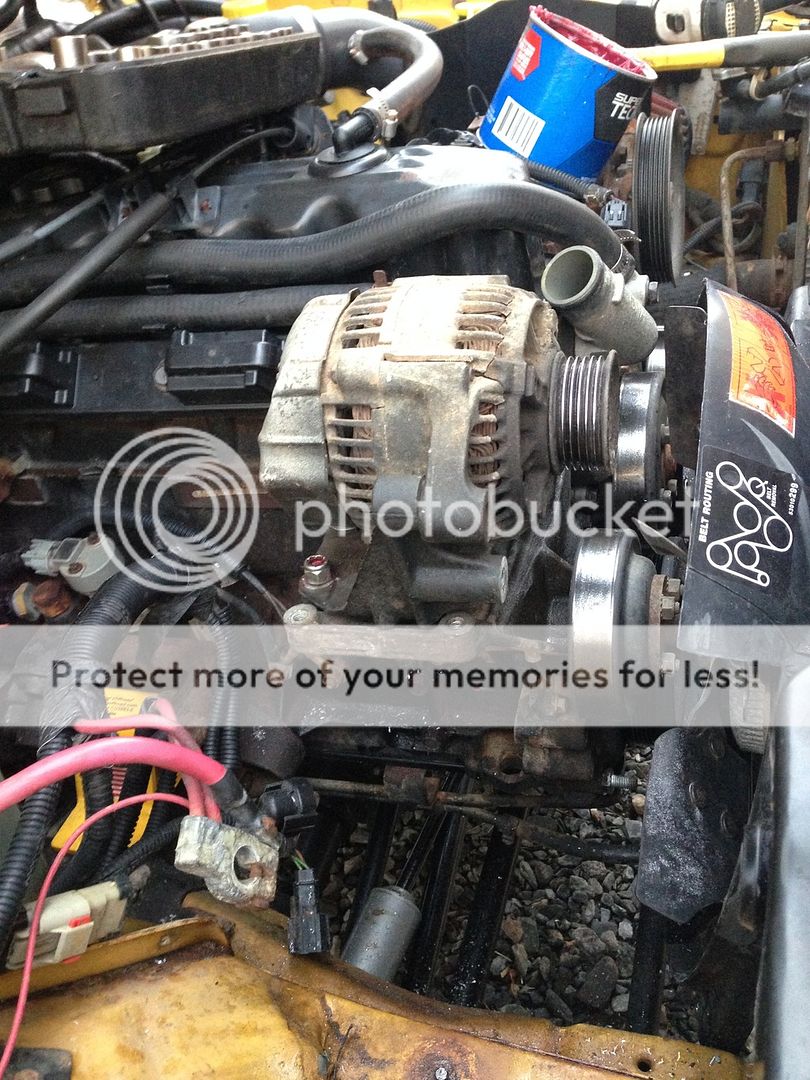
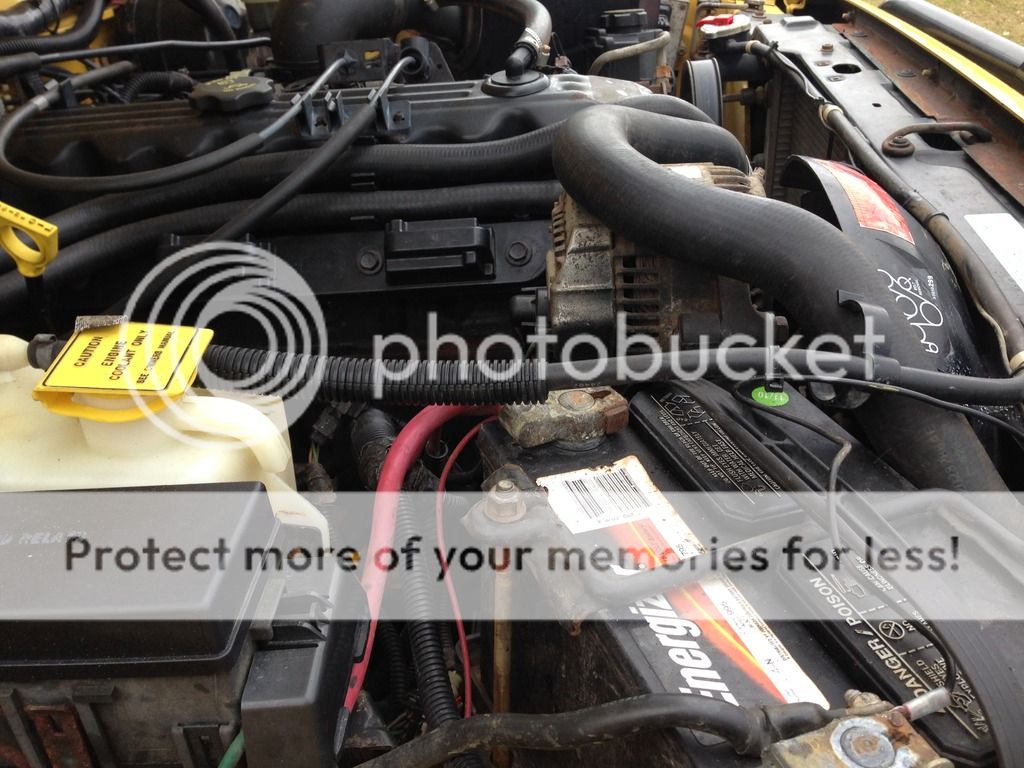
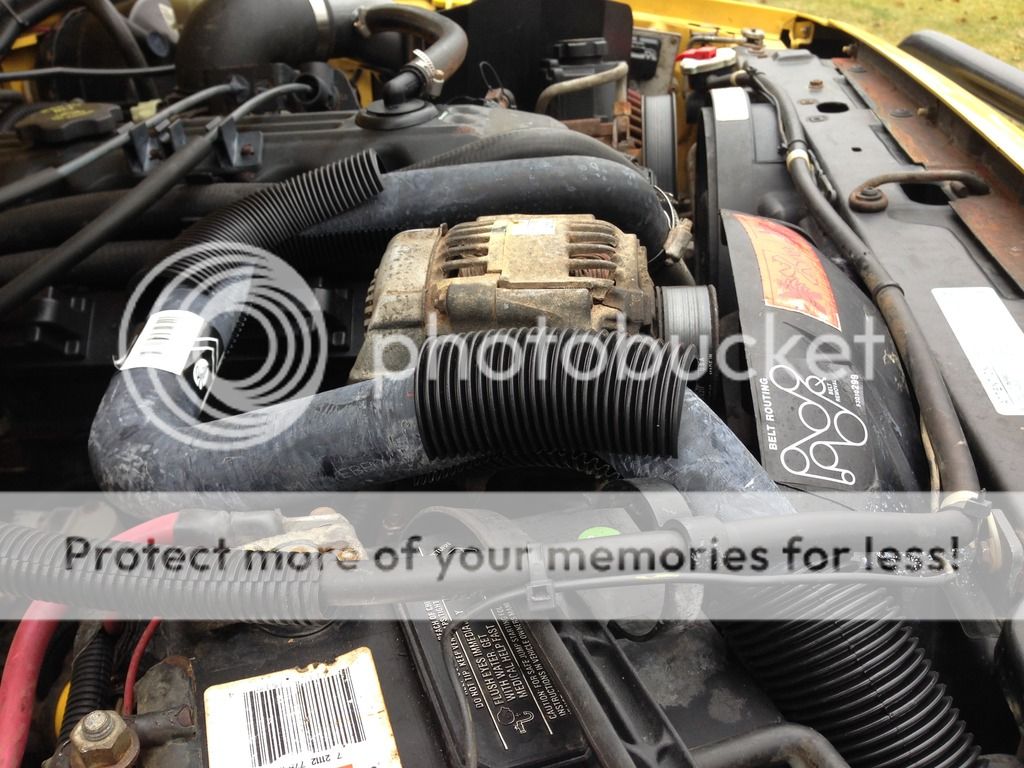
We then test fit the Alt in the new position, and take measurements for a new length belt, as we now have one less pulley. Due to clearance issues we will also need a new radiator hose, as the old one is too short and sits on top of the Alt, becoming compressed when the hood is closed.
Parts Needed
- Nuts and Bolts
- Serpentine Belt (76 1/2")
- Radiator Hose (94 and older XJ Rad Hose worked)
Tools Needed
- Sockets and Wrenches
- Drill
- Grinder
Results
Currently my new favorite mod, and I will do this to every XJ I own from here on out.
Keeps the Alternator high in the engine compartment so as to reduce contact to elements, allows ease of access to Alternator, removes a pulley from the equation so less draw on the engine and adds more space to the engine compartment.
Now that I have the Alt up and out of the way, I will invest in a better quality, higher amperage Alternator and cables.
Eventually I will delete the clutch fan in favor of two driver controlled electric fans, thus removing another pulley and needing a shorter serpentine belt. But that is a project for another time.
If I had the time and the temperature was better I would have done both mods simultaneously.
This is what happens when you work on a Jeep in your driveway in December in New England. You cut projects short and get it done ASAP.
Mounted Alternator Bracket to AC Bracket
Alternator Test Fit Mock Up
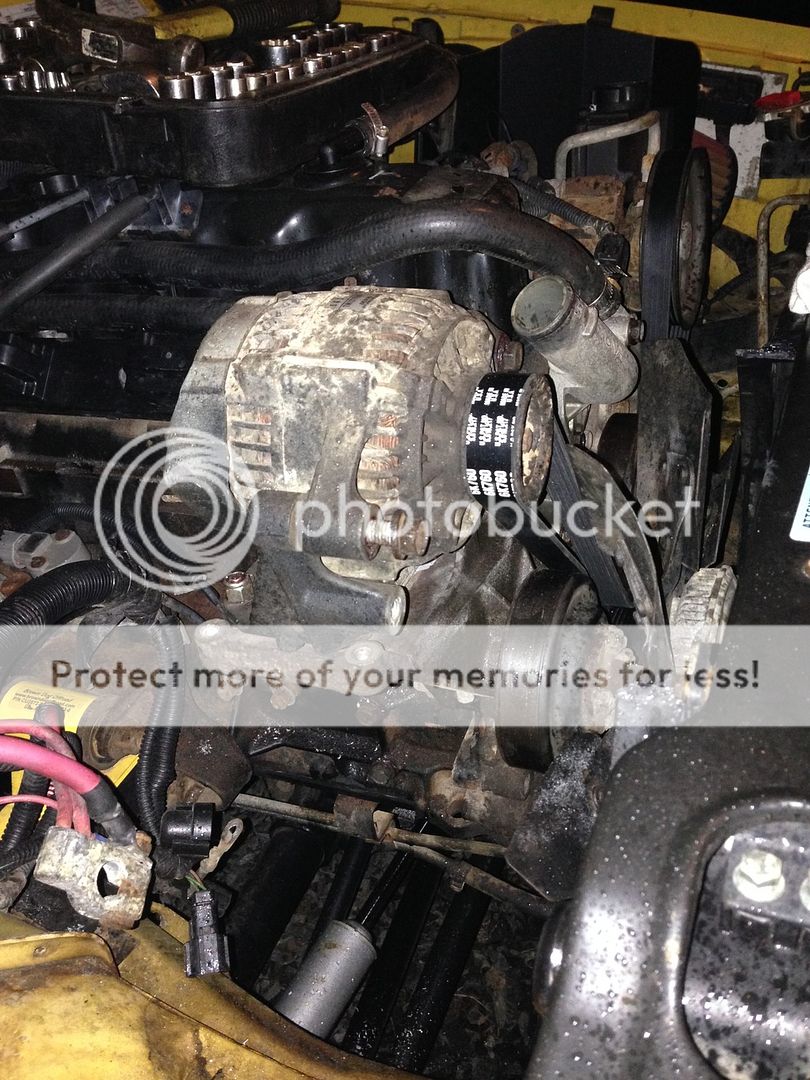
New Serpentine Belt Route
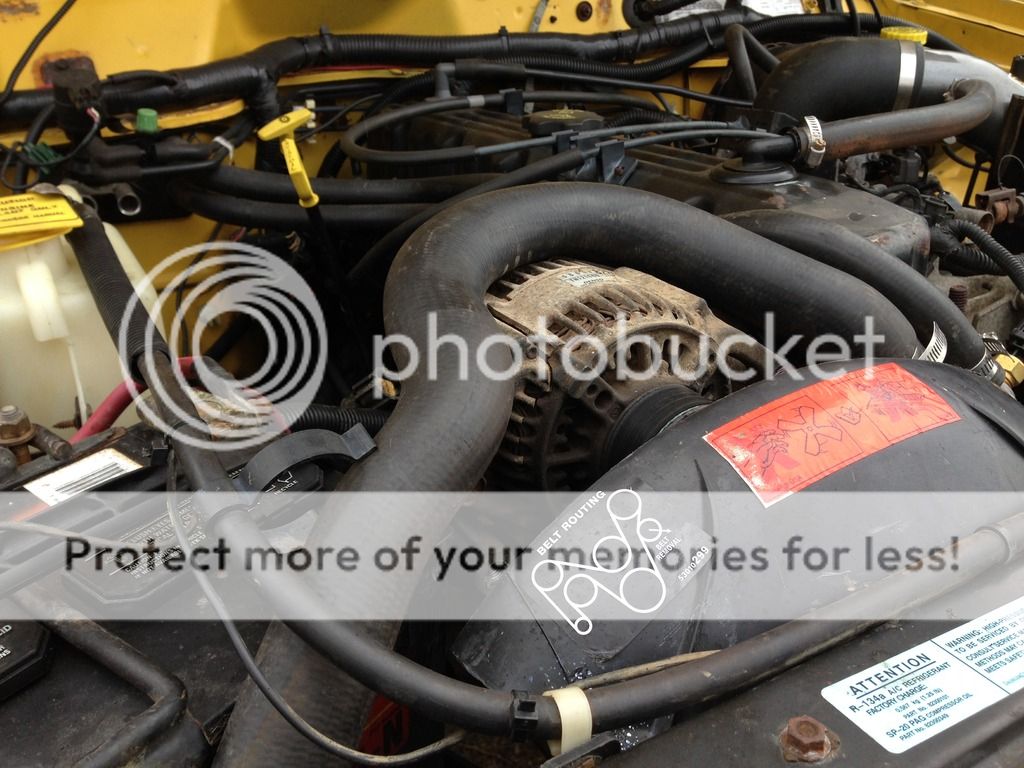
Stock 01 XJ Radiator Hose Clearance Issue
94 & Older XJ Radiator Hose Fit

 with a roof slider kit that looks similar.