• Welcome to the new NAXJA Forum! If your password does not work, please use "Forgot your password?" link on the log-in page. Please feel free to reach out to [email protected] if we can provide any assistance.

Expedition Build: Yellow Jeep XJ

Steering Upgrades

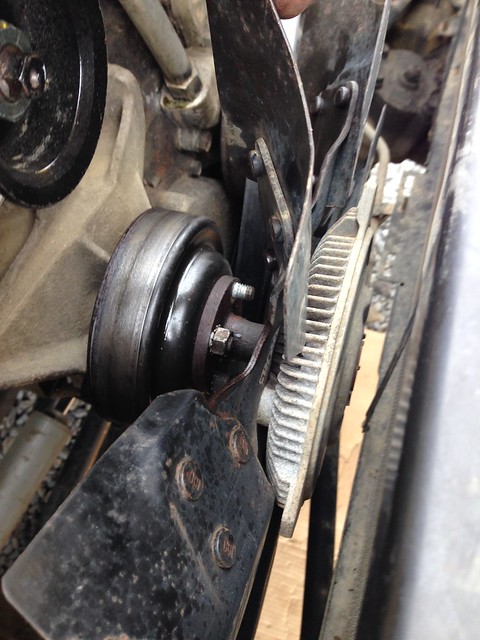
So my power steering went on me while driving the Jeep on the Kancamagus Highway in New Hampshire. With 33x12.5 tires the steering was a little stiff w/o power steering, but not unmanageable. So I was able to drive it back most of the way way. That is, until the bearings give way and the pulley to the power steering pump came off. So, back to the driveway to repair and upgrade...

Problems and Solutions...

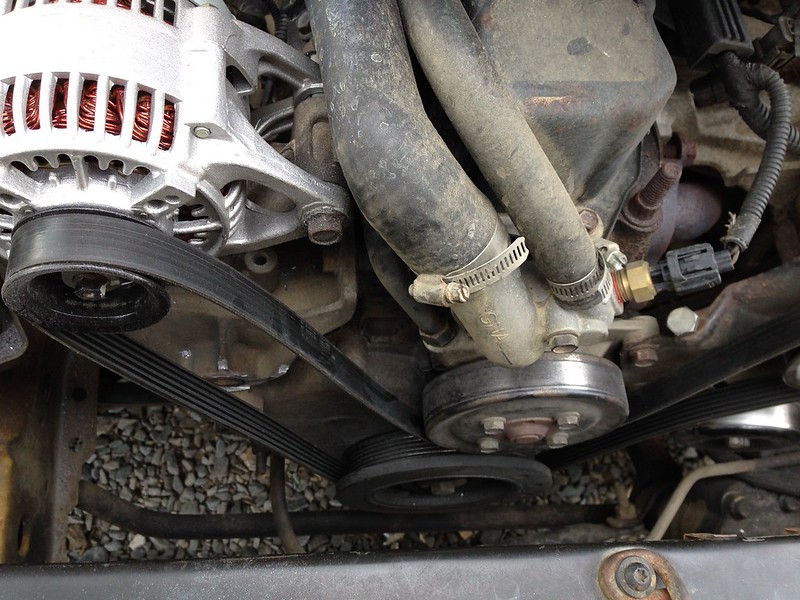
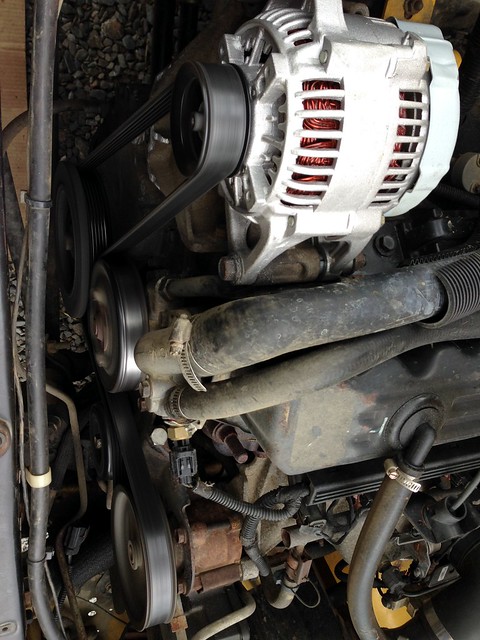
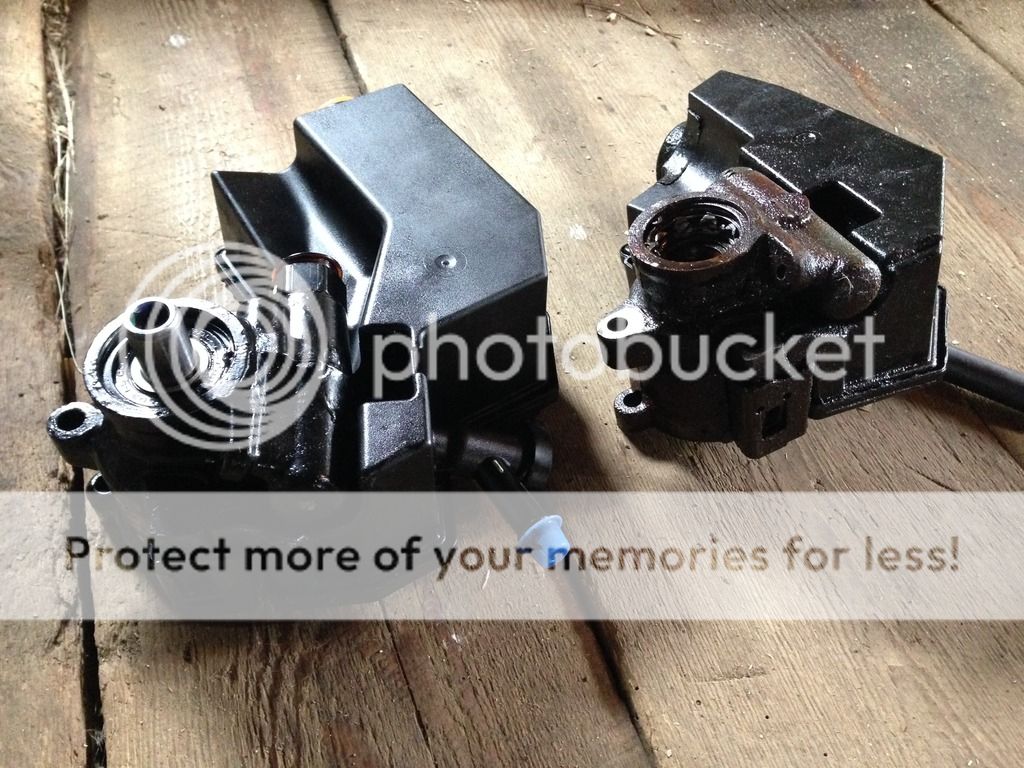
Problem #1: Power steering pump.

At this point I decide to upgrade from a stock Cherokee pump to a Grand Cherokee pump. Direct bolt on, with just two minor alterations to the setup.
#1 just need to plug the extra hole in reservoir that is intended to go to the Grand Cherokee Power Steering Cooler.
#2 Swap the 18mm High Pressure Hose fitting from the stock XJ pump to the WJ pump, as the new pump fitting is 22mm and the stock hose wont fit obviously.

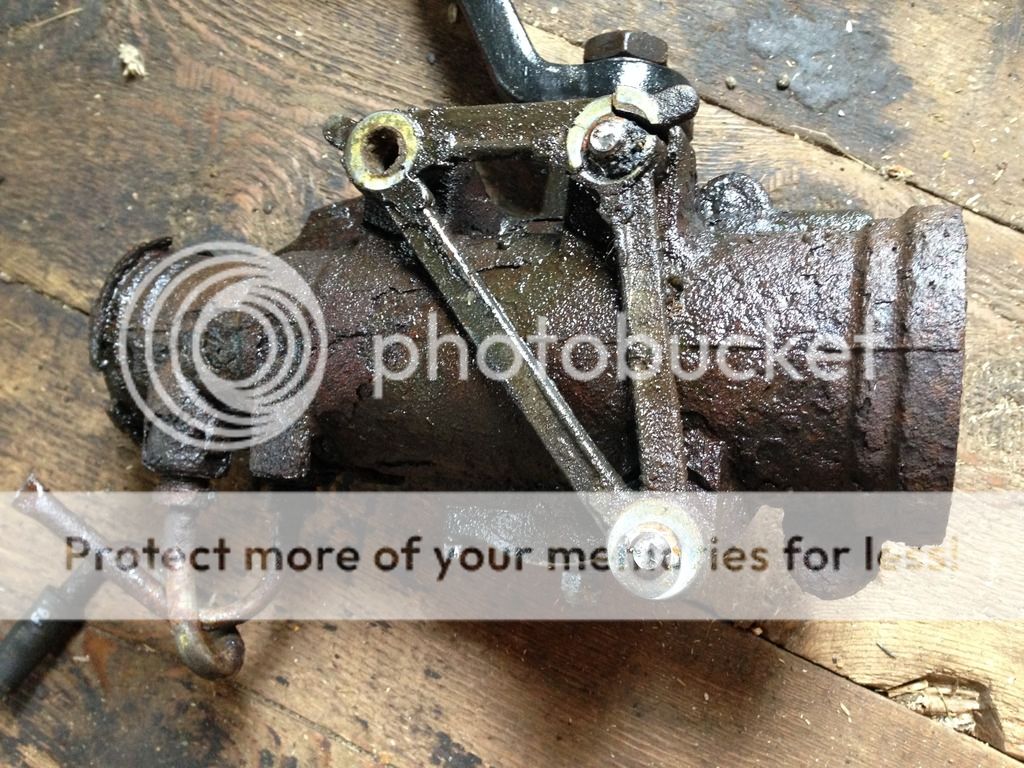
Upon further inspection I notice that my steering box has seen better days and is rusting away.

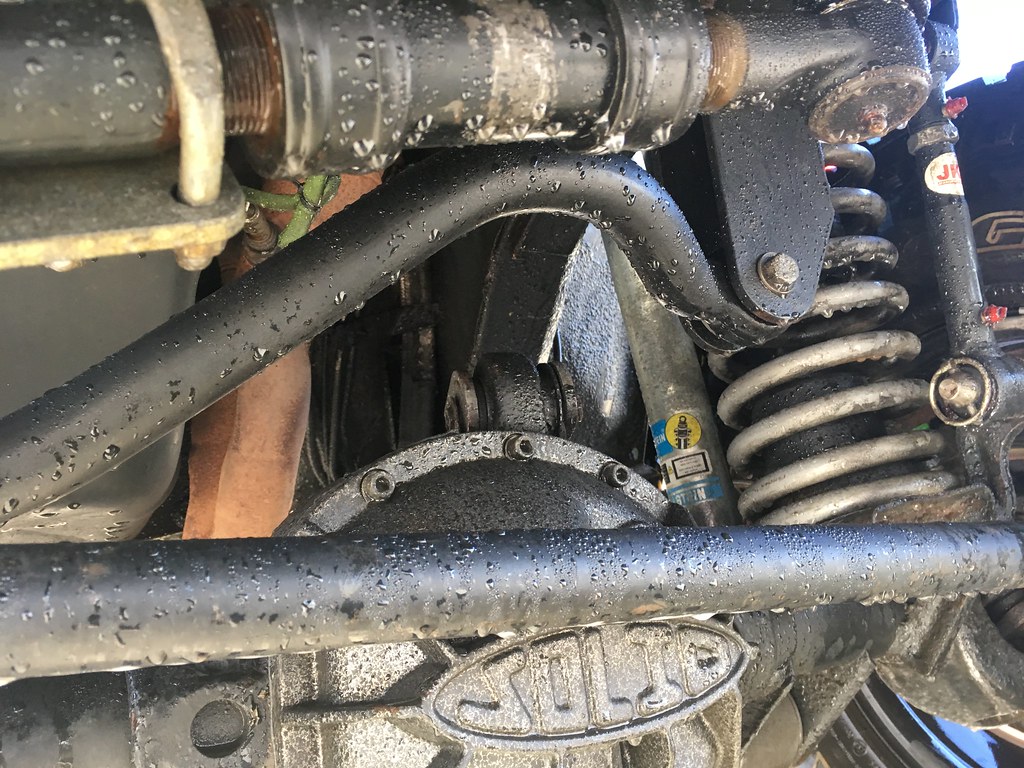
Problem #2: Steering Box
Since the stock steering box is rotted, I decide to upgrade to the Dodge Durango Steering Box. Direct bolt on with no modifications. Upon removing the steering box, I realize that the steering box spacer bracket is cracked and not reusable.

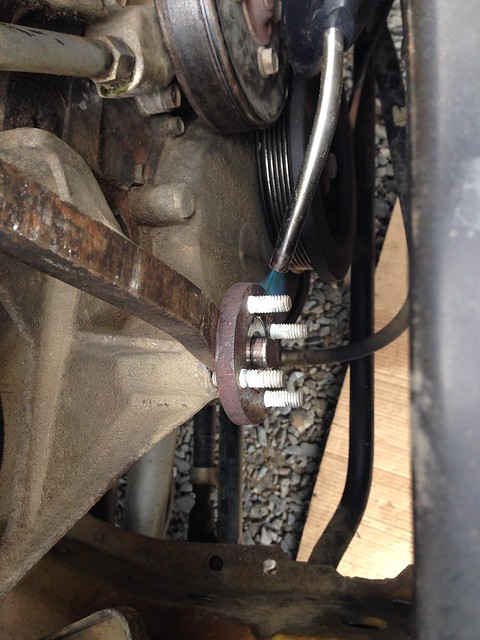
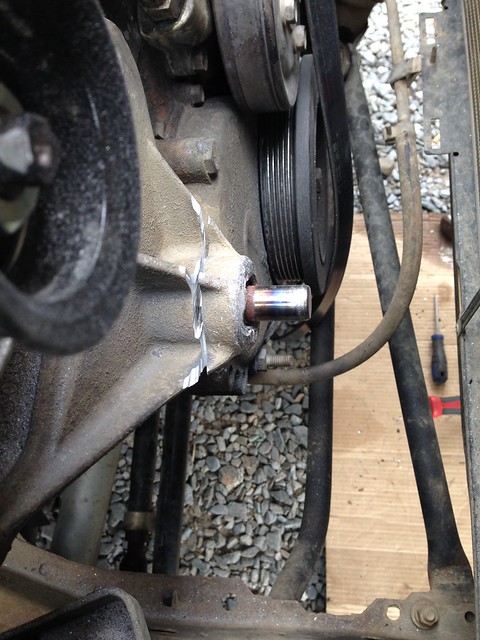
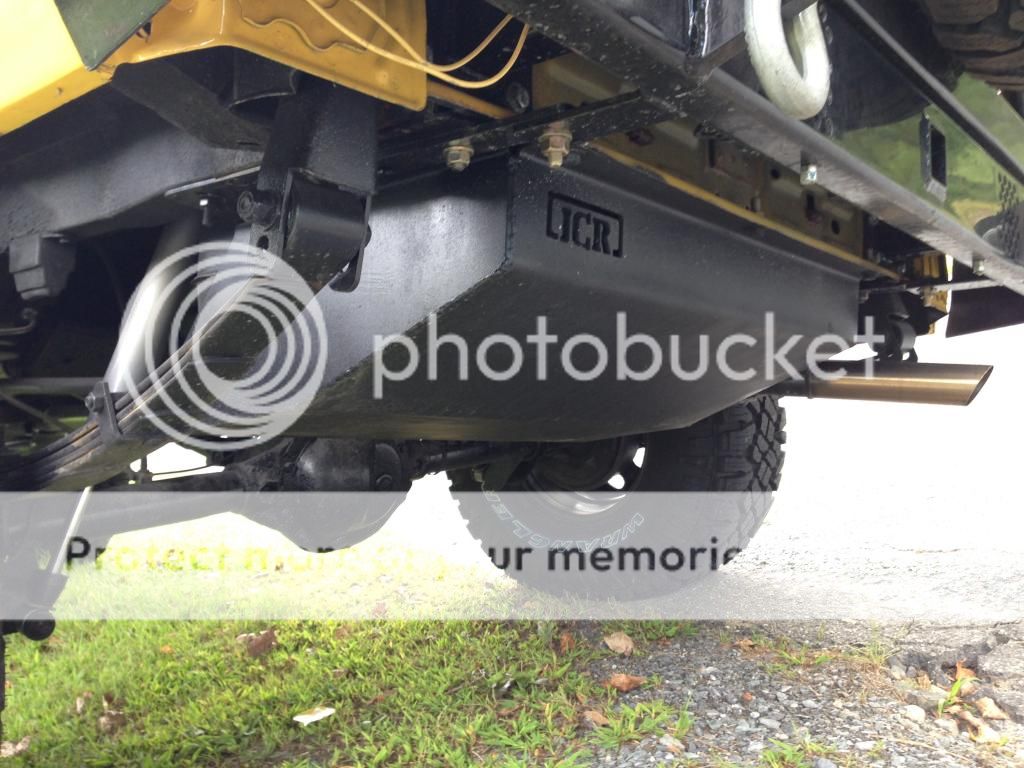
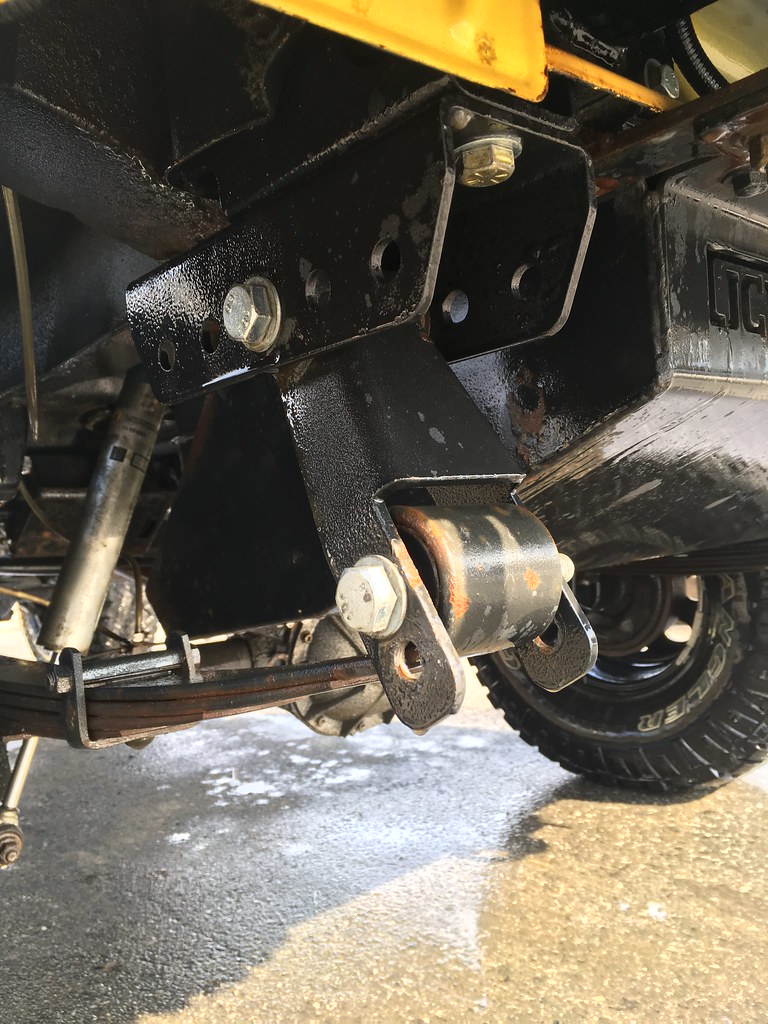
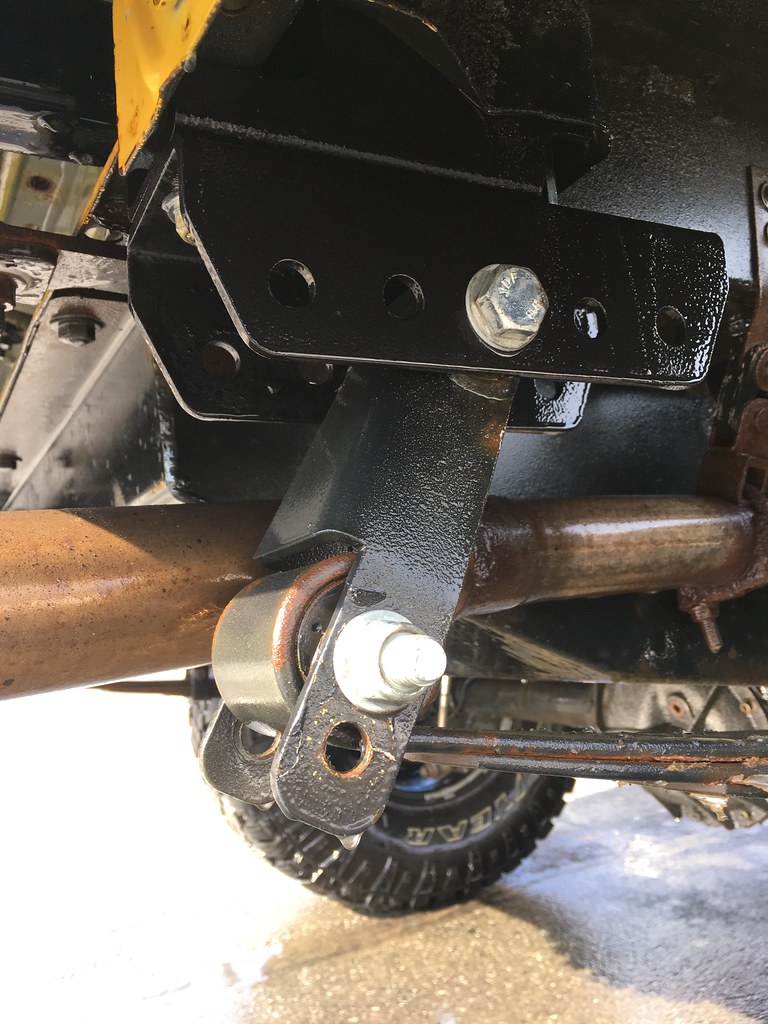
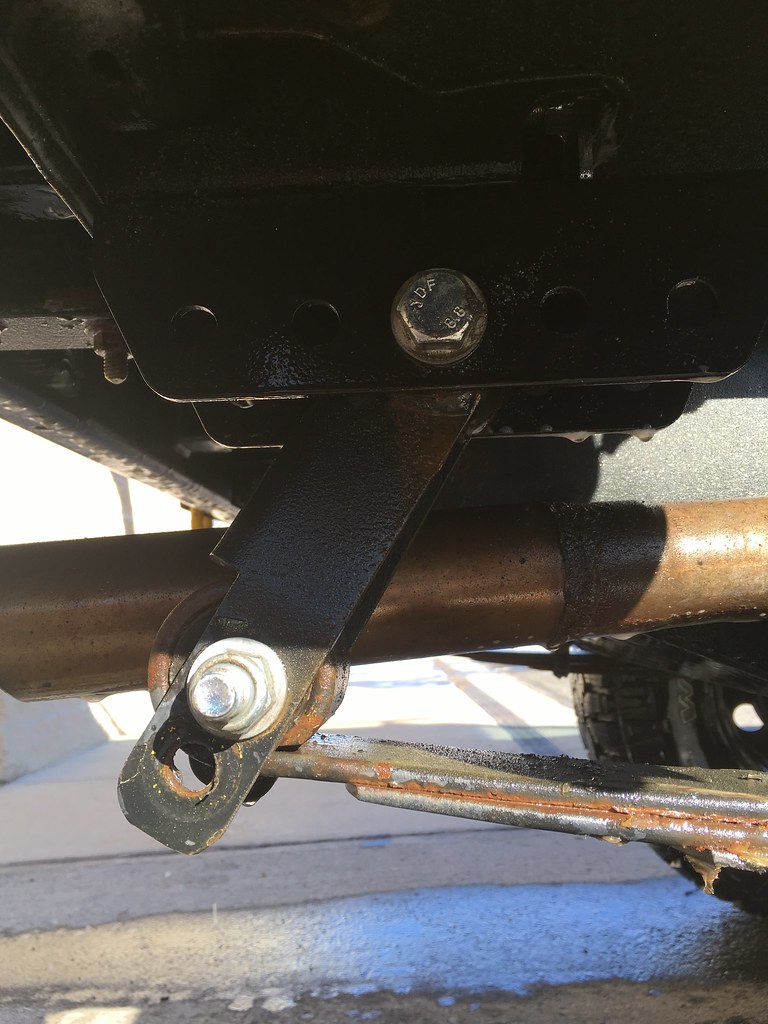
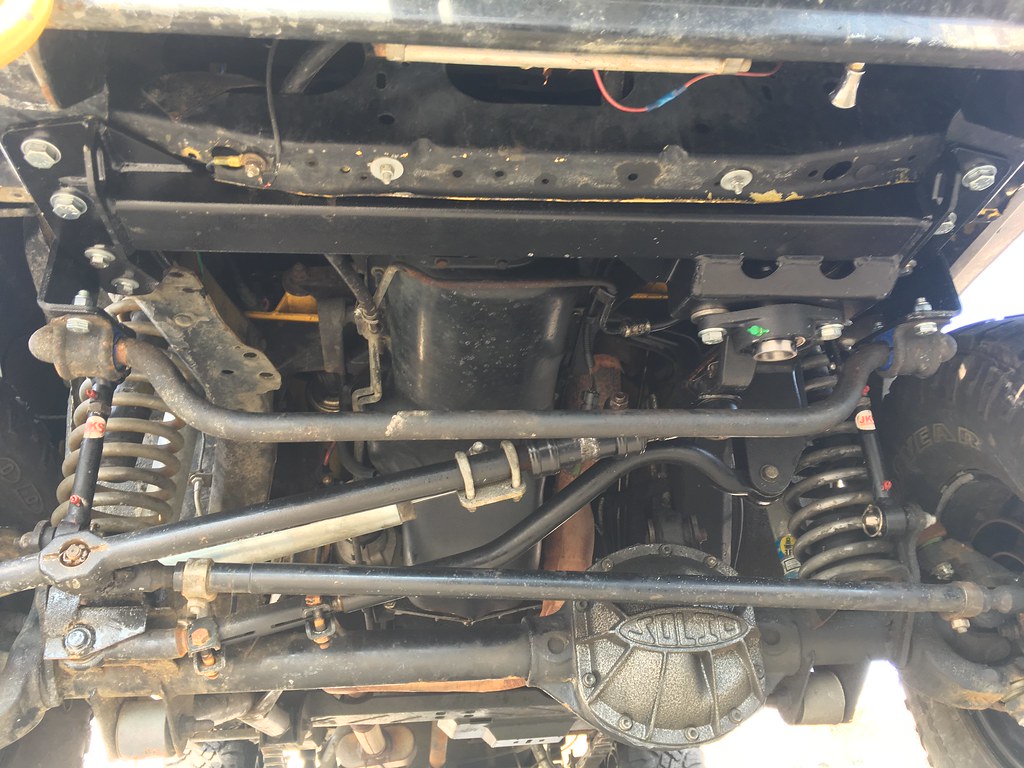
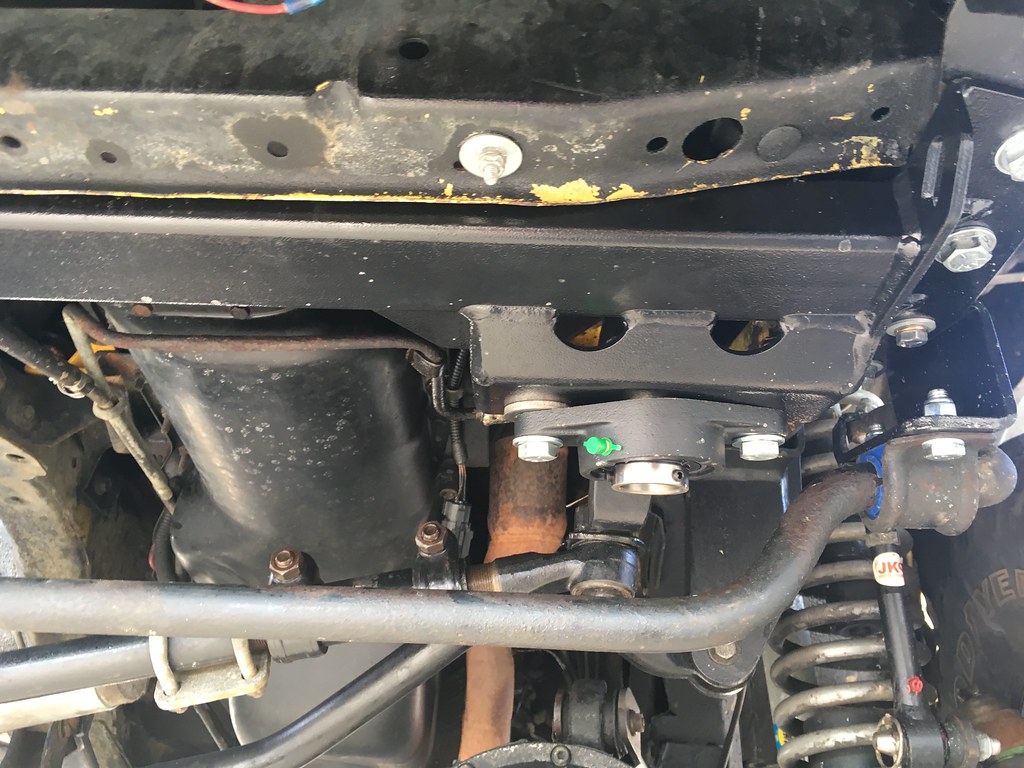
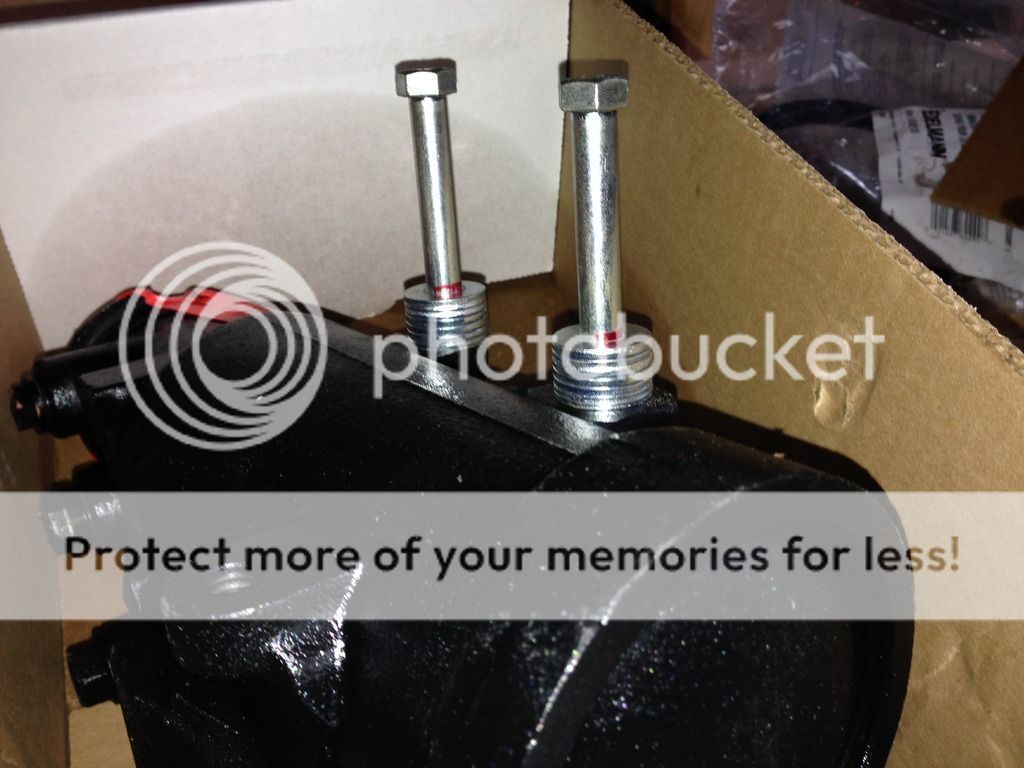
Problem #3: Steer Box Spacer/Bracket
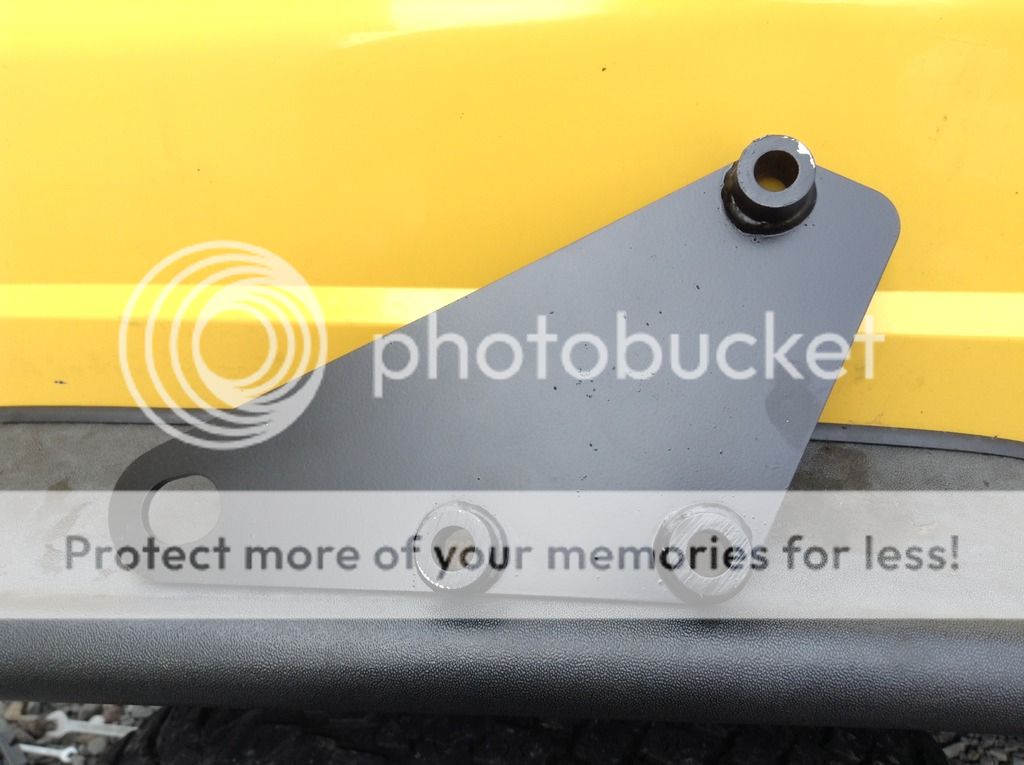
So this is a triangular 3 bolt spacer that sits between the steering box and the sub frame rail on the drivers side. 3 bolts go through the sub frame rail, then through the spacer, into the round steering box. I see this as an upgrade opportunity, but since there is no stock or hd version locally I will have to order one and wait a few days for delivery. Since this is my daily driver, that is an issue. So I simply bought 3 new bolts and a bunch of washers to use as makeshift spacers to get me by until the Heavy Duty Steering Box Bracket arrives a few days later. Ordered one from C-Rok. Delivery is on time, rugged and complete kit, goes in without issue.


Side note: Pitman Arm
Take the pitman arm off before you remove the steering box... lesson learned there.

Side note: Power Steering Pump
Be sure to bleed the power steering fluid through the pump properly, and cycle through your steering before starting your Jeep after the power steering pump install. Otherwise you may burn out your brand new pump.
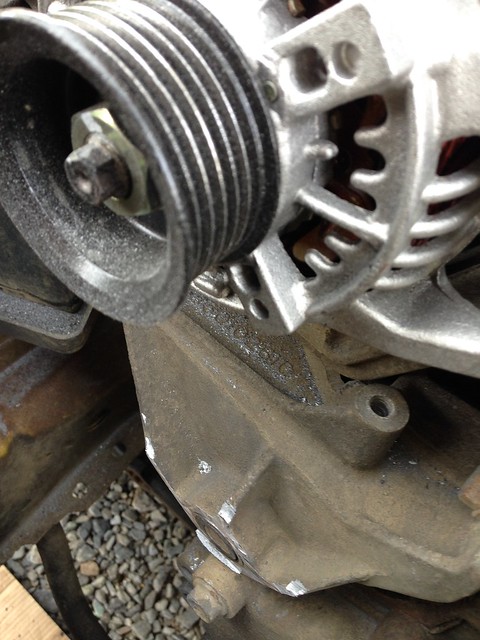
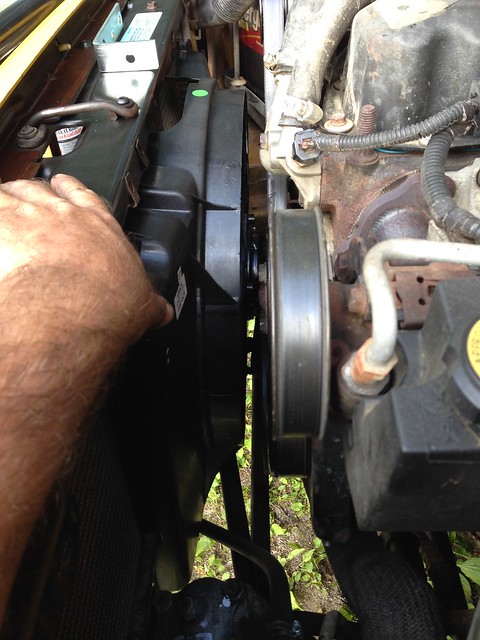
Side Note:
Pulley
Make sure you have a decent pulley installer. Mounting the pulley was a p.i.t.a. as I didn't have a pulley installer and had to rent one from a shop that had seen far better days.


Power Steering Pump Comparison

IMG_2238_zpsalsiqcxl.jpg


Steering Box Comparison

IMG_2228_zpsfnqznwau.jpg


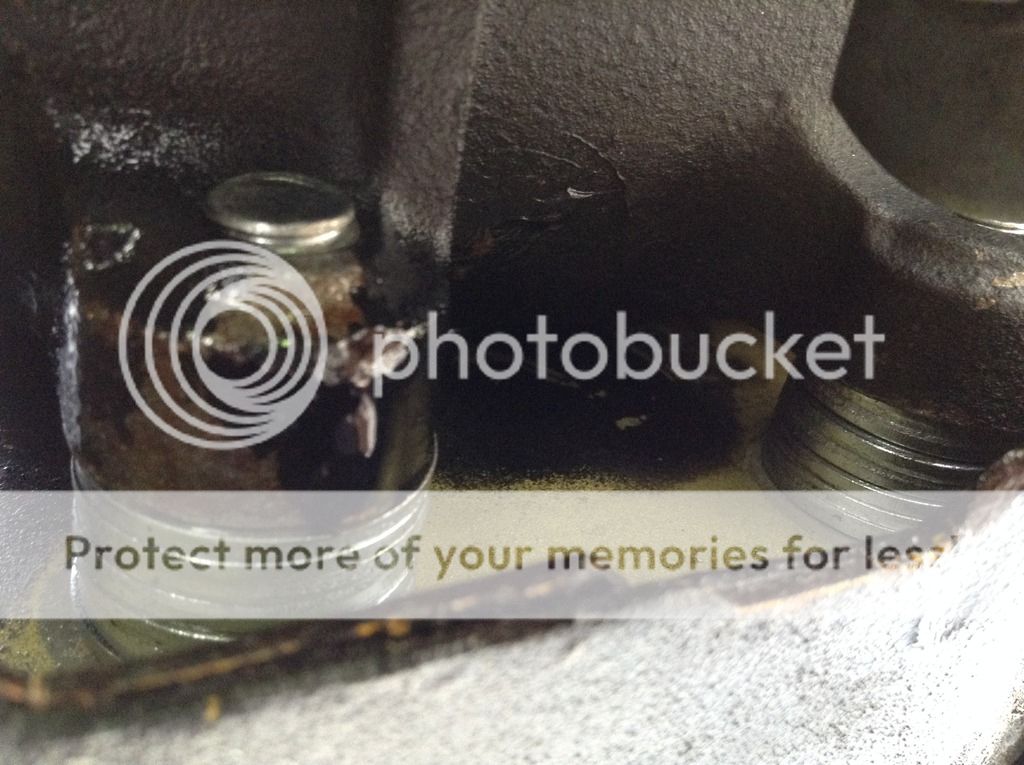
Stock Steering Box Spacer

IMG_2235_zps07ybfbrr.jpg


Temporary Steering Box Spacer

IMG_2251_zpsy83afe7l.jpg


IMG_4408_zpsozlnciy9.jpg


C-Rok Steering Box Spacer

IMG_4414_zpssqpuczph.jpg


Follow our adventures at Nomad Expeditions

For Wheeling, Overlanding and Travel Pics of the XJ in action


Hey man, just read through your build. I really like your attention to detail when it comes to packing gear and the fact that you actually use your rig for trips that call for a setup like that. After reading this I'm inspired to relocate my alternator because I've already been considering deleting my AC, although I would also like to install a belt driven compressor there..

I see you're in NH. Where at? I'm out of Milford and currently at UNH. I've been kickin around with a couple local clubs and have done some charity/fundraiser events with them as well as wheelin trips. We'd love to have you join! 2nd annual White Mountains breast cancer awareness convoy over the Kanc coming up in May.

Glad you dig it so far, it's a work in progress. Each trip helps me dial in a more balanced equipment inventory and mechanical limitations for my overlanding needs.

I'm about 2 hours north of you up in the White Mountains. Very Familiar with the Kancamagus. Never joined a club, just sort of did my own thing. But definitely not opposed to meeting up with a few people every now and then. Let me know when your up in this neck of the woods.
 
Why not just run a power steering cooler?

That's a good idea, and I had thought about it. But I put it in on the back burner for the time being. I took my AC and Condenser out to free up a little air flow for my radiator. Then I put in a transmission cooler. If I put in a power steering cooler I'm going to be almost back where I started. But the option is there in case I do change y ind down the road.
 
That's a good idea, and I had thought about it. But I put it in on the back burner for the time being. I took my AC and Condenser out to free up a little air flow for my radiator. Then I put in a transmission cooler. If I put in a power steering cooler I'm going to be almost back where I started. But the option is there in case I do change y ind down the road.

Both of my Heeps have had P/S cooler from the factory...
 
I added a tiny p/s cooler to mine. Its a Heyden and you can see it right above my drivers side left aux high beam light in the pic below (I tried to find a closer/better pic of it but couldn't). It doesn't take up much room but works pretty well. Up long slow 4 wheeling grades my p/s pump would start to get noisy from the fluid thinning out from heat. It doesn't do that as much now with the cooler. I'm running two trans coolers, an a/c condenser, oil cooler and 3-4 inch thick radiator and I still had room for the little p/s cooler. Mines expo built too so it will really help in the desert. Something to consider.....


IMG_4852.jpg
 
I added a tiny p/s cooler to mine. Its a Heyden and you can see it right above my drivers side left aux high beam light in the pic below (I tried to find a closer/better pic of it but couldn't). It doesn't take up much room but works pretty well. Up long slow 4 wheeling grades my p/s pump would start to get noisy from the fluid thinning out from heat. It doesn't do that as much now with the cooler. I'm running two trans coolers, an a/c condenser, oil cooler and 3-4 inch thick radiator and I still had room for the little p/s cooler. Mines expo built too so it will really help in the desert. Something to consider.....

It makes sense, and a couple of people here like montanaman, N8N-99xj and yourself have mentioned it in the last few days. So I might just pick one up. I did a couple of runs in the Mojave, and potential heat issues were always in the back of my mind.


Follow our adventures at Nomad Expeditions

For Wheeling, Overlanding and Travel Pics of the XJ in action
 
Replacing Clutch Fan with an Electric Fan

Mechanical clutch fans CFM airflow (Cubic Feet per Minute) directly relates to engine RPMs. The problem is that while off-roading in 4 wheel drive at low RPMs the clutch fan isn't doing a whole lot. The auxiliary e-fan will kick in to help, but it's not an optimum system due to lack of control.

So I opted to remove the mechanical clutch fan and install an electric fan. This way I can control the fans speed and airflow regardless of the engines RPMs. This would also delete another pulley from my setup. This will make two pulleys that have been deleted from the system thus far.
I selected a Ford Taurus electric fan, which is known for its substantial CFM speed.

Got some wire, relays, fuses, and a toggle switch; and got to work.


Remove Clutch Fan


font%3E%3Cfont%20size=4%3E%3Cfont%20size=2%3E


font%3E%3Cfont%20size=4%3E%3Cfont%20size=2%3E


Cut Clutch Fan Bracket for Belt Clearance

32163997880_7c7ac1ee1e_z.jpg


32163999630_e404f3f069_z.jpg


31731014613_f58b35213a_c.jpg


font%3E%3Cfont%20size=4%3E%3Cfont%20size=2%3E


Make brackets for Electric Fan and Install

32390554282_5e50e26d8a_z.jpg


32163992390_4b91d8de4a_z.jpg


font%3E%3Cfont%20size=4%3E%3Cfont%20size=2%3E


Follow our adventures at Nomad Expeditions

For Wheeling, Overlanding and Travel Pics of the XJ in action

 
Steering and Suspension Upgrades

The short story:
I was driving with no way bar links with bad shocks and ball joints, and was looking to go on another cross country road trip.
This leads to the longer story...

The longer story:
Since I was in need of new shocks, I called Rough Country so they could provide me with the lengths for the 2.2 shocks that came with my existing 4.5" Long Arm Lift Kit.

My 4.5" Lift Rough Country Shock lengths:
Front Extended Length: 26" - Collapsed Length: 15"
Rear Extended Length: 25" - Collapsed Length: 15.25"

New Bilstein Shock Lengths:

Front Extended Length: 26.5" - Collapsed Length: 16.51" - Model: 24-187190
Rear Extended Length: 25.9" - Collapsed Length: 15.9" - Model: 33-151663

I got as close as I could to those lengths with the new Bilstein 5100 shocks, but it was not an exact match. So I got some extended bump stops to compensate for the slightly longer collapsed length. I also really needed extended bump stops to limit my travel for a bunch of other reasons. This lead me to check and update a few things before I undertake another long overland trip.

Ball Joints and the adjustable track bar's heim joint had some play so they also got replaced. I didn't like how in order to adjust the track bar I had to remove it from the bracket and rotate the heim joint. So I opted for the newer version that could be adjusted without removal, like a tie rod style adjustable track bar. This also had a bend to help avoid hitting on the diff cover.

All of this in turn prompted a more in-depth overhaul of the vehicle...


Preliminary Punch List:

Installs:

  • Install New Shocks Front and Rear
  • Install New Extended Bump Stops Front and Rear
  • Install OEM Sway Bar and New Extended Quick Disco Sway Bar Links
  • Install New Leaf Spring Shackle Relocation Kit
  • Install New Brakes
  • Install New Track Bar

Adjustments:


  • Check and Adjust Existing RC Long Arm List Kit
  • Check and Adjust RC Adjustable Trac Bar
  • Check and Adjust any and all suspension and Steering Components
  • Check and Adjust Front Brakes - Replace if Necessary
  • Tighten up Steering, Suspension and Lift Components to Correct Geometry

Leaks:


  • Resolve Power Steering Box Leak
  • Resolve Slip Yolk Eliminator Leak
  • Check and change all fluids (oil, gear, coolant, etc)

Modification Fix:


  • Shave or Adjust Alternator Bracket so that Serpentine Belt is properly Aligned

Parts List:

Shocks -

  • Bilstein 5100 Series

  • 2 Front - Extended Length: 26.5" - Collapsed Length: 16.51" - Model: 24-187190
  • 2 Rear - Extended Length: 25.9" - Collapsed Length: 15.9" - Model: 33-151663
Steering:

  • Rough Country Heavy Duty Adjustable Track Bar - Model:1042
  • JKS Extended Front Sway Bar Quicker Disconnects - Model: 2001
  • Original Stock Sway Bar
  • Moog Sway Bar Bushings - Model: K3171
Bump Stops
  • Daystar Extended Front Upper Bump Stops - Model: KJ09114BK
  • Rubicon Express Front Lower 2" Bump Stops - Model: RE1380
  • Daystar Extended Rear Bump Stops - Model: KJ09122BK
Misc:

  • Rough Country Shackle Relocation Kit - Model: 1117
Brakes:
  • Centric Rotors - Model:120.67045
  • Hawk Performance Brake Pads - Model: HB210Y.677LTS


No pics at the moment, may try to dig them up at some point.


Follow our adventures at Nomad Expeditions

For Wheeling, Overlanding and Travel Pics of the XJ in action


Front Driveshaft Upgrades, Issues and Solutions

When I upgraded my rear driveshaft, and I had intended to upgrade my front driveshaft as well. But to be honest it was working just fine, so I basically was going to ride it until it gave... and it did, well almost. It had an obscene amount of play, and was causing some severe driveline vibes, so time to upgrade.

Problem #1: Old Stock Front Driveshaft

The stock drive shaft is shot. So I measured ujoint cap to cap at 32" sitting at normal ride height with my broken in 4.5" long arm lift kit. I call up Tom Woods and order a heavy duty double cardan custom front driveshaft. Shows up a few days latter, installed and good to go. So I thought...

Problem #2: Clearance
So I start driving around town, nothing crazy. Just enjoying the lack of vibes. I live in New England so I catch a frost heave. Then I hear it: A loud spinning metal on metal noise. Just for a split second, then nothing. Drive around some more and I figure out it's the second my suspension compresses over a frost heave that I hear it.

I get underneath the jeep, and I see a line of paint scraped off the front drive shaft where the weights are right next to the yolk. I look around, the only thing that could be hitting it is my exhaust flange where my pre-cats and front down pipe meet. Exhaust hasn't moved, so the only thing it can be is that because the new Tom Woods Drive Shaft is thicker than the stock one, my exhaust flange is now hitting the thicker drive shaft.

Solution: Cut the Flange

This is a triangular 3 flange that meets my precats to my front pipe that goes to the cat and muffler. There is enough meat on it, so we cut the corner off the flange that is hitting the drive shaft, and drill a new hole for the 3rd bolt. Got lucky with a 43 degree day, and made the cuts outside.


Front Driveshaft and Exhaust Flange

33189441300_1d8dc74d49_c.jpg


Cut and Drill

33573053335_f251de6ce9_c.jpg


32729472974_50b54732d8_c.jpg


Finished Product:


33189438740_7ccfb3f4c1_c.jpg


Follow our adventures at Nomad Expeditions

For Wheeling, Overlanding and Travel Pics of the XJ in action

 
Shackle Bracket Relocation Kit

Didn't like my shackle angle at all, so I finally got around to installing a Leaf Spring Shackle Relocation Kit from Rough Country. Got a lot better shackle angle, and future proofed it due to the fact that the relocation kit has different settings to accommodate various lifts. It also boosted up the rear a bit, gave it some decent rake to compensate for when I have full gear for overlanding.


Before:

087_zps91220572.jpg


After:

33208825840_cb0b331085_b.jpg


32749317074_719760dc25_b.jpg


32749314404_cff8e6909b_b.jpg


Follow our adventures at Nomad Expeditions

For Wheeling, Overlanding and Travel Pics of the XJ in action

 
Any difference in the ride? Not sure exactly what this kit does. I have the same lift, but nothing crazy going on with angles.

The shackle relocation kit allows the shackle to be positioned in an optimum location for articulation. So not only can it affect the ride quality, but provide greater flex and articulation offroad as well. Basically fine tuning the rear suspension travel. It also provides up to 1.5" inches of lift in the rear as a by product. It makes the leaf spring shackles far more accessible, and out of the frame rail. And it helps avoid issues caused by improper shackle angles.

Personally I feel the Jeeps handles a little better, both on road and off. Better articulation and flex, more wheel contact, more travel and control.

Follow our adventures at Nomad Expeditions

For Wheeling, Overlanding and Travel Pics of the XJ in action
 
Steering Upgrades

Since this is used as an Overland Vehicle, Trail Rig, and Daily Driver; this build runs a fine line. It needs to handle highway speeds, have good road manors, and handle a trail all at a moments notice. Which brings me back to steering...

Adjustable Track Bar

I was dealing with some clearance issues before I installed extended bumpstops. Noticed that the adjustable track bar that came with my long arm kit would connect with the top of my differential cover once the sway bar links were disconnected on the trail. I also didn't like the fact that any time I needed to adjust my track bar, I would have to disconnect the top end from the mount and rotate the heim joint. Plus the heim joint already had some play in it.

So I ordered a new Heavy Duty Adjustable Track Bar from Rough Country. Rugged 1.25" outside diamiter, curved at the diff, and it had a tie rod style adjustment so that I can adjust while mounted, without disconnecting.

Sector Shaft Brace

I had a steering box brace. But I always felt it was more for piece of mind than actually being useful. I do a lot of trails, around a lot of rocks, and find myself in a lot of mud. I am also looking to upgrade from 33" to 35" tires soon. So I was on the look out for something more solid to keep my steering box from peeling off my frame.

I was also having a bad run with remaned steering boxes having some play in them from the local stores. I went through 3 before I found one with the least amount of play. Not great, just the least amount. One had an 8 inch dead spot.

So I decided to get a Heavy Duty Sector Shaft Brace from Boostwerks Engineering. From their website:

"The design utilizes a large 1 1/4" pillow block bearing to brace the steering box from those hard hits and high loads that off-roading entails. The Ultimate Brace also effectively creates a truss between both Uni-Rails further stiffening the chassis. We've incorporated high profile recovery and trailer tie down points into the design as well."

Rugged design, 3/16 steel, and Uni-Rail truss. And it helped dial in some steering play issues as well. I had to get drop down brackets for my sway bar links. But everything lined up and bolted in great. This, combined with my C-Rok 3/16" Steel Inside Frame Plate Steering Box Spacer which I had installed and mentioned previously in this build, gives me a lot more confidence in my steering setup now


Sector Shaft Brace and Adjustable Track Bar

32749313264_e68454bb34_b.jpg


Sector Shaft Brace

33551509606_c56b21ff9b_b.jpg


Adjustable Track Bar

33208828320_fd9690226b_b.jpg


Follow our adventures at Nomad Expeditions

For Wheeling, Overlanding and Travel Pics of the XJ in action

 
Back
Top