PseudoSport
NAXJA Forum User
- Location
- Hanover, MA
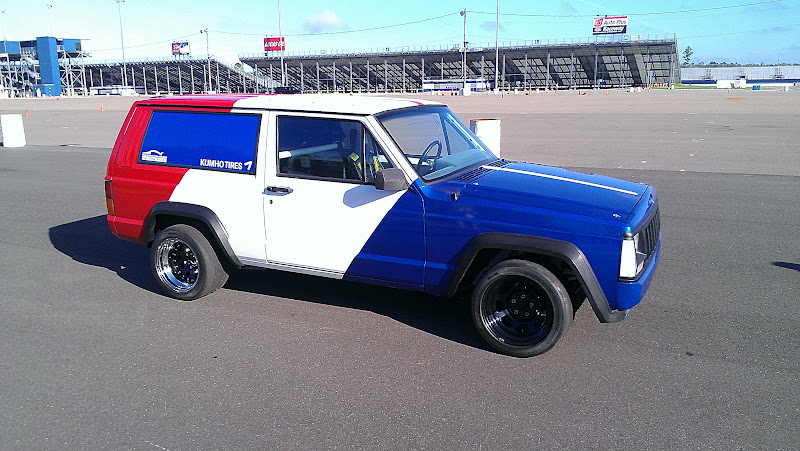
A few people have contacted us through our facebook page (facebook.com/JeepXJR) asking if we had a build thread on any Jeep forums. Since our project was built for the Grassroots Motorsports Challenge we had it up on their forum then never really got around to posting it anywhere else. Our project started back in 2008 mainly as a joke but we have been continuously working on and improving the Jeep as time goes on.
I mainly copied Jeff’s post from GRM but I should be able to answer any additional questions and hopeful add more to it later since we made a lot of changes for 2012
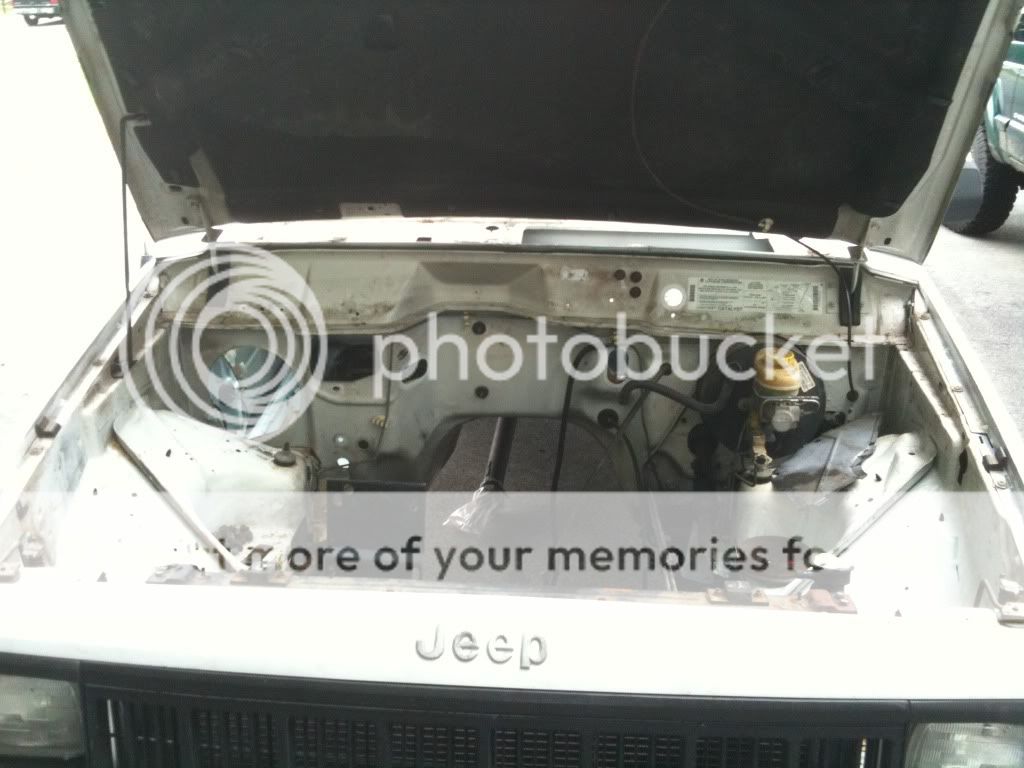
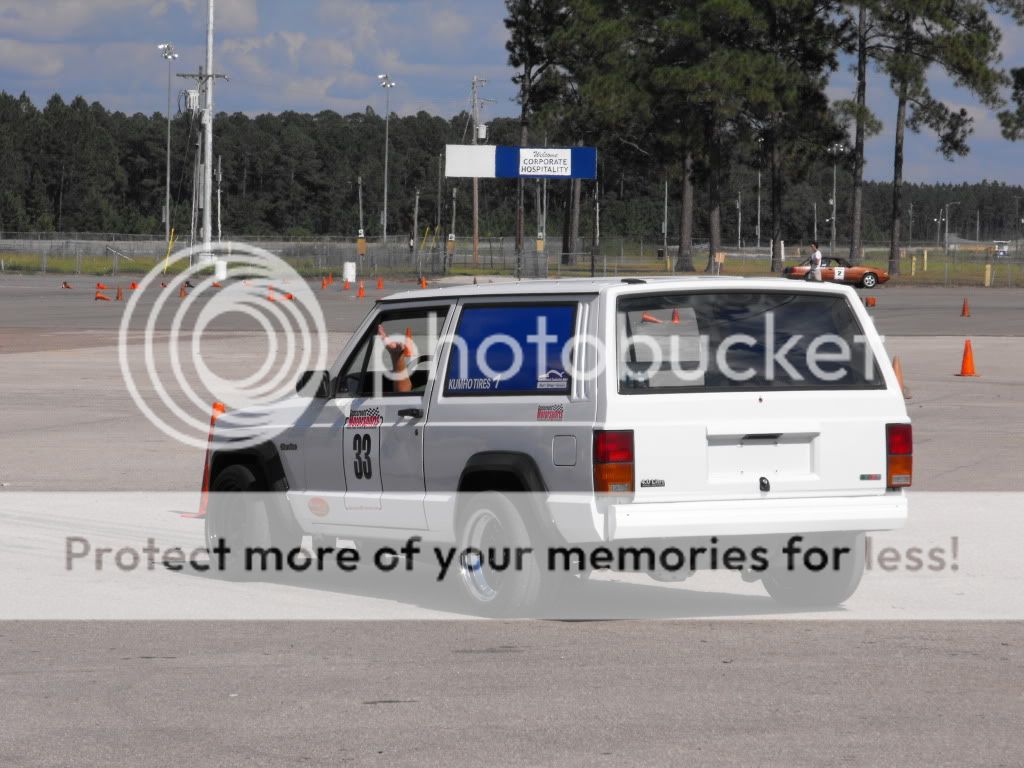
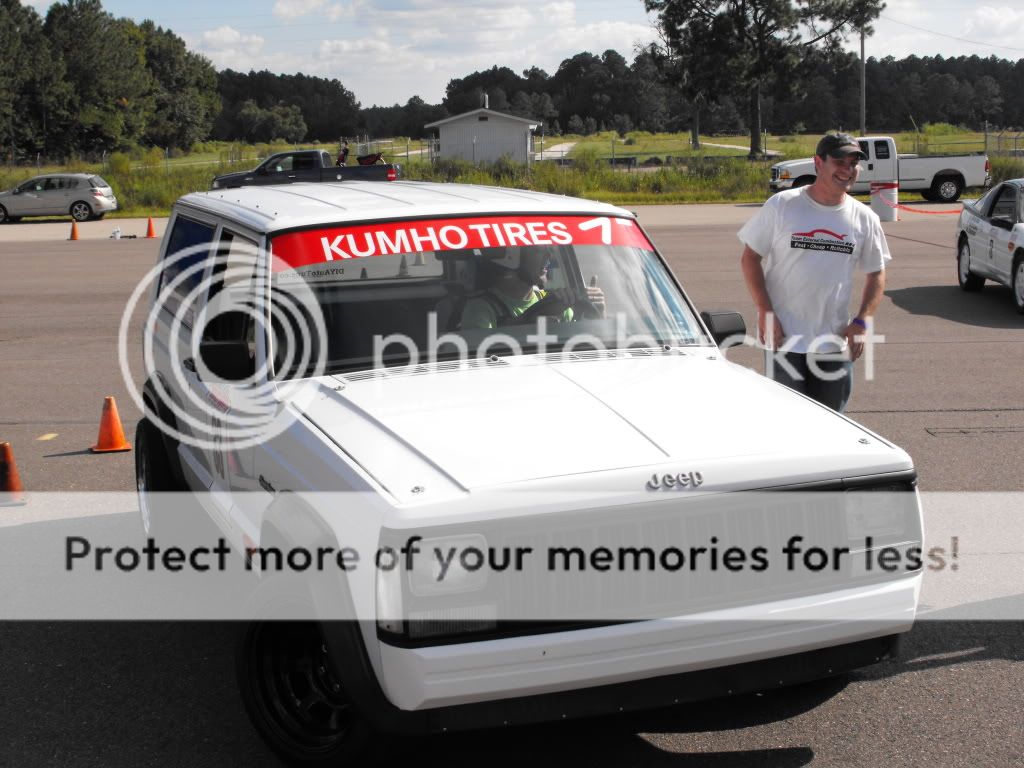
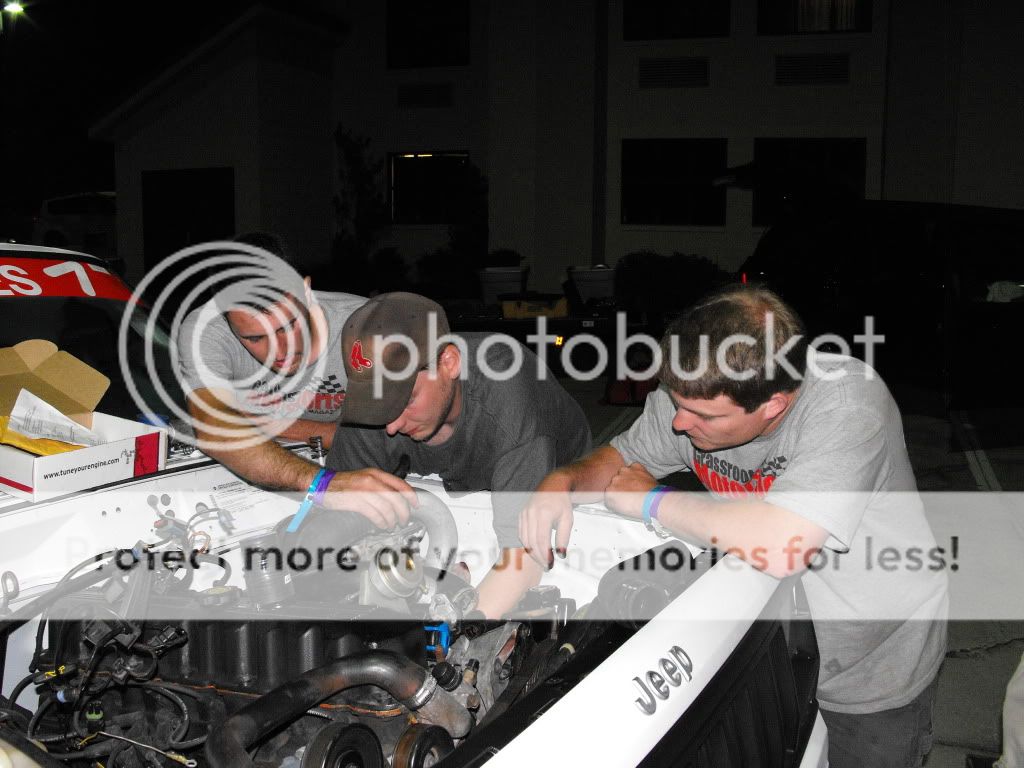
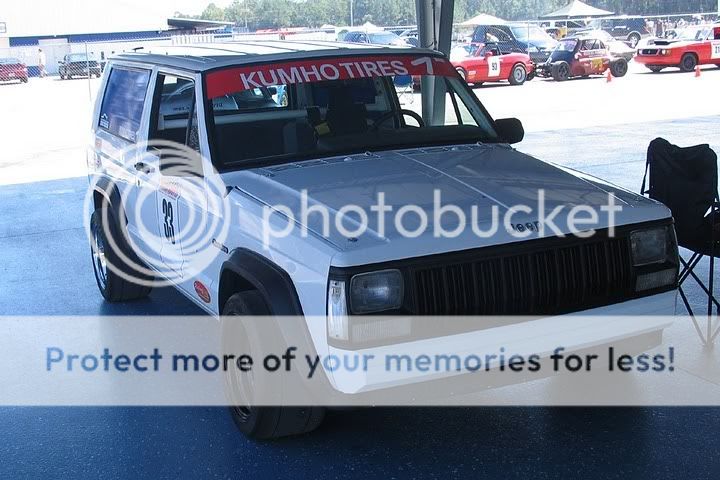
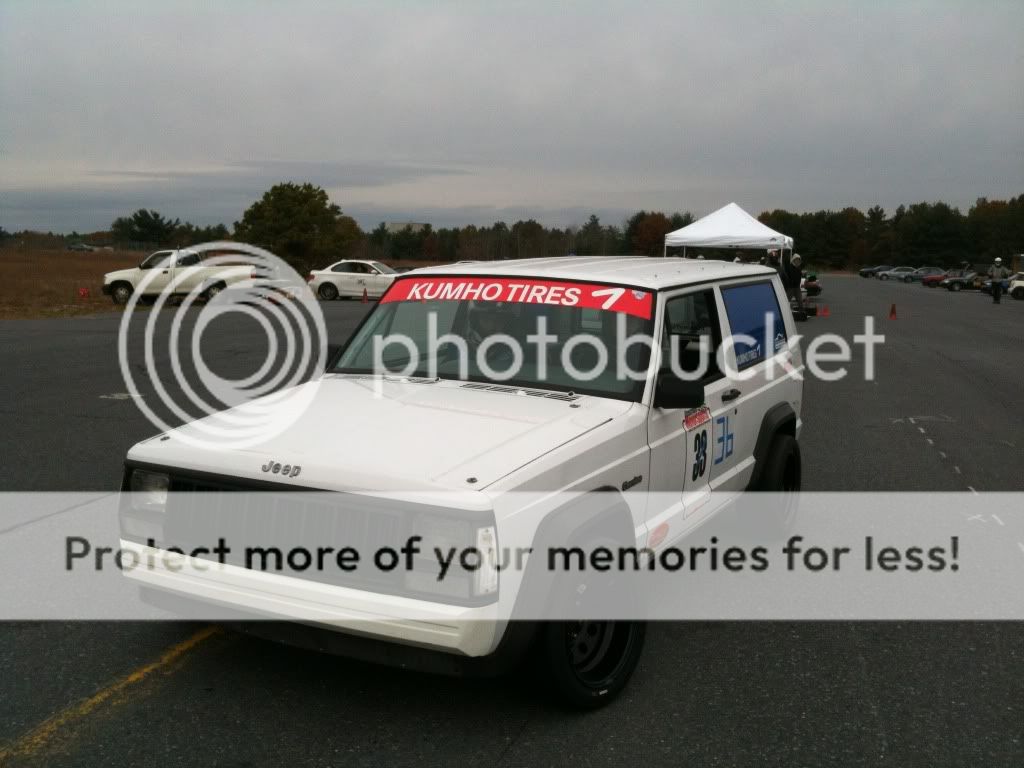
PART 1: We started the project with a difficult search of finding a two door, two wheel drive Jeep Cherokee. As it turns out one was recently brought up to New Hampshire from Mississippi for us! Talked the dealer down to $600. Let’s face it; no one in New England wants a 2WD Jeep. Good news for us.
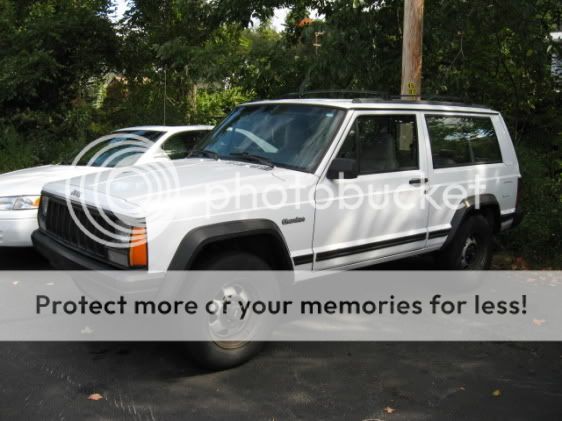
Windshield cracked no title, 243k miles, chunky brown coolant, but running great, no real rust and fairly straight body. The only bad part is that we couldn’t find a manual transmission XJ. The automatic transmission (AW4) is bulletproof though so it isn’t all bad news.
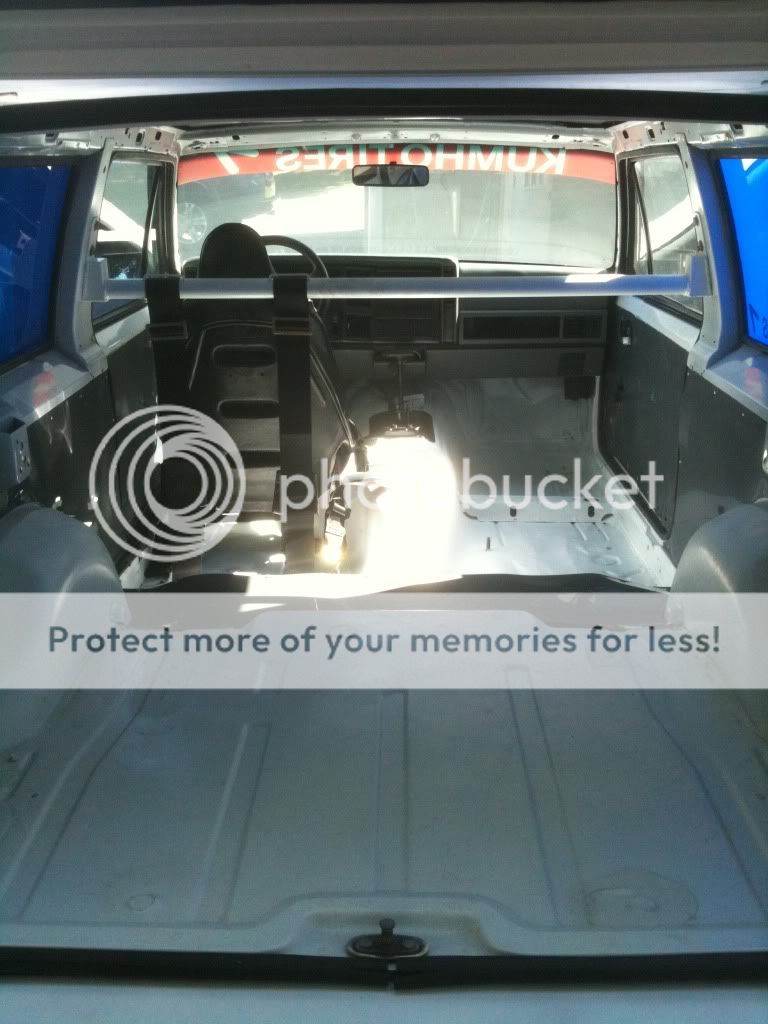
We started the build with finding our starting weight. Not terribly heavy at all, only 2,865 lbs, and began removing the roof rack, rear seats and other unnecessary items like a/c and heater accessories, wiper motors (front and rear) and radio and speakers. We also gutted the hood and installed pins. Final racing weight in Gainesville was a very respectable 2,677 lbs.
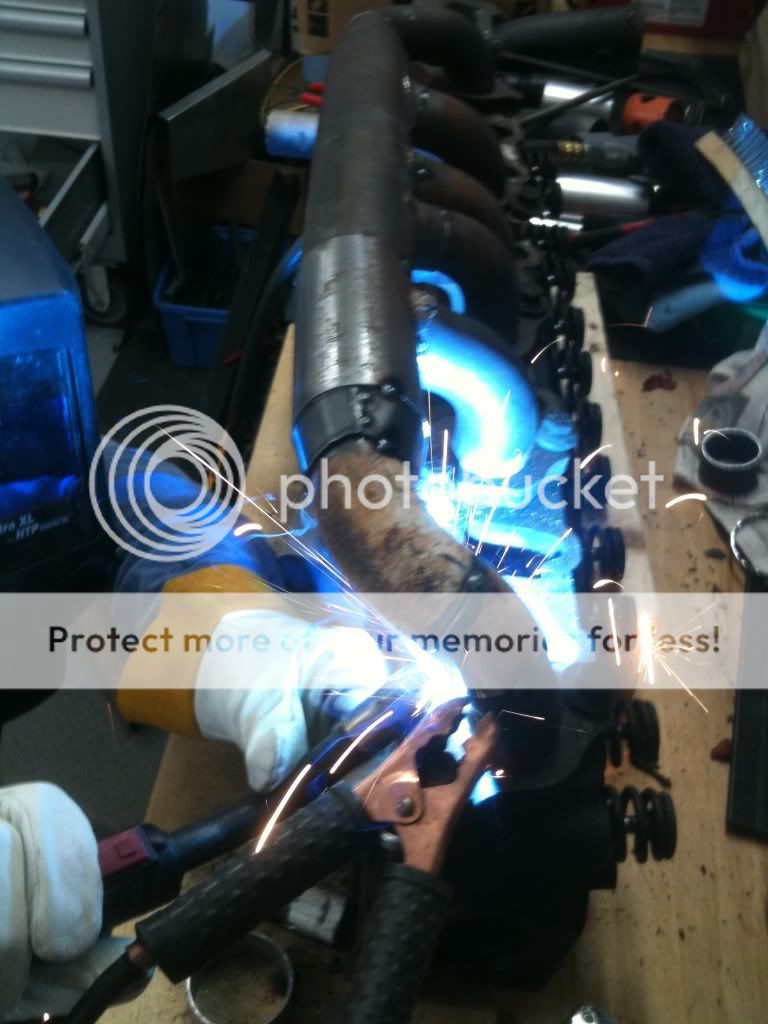
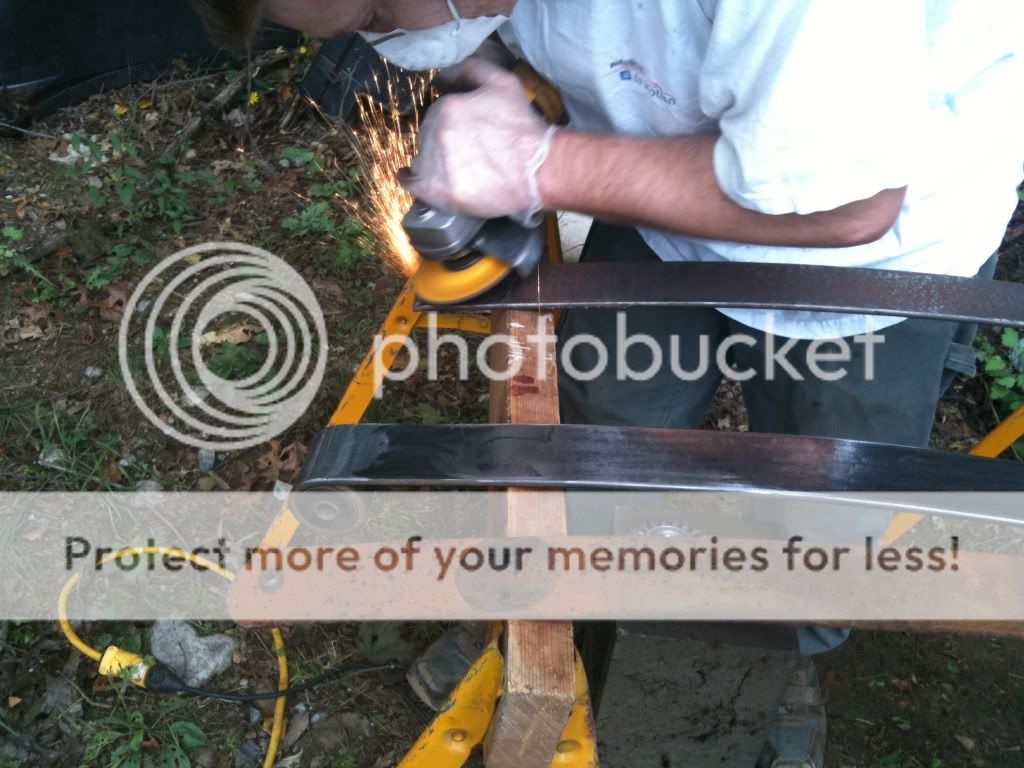
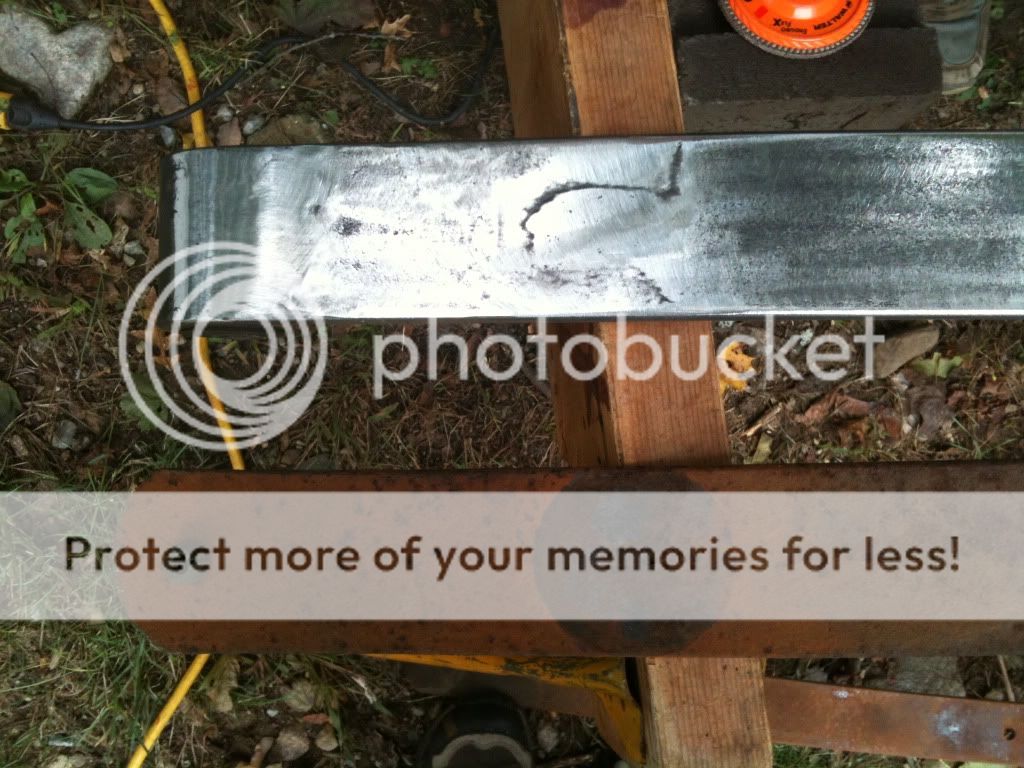
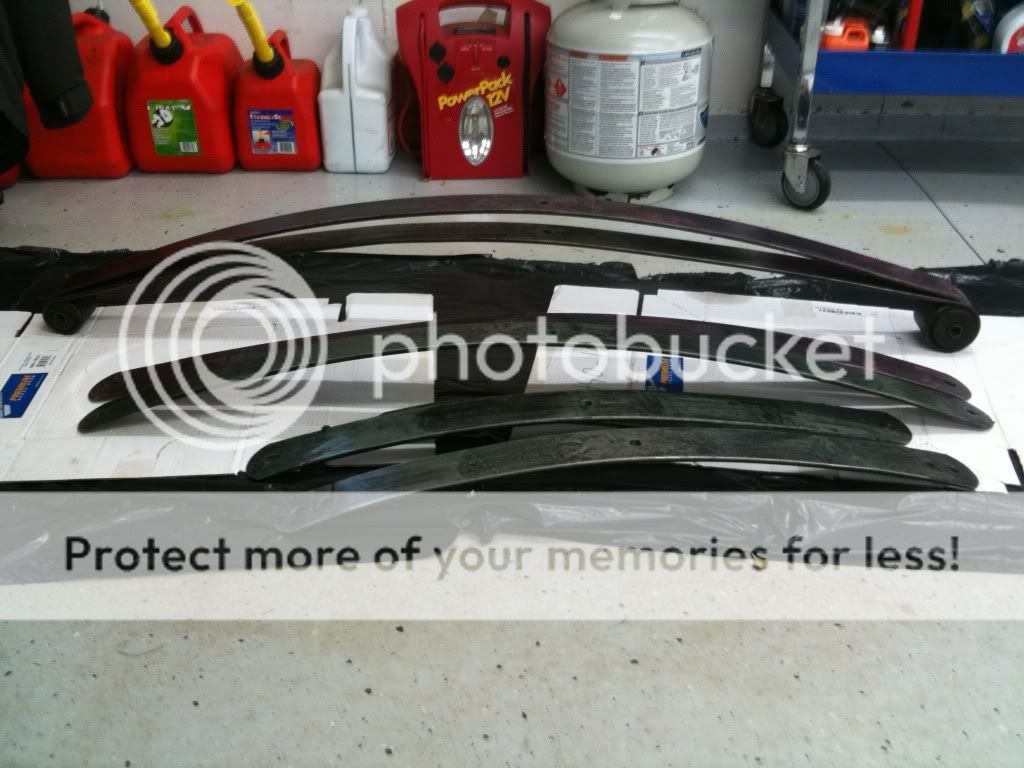
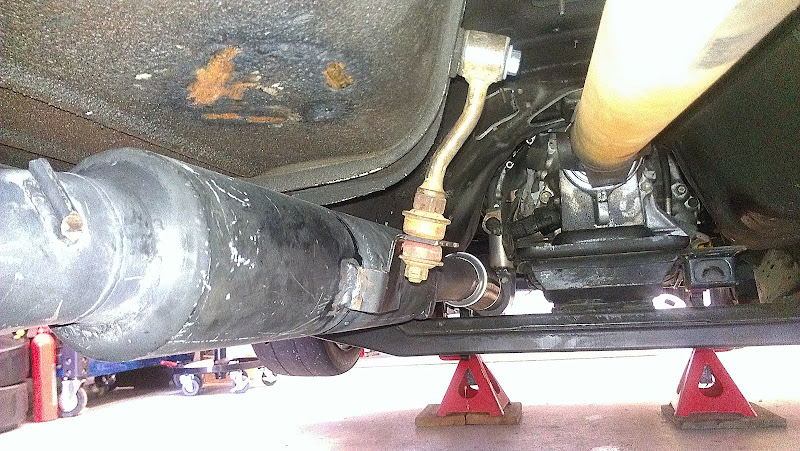
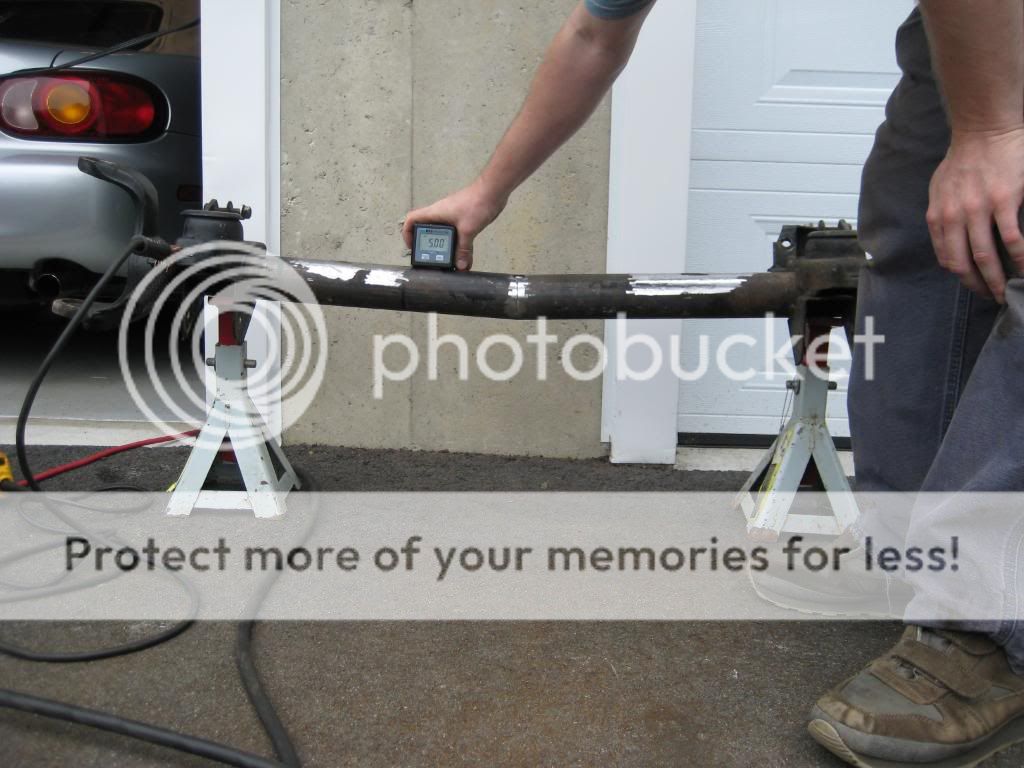
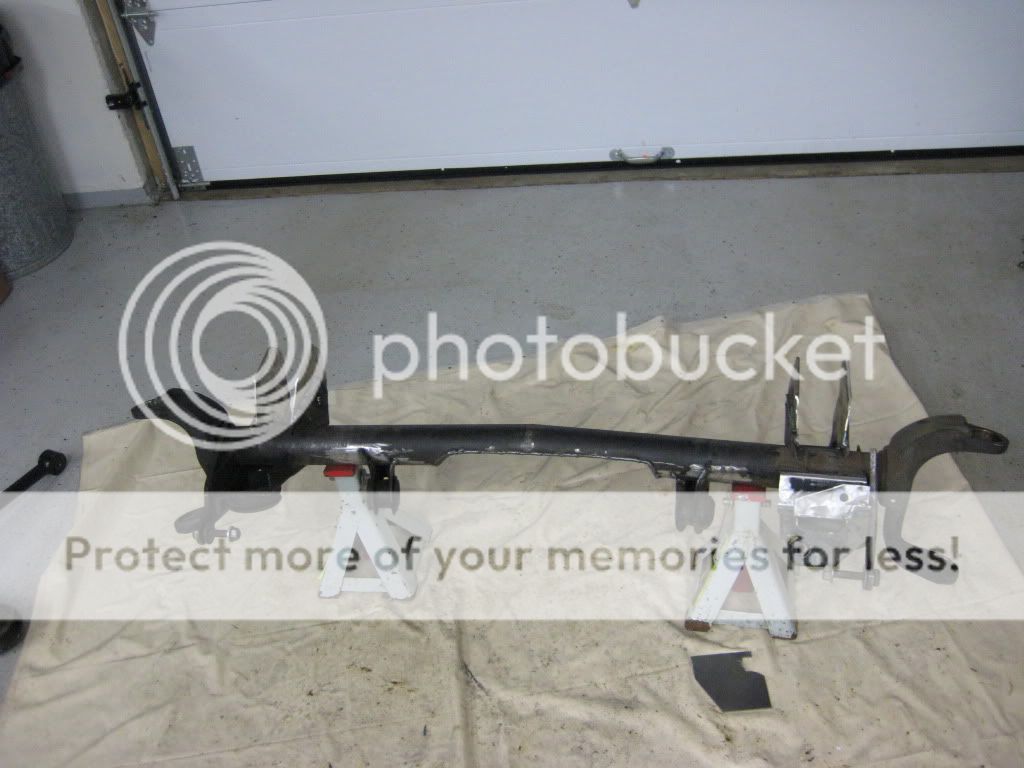
Second step was to find a suitable rear axle. Since they are plentiful, strong, come with disk brakes, limited slip, and have better gearing (3.73 vs. 3.55) the Ford 8.8 out of an Explorer was the perfect solution. $100 for a nasty looking one at a junk yard was the easy part. We then cut the spring perches and re-welded them at the proper width for a Jeep Cherokee but flipped them to the bottom so we could convert to a spring-under layout achieving the rear suspension drop of about 4.5". Used U-Bolts attached the stock Jeep leaf springs to the Ford Axle. A $25 adapter from Spicer made the job of attaching the Ford axle to the stock Jeep drive shaft a breeze.
To increase spring rate we used a second pair of junk sagged stock Cherokee springs and doubled up most of the leaves with the original pack. It gave us more spring rate without increasing ride height.

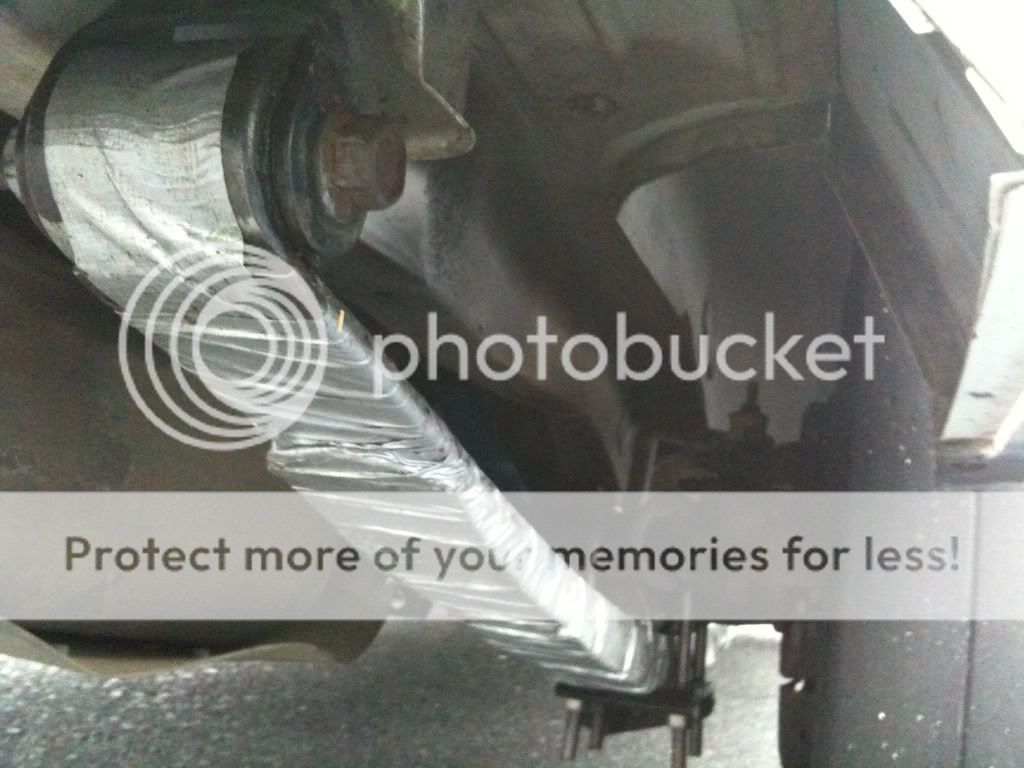
Finding shocks for a lowered Jeep Cherokee proved to be difficult but after a lot of research on shock lengths and specs, craigslist got us a pair of new Rancho 5000 shocks for a Ford F150 for the front and a pair of used Bilstein shocks off a Toyota Tacoma TRD in the rear. They are both compressed a lot but should do the trick. We may have to look into ways to get more travel out of the system if its purpose expands from just autocross as they would bottom out too quickly for rally-cross duty.
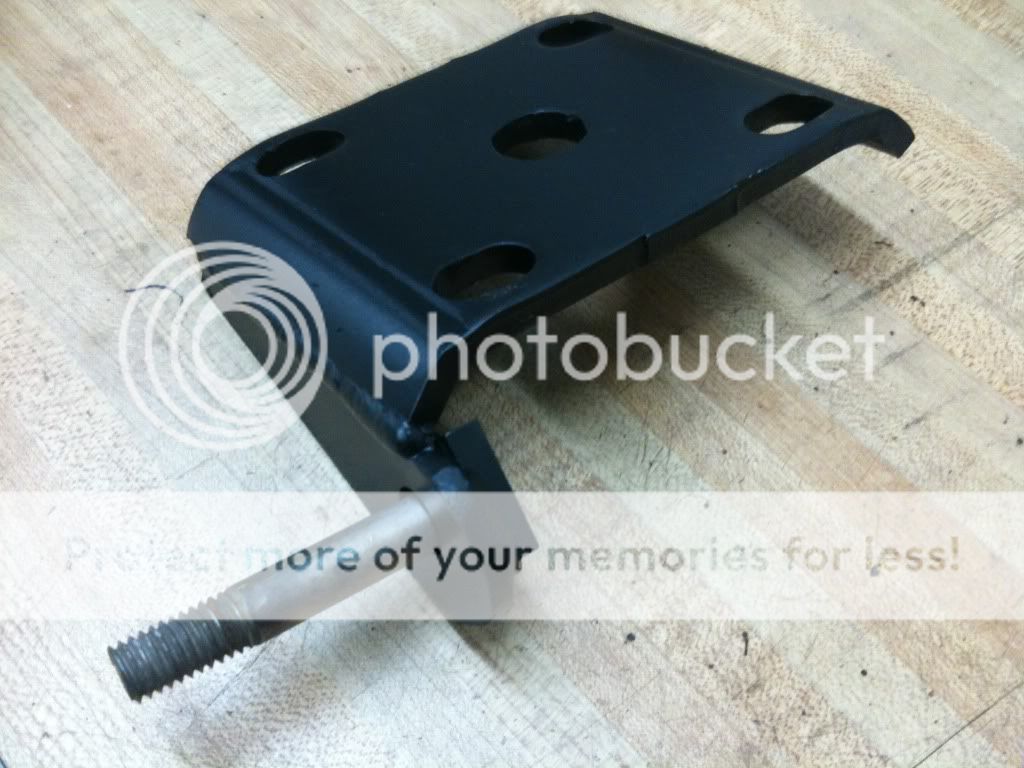
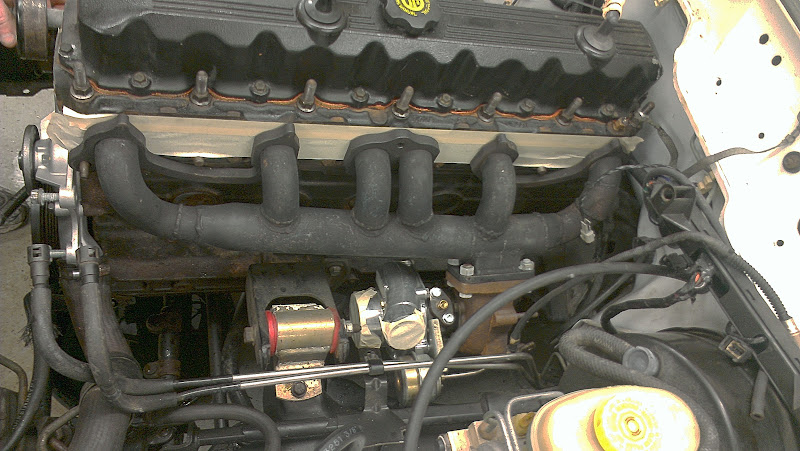
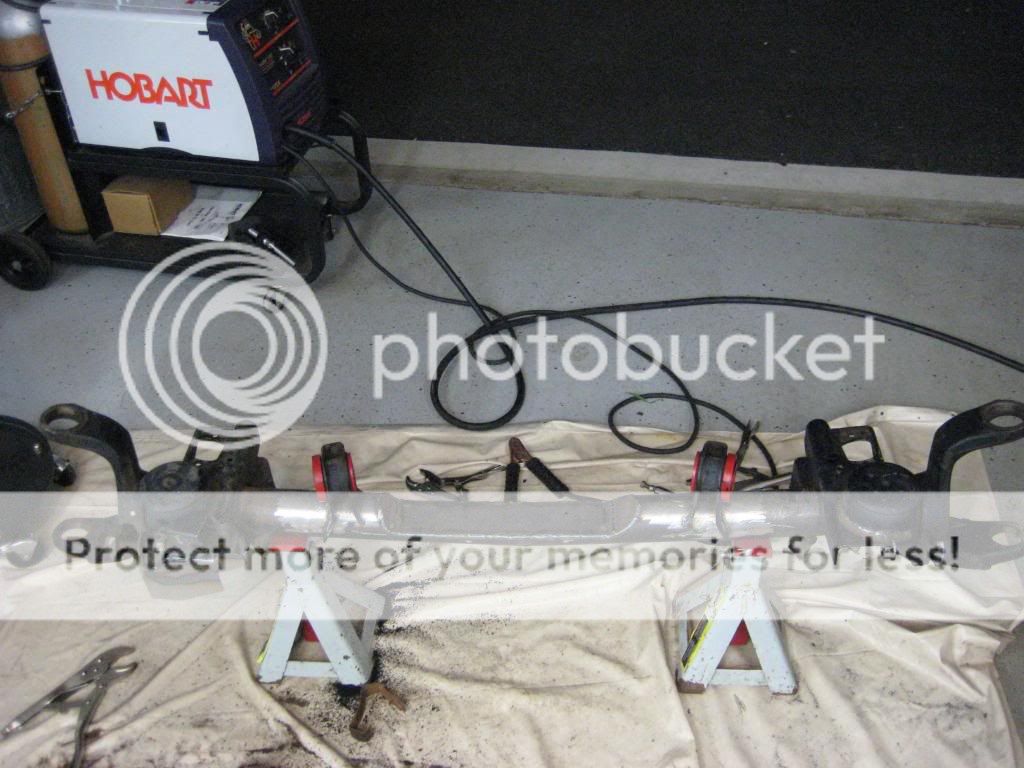
The front axle was much more involved. Since the solid tube front axle could hit the oil pan under full compression we decided to cut and notch it. Having had lifted jeeps in the past we knew the big problems that can arise from changing the angles of the control arms so we needed to address that. The upper and lower control arm brackets on the axle were shortened and lengthened respectively to compensate for the drop in the front. Additionally we made a drop bracket off the axle to use a stock length track rod that still centered the axle after all the changes.

Since offset front ball joints are way to rich for the budget and we were cutting the front axle anyway we decided to notch and bend the front axle for additional camber. After researching more about the front axle modifications the Archer brothers used successfully racing the Jeep Comanche in the SCCA Truck Challenge series we found that they actually bent the front axle. Since we don’t have the facilities to accurately bend it whole, we cut a pie out of the middle leaving a small portion at the bottom intact and stood on it until we ultimately achieved -2.5 degrees static camber on each side.

A great deal on poly front control arm bushings firmed up the axle control and a few sections of steel plate were welded onto the stock control arms to box them in for strength. The new axle modifications clear the oil pan with room to spare and the control arms retain their stock angles.
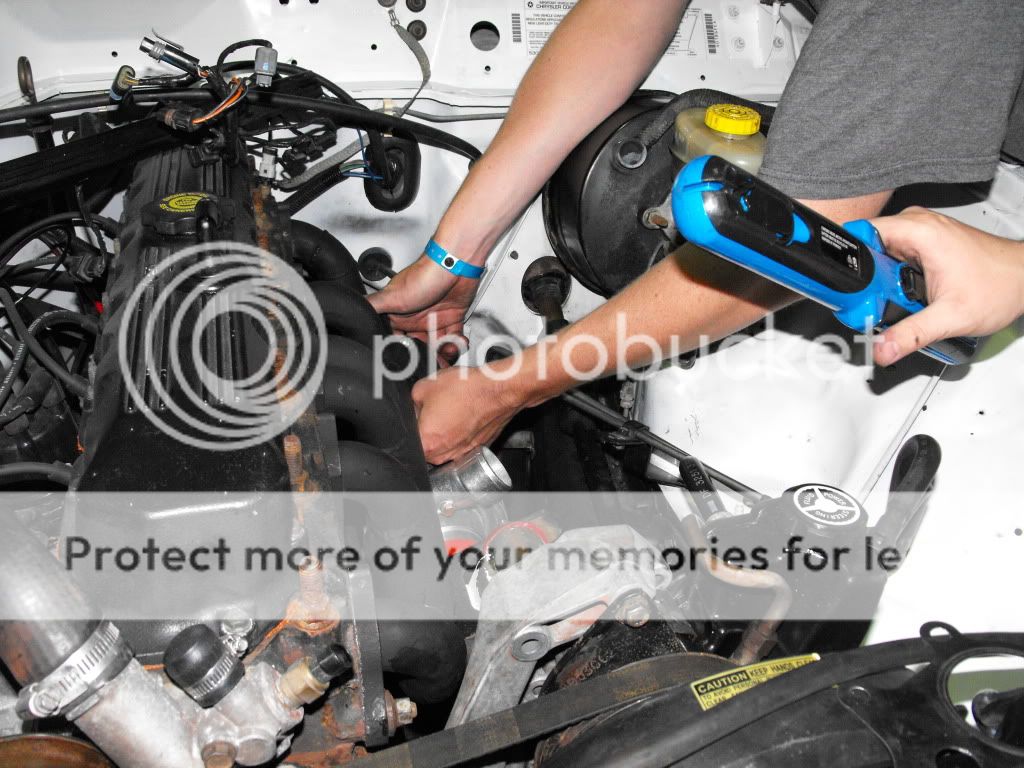
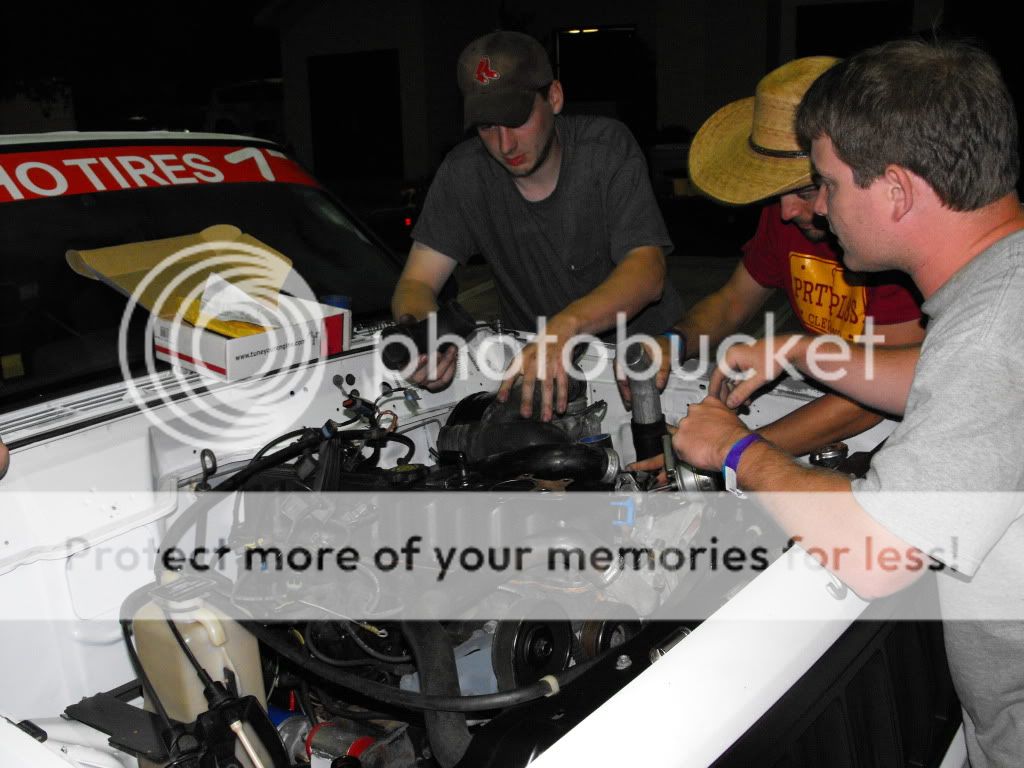
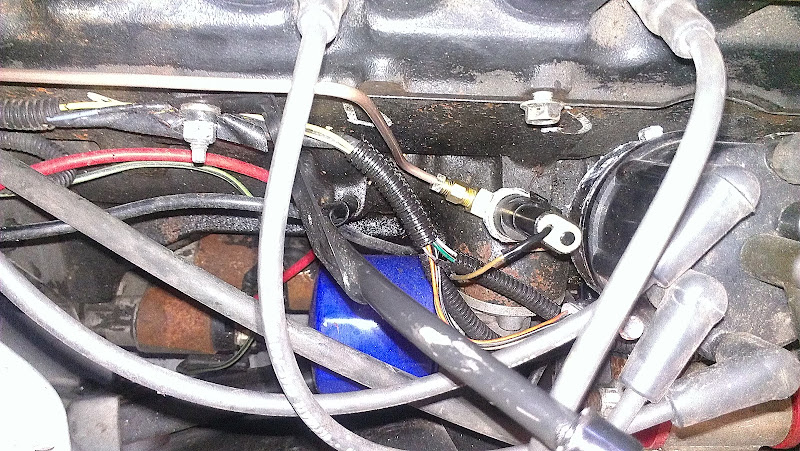
The driveline was firmed up with poly motor mounts found on eBay for $0.99! They were for a Jeep Wrangler (TJ) so they had to be cut approximately 1” to fit an XJ. We couldn’t find a steal like that on a transmission mount so we injected some polyurethane into the voids in the stock sagged rubber mount and let it cure. What a difference!

Used crusty Addco anti-sway bars were taken off a parted out Jeep and installed front and rear. They’re 1-1/8" front and 7/8" rear. The rear links are poly bushings with washers and a long bolt and we had to fabricate and weld a mounting location onto the rear axle. The stock front links were cut shorter and rewelded to fit the much lower suspension. The combination of cut springs, stiffer shocks and sway bars results in a very stiff vehicle
I mainly copied Jeff’s post from GRM but I should be able to answer any additional questions and hopeful add more to it later since we made a lot of changes for 2012
PART 1: We started the project with a difficult search of finding a two door, two wheel drive Jeep Cherokee. As it turns out one was recently brought up to New Hampshire from Mississippi for us! Talked the dealer down to $600. Let’s face it; no one in New England wants a 2WD Jeep. Good news for us.
Windshield cracked no title, 243k miles, chunky brown coolant, but running great, no real rust and fairly straight body. The only bad part is that we couldn’t find a manual transmission XJ. The automatic transmission (AW4) is bulletproof though so it isn’t all bad news.
We started the build with finding our starting weight. Not terribly heavy at all, only 2,865 lbs, and began removing the roof rack, rear seats and other unnecessary items like a/c and heater accessories, wiper motors (front and rear) and radio and speakers. We also gutted the hood and installed pins. Final racing weight in Gainesville was a very respectable 2,677 lbs.
Second step was to find a suitable rear axle. Since they are plentiful, strong, come with disk brakes, limited slip, and have better gearing (3.73 vs. 3.55) the Ford 8.8 out of an Explorer was the perfect solution. $100 for a nasty looking one at a junk yard was the easy part. We then cut the spring perches and re-welded them at the proper width for a Jeep Cherokee but flipped them to the bottom so we could convert to a spring-under layout achieving the rear suspension drop of about 4.5". Used U-Bolts attached the stock Jeep leaf springs to the Ford Axle. A $25 adapter from Spicer made the job of attaching the Ford axle to the stock Jeep drive shaft a breeze.
To increase spring rate we used a second pair of junk sagged stock Cherokee springs and doubled up most of the leaves with the original pack. It gave us more spring rate without increasing ride height.
Finding shocks for a lowered Jeep Cherokee proved to be difficult but after a lot of research on shock lengths and specs, craigslist got us a pair of new Rancho 5000 shocks for a Ford F150 for the front and a pair of used Bilstein shocks off a Toyota Tacoma TRD in the rear. They are both compressed a lot but should do the trick. We may have to look into ways to get more travel out of the system if its purpose expands from just autocross as they would bottom out too quickly for rally-cross duty.
The front axle was much more involved. Since the solid tube front axle could hit the oil pan under full compression we decided to cut and notch it. Having had lifted jeeps in the past we knew the big problems that can arise from changing the angles of the control arms so we needed to address that. The upper and lower control arm brackets on the axle were shortened and lengthened respectively to compensate for the drop in the front. Additionally we made a drop bracket off the axle to use a stock length track rod that still centered the axle after all the changes.
Since offset front ball joints are way to rich for the budget and we were cutting the front axle anyway we decided to notch and bend the front axle for additional camber. After researching more about the front axle modifications the Archer brothers used successfully racing the Jeep Comanche in the SCCA Truck Challenge series we found that they actually bent the front axle. Since we don’t have the facilities to accurately bend it whole, we cut a pie out of the middle leaving a small portion at the bottom intact and stood on it until we ultimately achieved -2.5 degrees static camber on each side.
A great deal on poly front control arm bushings firmed up the axle control and a few sections of steel plate were welded onto the stock control arms to box them in for strength. The new axle modifications clear the oil pan with room to spare and the control arms retain their stock angles.
The driveline was firmed up with poly motor mounts found on eBay for $0.99! They were for a Jeep Wrangler (TJ) so they had to be cut approximately 1” to fit an XJ. We couldn’t find a steal like that on a transmission mount so we injected some polyurethane into the voids in the stock sagged rubber mount and let it cure. What a difference!
Used crusty Addco anti-sway bars were taken off a parted out Jeep and installed front and rear. They’re 1-1/8" front and 7/8" rear. The rear links are poly bushings with washers and a long bolt and we had to fabricate and weld a mounting location onto the rear axle. The stock front links were cut shorter and rewelded to fit the much lower suspension. The combination of cut springs, stiffer shocks and sway bars results in a very stiff vehicle
Last edited: