• Welcome to the new NAXJA Forum! If your password does not work, please use "Forgot your password?" link on the log-in page. Please feel free to reach out to [email protected] if we can provide any assistance.

The 4500 MJ Build

Here's an update on the build now that we're back in the groove of working on the MJ again.

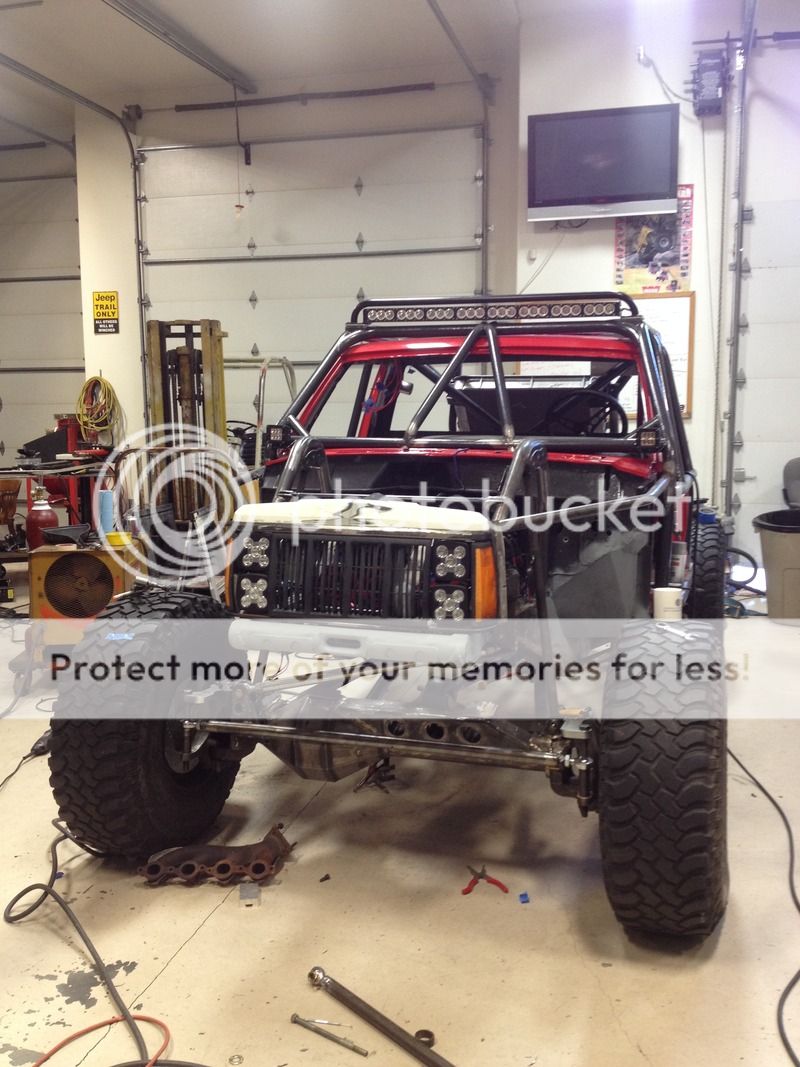
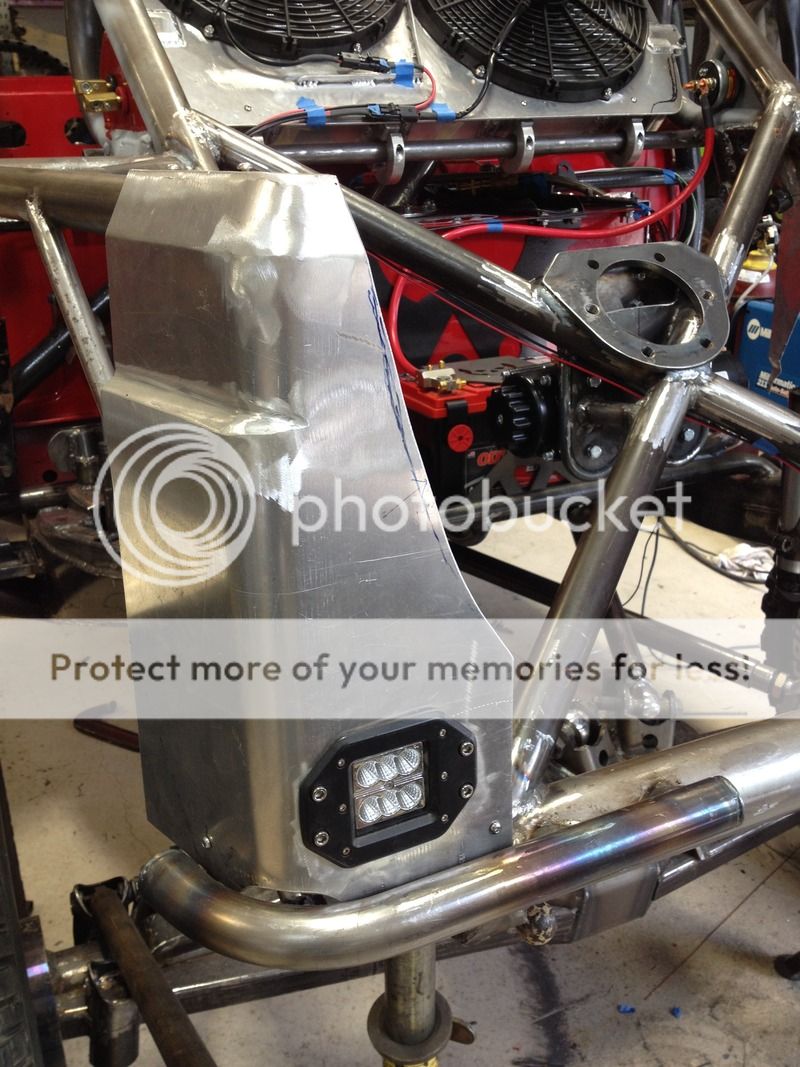
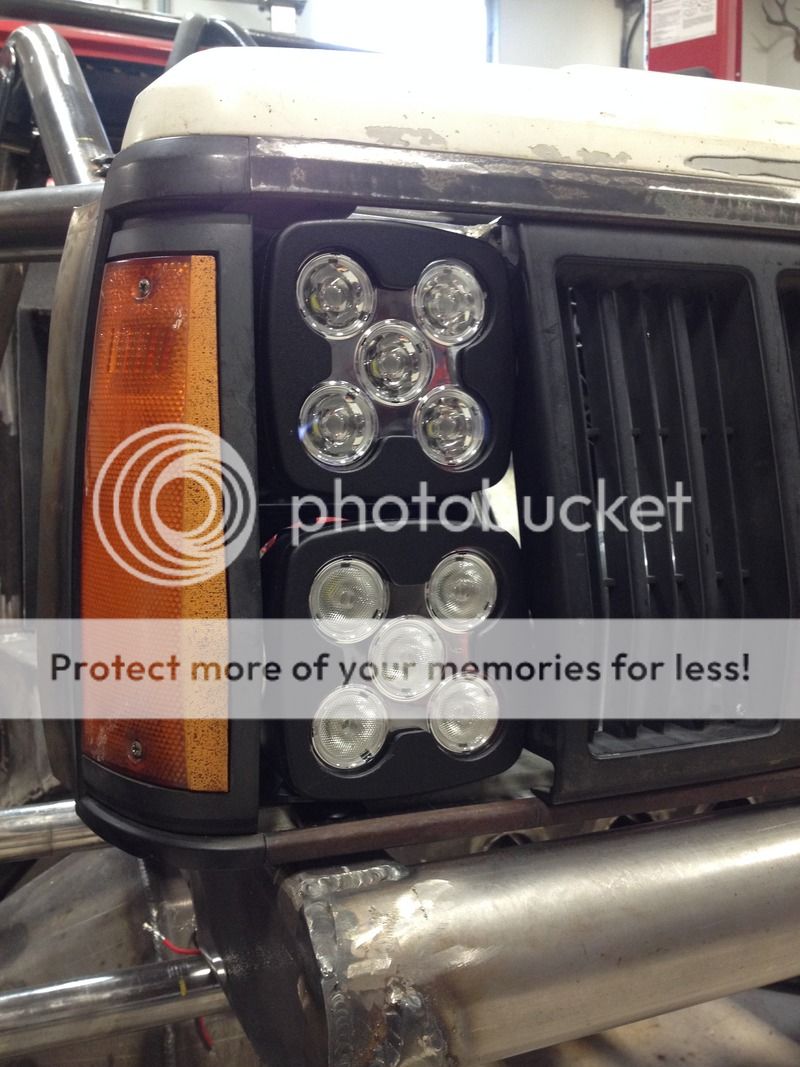
I plugged away at the headlight buckets. Starting with a flat piece of .134" plate, bending it, and then putting it on an extreme diet of speed holes, I came up with this final product.
6E560001-5A53-4977-87A1-C868C581278D.jpg


Spots up top, and floods on the bottom. "Stacked" headlight design for the Wagoneer nostalgia. :D
6FCFFD58-91FA-4F39-9AF6-CCCF34947154.jpg


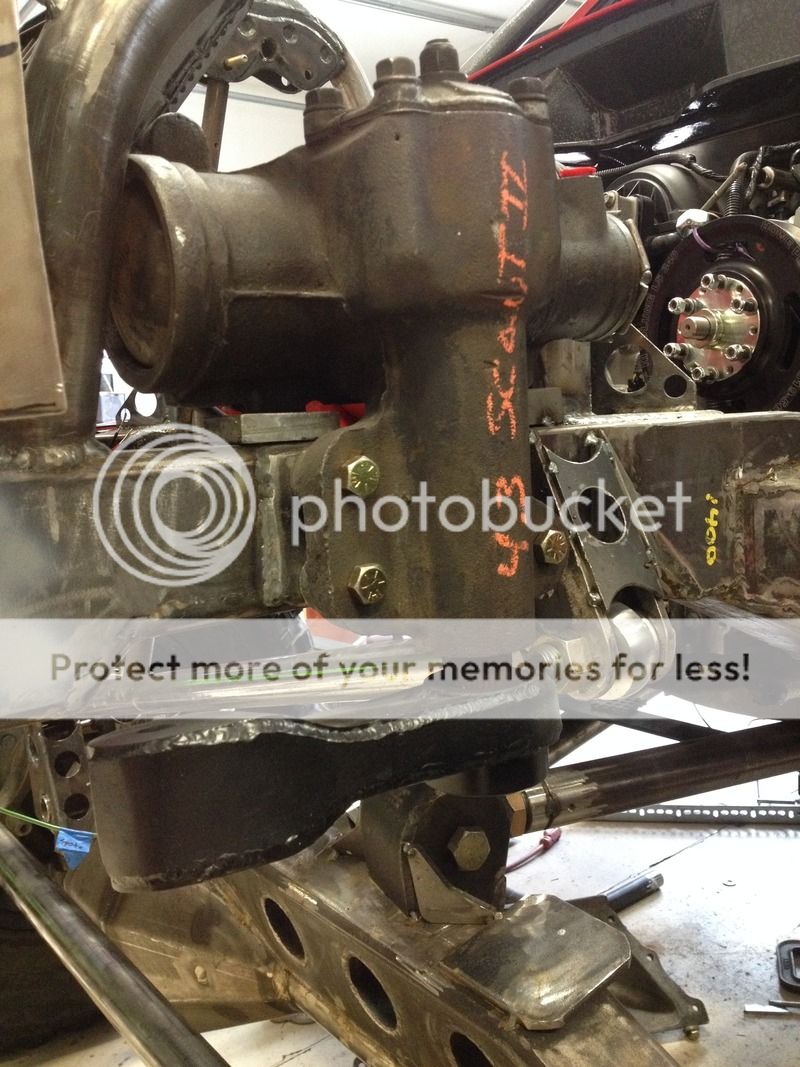
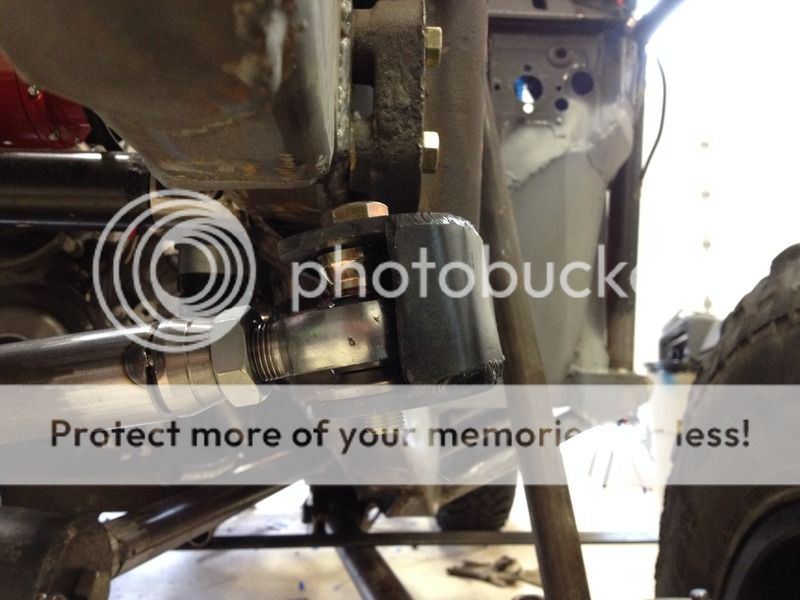
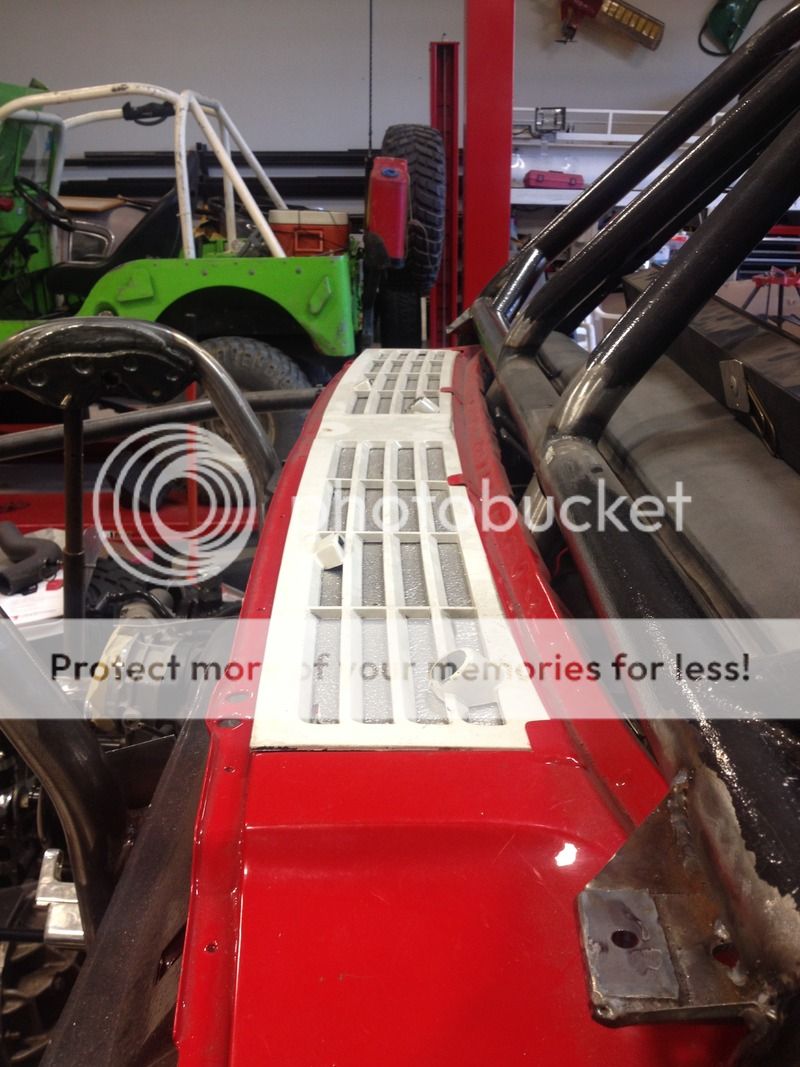
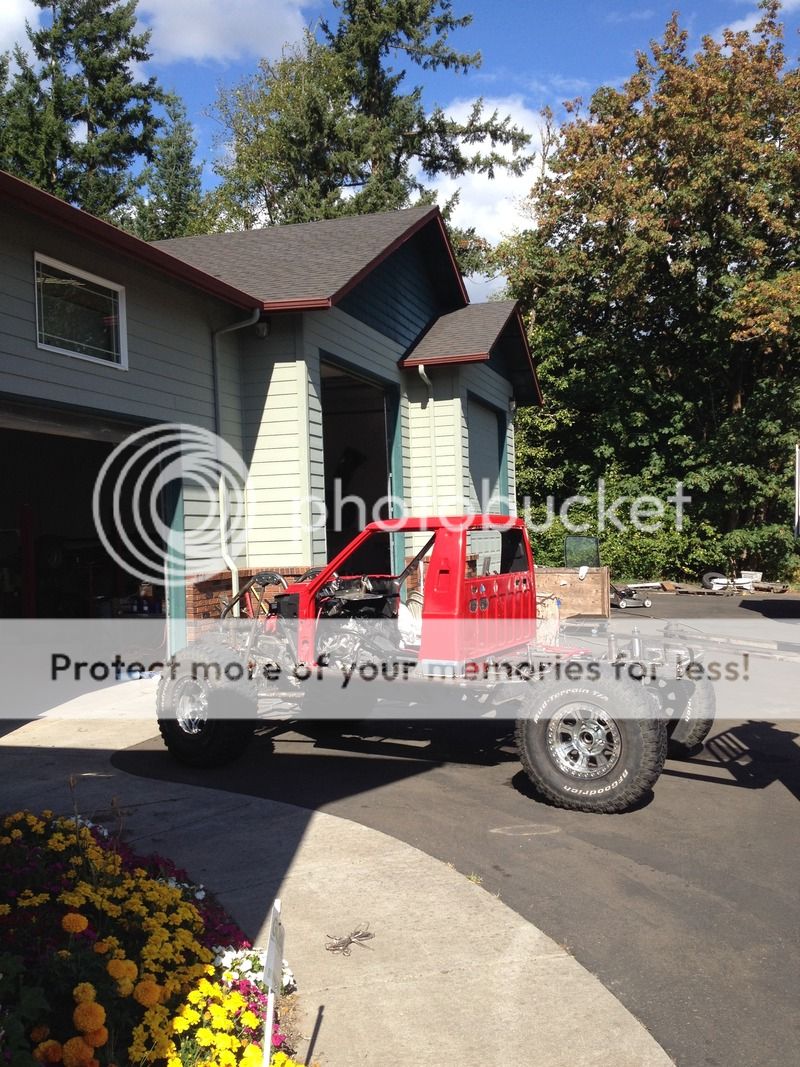
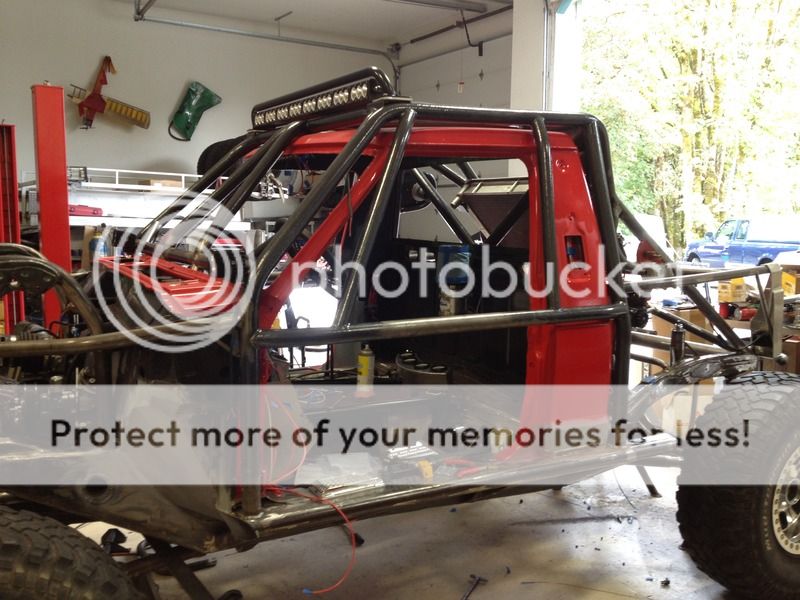
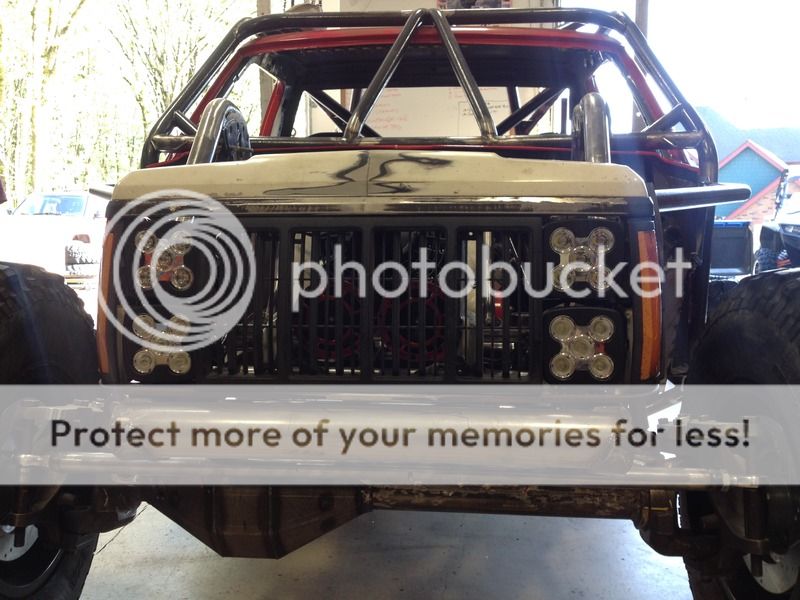
Front end looking a little more complete.
4FF2CCD0-EA6E-4711-88F2-BE1DC87110A8.jpg


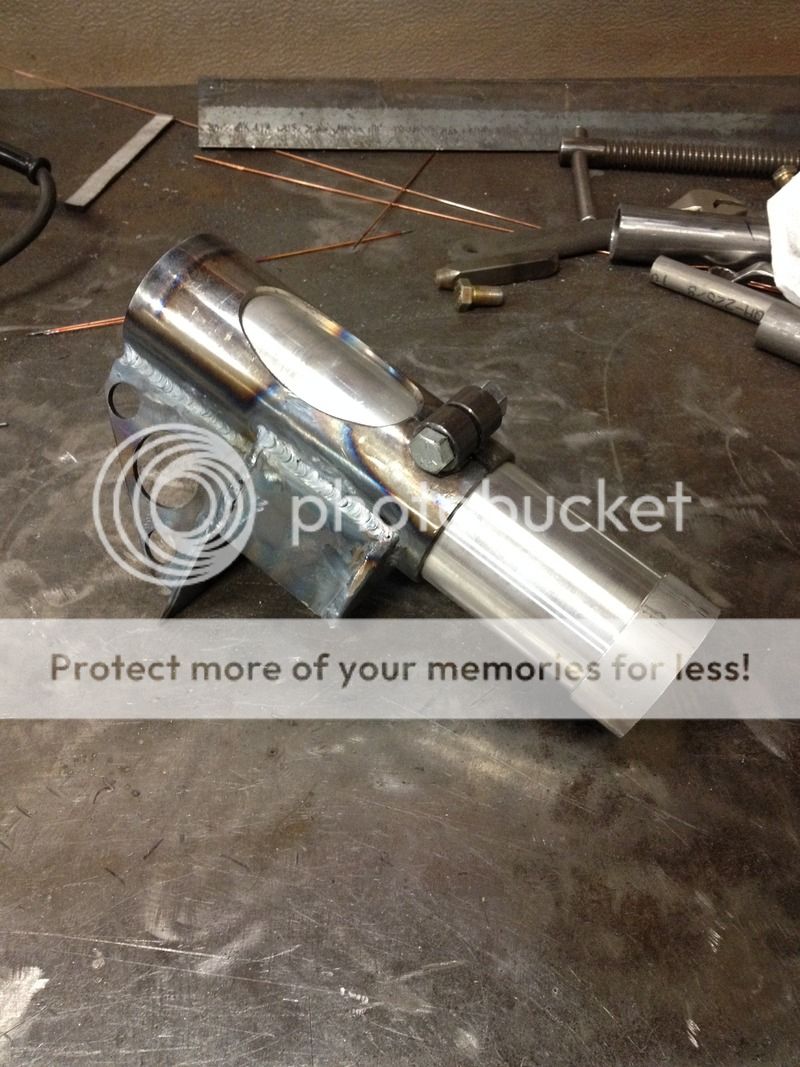
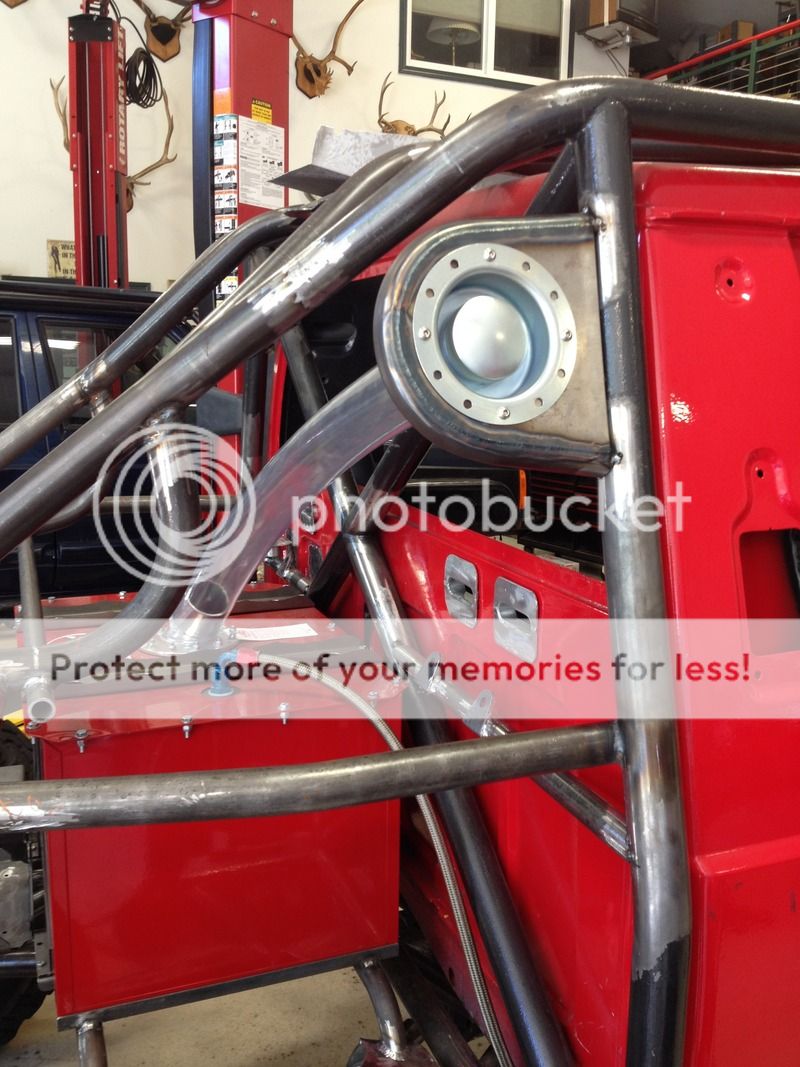
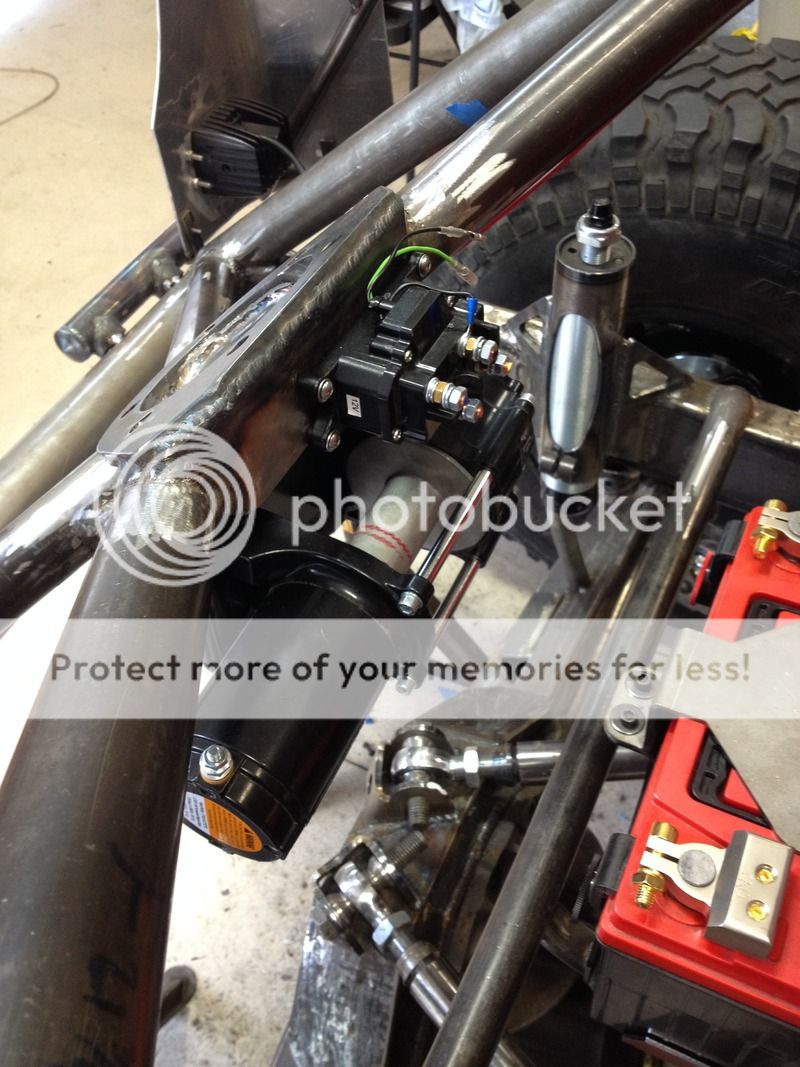
Got our horns and siren mounted. These should keep the co-driver occupied.
FA0AA9D3-6B46-4A06-906C-789B079AFE41.jpg


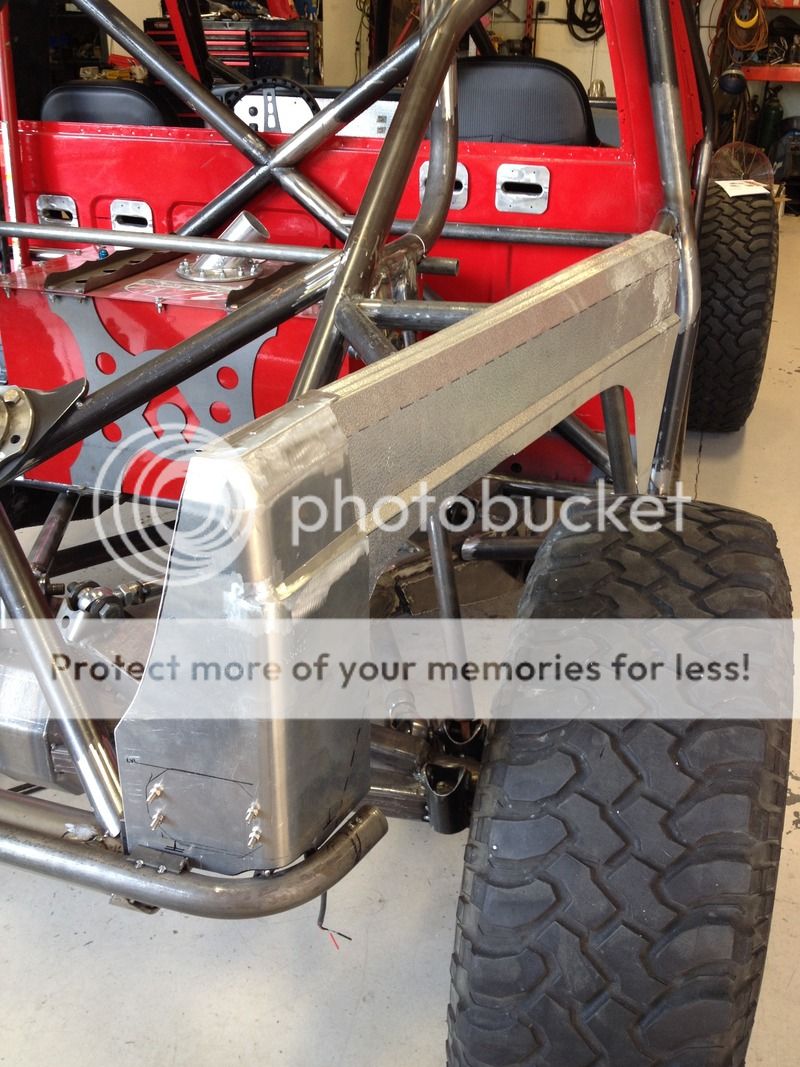
Ted started brain storming on how to finish off the rear of the car, and had the idea of mimicking the stock tail lights and bed corners. After some quick mock up, he had us all sold on the idea.
175F39EA-91A0-45EC-AE47-398BE8E52730.jpg


Ted ran with his idea, and quickly had some custom aluminum rear corners made up. We'll flush mount some tail lights, and reverse lights into these.
6F17F1B1-5C6D-4165-8098-AFD32465E05F.jpg


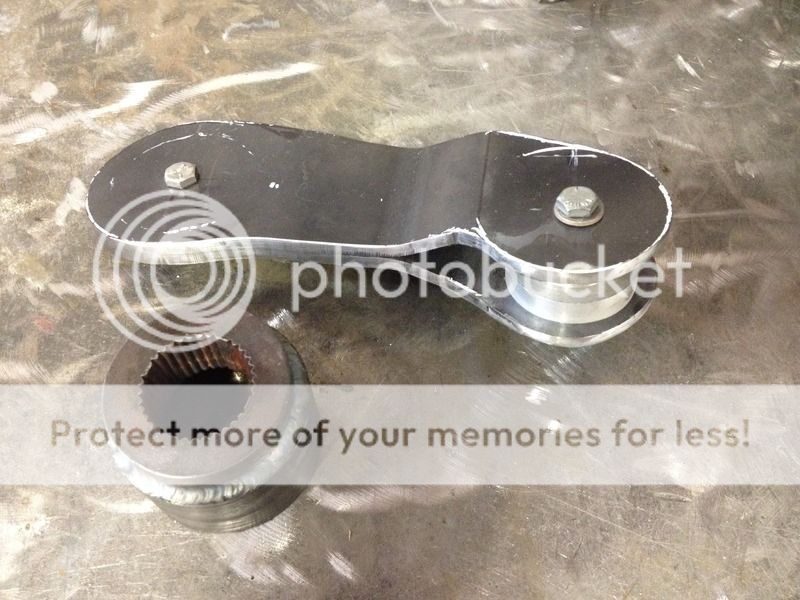
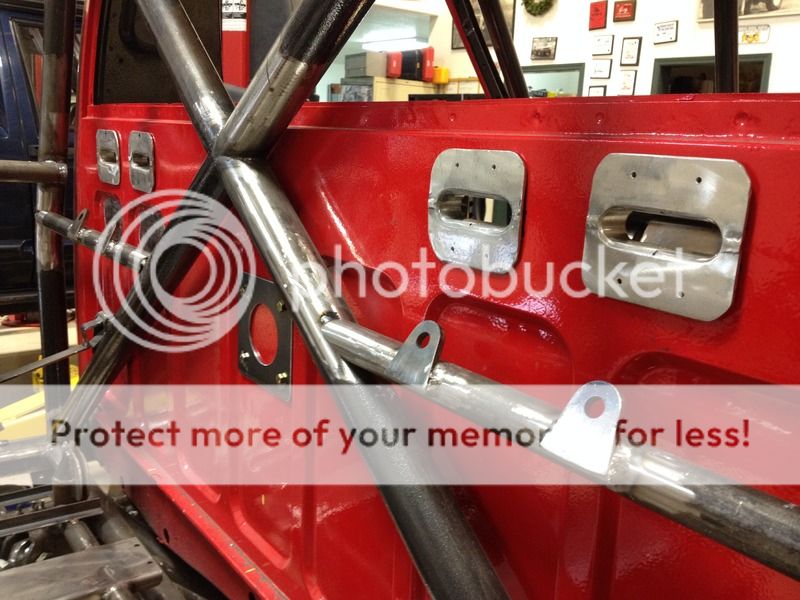
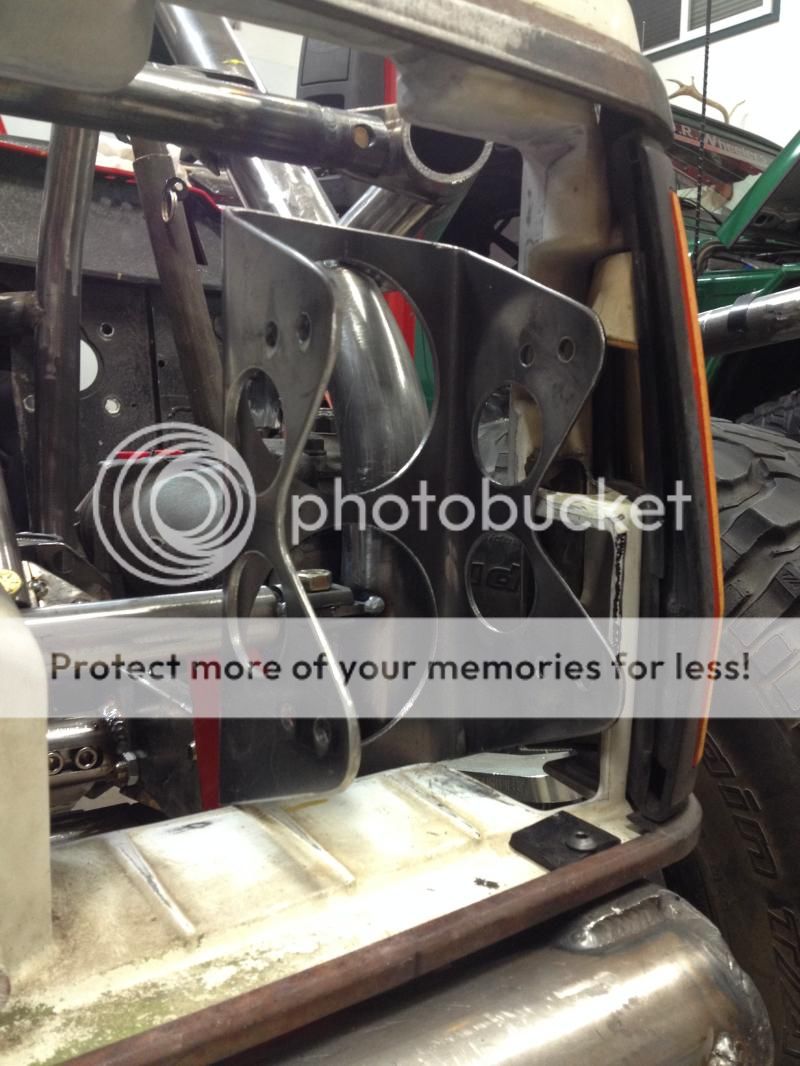
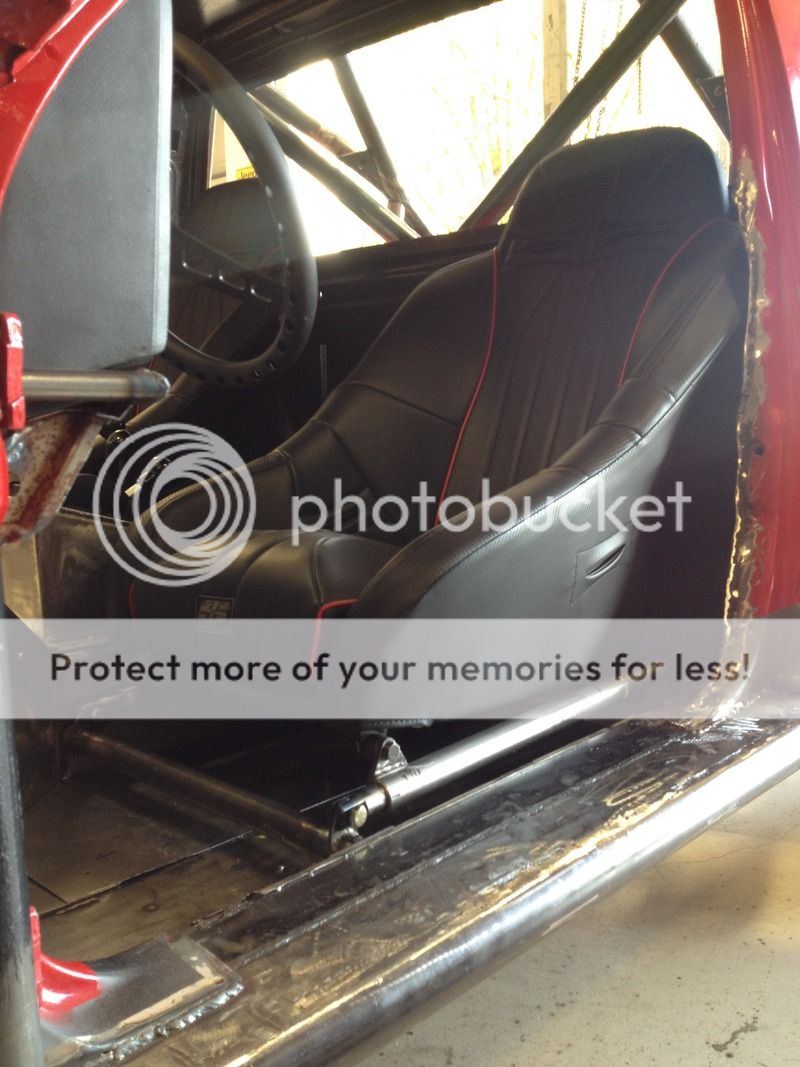
During the interior tin work construction, we ran into a dilemma with the seat brackets and floor. There was no easy way to build the floor around our existing seat brackets with the clearances we had. So Winton moved forward with the tin work, and then redesigned the seat brackets to work with the new floor. In the end, the new brackets are a much cleaner and simple bracket. Driver side still utilizes a slider for adjustment.
145D4989-0100-49D3-963F-4F9A27107A3B.jpg


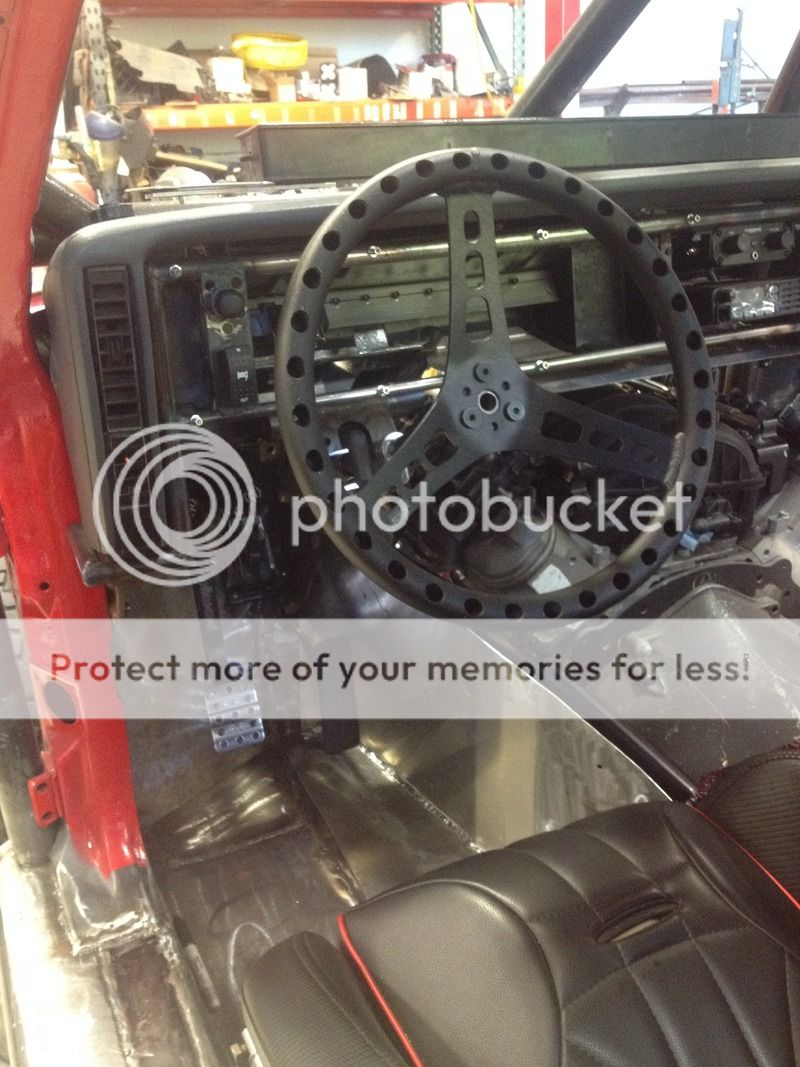
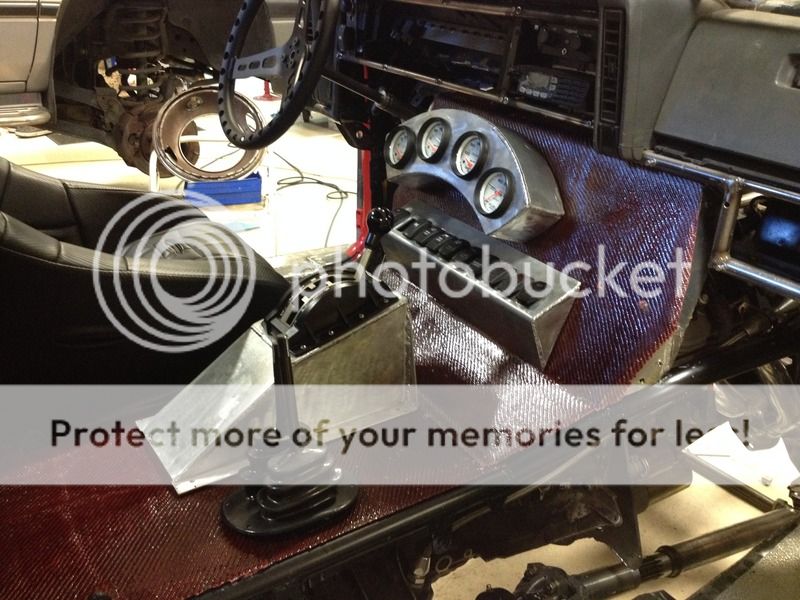
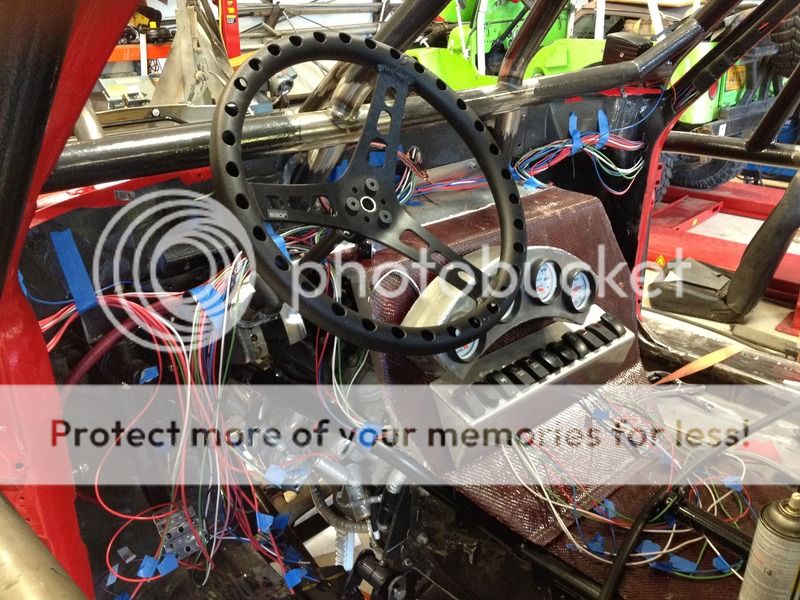
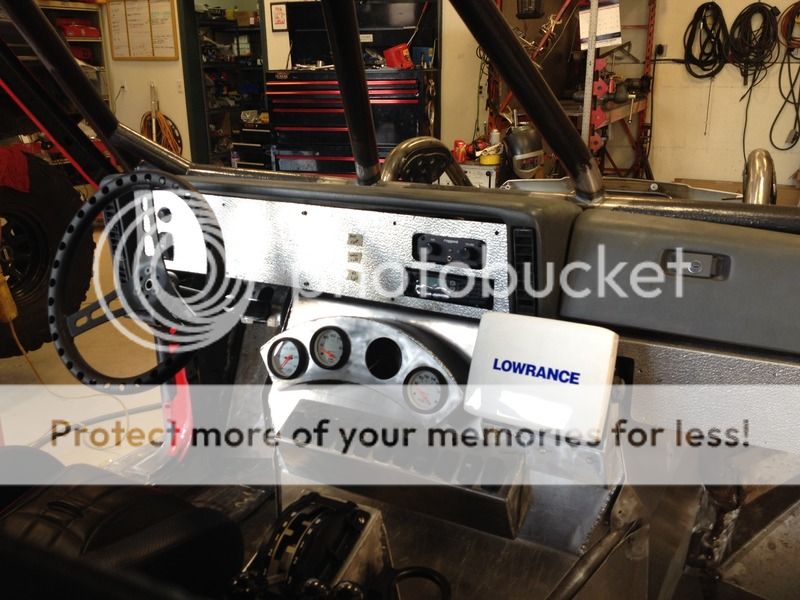
A lot has happened in a short amount of time with the dash work. Winton built a switch pod, and gauge pod. The Lowrance GPS was mounted in clear view for the co-driver. Joey made some cutouts in the dash for the race radio, intercom system, winch control, and start button. With what once seemed like a lot of room, quickly filled up.
8BE22267-70CE-41DC-A5E6-96D2C93C7876.jpg


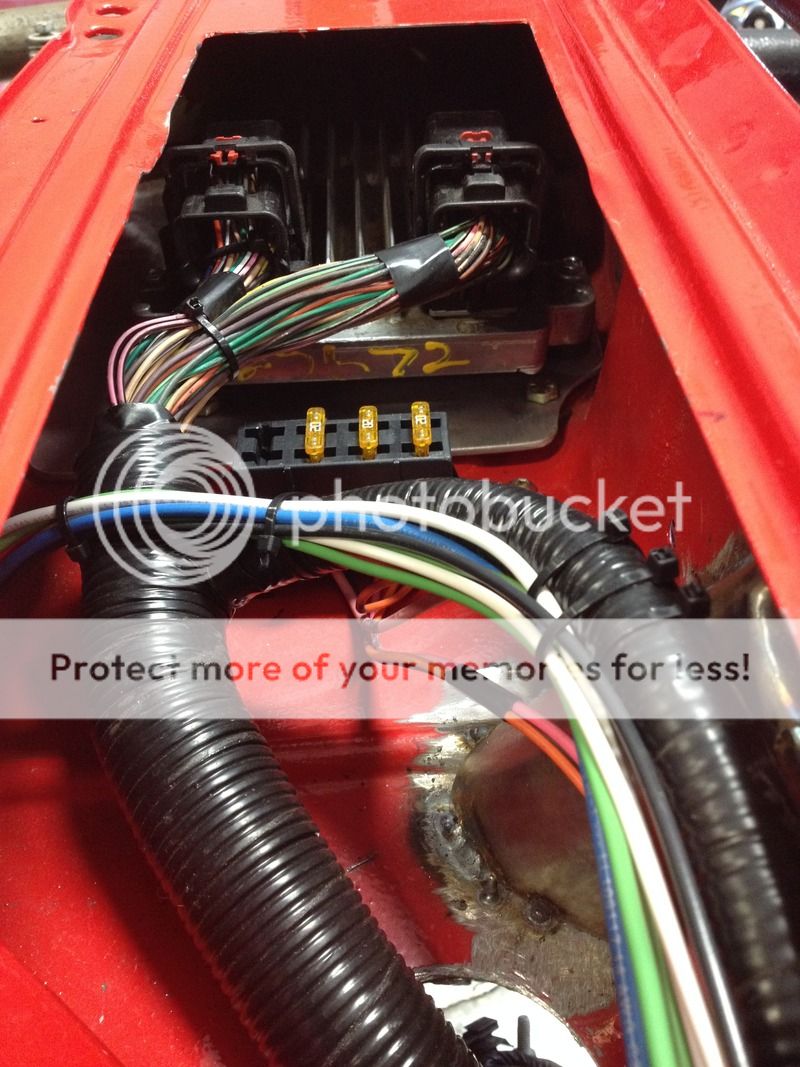
The switch and gauge pods bolt onto the center cover, and will use a pinned connector for the wiring, which will allow easy removal. The entire interior can be torn down in less than a half hour by one person. The extra planning and work really paid off, and should make maintaining the car much more enjoyable.
460D0842-5433-4077-ACFD-E63D62988492.jpg


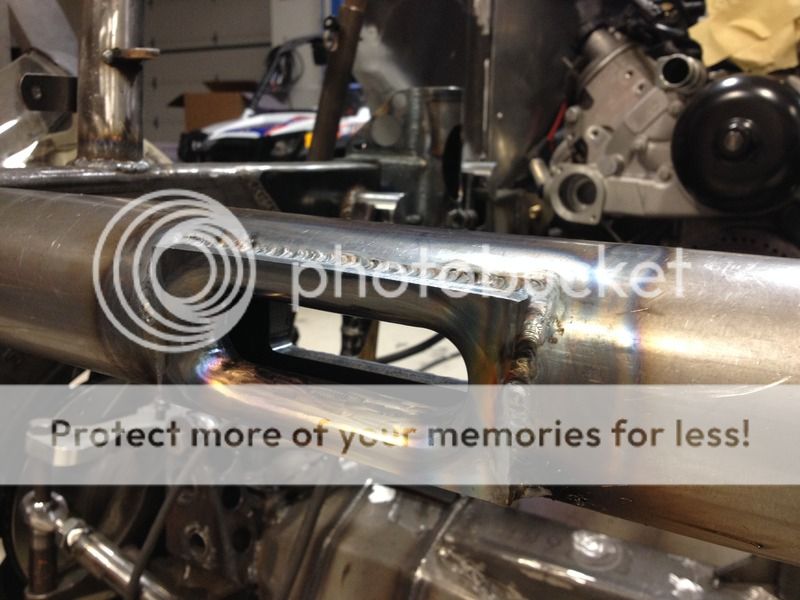
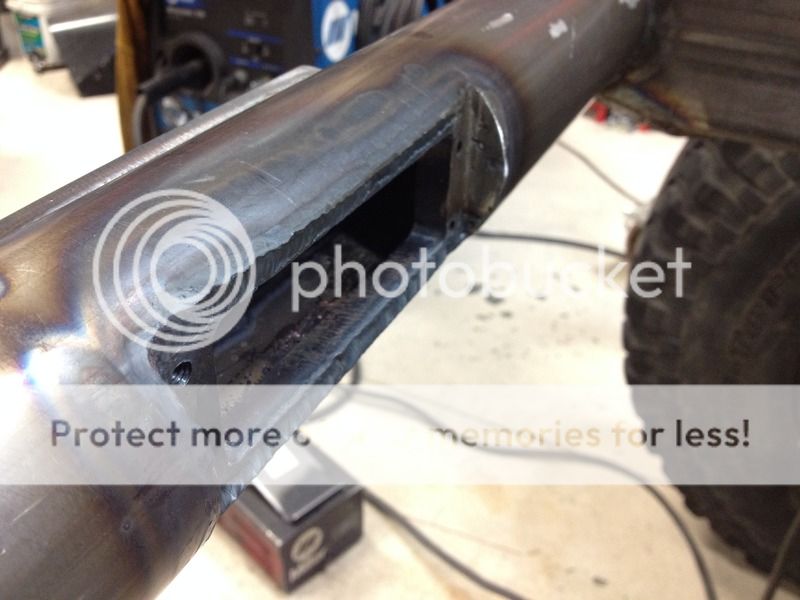
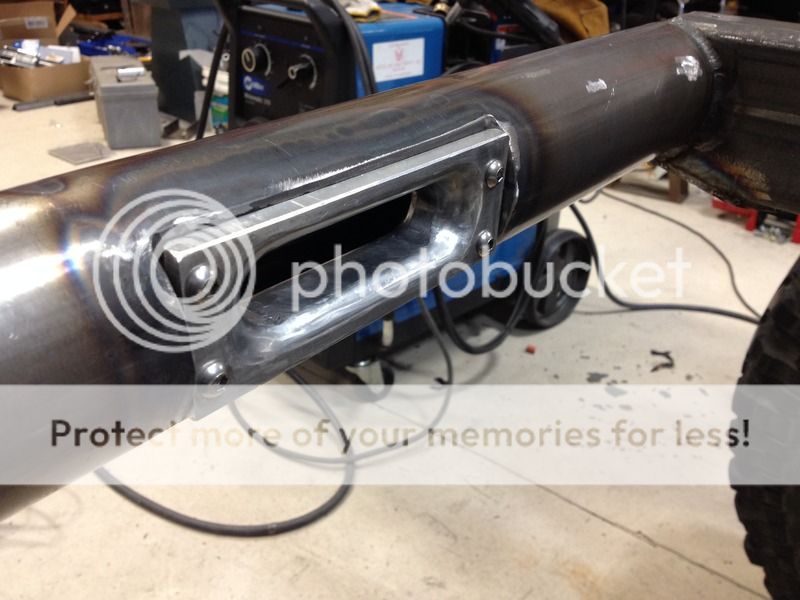
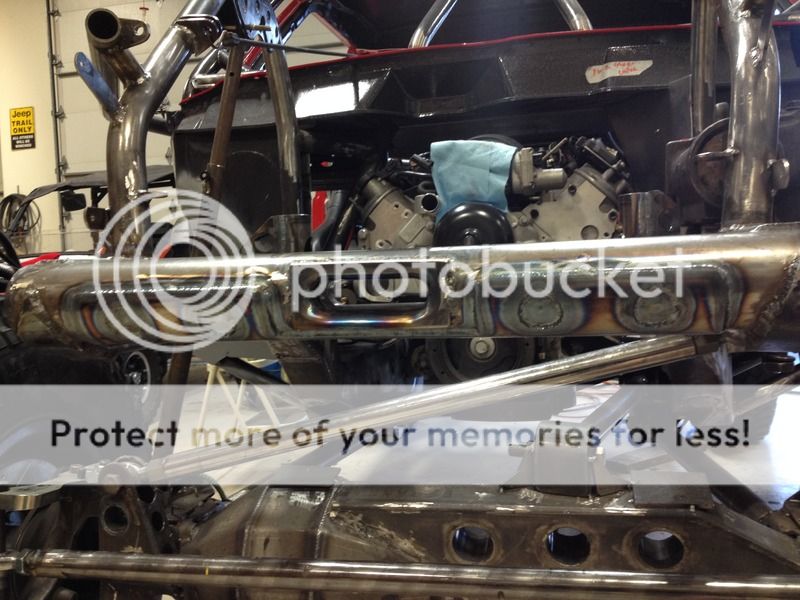
Another tough day in the shop...
47EB4C0C-DF2F-4CE9-BC8B-7FD7C05DFAB9.jpg


We're hoping to pretty much have the interior wrapped up (aside from paint and finish work) in the next day or two. Then it will pretty much be ready for wiring, and onto other projects.
 
DO I spy a "Zombie Lights" switch? Where's the "Beer" switch?
 
Looks good Dustin. Recommendation on the horns, I would not put them in front of the radiator. That took my buddy out of KOH when one of the horns put a hole in the radiator.
 
DO I spy a "Zombie Lights" switch? Where's the "Beer" switch?
Why yes, yes you do.

Four switches control our lighting, front floods, front spots, a-pillar, and light bar. One thing our team has learned is you can never have too much light when it comes to running the desert at night.

As for the beer switch, we'll have to mount a bottle opener for our victory brews. :cheers:

Good progress.
Thanks, Dave. There's been talk amongst the guys about running the 689 at KOH next year as well. Have you given racing next year any thought? We should have quite the crew down there.

Looks good Dustin. Recommendation on the horns, I would not put them in front of the radiator. That took my buddy out of KOH when one of the horns put a hole in the radiator.
Thanks, Parker.

Radiator is actually mounted in the back behind the cab. What you see behind the grill is actually our transmission cooler. It has a .125" aluminum plate fan shroud over the front, so it's pretty protected. Which car/class was your buddy running? If you make it out next year come track us down.


We've been steadily working on the MJ since the last update. A lot of time has been spent finalizing some little things here and there so we can move onto the next list of projects. This means lots of brackets, gussets, and plates have been made. Things we've had tacked for the past year are getting welded on for good, and even some paint has been shot at the removable pieces. Every work day it feels like we're one step closer. I'll get some pictures up soon of what we've been up to.
 
How is this build going???? Any updates?
 
Knowing Dustin, these last four months were spent perfecting how to mount fuzzy dice so they hang and swing perfect and survive the desert lol
 
How is this build going???? Any updates?
We were just talking about getting an update on the build as we're long over due. We've been steadily working on the build through summer, and have made a bunch of progress. I'll get some pictures tomorrow when I'm at the shop.

We've mainly just been working on trying to finalize everything, and crossing off all the little projects. However, the seemingly little projects can be just as tedious as the bigger ones.

AECCCE88-FCB7-40F3-9024-7FA2C94EEBCE.jpg


Knowing Dustin, these last four months were spent perfecting how to mount fuzzy dice so they hang and swing perfect and survive the desert lol
Nah, it was all about perfecting the Hula girl bobble head!
 
Shes looking great!!! Does she have a name yet? I'm working out travel plans now for KOH cant wait to see this thing in person!
 
Over the last four months the guys and the shop and I have been continuing to work on the 4500 MJ. With the interior tin work pretty much complete, we started to shift our focus onto finalizing the little things to wrap this project up. There's a lot of little things!

Our frame needed some clearance cut into it for the LCA's at full bump. We finished up the cutout, and then capped the opening with a formed plate. It's little things like these that you can't really plan for from the beginning when dealing with factory constraints.
1129D05A-B1FE-460E-8EA5-2114706C4A20.jpg


Gusseted our Artec lower control arm mounts. These help tie in the main brackets to the frame, and prevent them from wanting to twist.
8EE658E6-B3CE-4714-B183-EEA2B7C1D52E.jpg


With our winch mounted, we then brain stormed how to route our winch rope. We didn't want to build a bracket under the front bumper due to loss of clearance, so we decided to go through it. Commitment time.
2A9B8EEC-FEC8-4788-BA98-68715369138B_1.jpg


Reinforced the front tube with some remnant hole saw cutouts turned to size.
4B852BD9-967A-472D-82D5-3F8238BB7489_1.jpg


TIG'd our front fairlead into the 3" tube. This fairlead was milled out of .750" flat bar, and then Don spent a few hours hand shaping the radius. Turned out killer!
AA1CB39C-2172-4037-AB88-AB447C4CF109.jpg


We then recessed some .375" plate that had been tapped to mount our rear fairlead to.
8145D527-78EC-4803-BFEF-1096D63A2723.jpg


Rear fairlead is actually an aluminum piece we custom made as well. We thought a welded in front steel fairlead would probably be better in case of any direct rock contact.
2C552D77-741B-467F-8335-644A1574E8B6.jpg


Our front tube bumper was only .120" wall. After the winch fairlead was complete, we added a reinforcement plate to the front that also wraps around the bottom.
9788724E-44CB-4AA1-9704-D59A52115EEB_1.jpg


Moving along with finalizing things, Winton TIG'd up our bump cans. Before doing so he turned down a solid aluminum heat sink to minimalize any warpage and heat damage.
260DE496-6FC2-4682-BD2E-CBE584015767.jpg


Project: Pitman Arm. Stock pitman arms are made from cast steel, and actually weld really well. We cut off the splined end from a stock arm, turned it down to size, and then sleeved it with some tubing. Using some .188" plate we then began fabricating the rest of the arm.
4737BA8E-7969-4E54-8880-BEF8FC8CB4F3_1.jpg


End result being a custom "twisted" double shear pitman arm.
F3FF72C1-1F1F-4BE8-A20A-54FD7A866A27_1.jpg


The twisted design allows us to neutralize our operating angle of our heim joint on the drag link.
FB3A460F-9EBA-4863-B20C-CB5A34C13C96.jpg


With out seat brackets done, we reworked the harness bars and finalized them.
EE395908-55AE-45A6-8D8F-5C1F5688610C_1.jpg


Rugged Radio's 2.0 air pumper. This is as close to AC as we'll get.
C5D69C3B-258D-4190-A746-73B8CA73D3B7.jpg
 
With limited space between the tire and our firewall at worst case scenario (40" tire turned at full stuff), we were running into issues trying to mount a brake master cylinder. Winton found this Wilwood remote reservoir pedal assembly with reversed dual master cylinders.
1F38D19B-E2DB-4E24-8518-1E302C9949F3_1.jpg


We have a brake pedal, and more importantly a gas pedal!
705AF99F-EC90-4833-9686-CFB8A704413E_1.jpg


The brake master cylinder's remote reservoirs are mounted in the cowl for easy access for filling.
FBE5BFBA-EC32-4A33-8913-675E0688AB64_1.jpg


All hidden under the stock cowl panel which will be Dzus'd on.
6FFBD449-0F44-4C8E-88A6-F6C5AB3669CE_1.jpg


Got our go juice filler built.
10BAE25B-6AE2-4221-ADF9-BBD1FCC9EFF2_1.jpg


We teamed up with Brian from Driveline Tech to lend a hand in building our drivelines. Brian came out to the shop, offered some great advice, and came up with a plan for drivelines. Rear link cross-member clears just fine at full droop.
04B47EA0-7E1A-4347-A300-8C41CFE9AD50.jpg


Applied a Kevlar wrap to the interior tin, which is then covered in a fiberglass resign. We thought it would be a cool touch to further customize the interior.
B8E0D86E-5F42-40D4-AFF2-B46515DE5E0D_1.jpg


With progress going good, I came over to the shop one day only to find we had traveled back in time.
95A0F519-4FED-462D-BD43-8A49AB7310C1_1.jpg


Actually, we wanted to finalize the roll cage. We added a few more tubes since we put it on originally, and needed to pull it off once again to fully weld them. We took this time to touch up the cab paint, finalize the cage welding, and paint the underside of it as well. A few days later the car was looking much better!
AECCCE88-FCB7-40F3-9024-7FA2C94EEBCE.jpg


Our 41" Outlaw LED light bar mounted up. We chose to build a removable assembly, which will allow us to run the light bar only at selected times.
9EEA451D-11E9-4E8C-AA69-5EFEF34D4102.jpg


Ted has been busy plumbing the fuel system. With Walbro pickups in the tank, they then feed into our pre-filters, fuel pumps, and post-filters. We used billet aluminum engine rod assemblies machined down to hold the components. :cool:
4F599FBB-92C3-4886-9AB7-5151E69D5002.jpg
 
Pat from Good Guys Auto Care came by the shop, and helped us make sense of our LS's engine wiring harness. We sent our stock harness into Speartech to be gone through and customized for this build. We had the harness on in no time, and started planning out the wiring from there.
4FC2CADB-F7F7-4485-9BCC-414C2D6D3E3C.jpg


Wiring was going to be a big portion of this build whether we liked it or not. Winton and I got together and listed out our components, amp draws, breaker sizes, and then came up with a plan for the wiring of each individual circuit. The wiring is pretty much all roughed in at this point. Now comes the chore of finalizing connections, and securing the wiring looms.
3701DD5C-68F7-4577-94FF-8CE17DE3D2B6.jpg


Got our brain mounted up inside the cowl on the passenger side. It sits on some rubber isolators.
5F6C9BBF-5FA8-44A2-8800-DC8574059D66.jpg


We're going to be using a engine mid-plate to help support the the back of the motor, and transmission. We've had some TH400 case failures in our #689 car, and we're hoping the mid-plate will cure that issue with the additional support. Our mid-plate mounts complete with bushings.
7C7FCE28-1C5E-4EF5-A608-B554AC918F01.jpg


Ballistic battery box with a group 34 Odyssey. The battery box is welded to a tube cradle beneath it.
EDE4F5FF-08B4-4BBF-AE7C-0774A842A055.jpg


Rear suck down winch mount was welded on, along with our spare tire carrier.
9E83C2AB-138D-4952-B889-2FF665026082.jpg


Ted's custom aluminum corners turned out great. Flush mount reverse lights were mounted.
CDA776F6-F71B-4233-9761-D56C20C9C15A.jpg


Door bars, and vertical supports were added to the cage. We tried to stick to the minimalistic look, but these tubes support some key areas of the cage, and more importantly protect the occupants. For an exo-cage we think it turned out pretty well, but we might be a bit biased. ;)
A8789523-F072-42AF-A811-77AFBADC1F26.jpg
 
Shes looking great!!! Does she have a name yet? I'm working out travel plans now for KOH cant wait to see this thing in person!
Thanks, right now it's still just "the MJ". I'm sure once it gets out in the dirt it'll earn a name.

KOH16 is coming up quick! I'm planning on heading down again regardless, but right now it's still up in the air whether the MJ will be ready. We're all working really hard to make sure it's there. We've sat out two years now, it's time to race!
 
Looks amazing.
 
Dates were just posted for KOH 2016... You guys think the rig will be done? What all needs to be finished up to be able to run the race?

"The 10th Annual Nitto King of The Hammers is Coming...
2016 will mark the 10th Annual Nitto King of The Hammers. If you have yet to attend the biggest Off Road Race in North America, make this your year. Hammertown opens for drivers on Friday 1/29 with the 2016 Nitto King of The Hammers taking place on Friday, February 5th, 2016. "
 
Dates were just posted for KOH 2016... You guys think the rig will be done? What all needs to be finished up to be able to run the race?

Well I guess we got a deadline now. :eek:

I just finished up another night out at the shop, and actually pondered that same question before I left. Honestly, we still have a lot of work to do, but I think it can be done if we buckle down, and don't have any major hang ups.

Things to do:

  • Wiring: We're down to wiring in the relays, switch panel, and the breaker connections. All wiring is roughed in, and Delphi connectors are finalized on all accessories. Another week or two and we'll have power.
  • Fuel: Pretty much complete. Just need to secure our fuel line routing, and finalize the fitting on the fuel rail.
  • Coolant Lines: Need to route our coolant lines to the rear radiator, and figure out connections.
  • Brakes: We have our lines measured out. Just need to put in the order to have them made.
  • Exhaust: This is going to be a big one. We're kind of running out of room, which means the exhaust is getting more and more complicated. Hood stacks are the back-up plan.
  • Axles: Housings need to be pulled for final welding. Shafts need to be splined by Jantz. Paint and then final assembly.
  • Steering: We need to fab a mount for our hydro ram, finalize our pump mount (more on this later), and build steering linkage from the wheel to the box. Box is currently at Howe getting some work done.
  • Skids: Frame work for our belly skid, engine skid, and boat sides is pretty much complete. We just need to pick up our plating get it mounted.
  • Skins: This is going to be a time consuming one. We need to figure out rear bed skins, front fenders, and a hood. Flat panels would be easy, but we want them to resemble the MJ lines somewhat.
  • Detail work: Paint, grinding, clean-up, finalizing bolt lengths, etc
I'm committed to getting this car done and on the lake bed. We'll be hitting it hard the next few months. We might be taking applications for some extra help if needed. :D
 
Back
Top