- Location
- Fort Collins, CO
Thanks Luke!
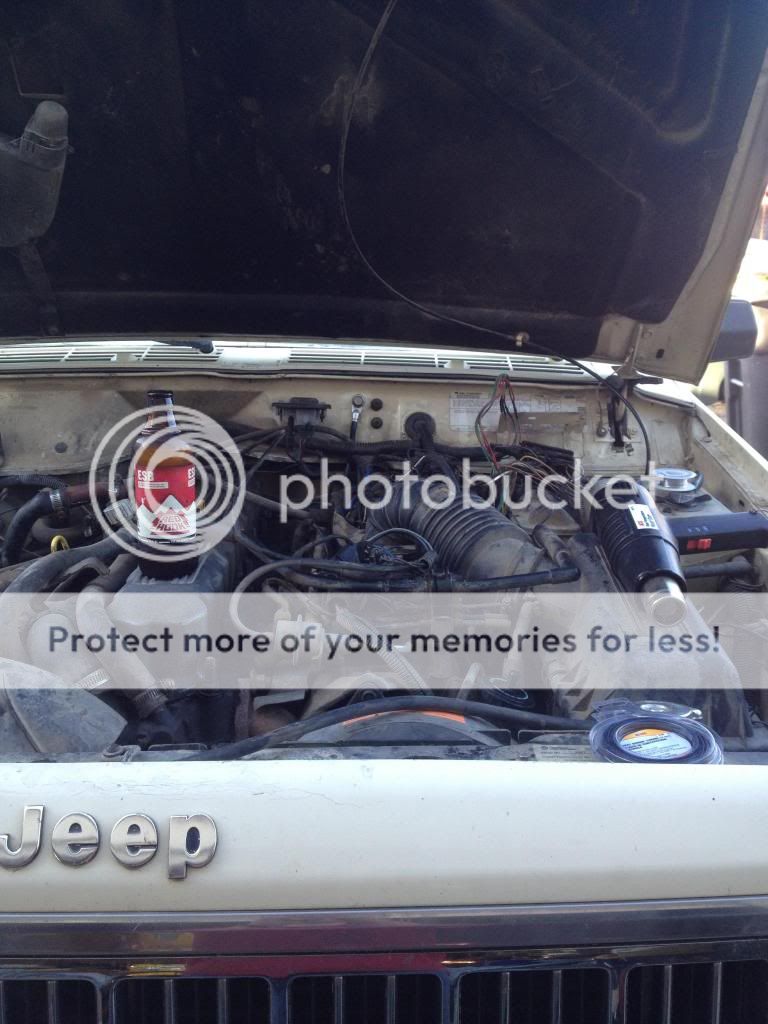
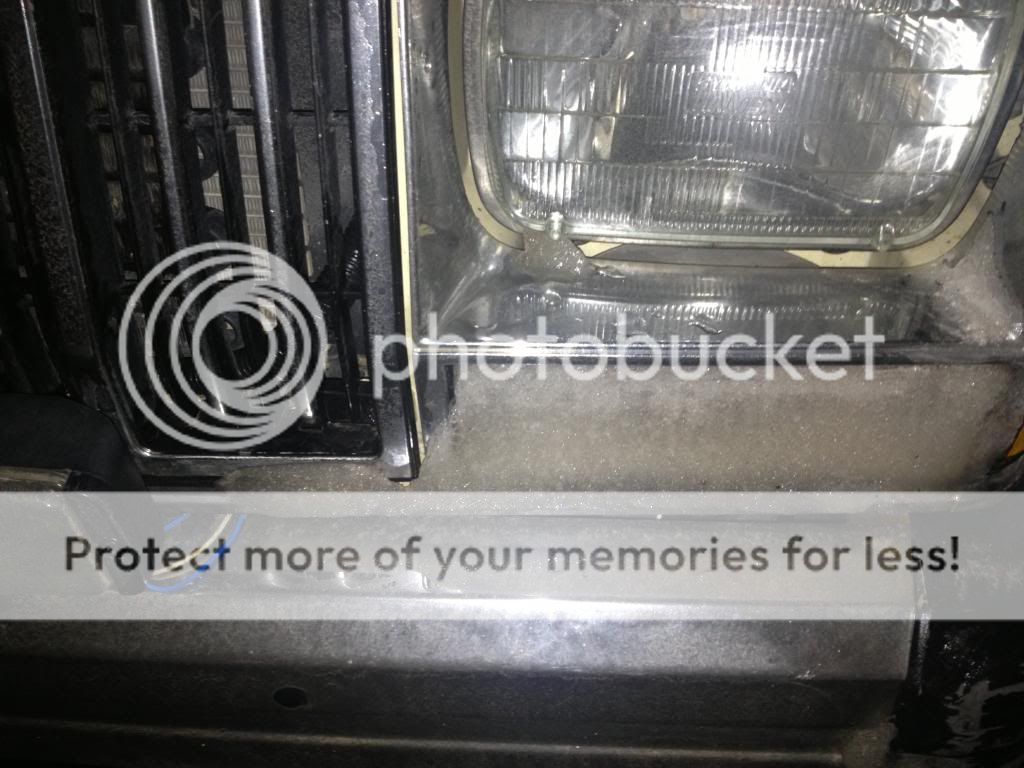
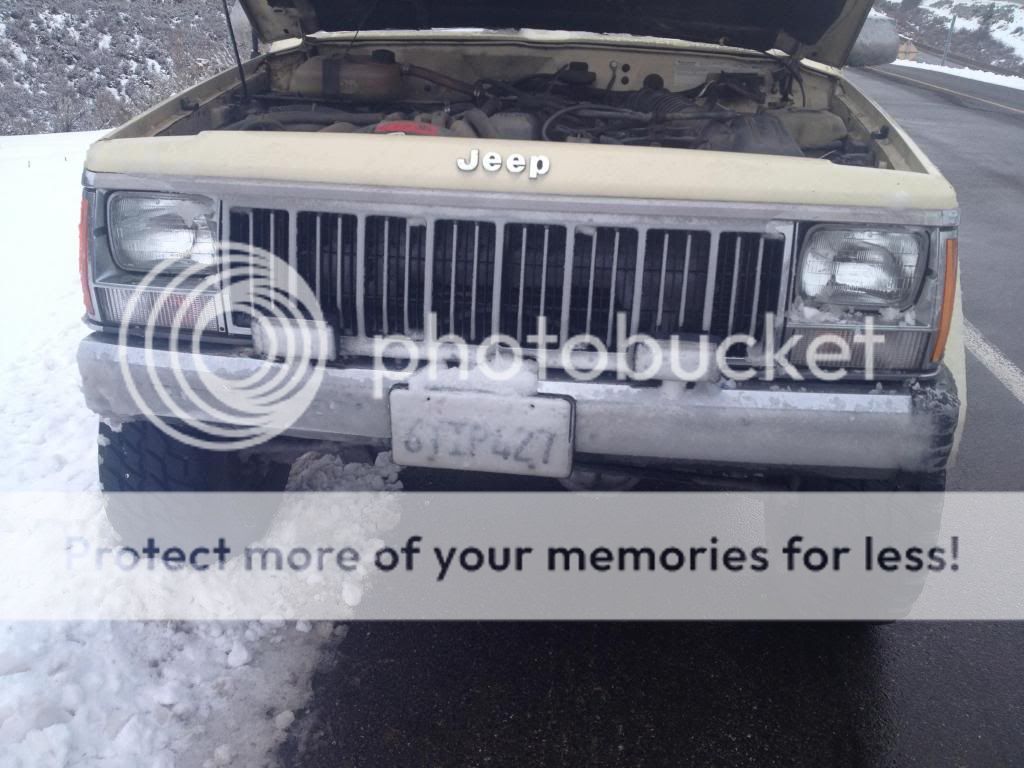
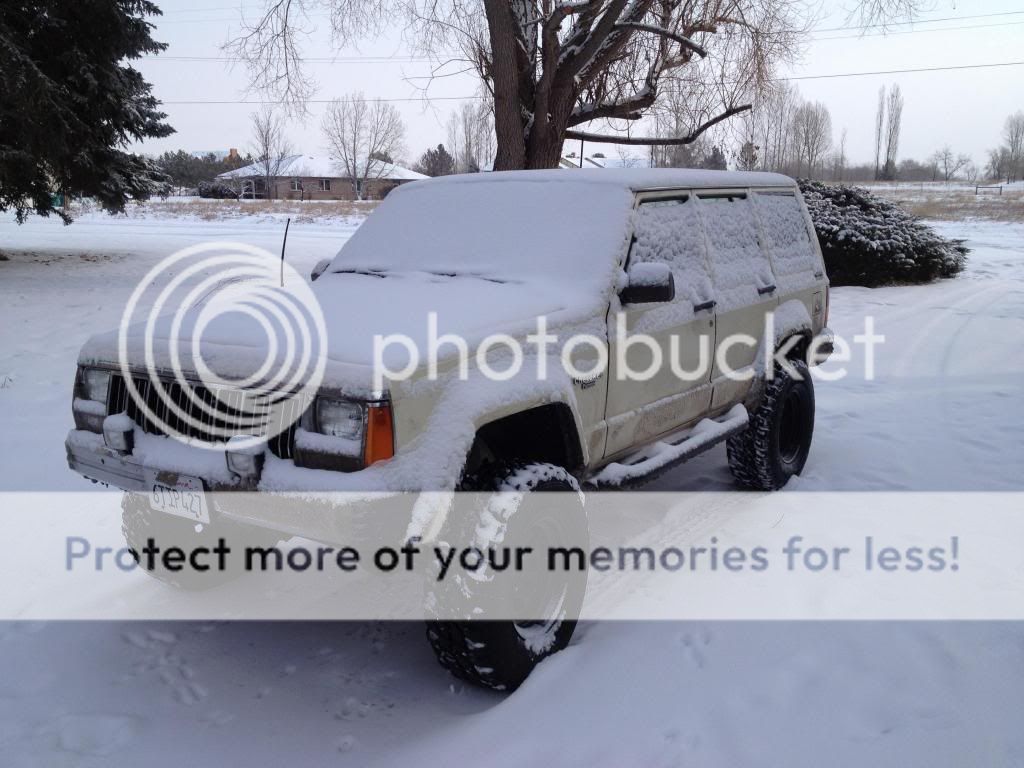
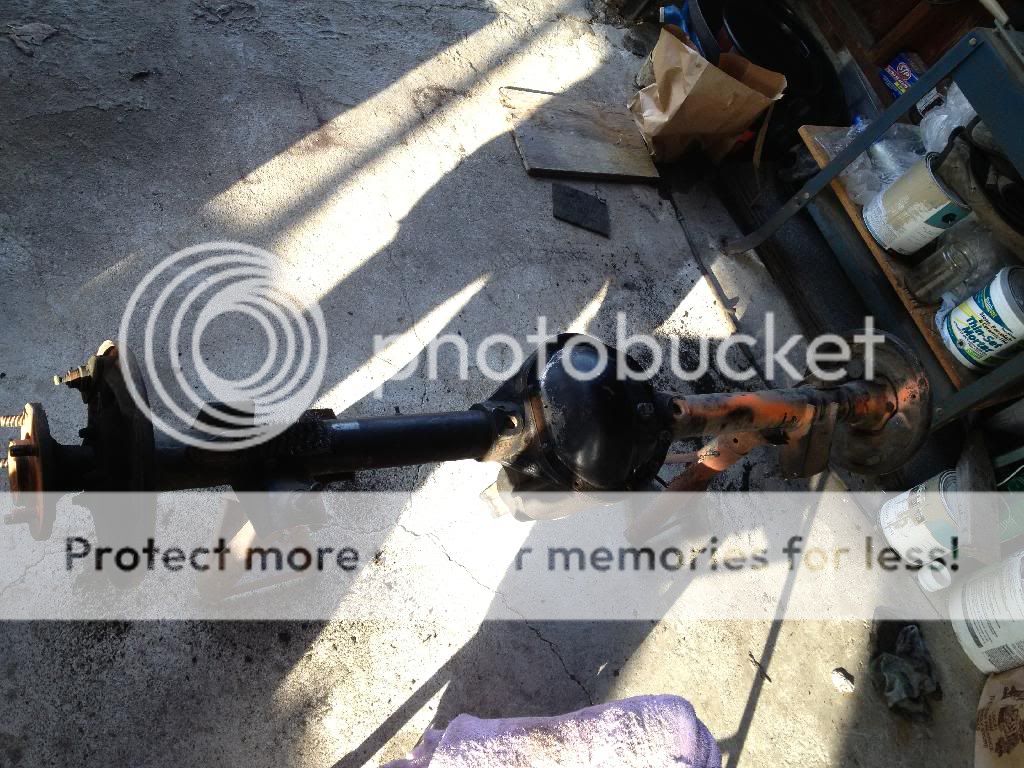
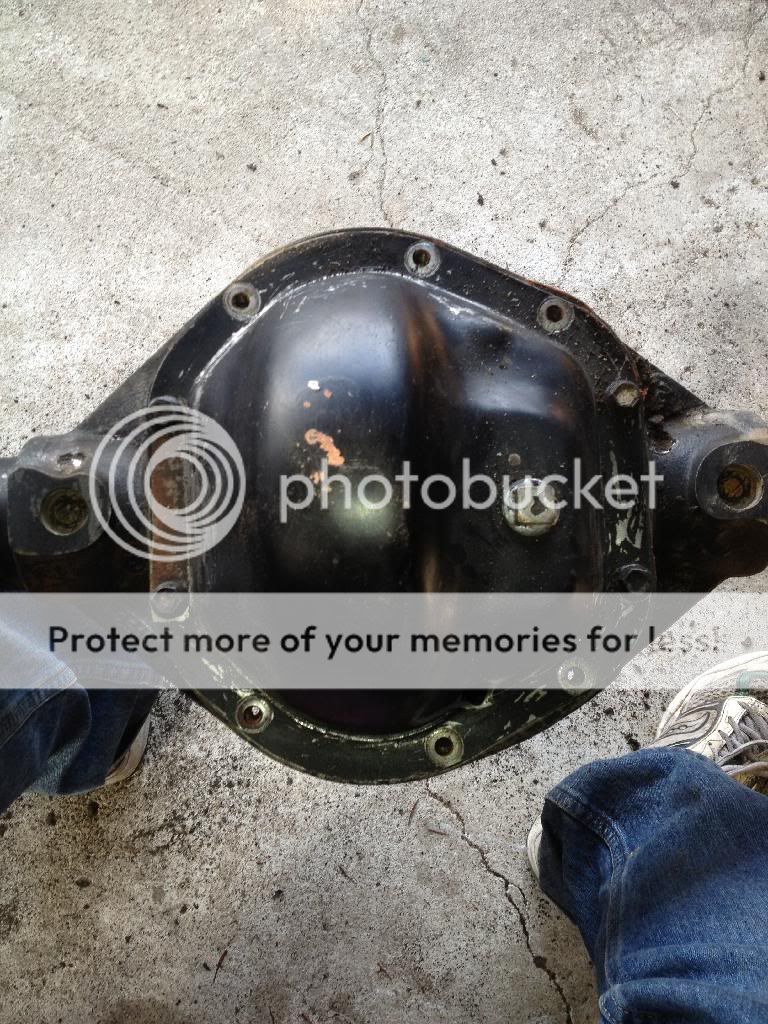
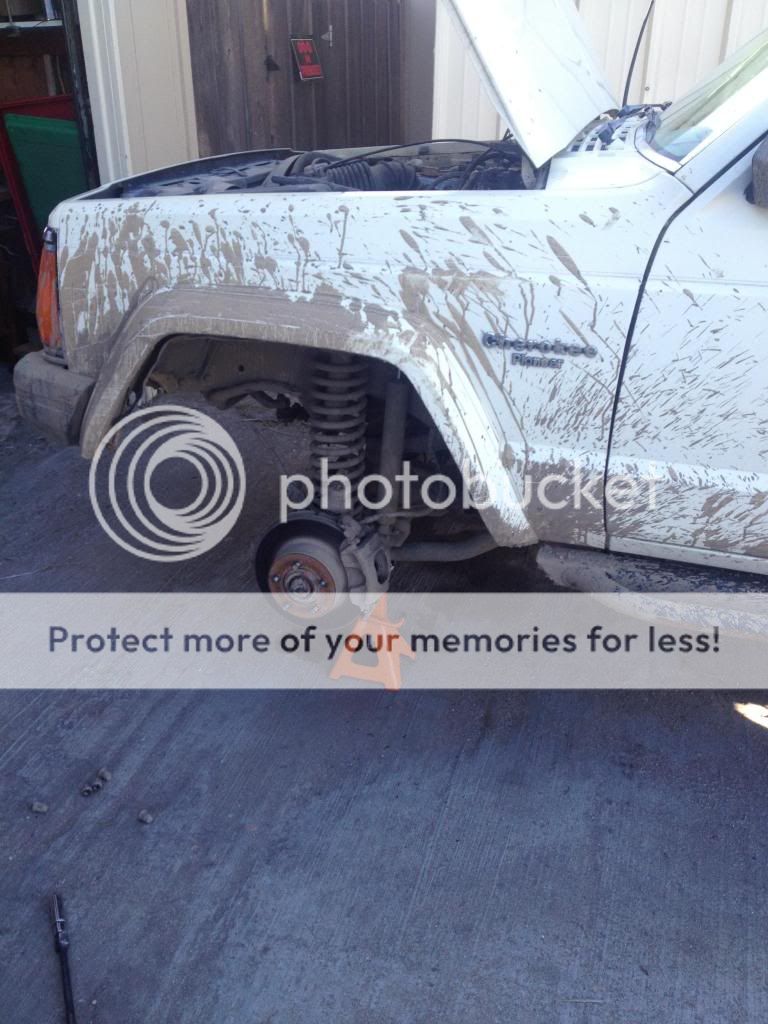
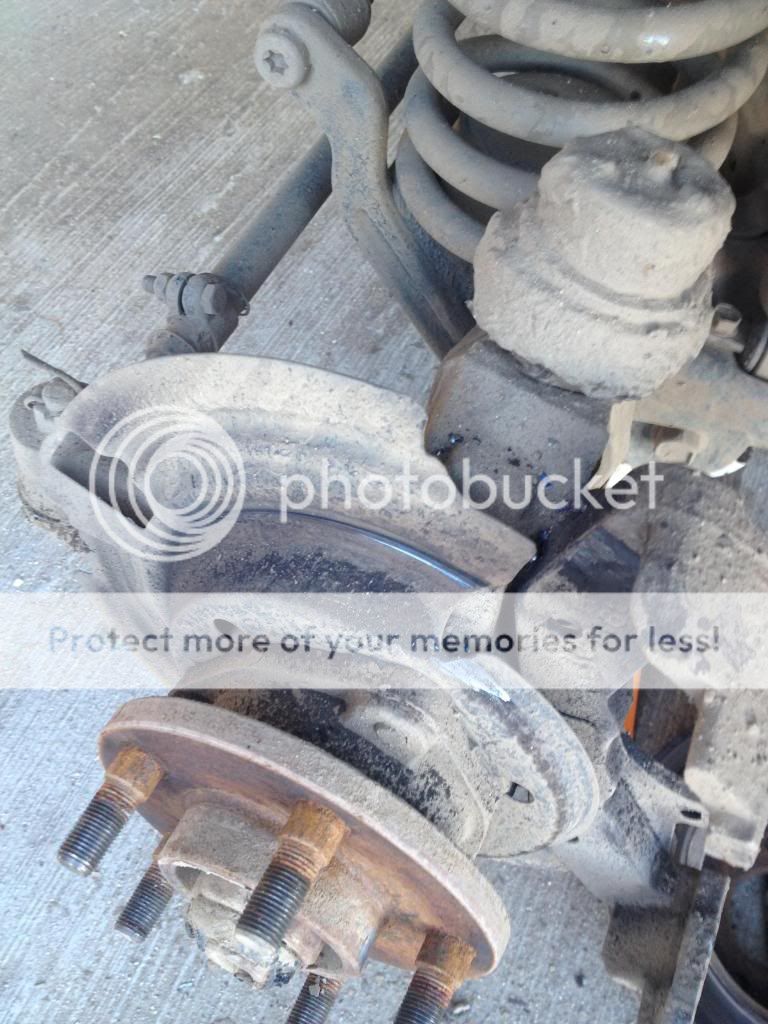
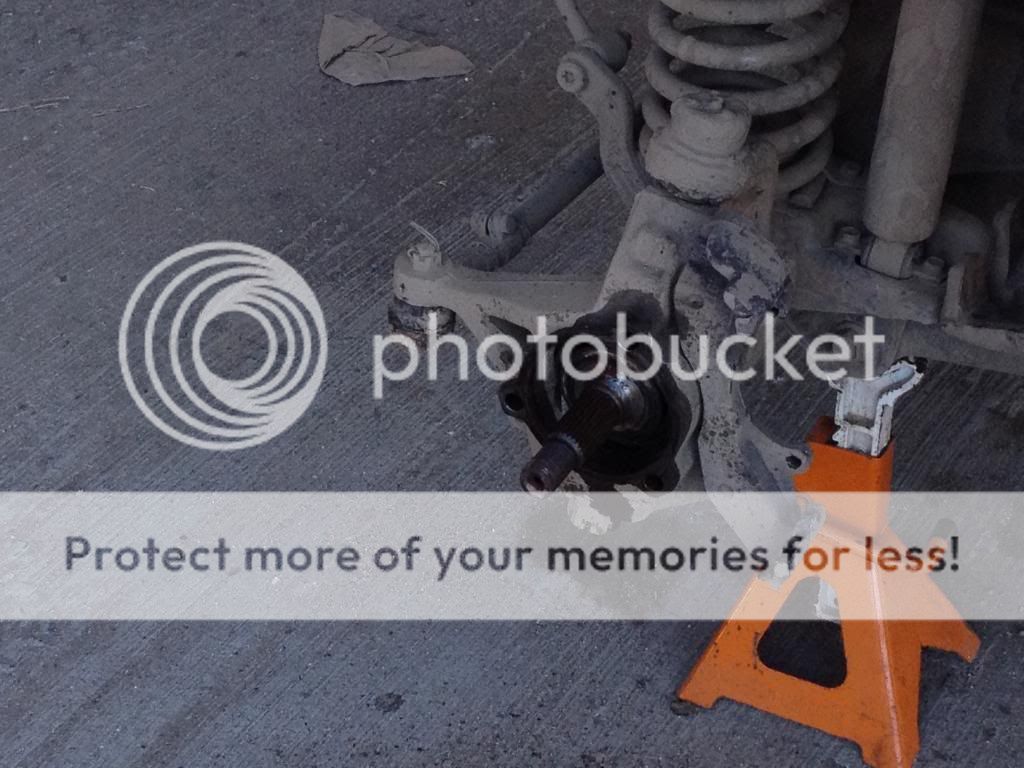
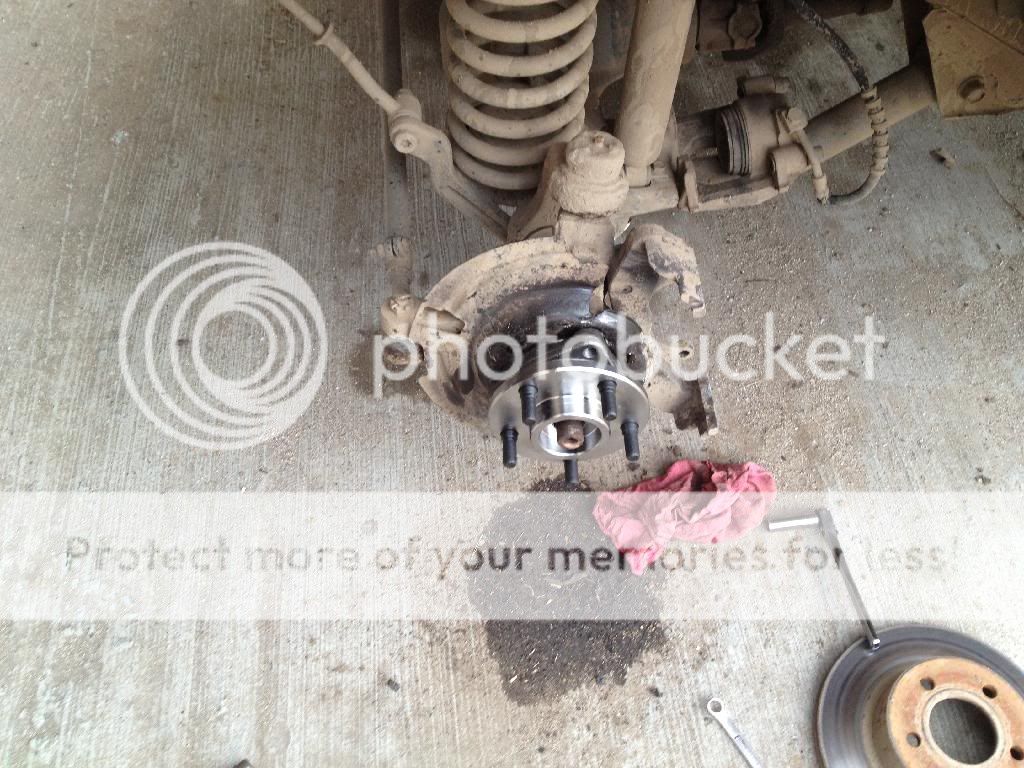
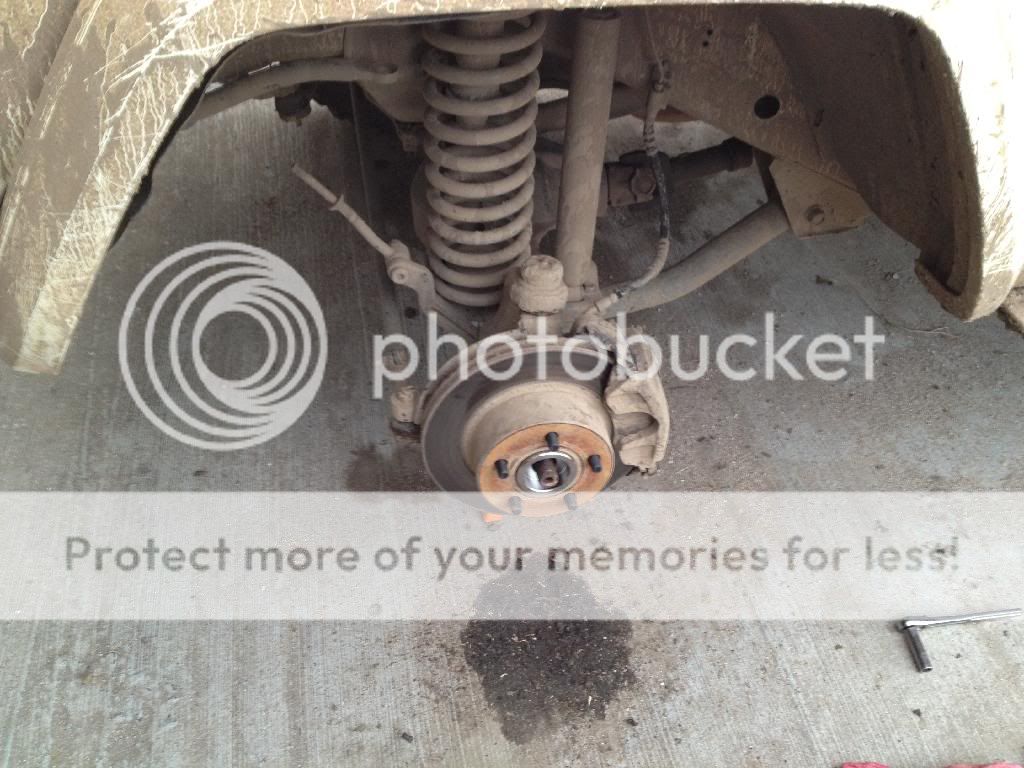
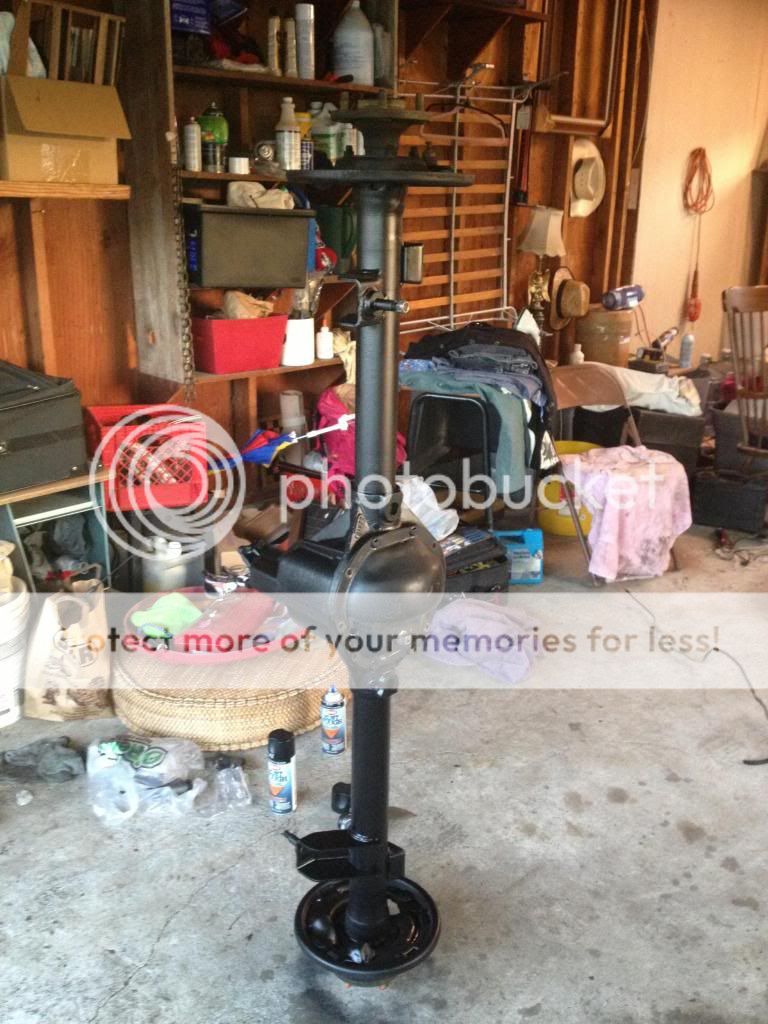
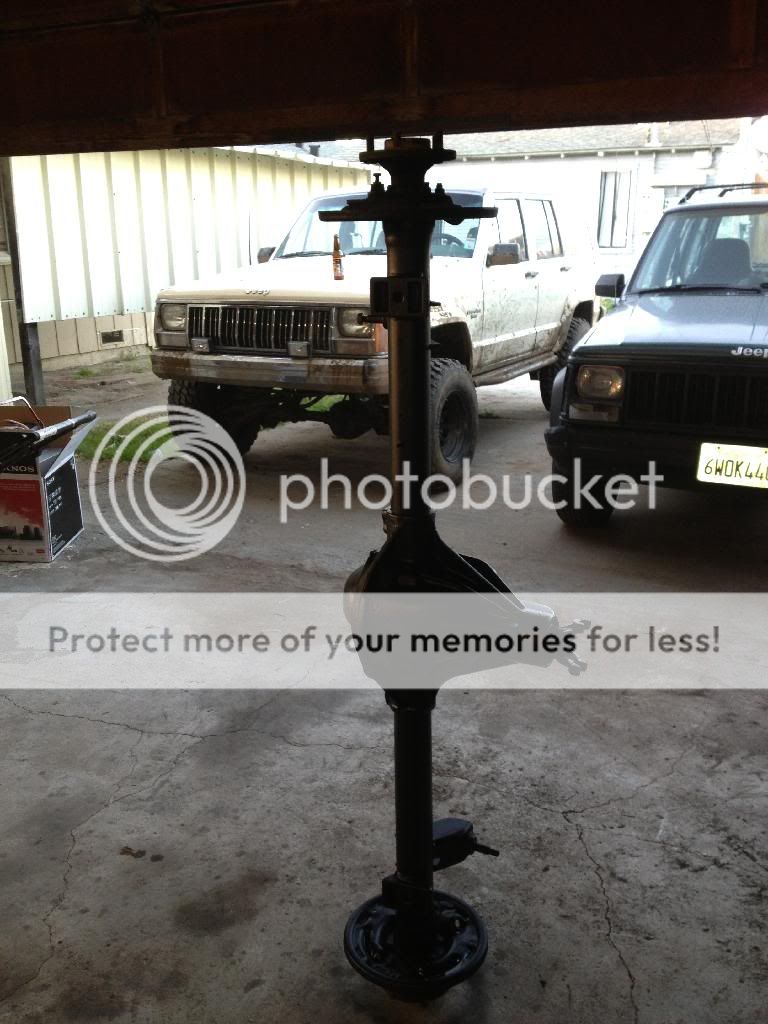
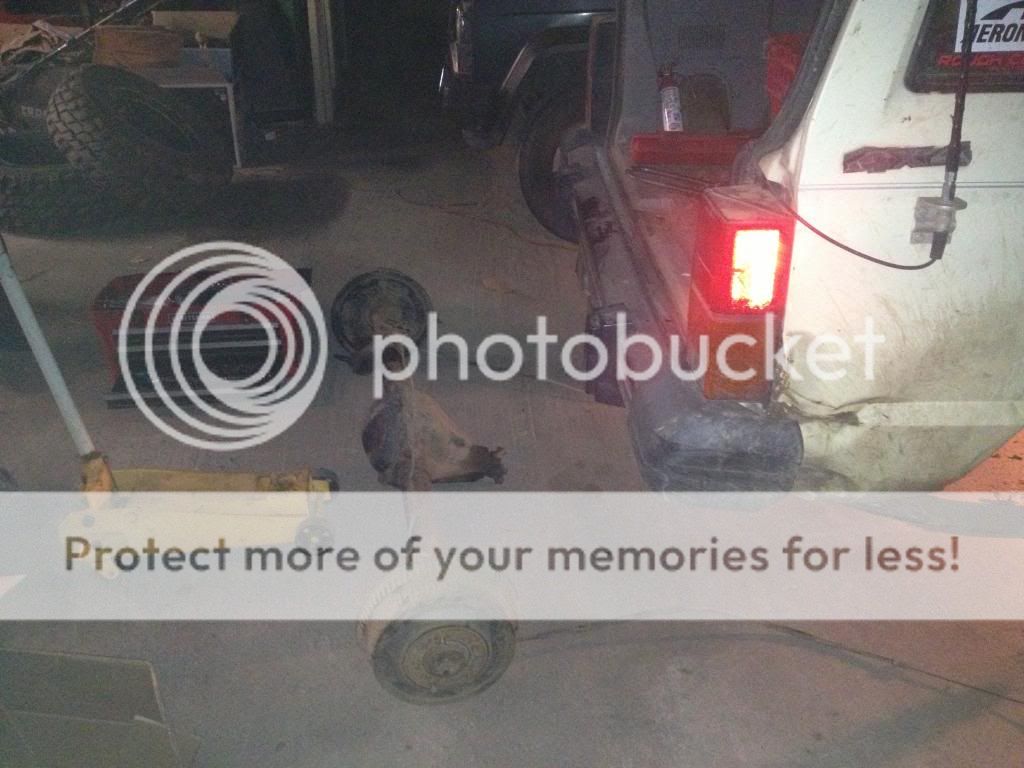
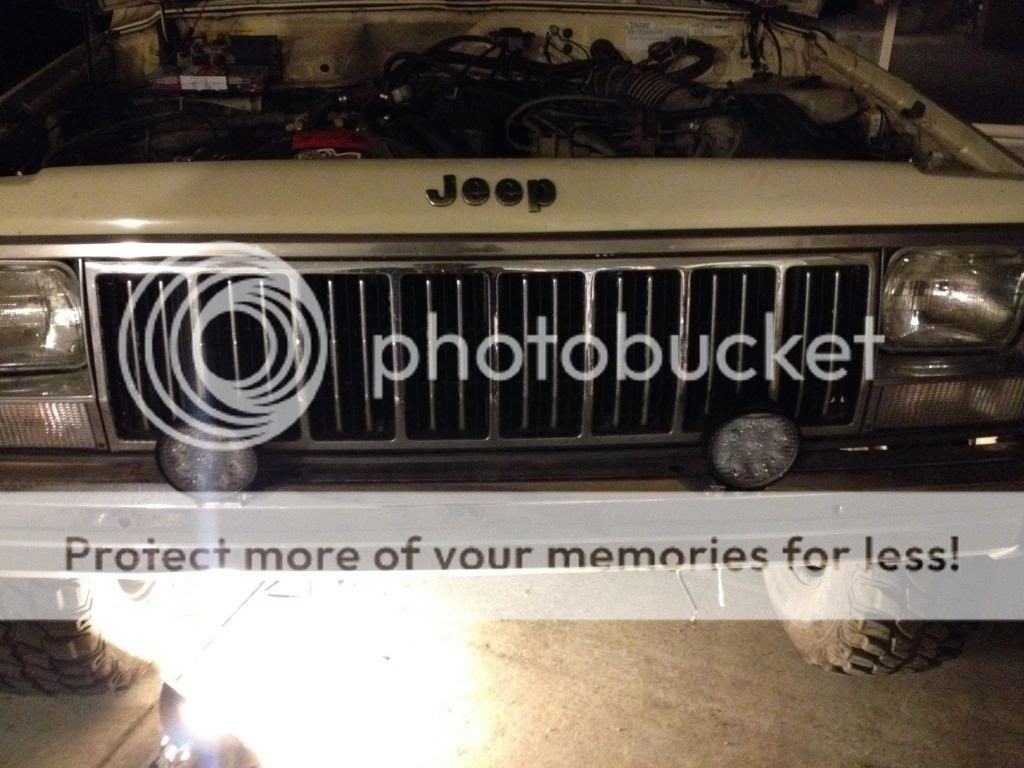
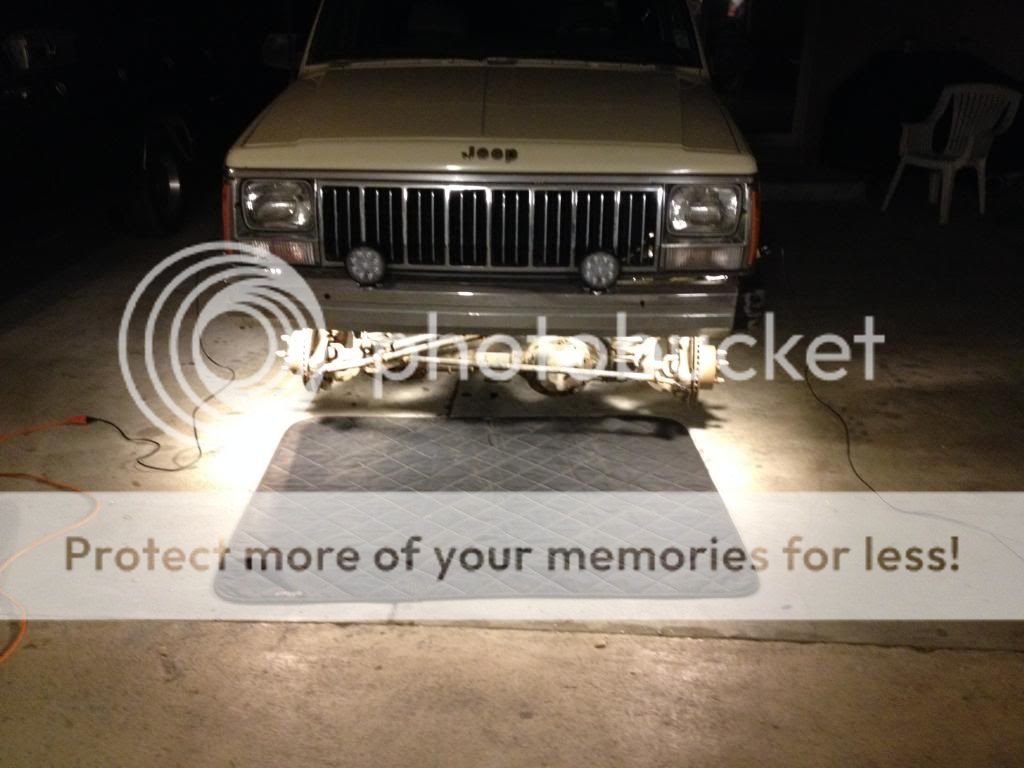
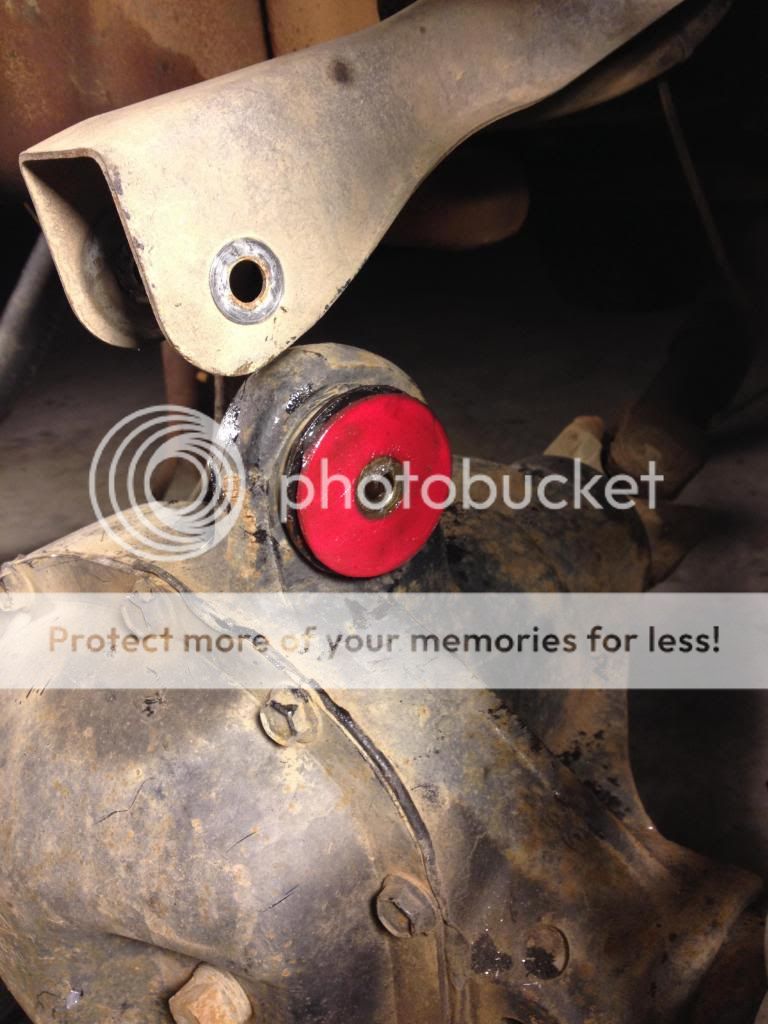
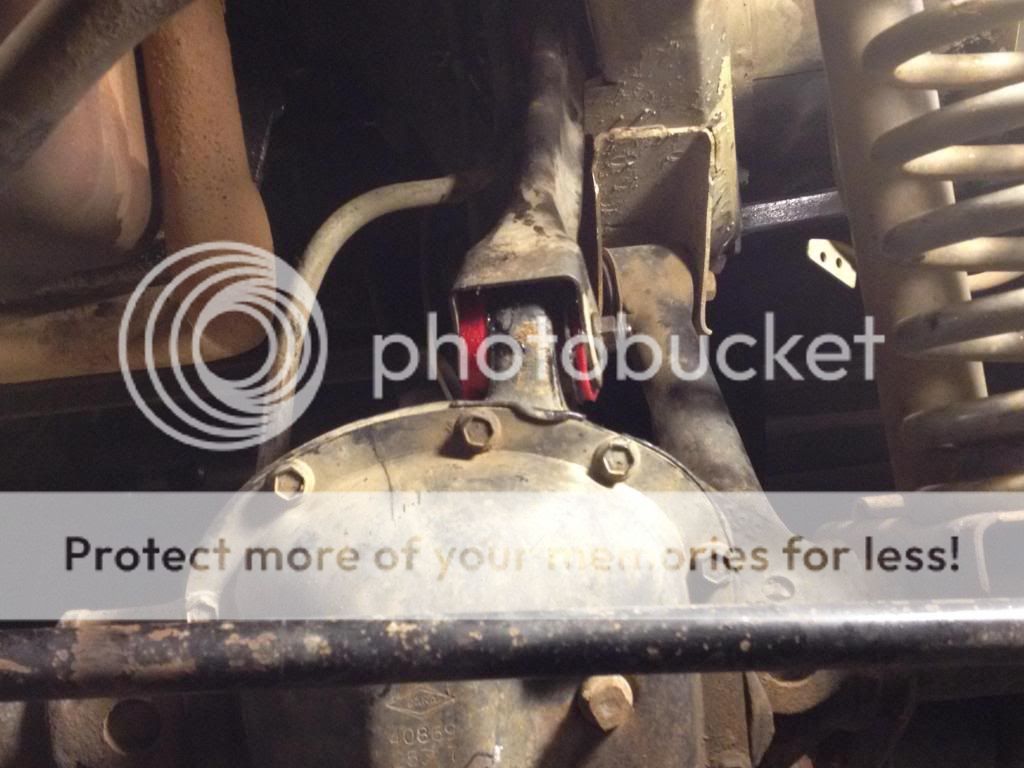
So now after spending the day wrenching on the xj doing preventative maintenance, prepping to pull the axles, suspension, and drive lines for a major bushing upgrade and clean up, and drinking some beers, Im ready to post the next chapter of the $500 XJ.
Now...where did I leave off...OH YEAH!
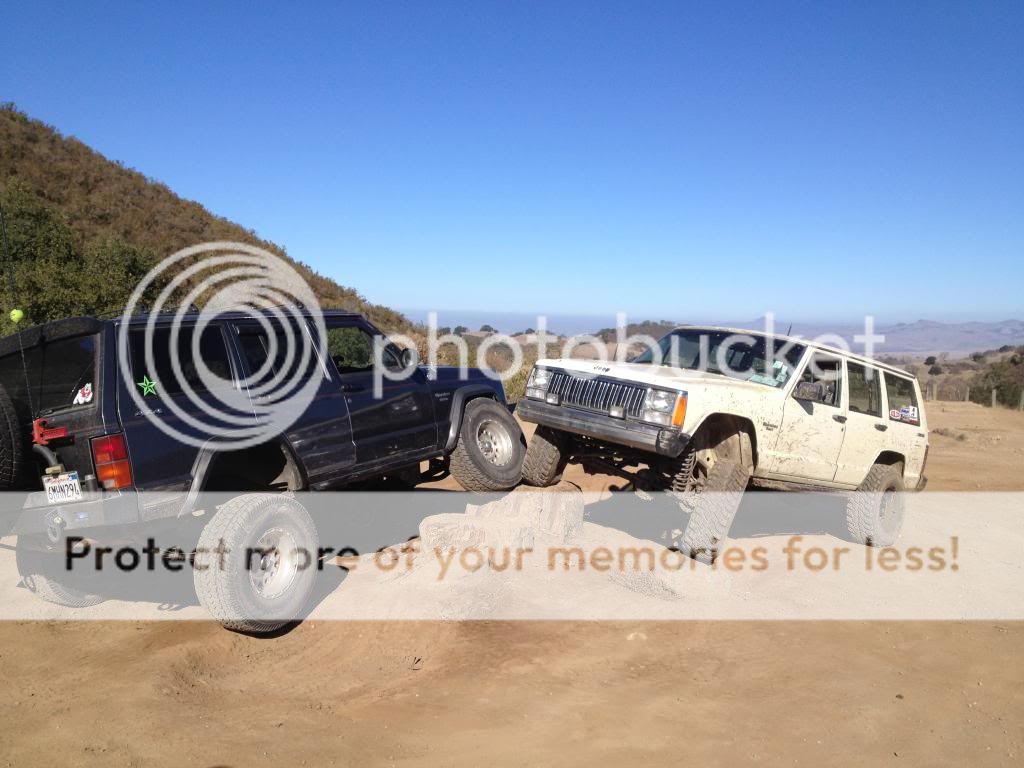
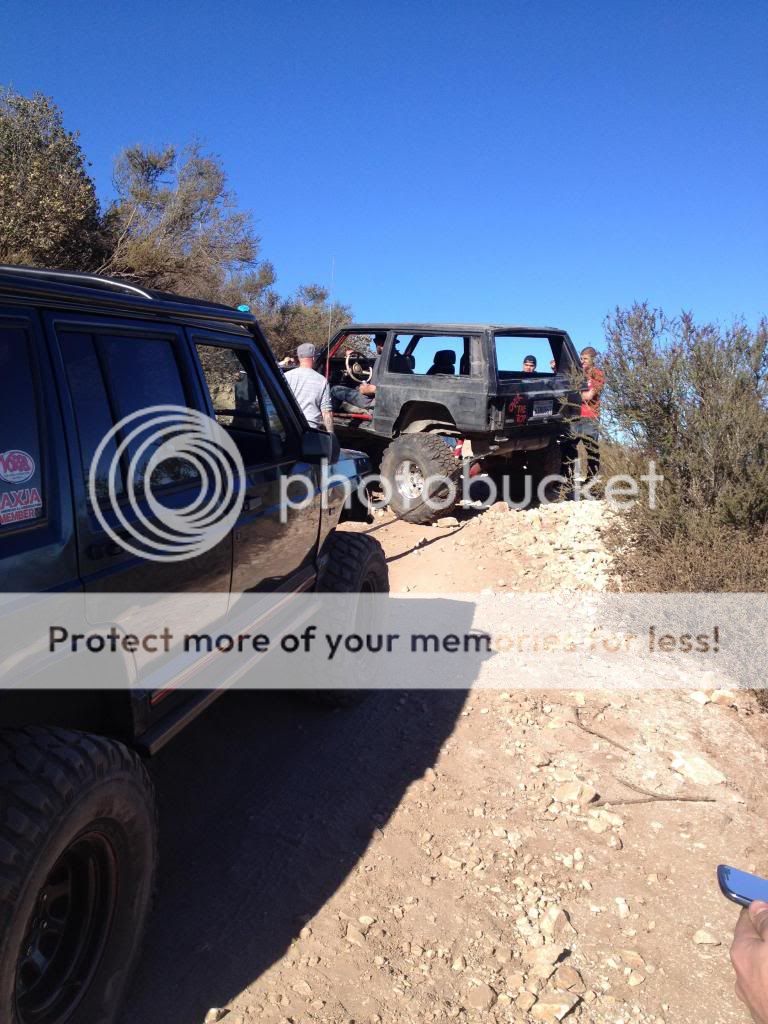
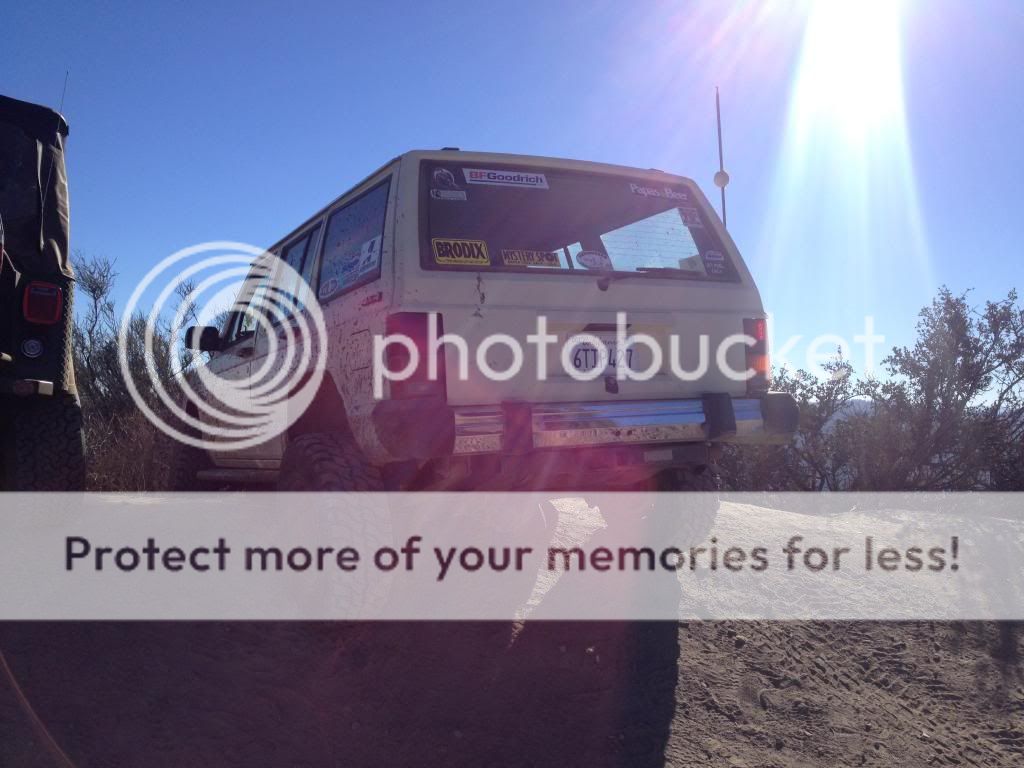
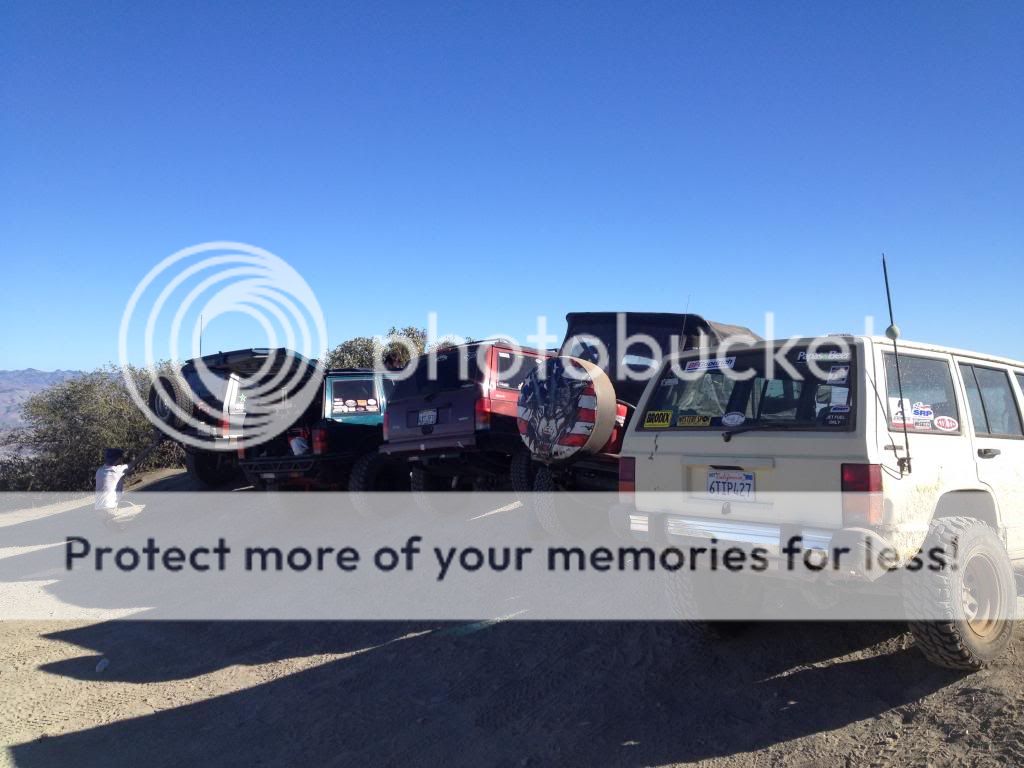
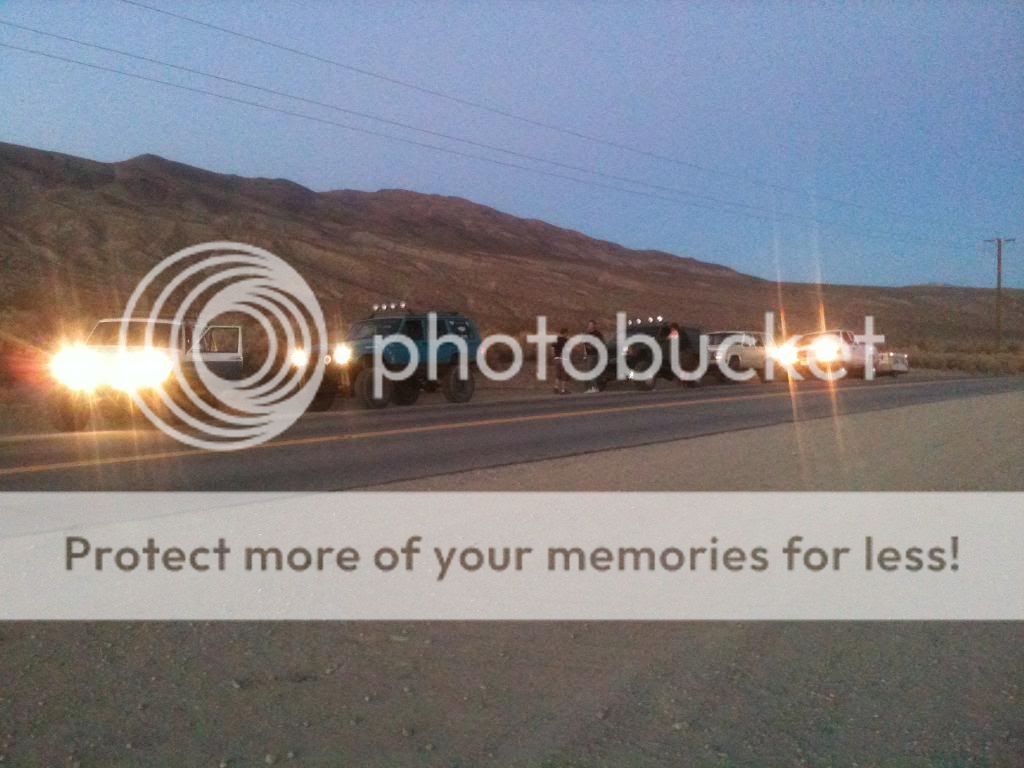
So after breaking my lower control arm mount and fixing those oil leaks, I went on a trip to Mojave to run Last chance canyon with aeracer and some buddies.
I don't have any pictures of the wheeling, but I do have pictures of carnage and an interesting trail fix.
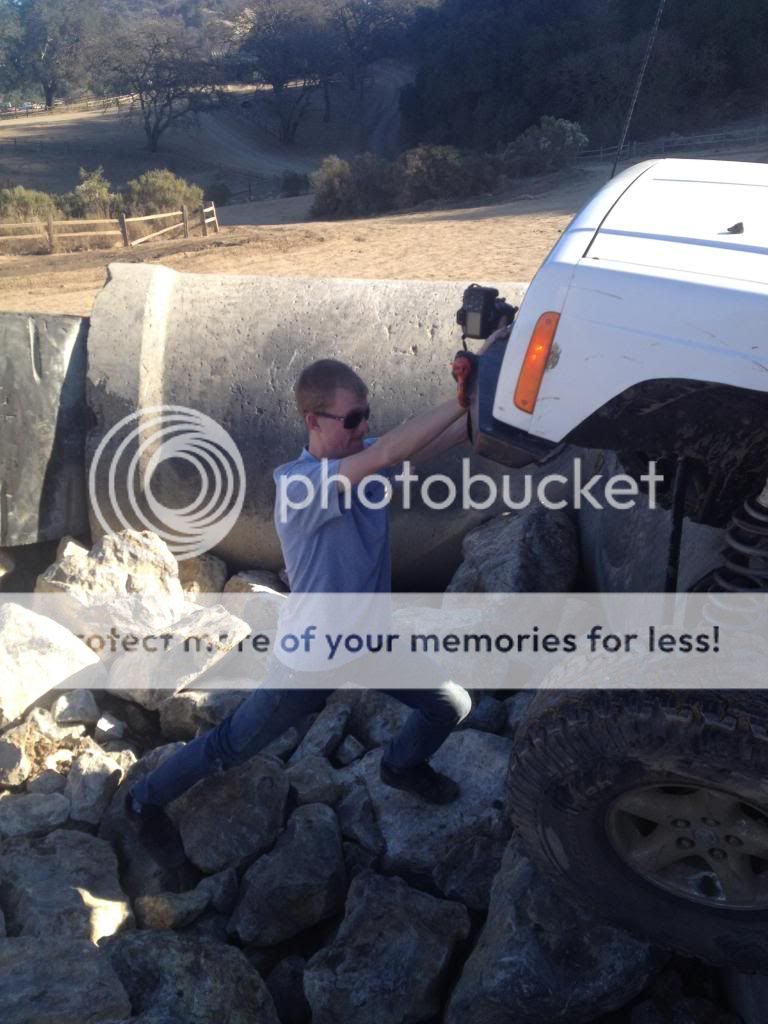
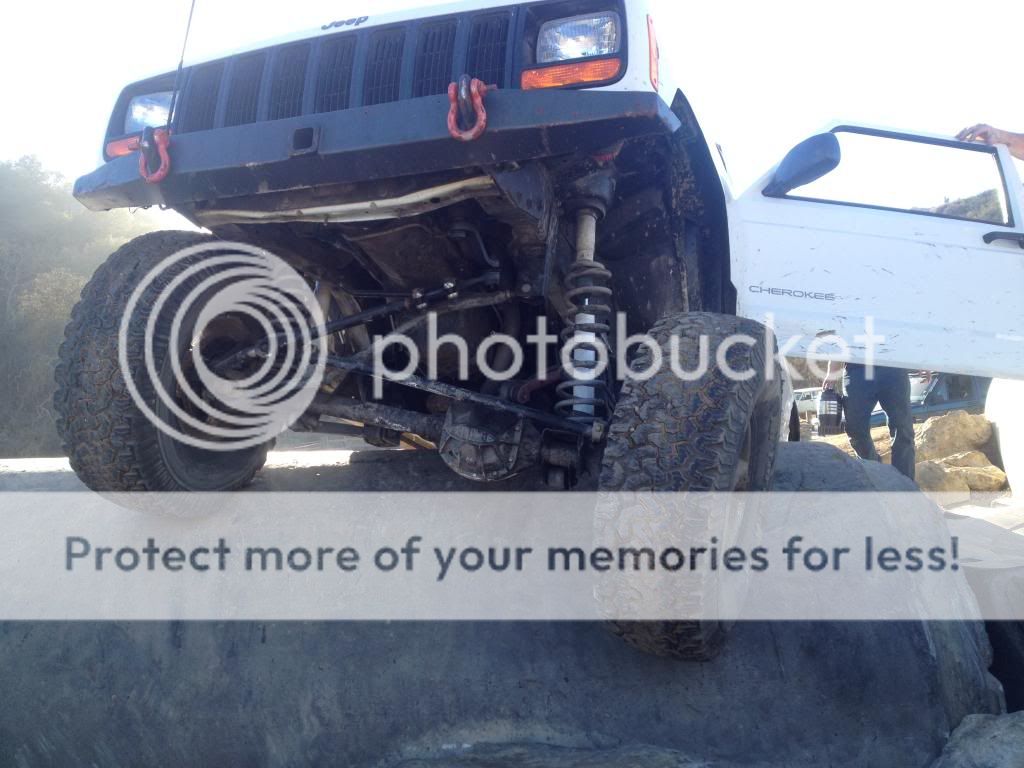
My friend Dustin had his tracbar break in half. and we had little bit of welding rod, some batteries, and jumper cables (MacGiver anyone?). We tried to weld it back together, but since we only had one set of jumper cables we couldn't get enough voltage to the rod to really get some good penetration. So we improvised again and I think we found the 102nd use for a Hi-Lift jack...tracbar!.
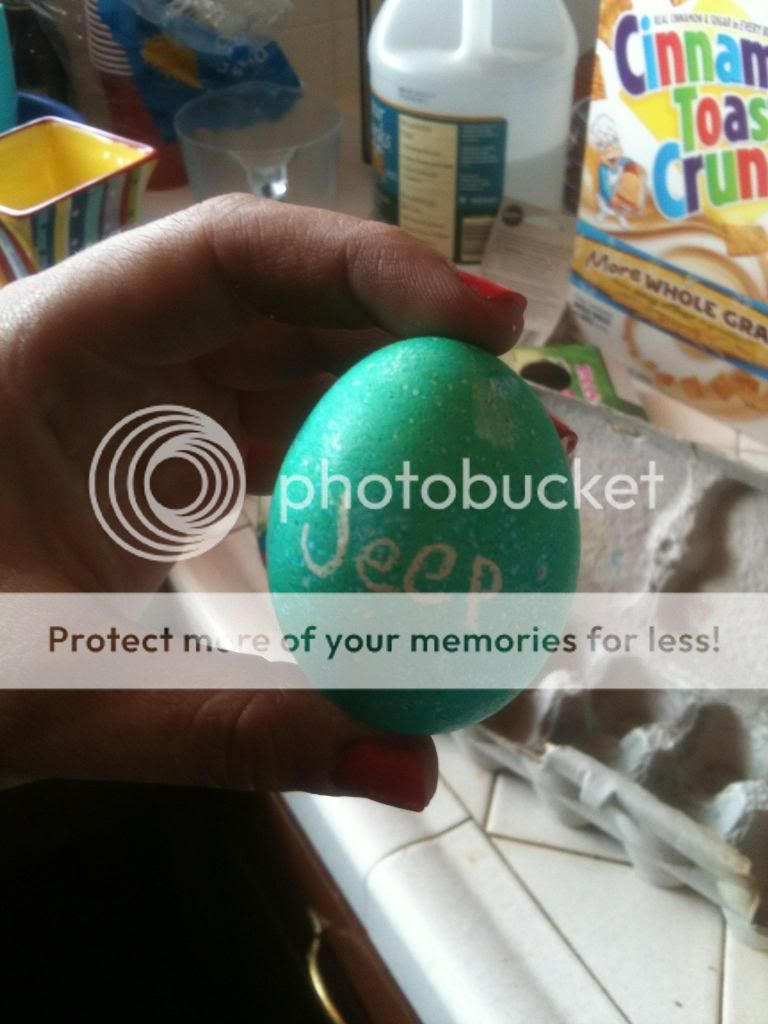
Oh and Easter had come! Yes I still dye eggs...I'm still young minded, mind you. And No that is not my hand in the picture, that hand belongs to my girlfriend.
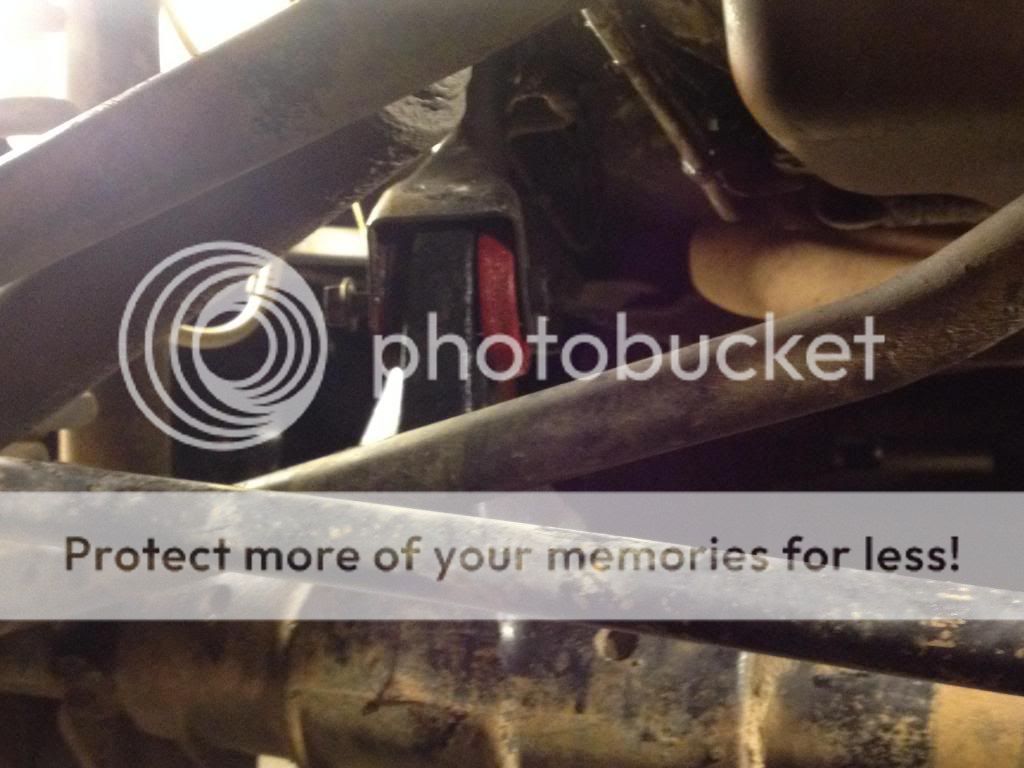
Broken tracbar.
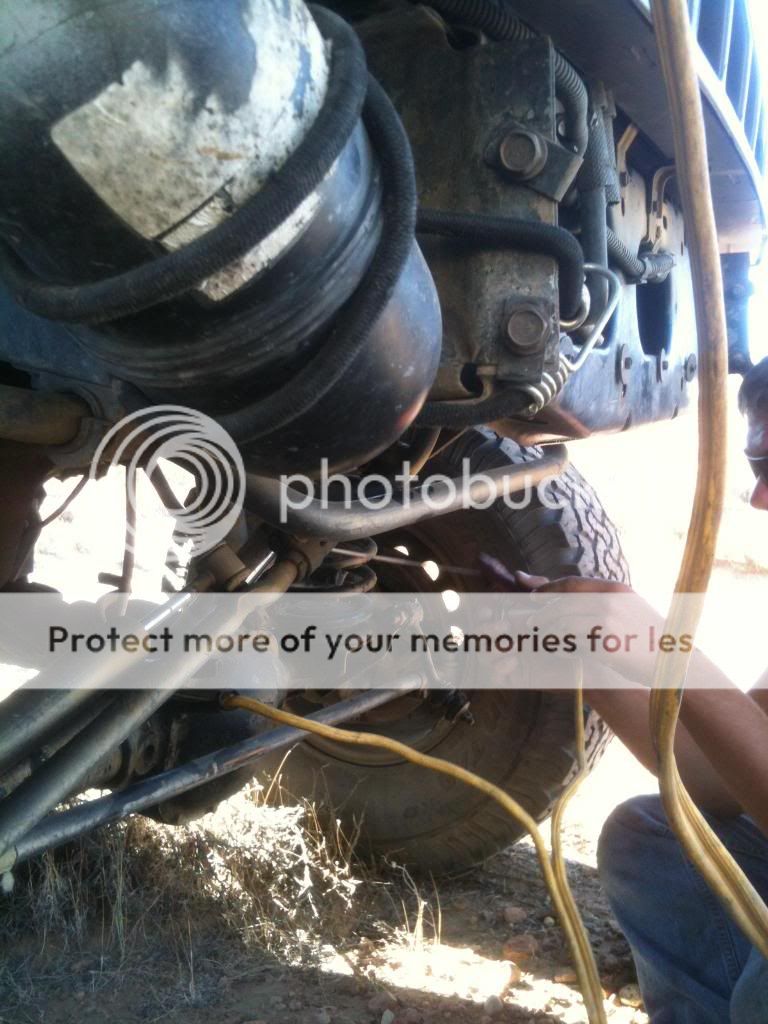
Aj attempting to weld the bar back together.
If you look close at the coil you'll see some sparks.
Dusty and Aj...The master mechanics!
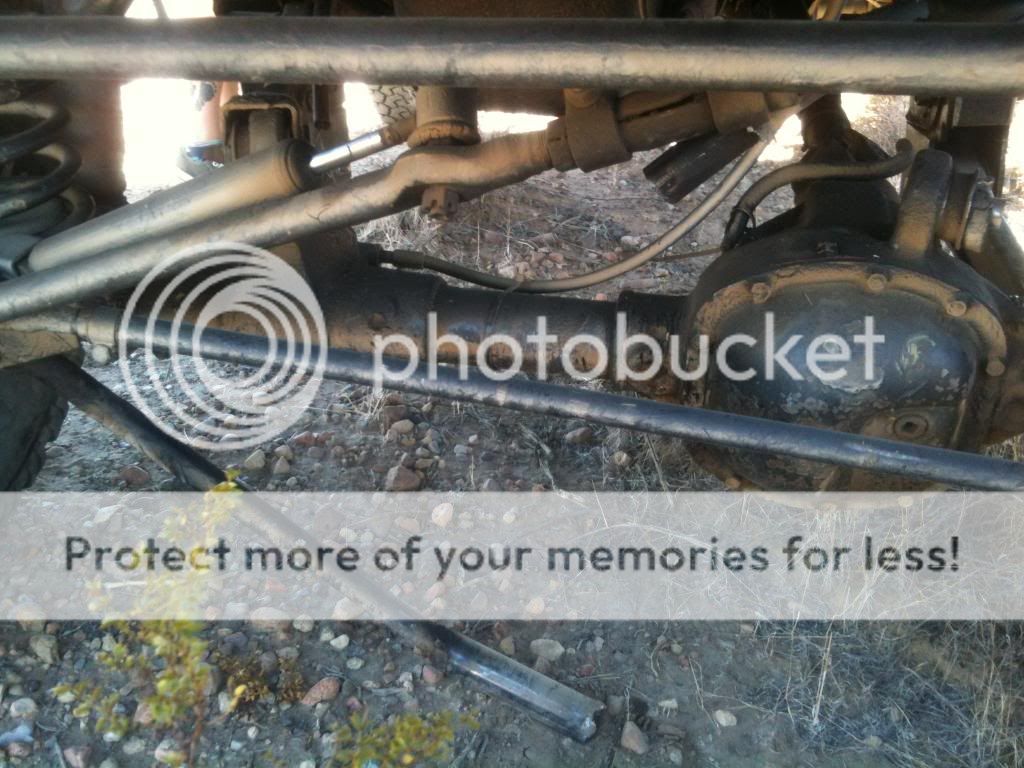
Hi-Lift tacbar...kind of a good idea. It actually worked for all of a 1/4 of a mile. Long enough for a drag race...not long enough to get back to camp though.
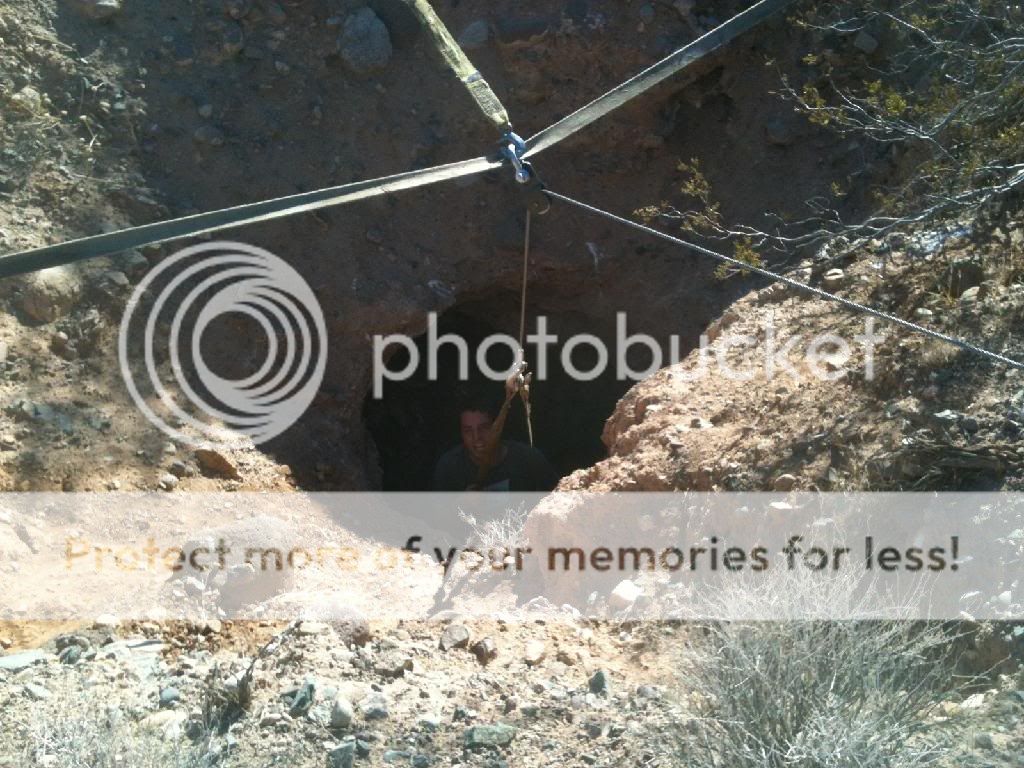
After it was all said and done we got back to camp late at night and had to wait for a friend to come out with a real welder. So what did we do while we waited? How does spelunking sound? We parked my Xj and Aj's across the hole with a tow strap held super tight on the tow hitches over the hole and aeracer got his satch block out with his winch so he could raise and lower someone. I made a harness out of a second tow strap and went down the hole. No pictures of me going down since I left my phone in the Jeep. Kids don't try this at home.
The set up.
Aj attempting the plunge. You can really get an idea now of how the set up worked.
That hole had to be about 30 to 40 feet deep and I had to shout just for anyone to hear me from the bottom.
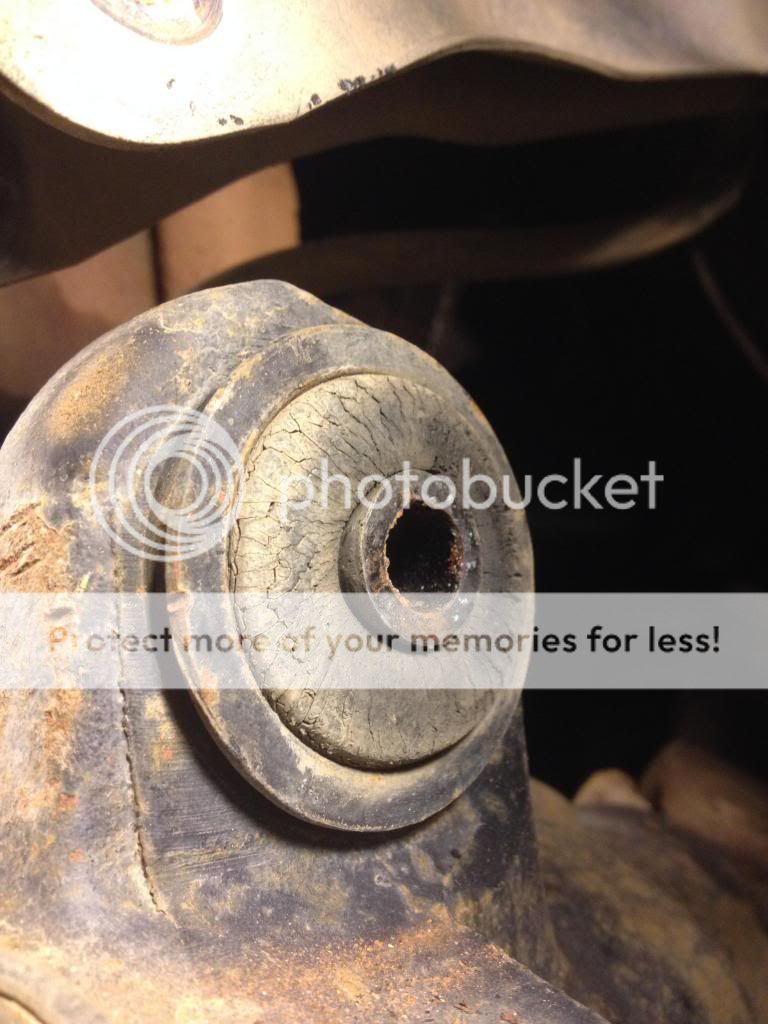
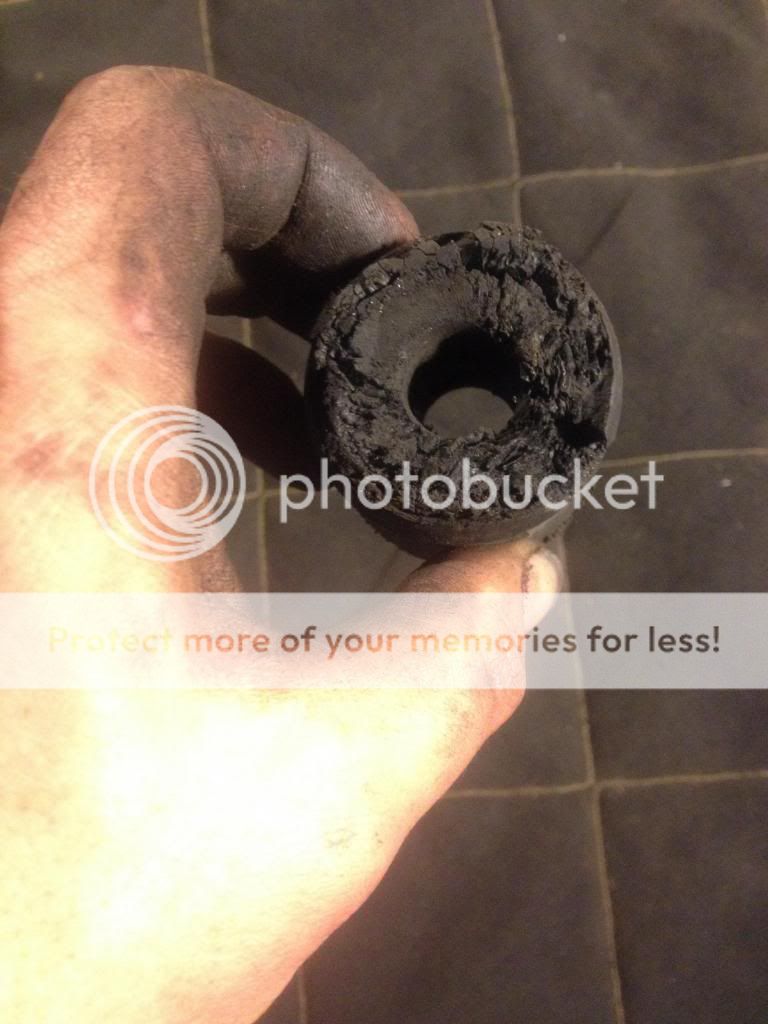
After all the fun was over we headed home...only to make it about 5 miles down the road before we had to stop again. Dusty had Major death wobble.
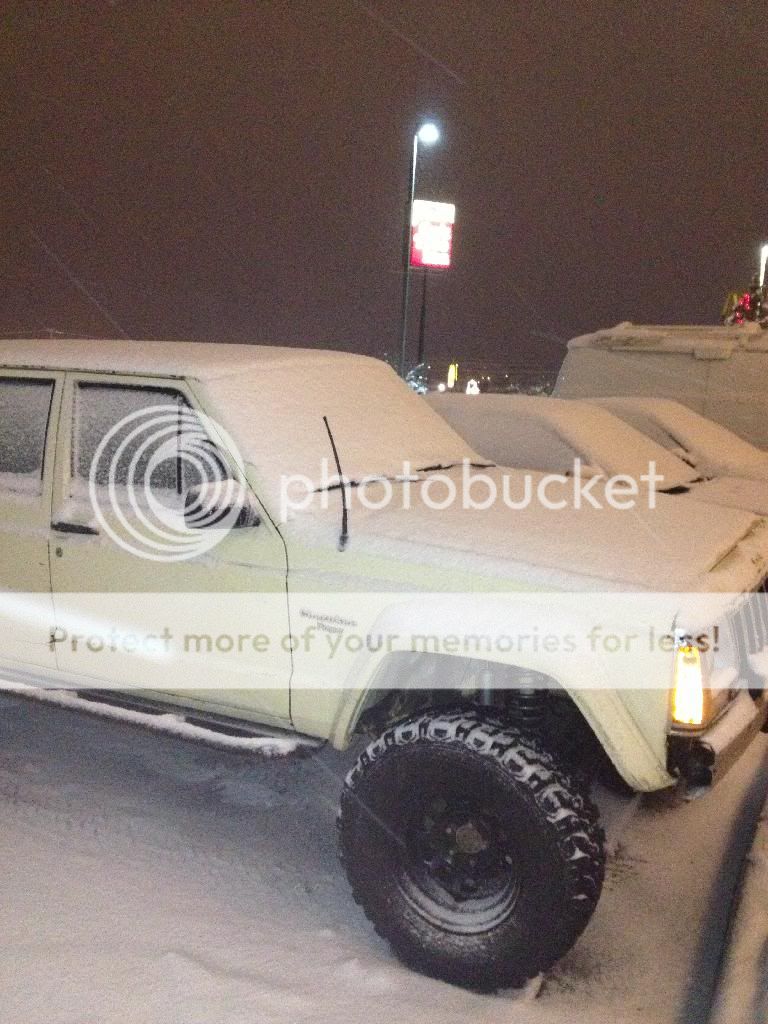
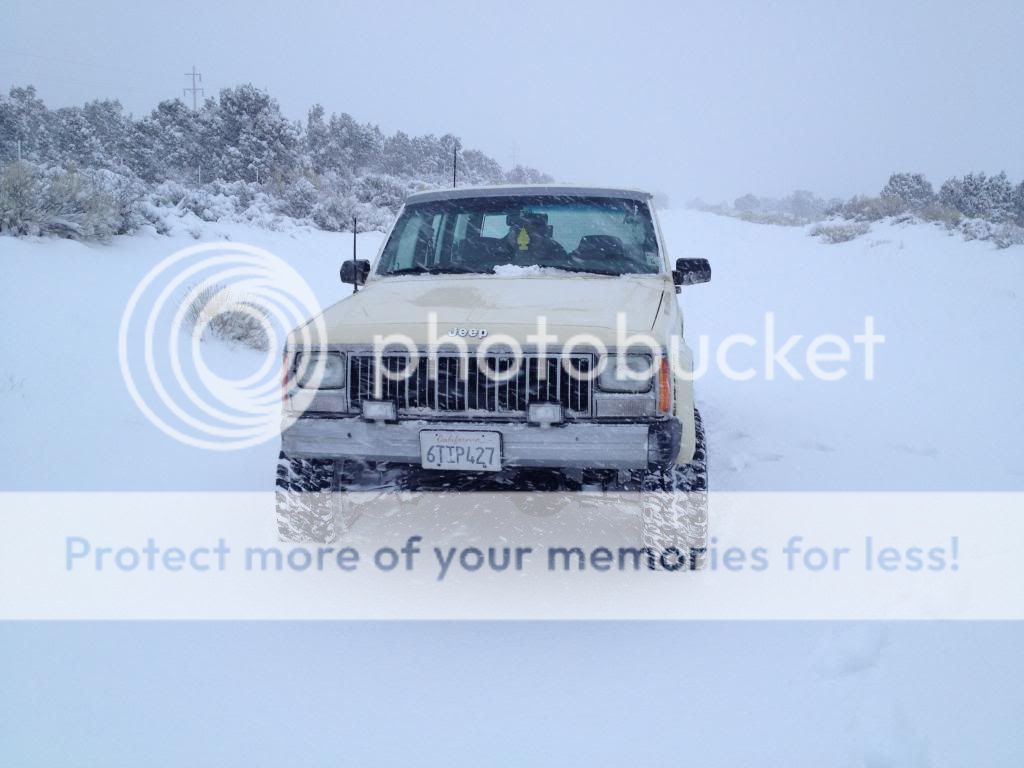
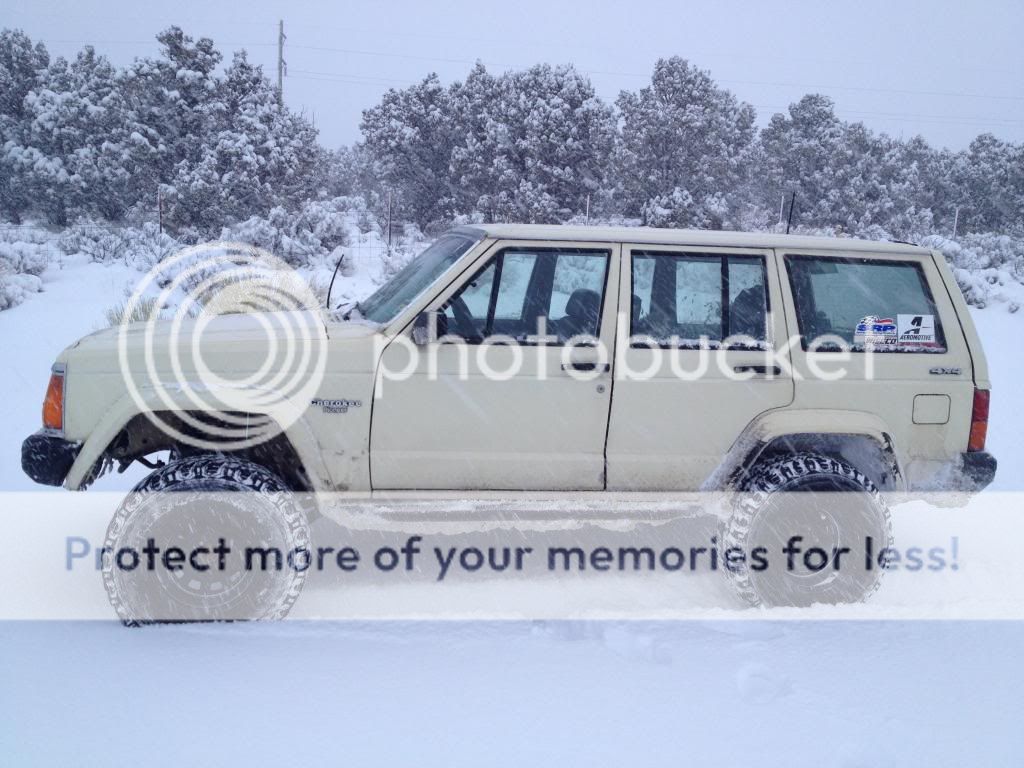
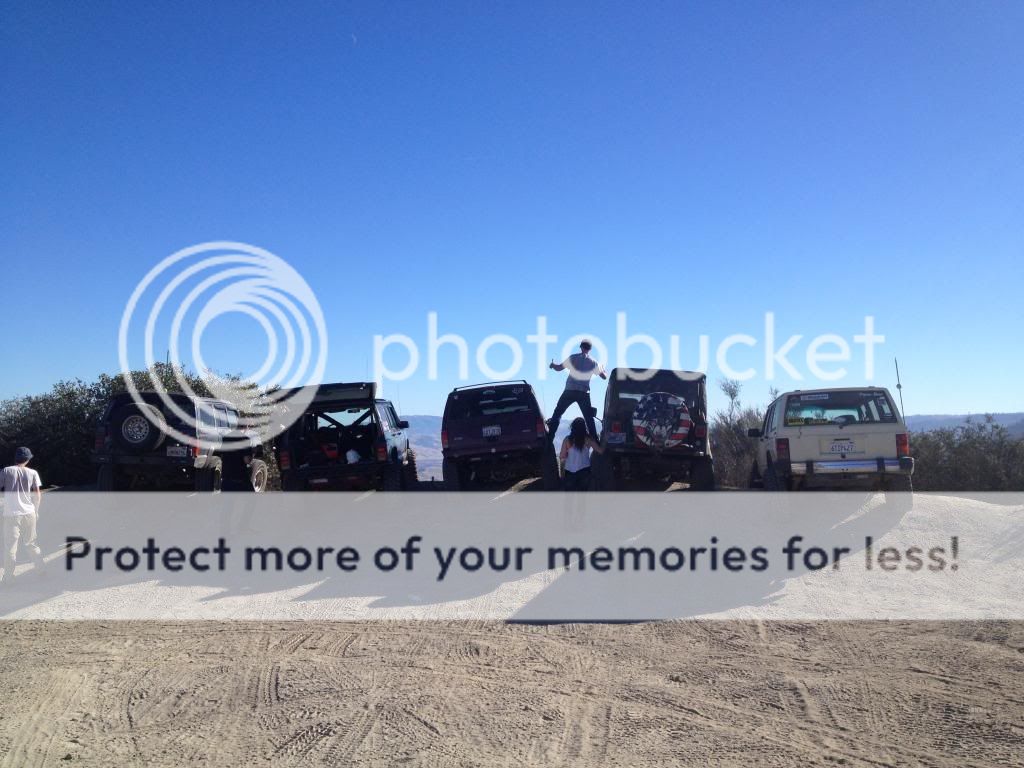
After that trip I went on the Molina Ghost Run, but I can't find any pictures of it. It was a great trip though. They closed out the Upper ranch in Hollister for us. I showed up not knowing anyone who was going but I ran into someone from Cherokeeforum, and we ended up camping together and wheeling together. If I can find any pictures I'll put them in a later post. Stick around!
So now after spending the day wrenching on the xj doing preventative maintenance, prepping to pull the axles, suspension, and drive lines for a major bushing upgrade and clean up, and drinking some beers, Im ready to post the next chapter of the $500 XJ.
Now...where did I leave off...OH YEAH!
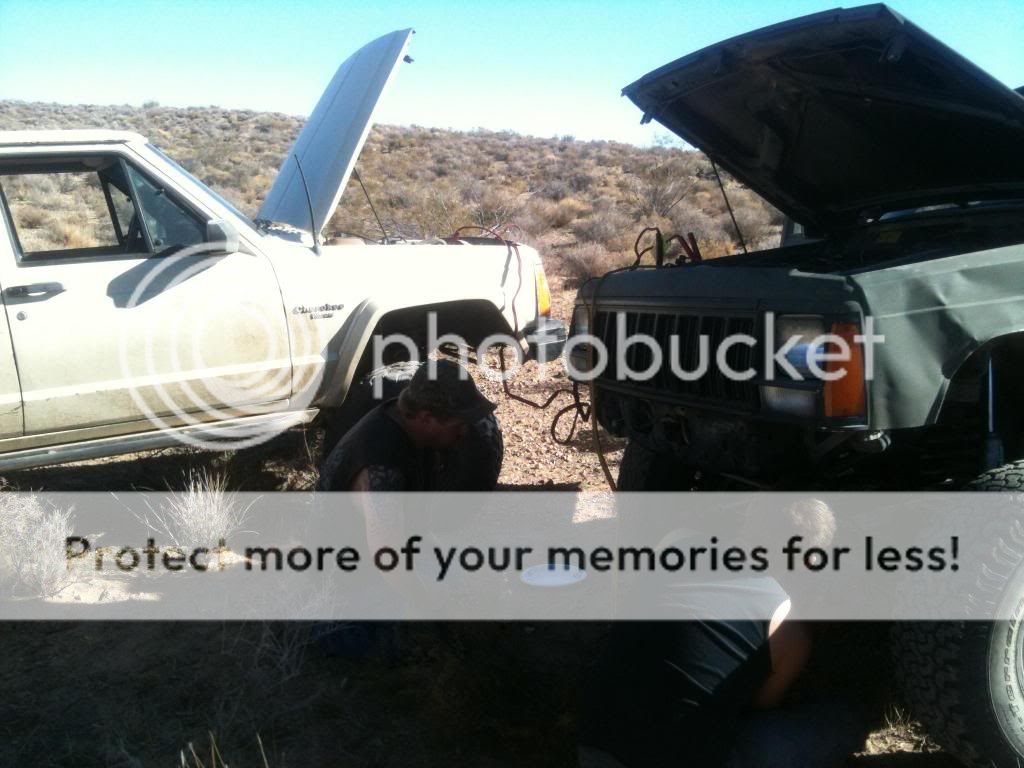
So after breaking my lower control arm mount and fixing those oil leaks, I went on a trip to Mojave to run Last chance canyon with aeracer and some buddies.
I don't have any pictures of the wheeling, but I do have pictures of carnage and an interesting trail fix.
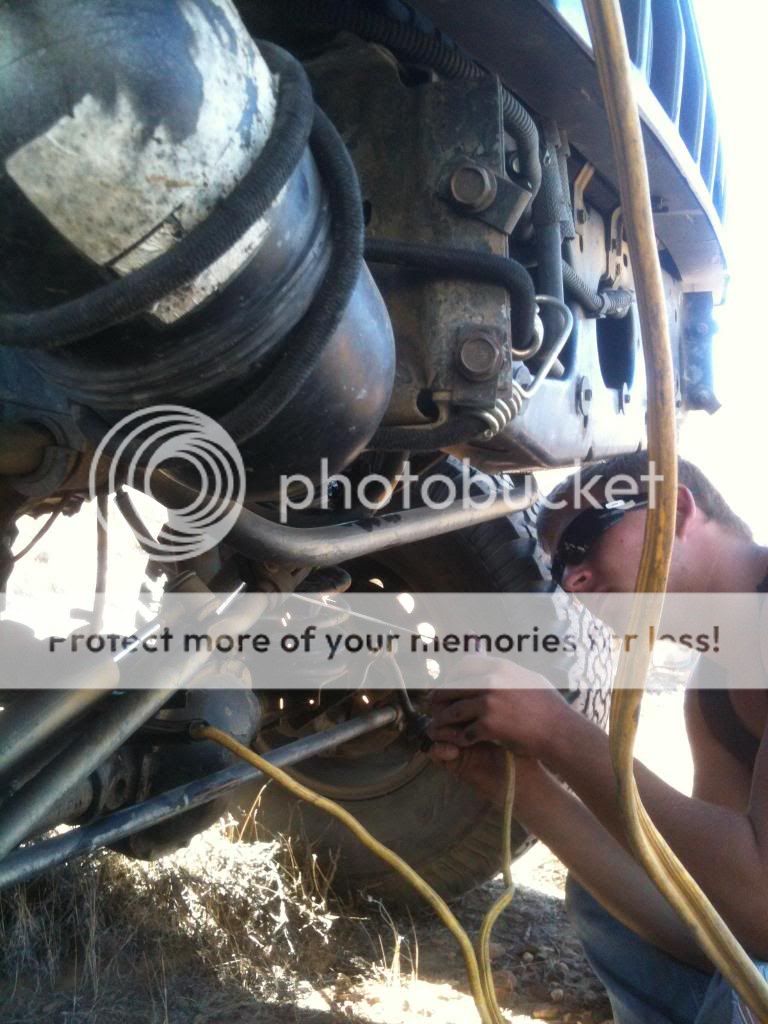
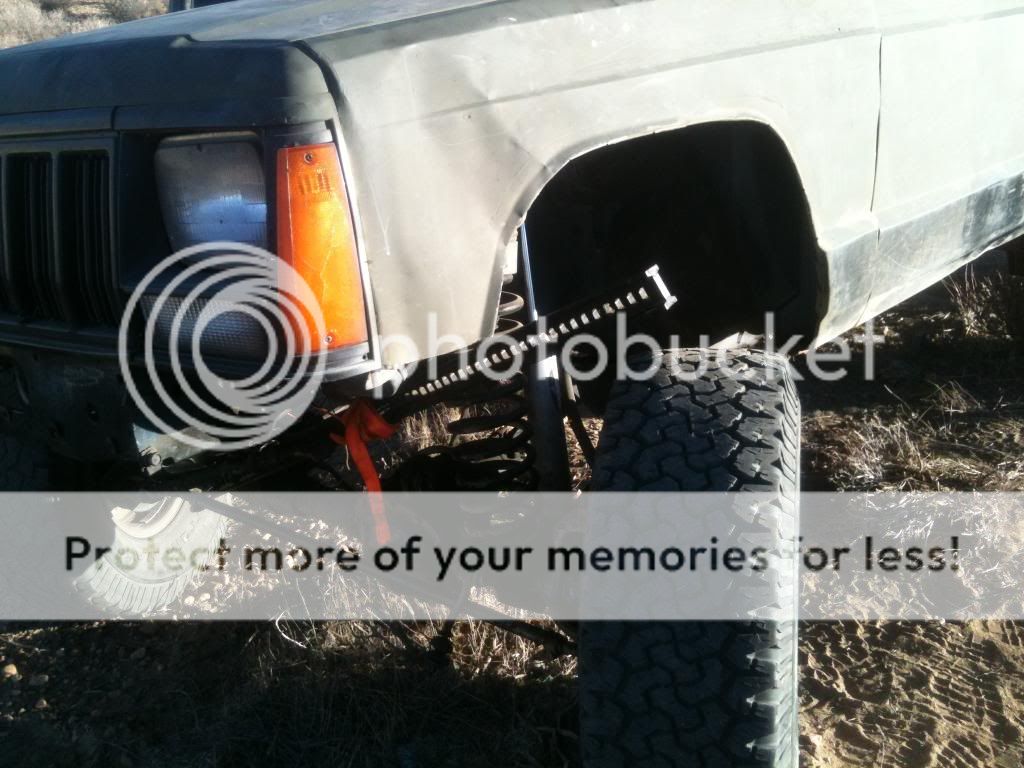
My friend Dustin had his tracbar break in half. and we had little bit of welding rod, some batteries, and jumper cables (MacGiver anyone?). We tried to weld it back together, but since we only had one set of jumper cables we couldn't get enough voltage to the rod to really get some good penetration. So we improvised again and I think we found the 102nd use for a Hi-Lift jack...tracbar!.
Oh and Easter had come! Yes I still dye eggs...I'm still young minded, mind you. And No that is not my hand in the picture, that hand belongs to my girlfriend.
Broken tracbar.
Aj attempting to weld the bar back together.
If you look close at the coil you'll see some sparks.
Dusty and Aj...The master mechanics!
Hi-Lift tacbar...kind of a good idea. It actually worked for all of a 1/4 of a mile. Long enough for a drag race...not long enough to get back to camp though.
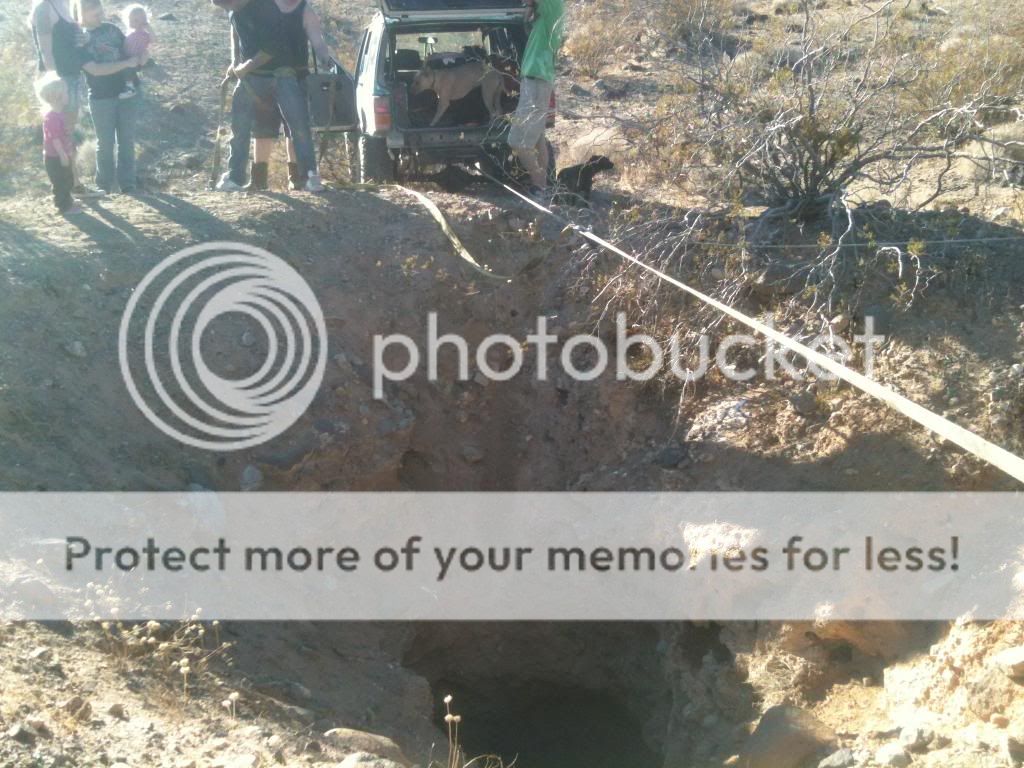
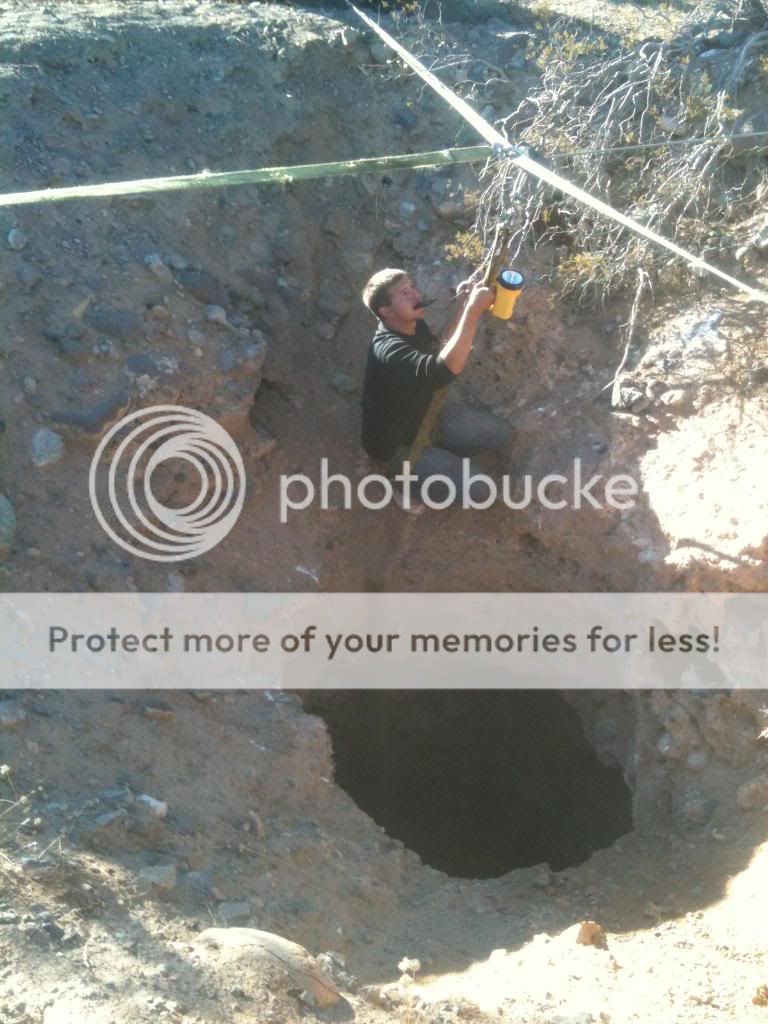
After it was all said and done we got back to camp late at night and had to wait for a friend to come out with a real welder. So what did we do while we waited? How does spelunking sound? We parked my Xj and Aj's across the hole with a tow strap held super tight on the tow hitches over the hole and aeracer got his satch block out with his winch so he could raise and lower someone. I made a harness out of a second tow strap and went down the hole. No pictures of me going down since I left my phone in the Jeep. Kids don't try this at home.
The set up.
Aj attempting the plunge. You can really get an idea now of how the set up worked.
That hole had to be about 30 to 40 feet deep and I had to shout just for anyone to hear me from the bottom.
After all the fun was over we headed home...only to make it about 5 miles down the road before we had to stop again. Dusty had Major death wobble.
After that trip I went on the Molina Ghost Run, but I can't find any pictures of it. It was a great trip though. They closed out the Upper ranch in Hollister for us. I showed up not knowing anyone who was going but I ran into someone from Cherokeeforum, and we ended up camping together and wheeling together. If I can find any pictures I'll put them in a later post. Stick around!
Last edited: