DanMan2k06
NAXJA Forum User
- Location
- Damascus, MD
Because I'm a genius...
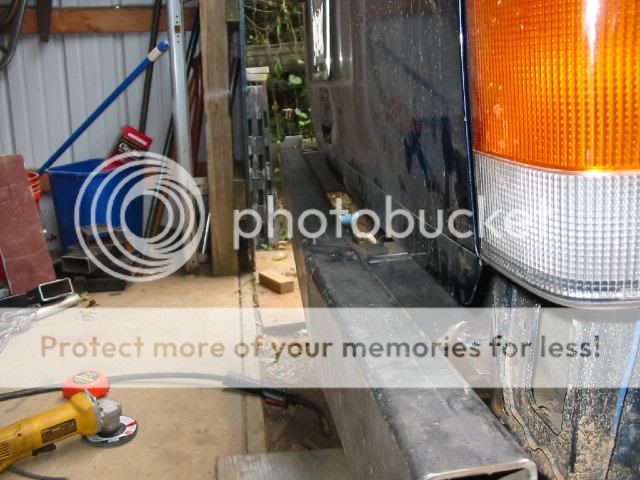
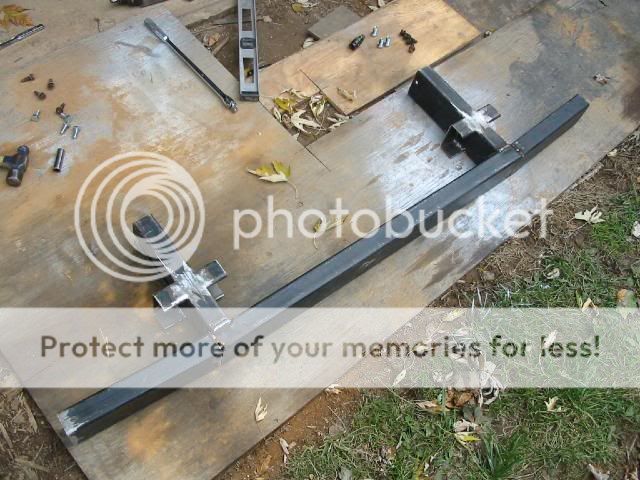
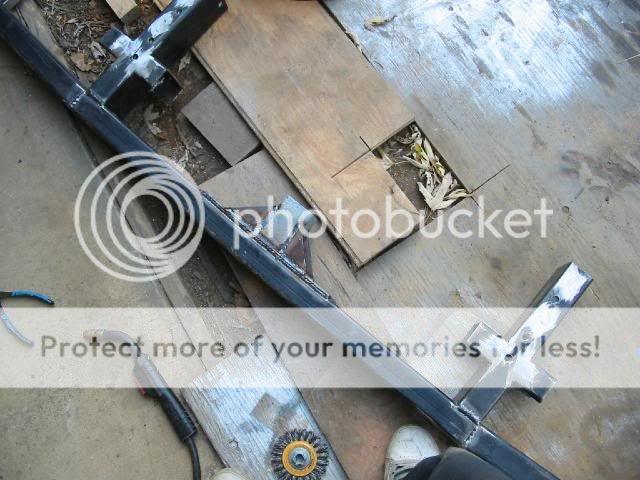
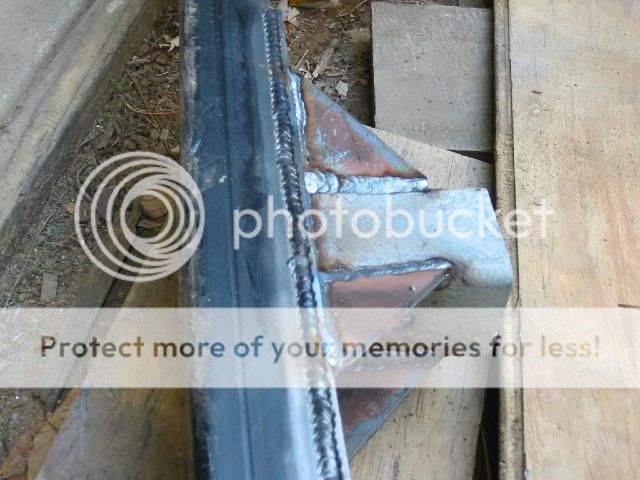
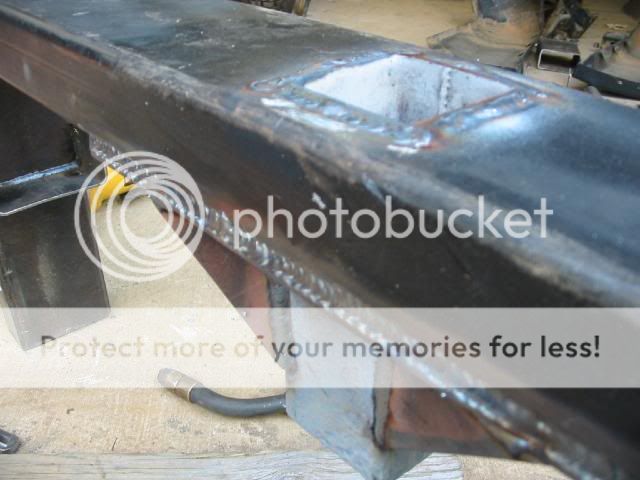
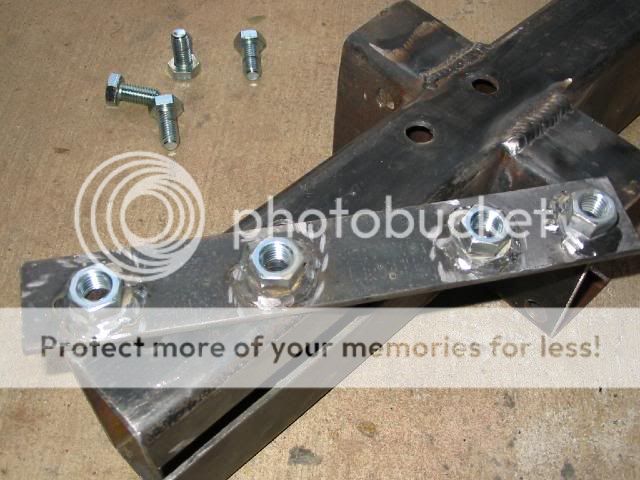
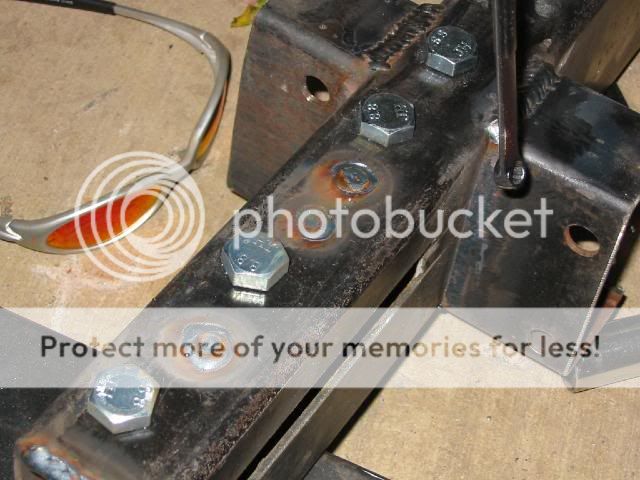
nah j/k, the two front ones can be easily accessed from the end of the tube, and the other two I will drill holes where the tip of the mig will slip in. All they need are some heavy tacks and everything should be copacetic.
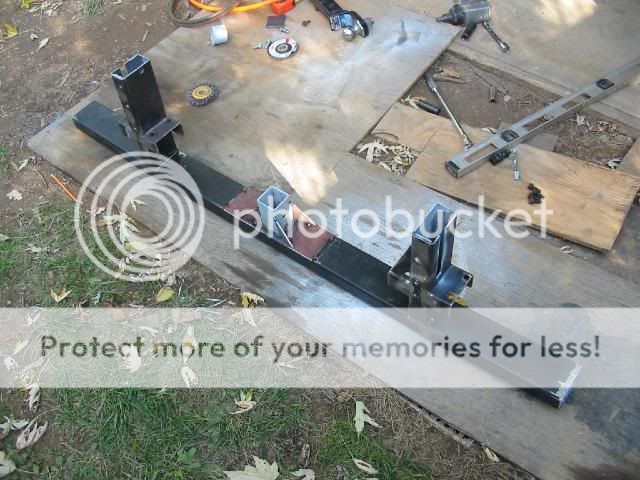
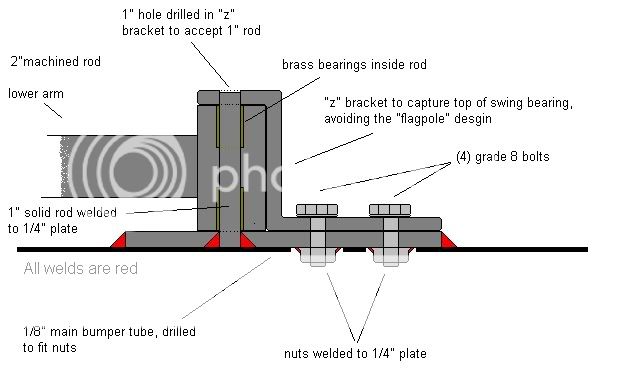
The 1/8" tube may seem a little on the weak side, but each bracket has 8 bolts in it, so it should be fine as well.
More progress tomorrow...
nah j/k, the two front ones can be easily accessed from the end of the tube, and the other two I will drill holes where the tip of the mig will slip in. All they need are some heavy tacks and everything should be copacetic.
The 1/8" tube may seem a little on the weak side, but each bracket has 8 bolts in it, so it should be fine as well.
More progress tomorrow...
") thanks!
thanks!