• Welcome to the new NAXJA Forum! If your password does not work, please use "Forgot your password?" link on the log-in page. Please feel free to reach out to [email protected] if we can provide any assistance.

Project family sleeper

After Realizing that this years NWFest will be year #4 for us in the sleeper. I figured it was time to get going on cabinets for the thing...

I had to start with installing the struts for the bed, after cabs are in I wont be able to move the mattress around to mock things up. I wanted both the rear and front of the bed to be hinged so I could use ALL of the space hidden under there.

100lb struts, and some brackets
IMG_20140429_133218_zps797f8d43.jpg

IMG_20140429_133224_zps745d0fd8.jpg

IMG_20140429_161814_zpseff6a590.jpg

And closed
IMG_20140429_161830_zps435afb7f.jpg


Now that that was done I was able to move on to Face frame mock up. I knew what I had to work with and 1/2 ass idea on how I wanted it to go. having done a 10yr of woodworking, custom cabinetry, countertop's, ect... I started measuring and cutting.

My eventual "Pantry cab/ET"
IMG_20140430_140211_zps37b4beaf.jpg

the drawer bank/micro F/F
IMG_20140430_142612_zps8ffd25e2.jpg


So the plan was to have a pantry cab for al the foods, 2 big drawers for our clothes below it, A standard 3 drawer bank for the silverware and such, plus space for our converter/inverters, sub, tv, and pots/pans. I bought a sink for Tessa, and needed to pickup some guides/handles/hinges for the rest.

The interior will be Golden Oak, and most of the material seemed to have a decent color mach. Here is my mockup for F/F's
IMG_20140501_103700_zps284a3d2c.jpg
 

My new Favorite tool!
IMG_20140501_130655_zps909f0070.jpg

IMG_20140501_113612_zpsdd6c5fda.jpg


Here is what t looked like after ff's
IMG_20140501_143010_zps76362e50.jpg

IMG_20140501_143025_zpsfe478d8a.jpg

IMG_20140501_143034_zpsd3e0e4ba.jpg


From here I needed to get going on all the shelves. I busted out the tape, some glue, and slapped some shiz together. I was moving right along at this point, feeling right back at home in the wood shop. This was the smell of my childhood and first many years as a teen. Yes, I get wood!

IMG_20140501_172033_zps68d6129f.jpg

Now it was time to work on the drawer guides and boxes.
IMG_20140504_123357_zps30cf2709.jpg

IMG_20140504_124209_zps8c7be7c5.jpg

IMG_20140504_134542_zpsbc308fb1.jpg

Boxes installed and ready for faces!
IMG_20140504_173550_zpsdba66f22.jpg

IMG_20140504_173650_zps22f4feb1.jpg
 
IMG_20140504_173708_zps40d5dbcb.jpg

IMG_20140504_184536_zps7ae17c82.jpg

My space was really tight and I had to do some custom things to the micro to get it installed to specs. in the end. I won! got it in, and got the drawrs faced and handled
IMG_20140504_184536_zps7ae17c82.jpg

Tessa decided to go with a "satin Nickel" finish on all the hardware. I like it!


Side panel on the pantry

Pantry shelves
 
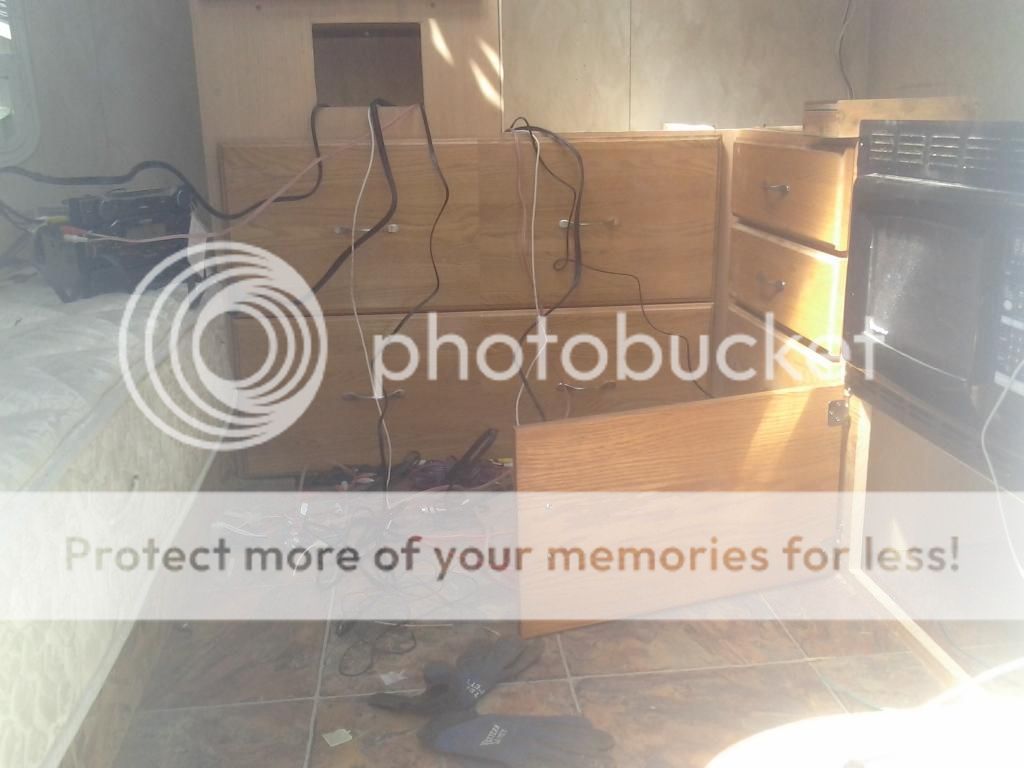
NOW.... ARRG, Wireing... I HATE WIRES!!!!

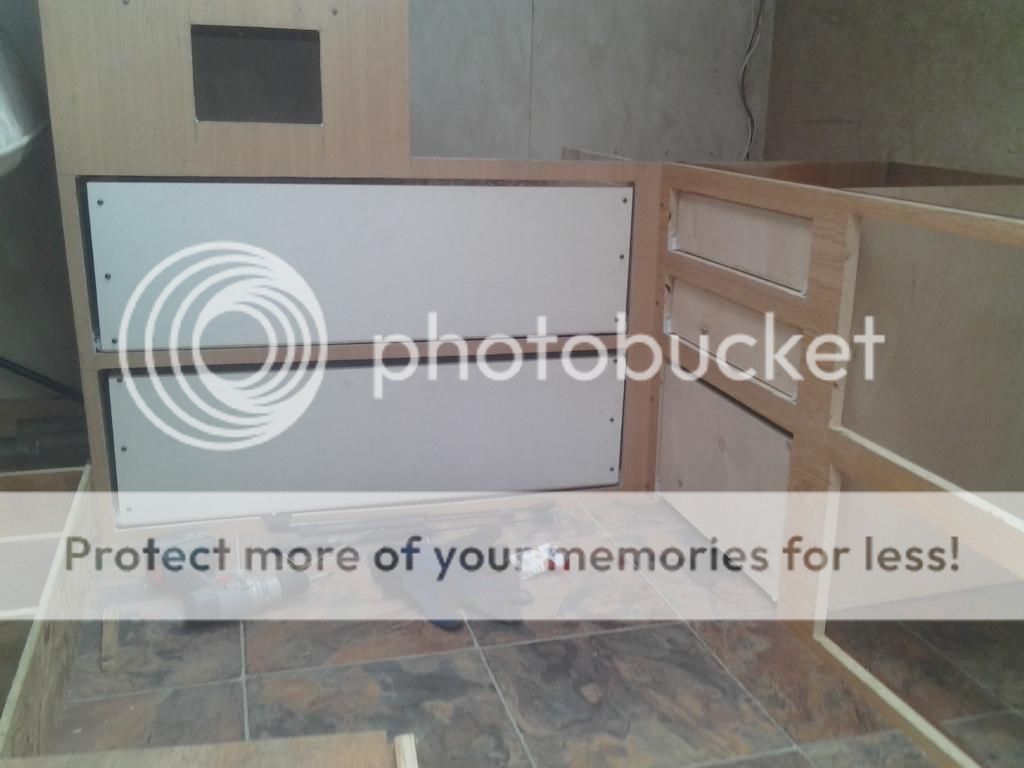
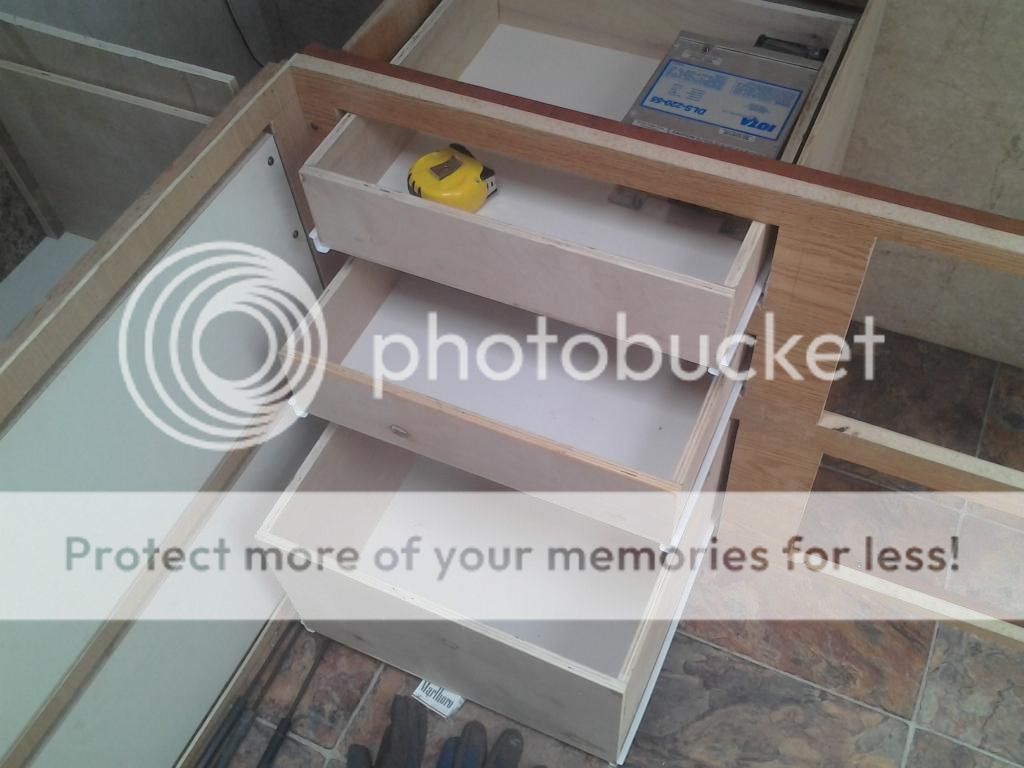
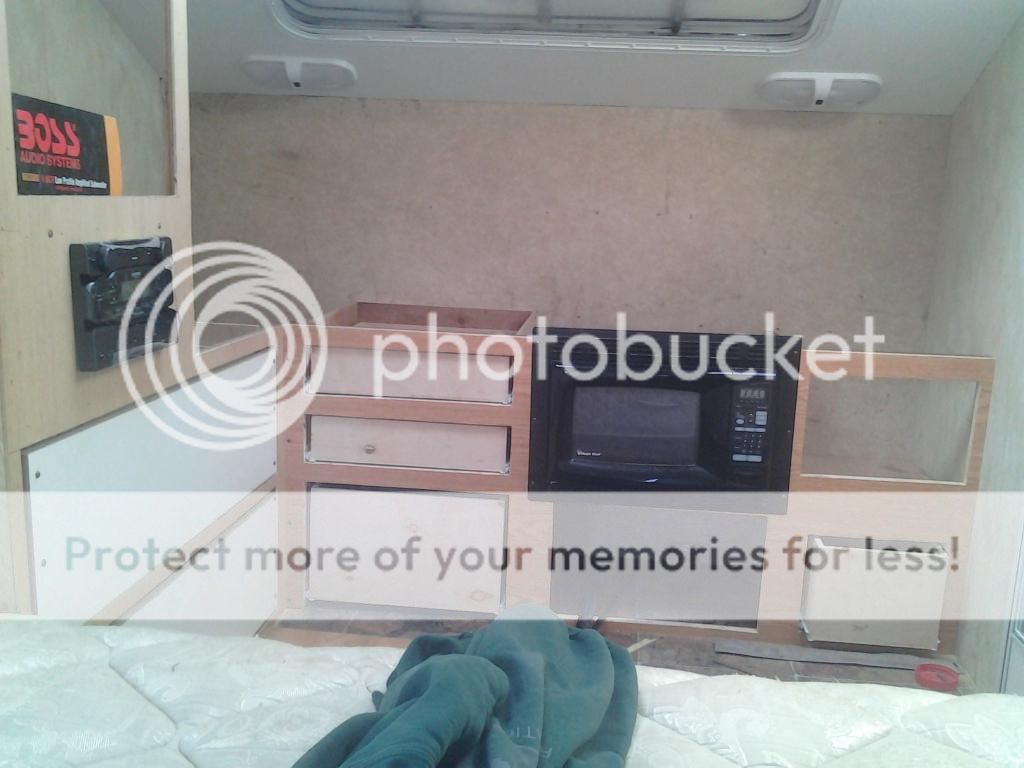
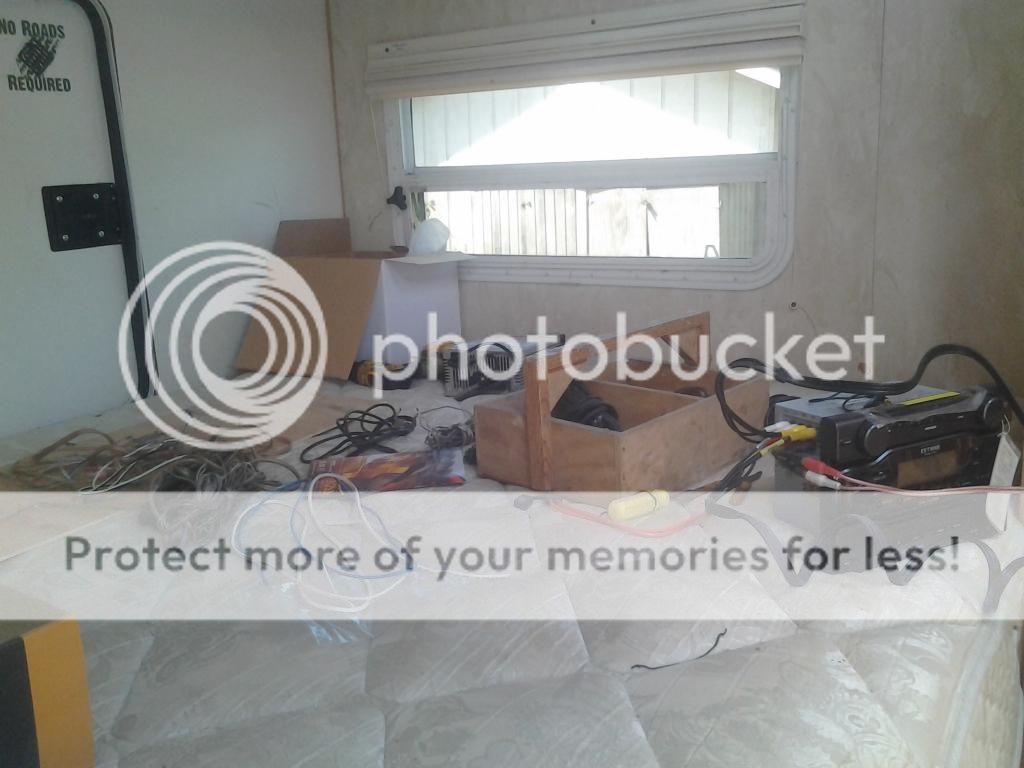
it was minimal but never the less I was not looking forward to this part. I had a stereo/dvd to install, sub, T.V and bracket, inverter, 12v converter, micro, and extra outlets. ill get to the sink and pump at a later date.

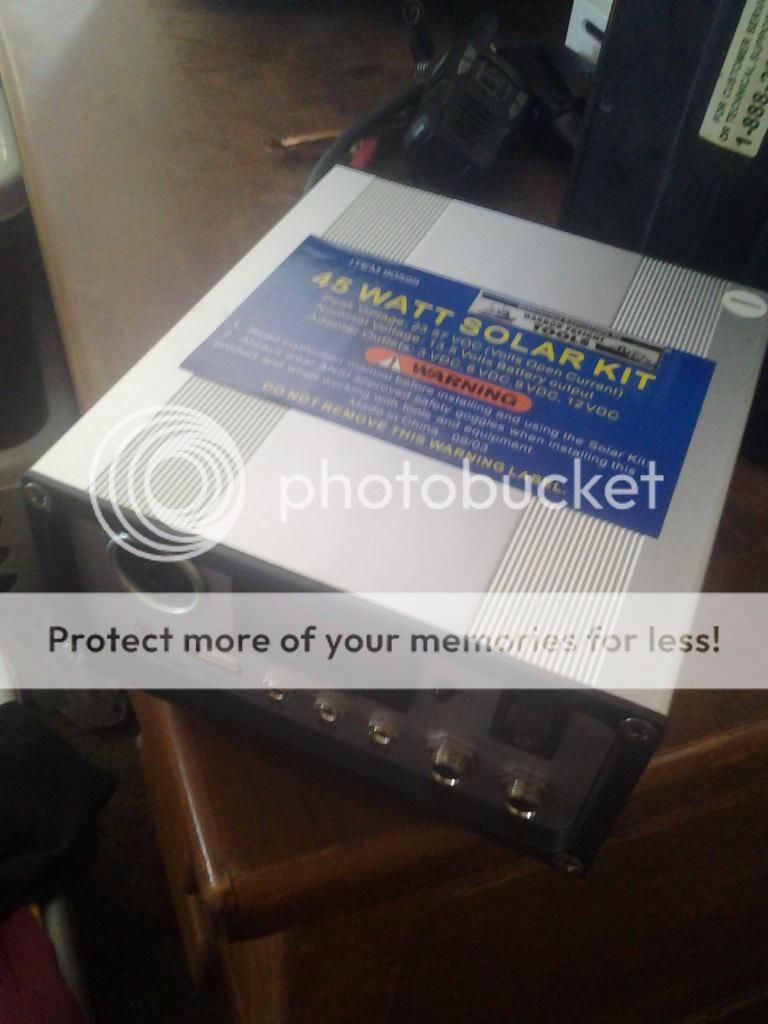
Before I got to that, I had picked up a solar kit from a friend of mine. I wanted to verify that it worked as stated. and it did. These are AWESOME! I will have 12v power and 110v. Off of the batteries, a generator, solar panel setup, OR via Shore cord. Im Getting excited now!

IMG_20140505_132135_zps520dafdc.jpg

IMG_20140506_103320_zps9cf4f9fc.jpg


NOW Wiring...UGG
IMG_20140506_111941_zps5ff99275.jpg

IMG_20140506_111955_zpsf3dc0185.jpg

IMG_20140506_145813_zpsed40eae6.jpg


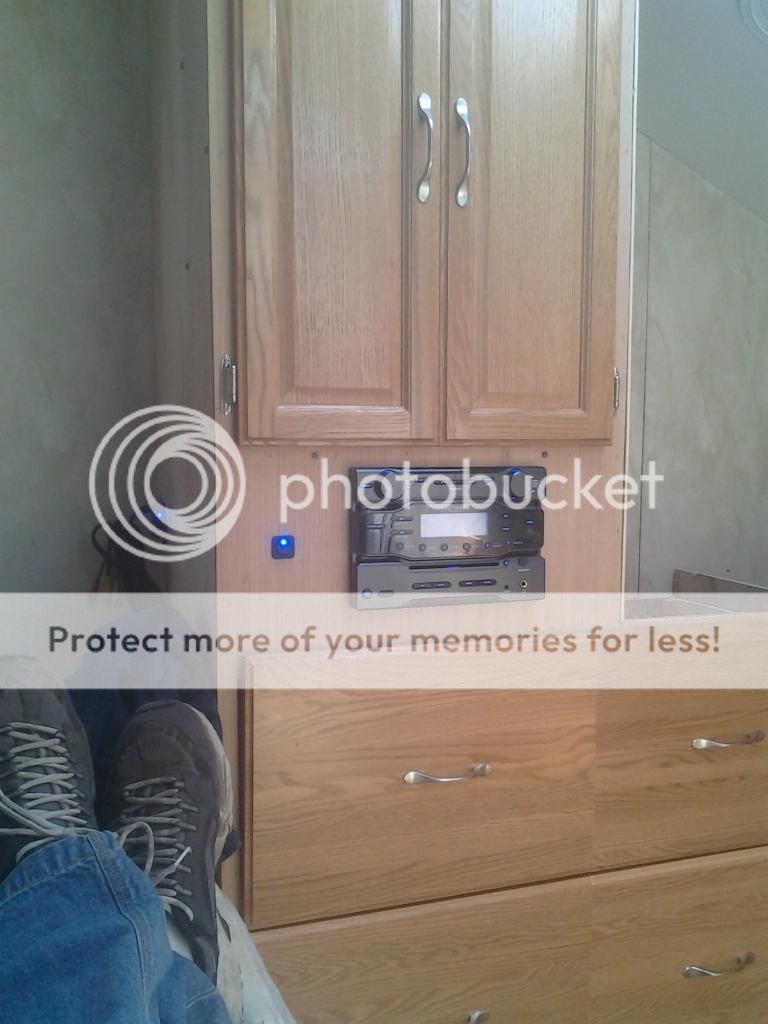
I did not want the stereo and sub powered up when the trailer is not in use, so I added this "Remote wire" switch into the F/F so I could kill it all while it sits.
IMG_20140507_140834_zpsbe586430.jpg

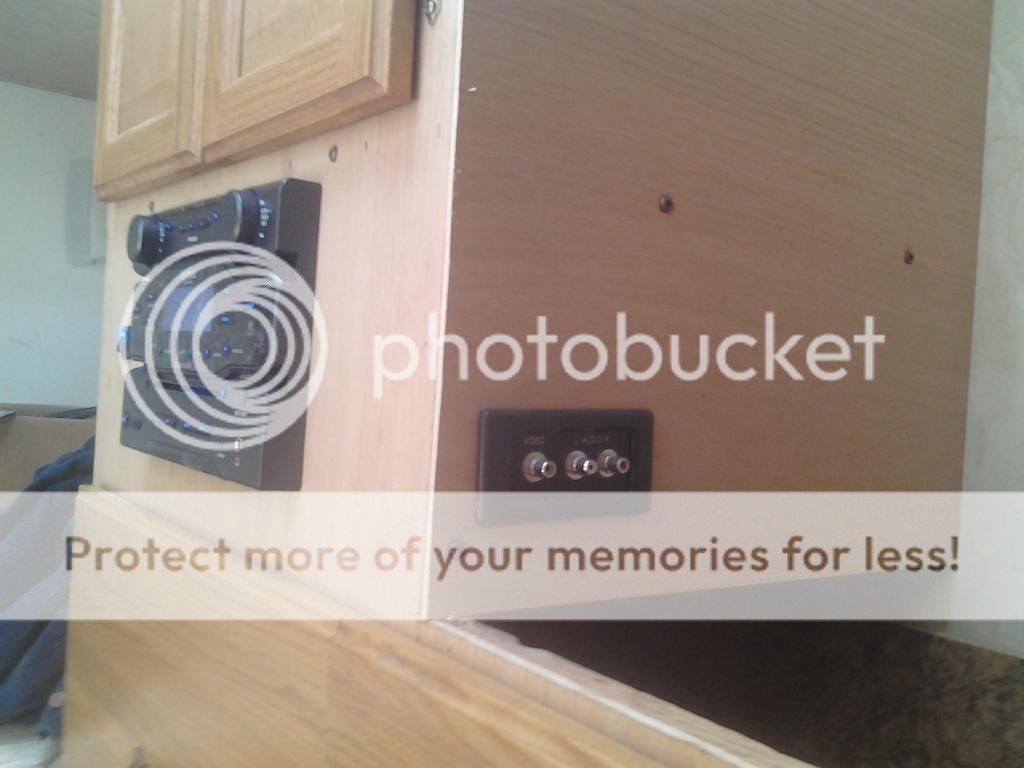
Extra A/V inputs for reviewing trip photos, or plugging in ones PS3:firedevil
IMG_20140507_140856_zps30624080.jpg

Added some speakers to the mix.
IMG_20140507_140907_zps642807fa.jpg

IMG_20140507_140939_zps05054d47.jpg

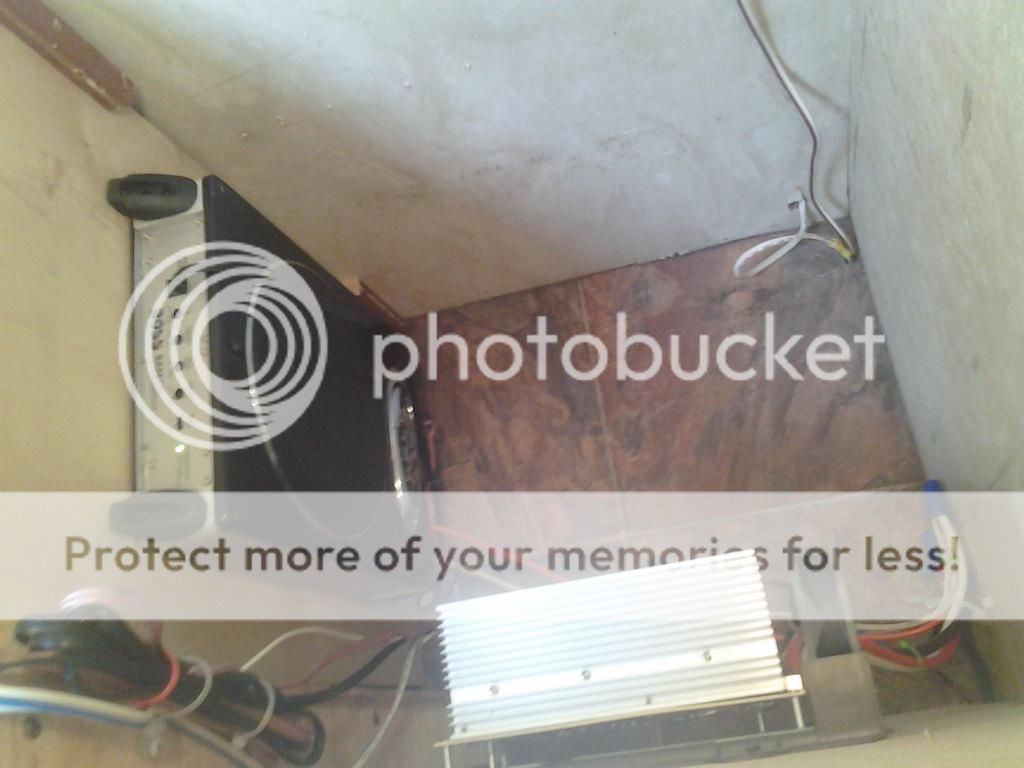
The new 4k inverter!
IMG_20140507_140956_zps81a81032.jpg

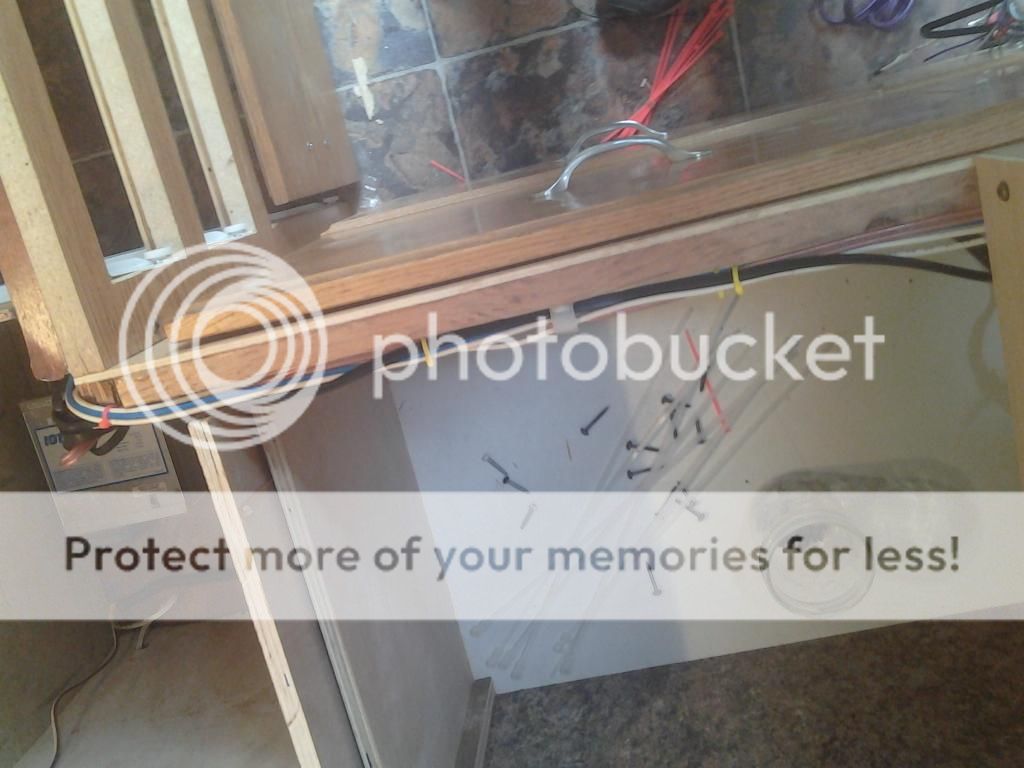
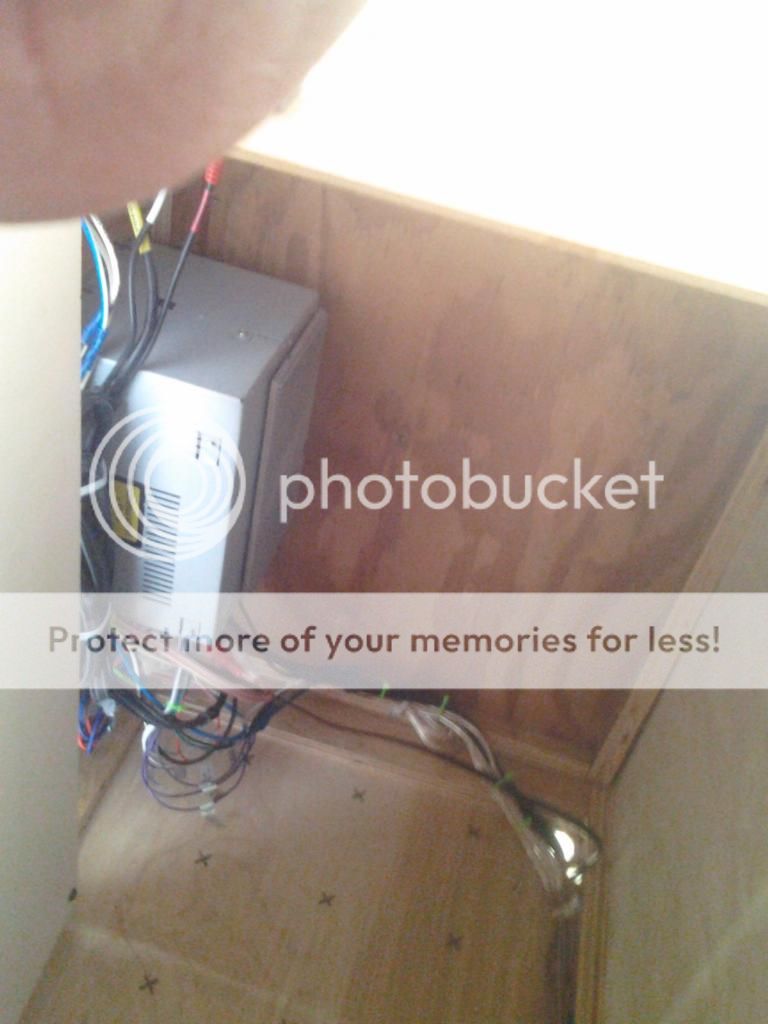
I is normally NOT ideal to put your converter below your sink. (stupid codes) so ill have to build some sort of sealed plum cover for the converter wiring. shouldn't be a problem as I need to build my countertop yet still
IMG_20140507_141024_zpsdfa8bc68.jpg

wires nice and tucked out of the way.
IMG_20140507_141048_zps8e5f302b.jpg

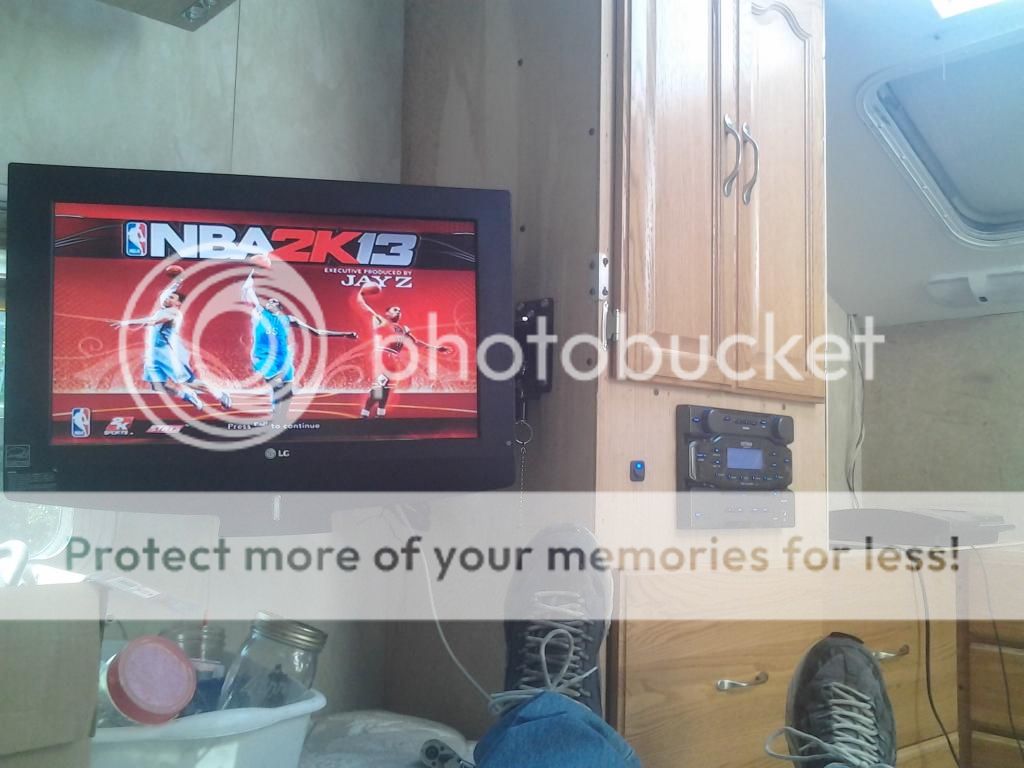
And then I slapped up the TV, bracket, and finished up the speaker wiring. there is a little bass control knob behind the tv. as I wont be able to get at the sub control after the counter top in in place.
IMG_20140507_164840_zps09ed2cc8.jpg

And NOW im ready to camp!

We used it once now like it is. AWESOME! everything now has its place, no more toats (aside from the coolers and tarps) We made cup-o-noodle from bed and passed out to an episode of Boston Legal. Hog Heaven Doesn't really describe the feeling. Right about the time I realize how nice it is to have it like this. I then Realize that I Built it. Very surreal!

I haven't got pic's of it yet, But I got a weight distribution Hitch installed on it and the jeep yesterday, and Built a New Battery Box for my 3 deep cells.


Im So ready for NWFest14!
Bronze.
 
Having worked a decade in mobile electronics, and several more years in low voltage, i can say you did a pretty damn good job on keeping things tidy.
Good job man!
 
Having worked a decade in mobile electronics, and several more years in low voltage, i can say you did a pretty damn good job on keeping things tidy.
Good job man!

Thanks josh! Its not something that comes "overnight" is it. im just glad that part is over with.

Bronze.
 
Back
Top