- Location
- Lafayette, IN
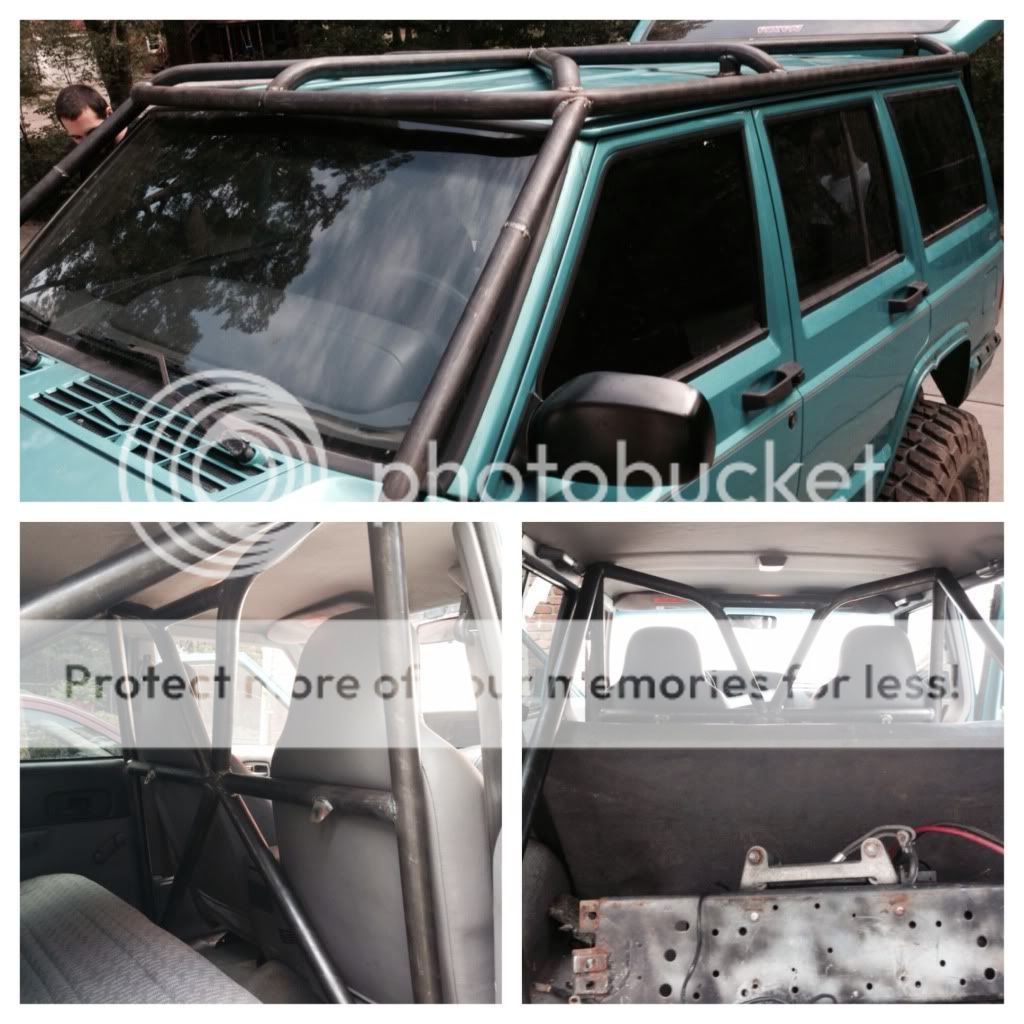
We can talk about after your cage/ or at redbird.
Sounds great, I will bring Jäger

We can talk about after your cage/ or at redbird.
I know that in my ideal build, I would have a mid- or long-arm 3-link. In all honesty if I bought the Clayton crossmember, bought some DOM, inserts, and joints, would that be a decent way to go?
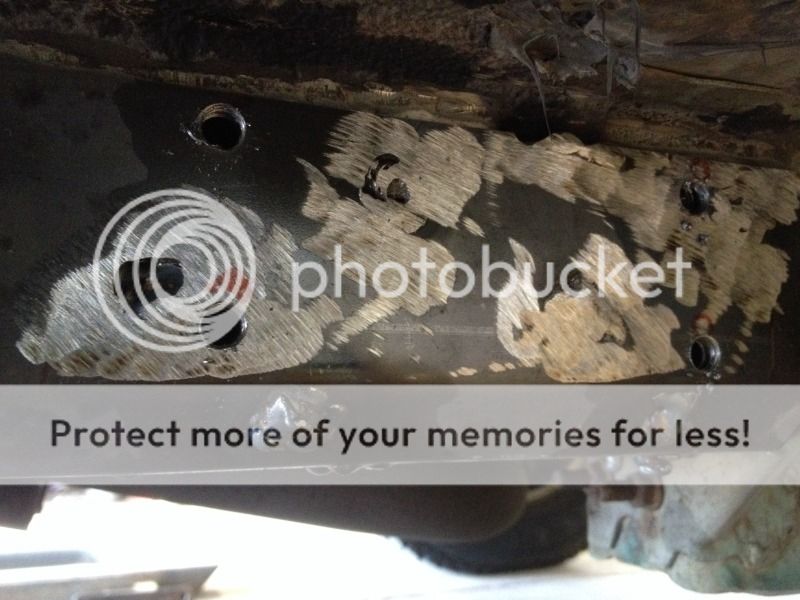
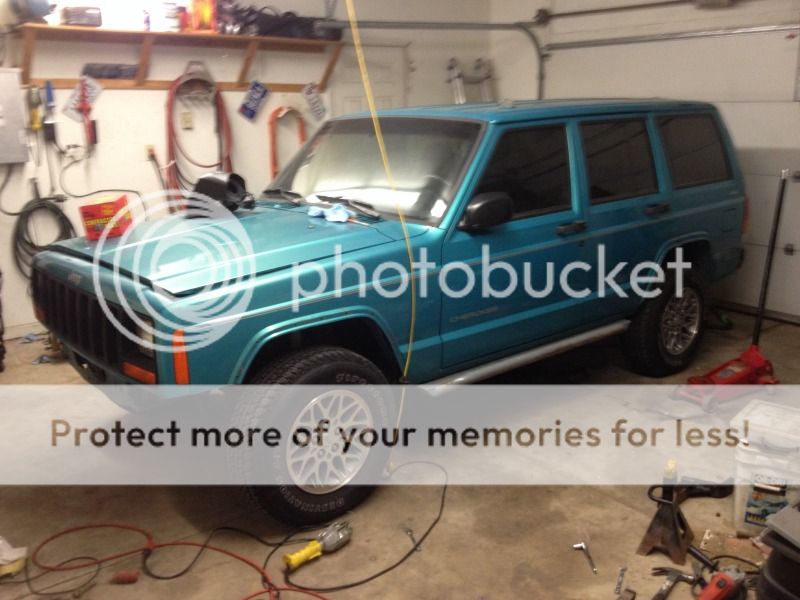
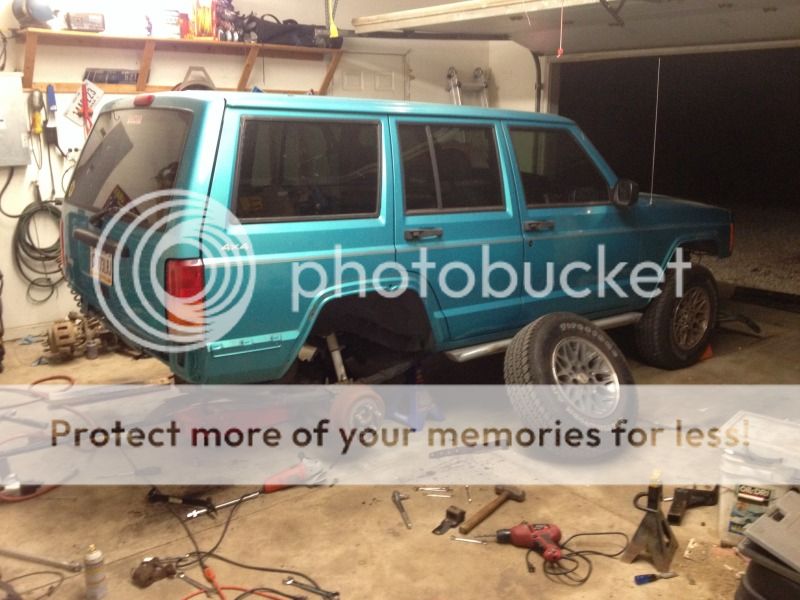
Glad to see this progress. It may be minimal visually, but you're knocking out difficult stuff first. I dig it.
On a side note, how much of that thing do I currently own? I see my name on it at least once...
Great question!
The main reason: lack of an affordable off-the-shelf 3-link kit. Clayton's is the only kit I even know of, at $890(!) for the crossmember and links. Just the crossmember is $349, so maybe with $200 in tube, inserts, and joints I could have a nice setup. I don't have enough confidence in my skills to fab the crossmember.
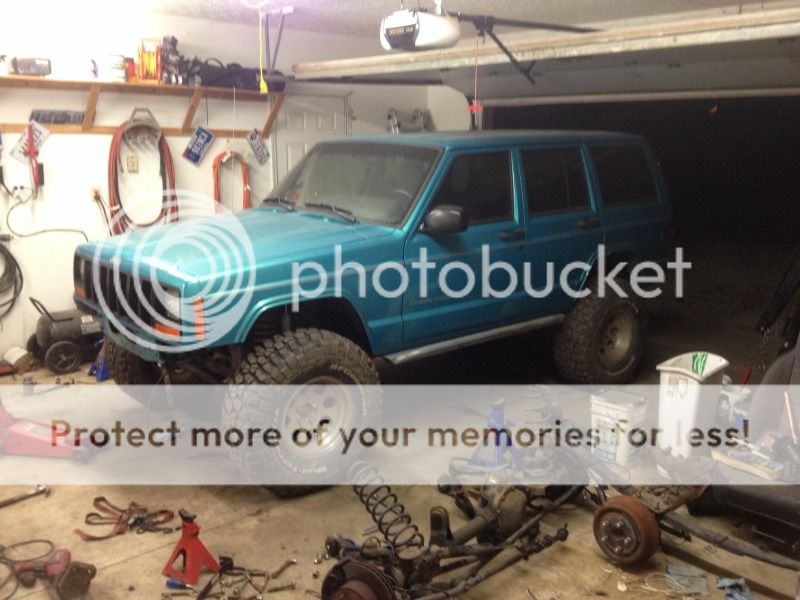
Its actually not that hard to make the long arm mount like what Clayton's sells. I actually made the one that i had on my old zj and it worked just fine and had way less money into it than buying it from clayton's. Let me know and i can dig up some pics of it for you. Should be pretty similar to the one for the xj's.
With the money you could probably get from the kit you have and the money you would spend on drop brackets and all new arms, the clayton's kit should not be much more. Also you could also always go square .250" wall tubing on your lowers and save some money on tubing over DOM. I used square for my arms on my old MJ when I built it. bashed them off of rocks and beat on the rig and never had an issue with the arms.
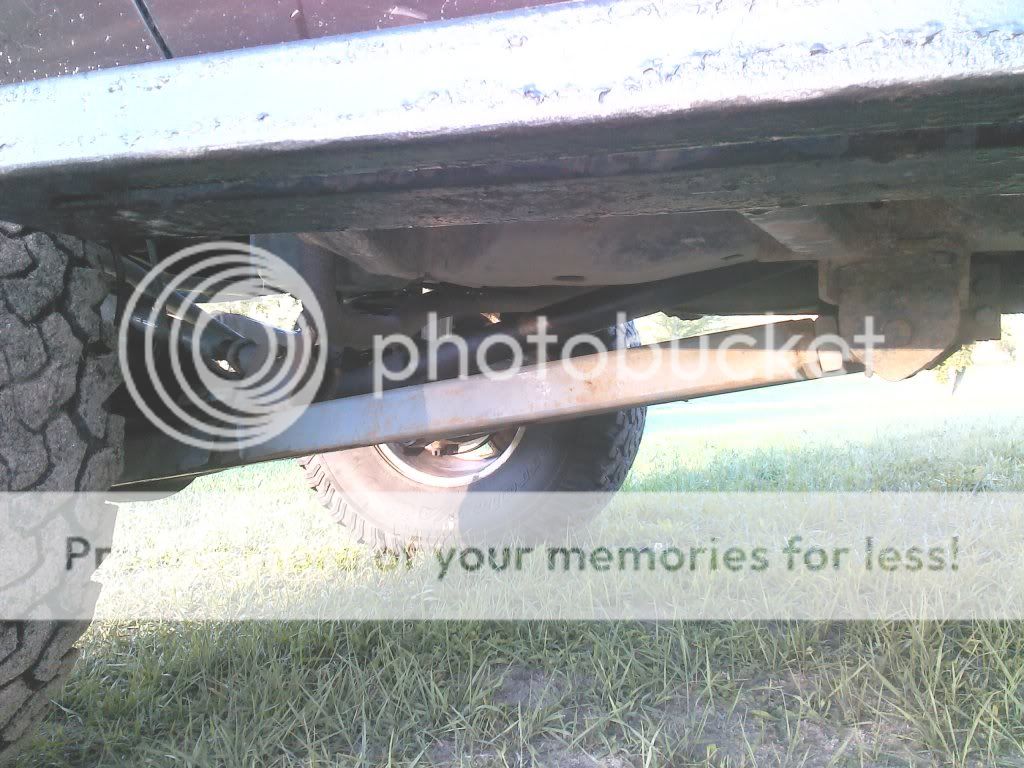
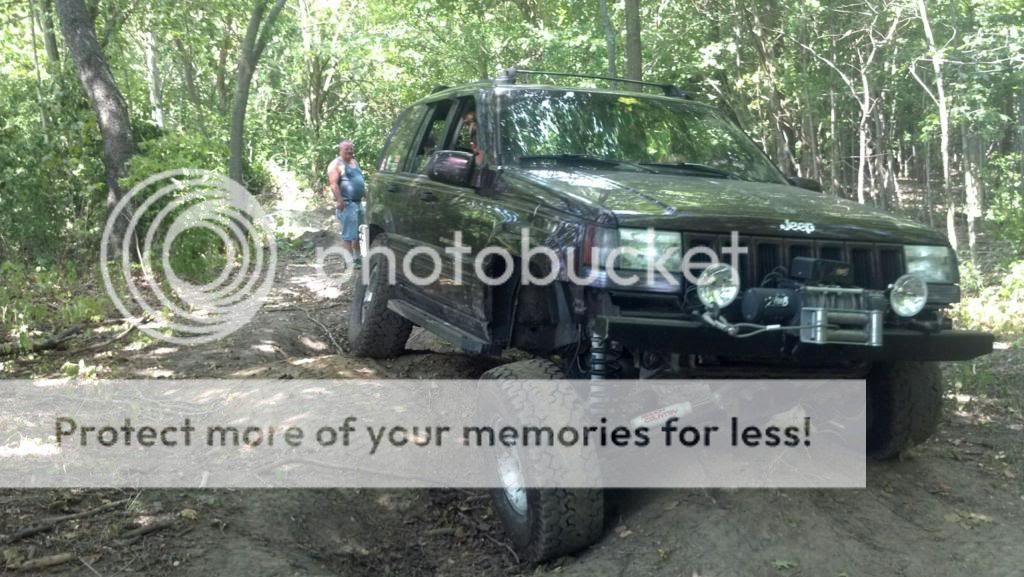
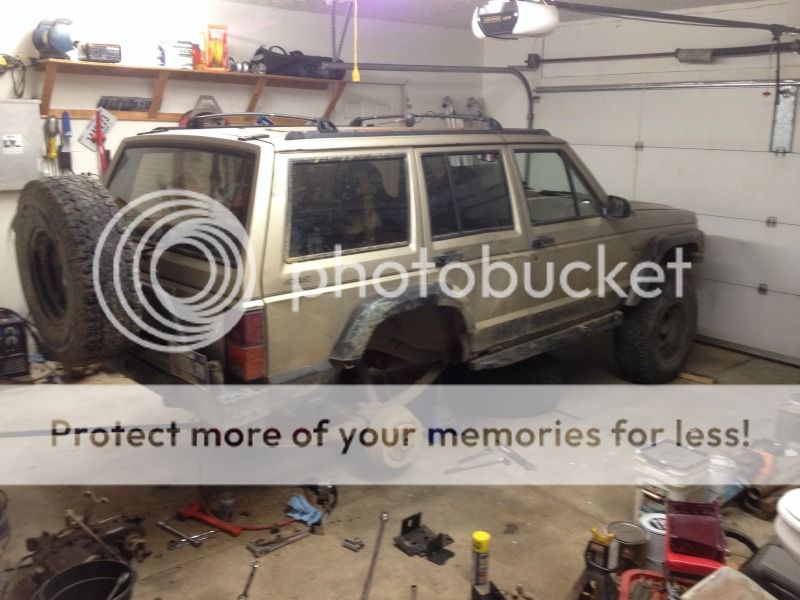
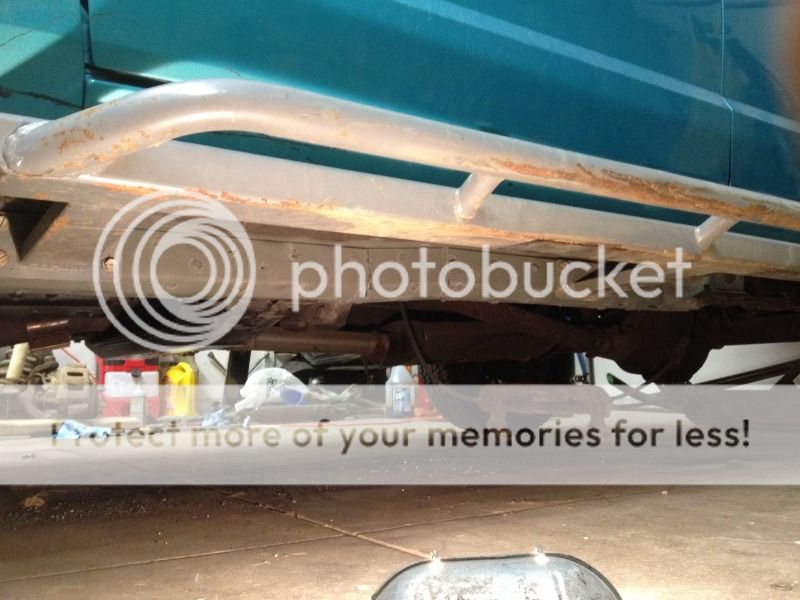
Brad I will try to take pics of the LAs my green XJ had on it. They were homemade, and worked really well. If I didn't already have a buyer lined up I would see if you wanted them.
They are square tubing, and I used them as 'sliders' a couple times in Harlan in the rock garden.
I would like to see those pics Ben!