• Welcome to the new NAXJA Forum! If your password does not work, please use "Forgot your password?" link on the log-in page. Please feel free to reach out to [email protected] if we can provide any assistance.

My 97 Comanche build

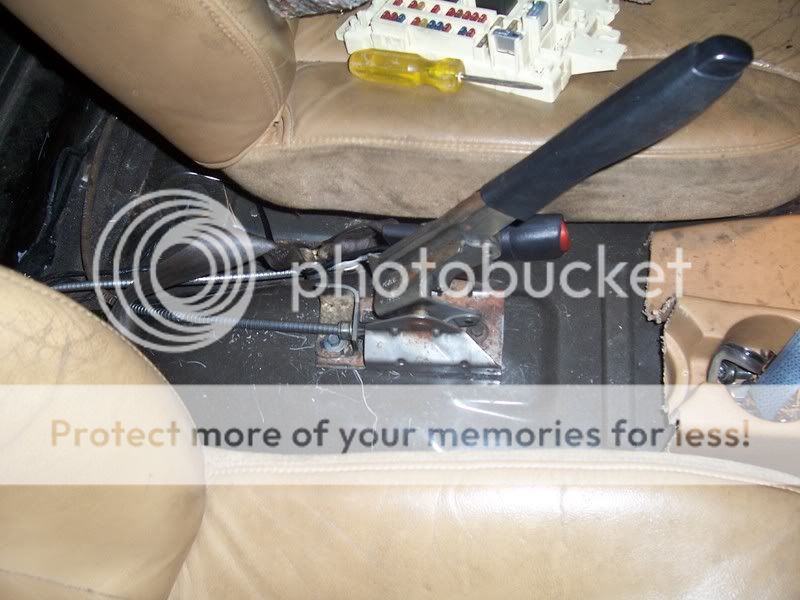
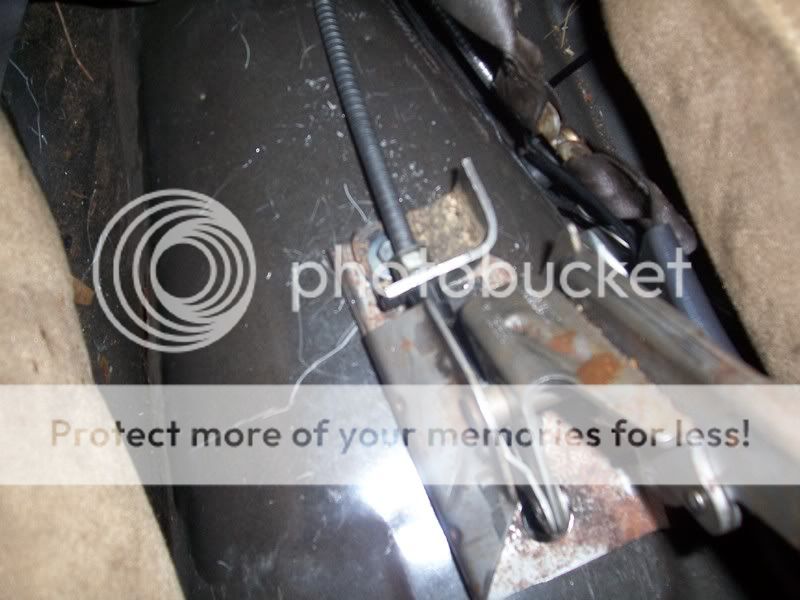
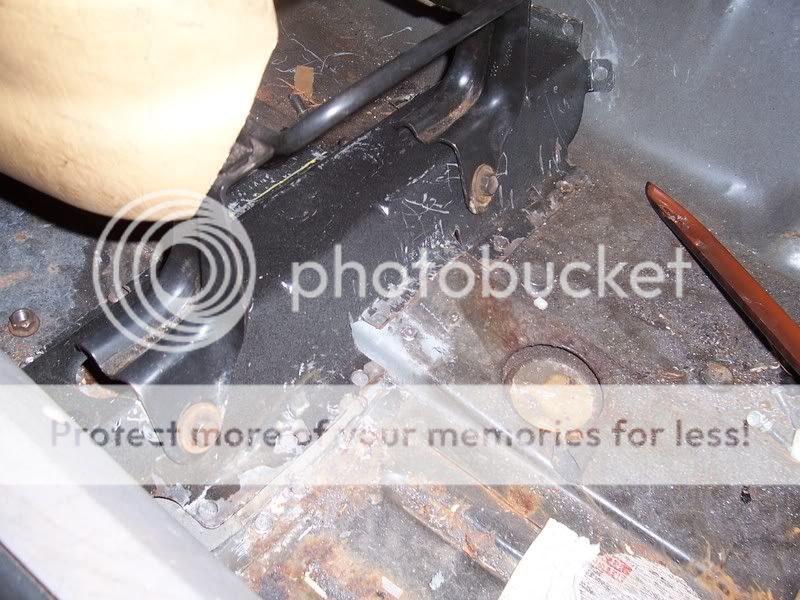
I saw on CC where you went back to the hand brake instead of the foot brake. I was wondering when you were gonna do that. When I do this conversion I will probably do that as well. It just seemed easier in the long run.

I also don't want to lose the bench, but I think buckets look better too.
 
I got the overhead console mounted in the truck tonight. I had to cut the bracket out of the XJ. The center mount for the console is bolted to a cross brace in the roof. I fired up the cut off wheel and chopped it out. I then trimmed it to fit between the roof supports in the MJ. I then re-installed the headliner, visors, and console.
Disreguard the hole in the headliner. Always measure twice!
100_2320.jpg

100_2321.jpg

100_2319.jpg

Not that I am almost 75% done with the interior. I needed to address the drivers door panel.
From this,
100_2323.jpg

To this,
100_2324.jpg
 
Yep, doors too, along with the front clip.
 
Wow very good looking project. Two questions though, why didn't you spray paint the roof console? And also, why didn't you re-do the headliner while you had it out? It would be fairly simple to do for such a small one, and it would also look really slick.

Again, good work though!

~Scott
 
He's probably just fitting everything together now and will pull it back out. Don't think he'd want to leave the headliner nor the console uncoated with all of the work he's putting into the interior.
 
lookin very awesome man...one question from me. what are you going to do with the trim peices in the back part since you cant really swap them from the XJ?
 
dude bo!

it looks soooo sick and very very nice.

i cant wait to see that it when its done. its gonna be awesome

Thanks Derrick!

I'm way impressed, a full interior swap is probably the hardest thing there is to do

It has been fun!

Wow very good looking project. Two questions though, why didn't you spray paint the roof console? And also, why didn't you re-do the headliner while you had it out? It would be fairly simple to do for such a small one, and it would also look really slick.

Again, good work though!

~Scott

Do you really think I am going to leave the headliner and console looking like that?

http://www.naxja.org/forum/showpost.php?p=244186075&postcount=6

He's probably just fitting everything together now and will pull it back out. Don't think he'd want to leave the headliner nor the console uncoated with all of the work he's putting into the interior.

You got it!

lookin very awesome man...one question from me. what are you going to do with the trim peices in the back part since you cant really swap them from the XJ?

I am going to paint them with some SEM. That is the only choice I have at this point.
 
WOW! Bringing back the old stuff! I wish I would have kept that truck. It is now a tube truggy. What a shame.
 
LOL, I have moved across country twice since then! It seems like a long time ago to me.

I am keeping this truck!
 
Here are some pics of the parking brake lever.

In this pic you can see the lever mounted with the bracket I made coming out of the back of it. Also notice the cable is the stock MJ one, un-modified.

100_2411.jpg


Here is a closer shot of the bracket. This bracket came off the underside of the 97 and it held the 2 cables going to the axle. All I did was cut it in half, between the cable mounts.

100_2412.jpg


Here is the backside of the lever. Sorry for the blurry pic but it is hard to take pics in the truck.

You can see the hole in the bottom of the lever where I cut the XJs cable holder off of it. The XJs brake cable goes through the floor, where the MJ's goes through the cab. It also gives you a good look at the bracket and how I mounted it.

100_2426.jpg
 
Now onto the seat bracket install.

I started by cutting the mounts out of the donor XJ. They are welded and spot welded in a few different places. This will test your patience!

This is the passenger side XJ mount in the MJ.

100_2413.jpg


Where the MJ mounts were cut out and the new ones mounted.

100_2423.jpg


You will have to notch the XJ mount to fit over the center hump in the MJ floor pan. This is the veiw from the front of the notch.

100_2414.jpg


Here is the rear of the notch looking forward. I was also able to retain 1 factory seat mount on each side to help hold the new brackets in and line everything up.

100_2418.jpg
 
Back
Top