beakie
NAXJA Forum User
- Location
- Ontario, Canada
It's been a little while since I've had time to work on this... September 1st we welcomed our second son, Fallon David McCrea, and although he is super calm and almost too easy on us (just like his big bro) it's hard to find the time to get out and work on this thing.
so delete the few posts near the start with the rear frame build... after much deliberation (and arm twisting from a buddy) we cut off much of what I did about 1-1.5 years ago.
this is now without a doubt, a trail only, buggy. frame rails are gone from just behind the t-case back, all body is gone from front door frame back, no dash, no windshield, no roof.. it's all gone.
we are keeping the old 2x4 rockers I put in years ago, and all the cage work, 4linking the rear and in the next few weeks I expect delivery of 2 ORI's for the front end, C/O's moving to the rear.
full hydro steering up front is done, 3 link front is done, new rear suspension x-member is done.
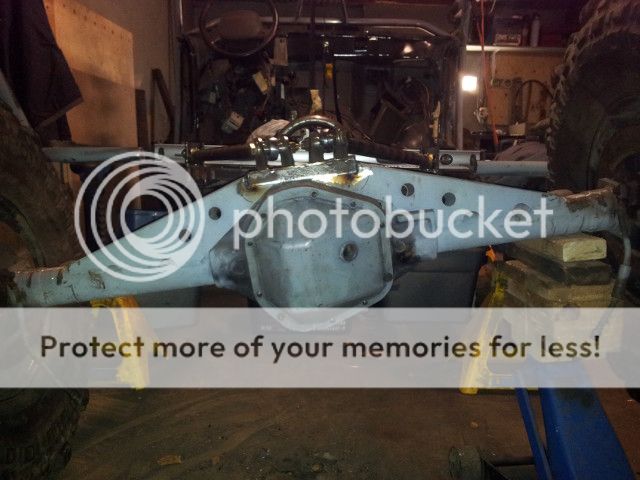
the front axle is done, steering is burned in, and after putting a few bends in the trac-bar, it clears everything with atleast 1/2" to spare... and the ORI's will be used as the front bumps to keep everything safe (packaging the air bumps I have were next to impossible up front, moving them to rear too) the ORI's are solving a few packaging issues, and hey they are BLING if nothing else.
onto some pics
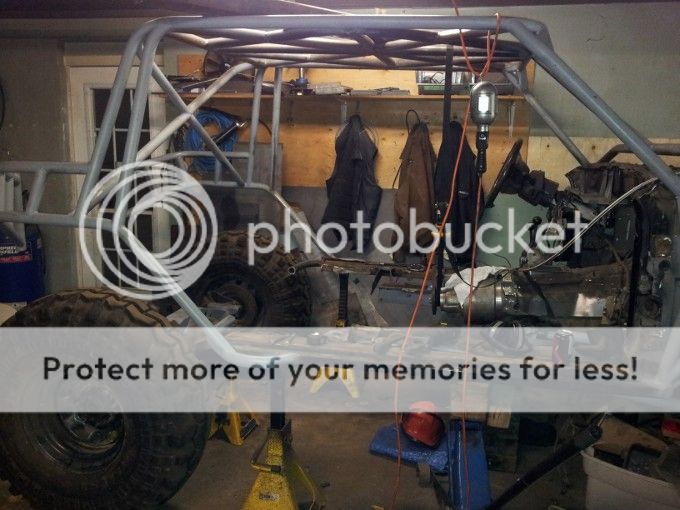
how it looks today
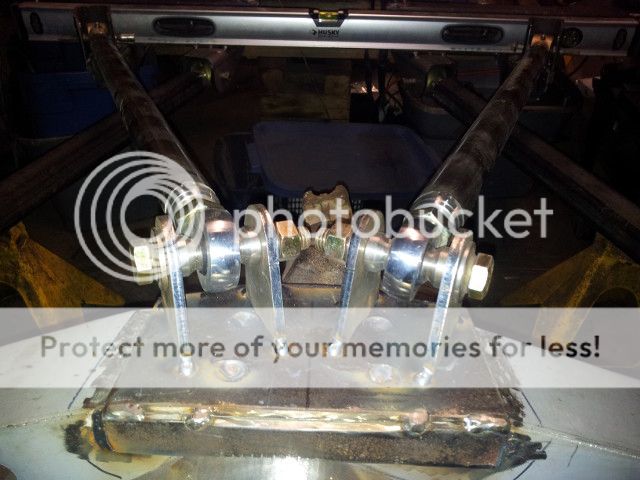
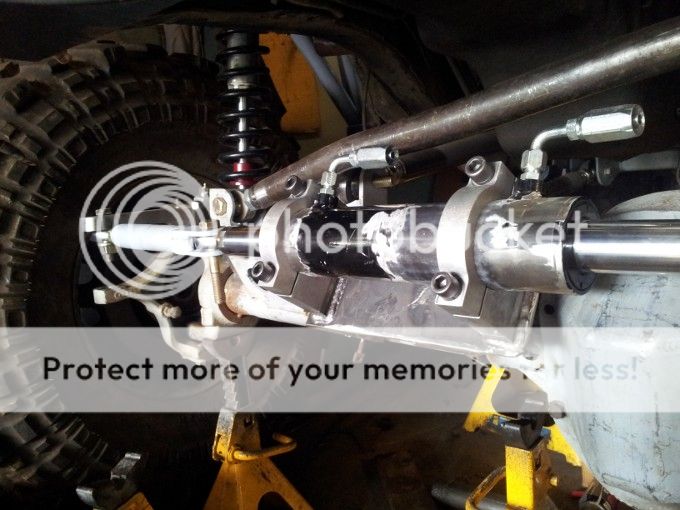
front end, need a head on view to show it all better, skipped the $80 PSC double shear pieces that thread into the ram, made the arms to be double shear and used heims on the ram... see no reason this won't work just fine.
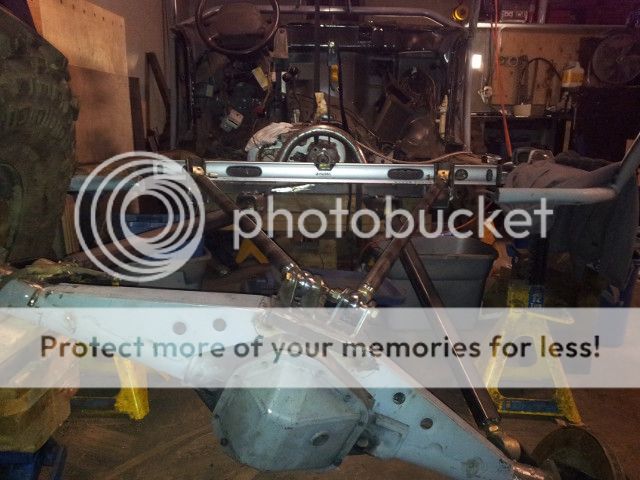
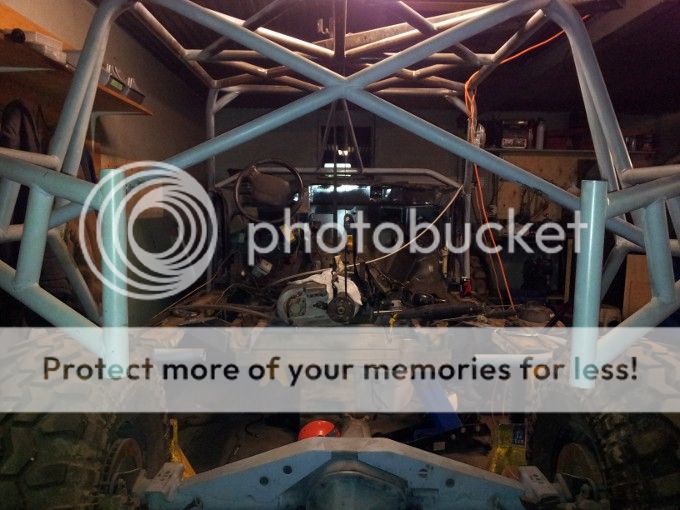
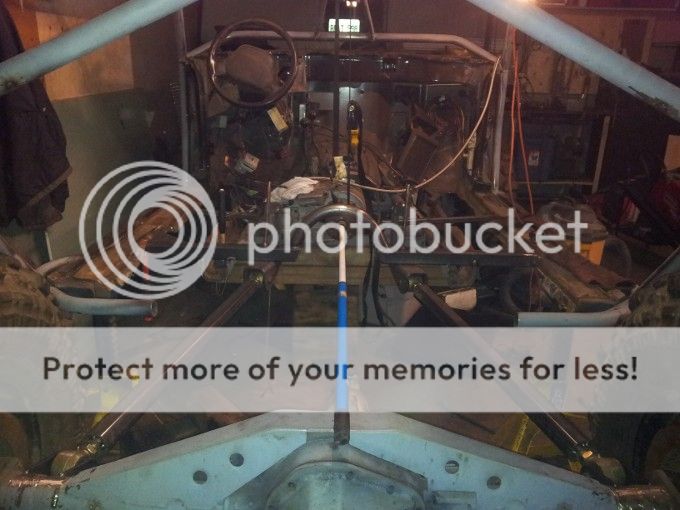
how the interior looks from the back... pretty empty, as if it wasn't before.
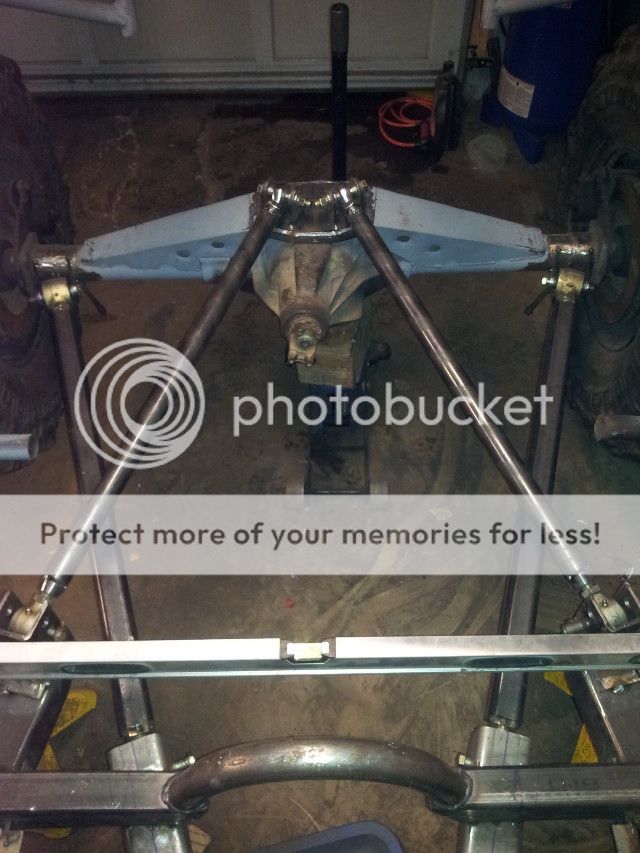
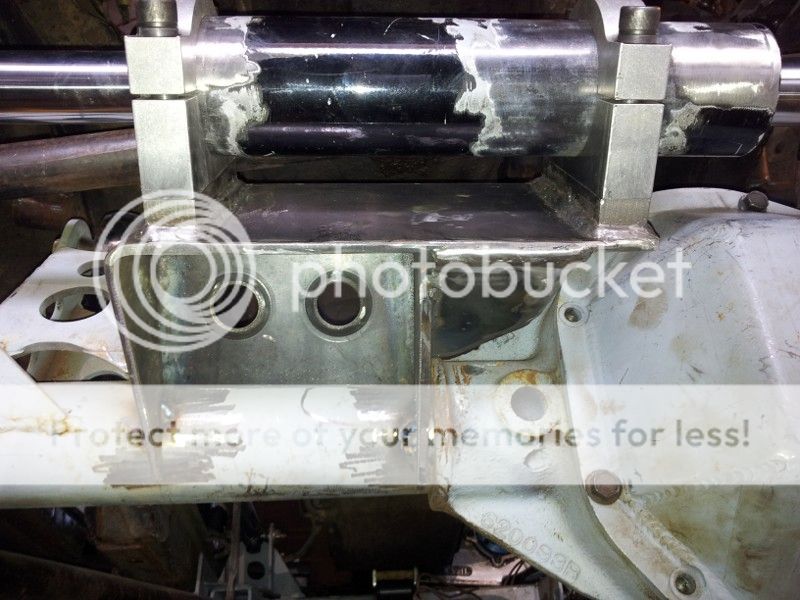
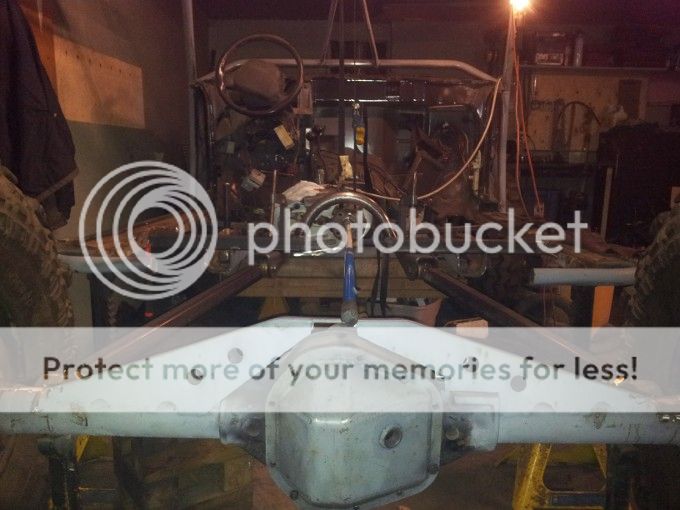
and how the lowers should look, just mocking/tacking things in place to see how it works, but I don't forsee many problems.
I know with all the body gone it isn't everyone cup-o-tea, and it took me a bit to get used to it... but I had lost a lot of motivation seeing little progress and no real end in sight.
I now have most of what I need to get it rolling, steering, fueled and soon after started (after more then 2 years) so this transformation has me re-energized and to be honest it should be easier to work on, customize, and be about 400lbs lighter.
so delete the few posts near the start with the rear frame build... after much deliberation (and arm twisting from a buddy) we cut off much of what I did about 1-1.5 years ago.
this is now without a doubt, a trail only, buggy. frame rails are gone from just behind the t-case back, all body is gone from front door frame back, no dash, no windshield, no roof.. it's all gone.
we are keeping the old 2x4 rockers I put in years ago, and all the cage work, 4linking the rear and in the next few weeks I expect delivery of 2 ORI's for the front end, C/O's moving to the rear.
full hydro steering up front is done, 3 link front is done, new rear suspension x-member is done.
the front axle is done, steering is burned in, and after putting a few bends in the trac-bar, it clears everything with atleast 1/2" to spare... and the ORI's will be used as the front bumps to keep everything safe (packaging the air bumps I have were next to impossible up front, moving them to rear too) the ORI's are solving a few packaging issues, and hey they are BLING if nothing else.
onto some pics
how it looks today
front end, need a head on view to show it all better, skipped the $80 PSC double shear pieces that thread into the ram, made the arms to be double shear and used heims on the ram... see no reason this won't work just fine.
how the interior looks from the back... pretty empty, as if it wasn't before.
and how the lowers should look, just mocking/tacking things in place to see how it works, but I don't forsee many problems.
I know with all the body gone it isn't everyone cup-o-tea, and it took me a bit to get used to it... but I had lost a lot of motivation seeing little progress and no real end in sight.
I now have most of what I need to get it rolling, steering, fueled and soon after started (after more then 2 years) so this transformation has me re-energized and to be honest it should be easier to work on, customize, and be about 400lbs lighter.
Last edited: