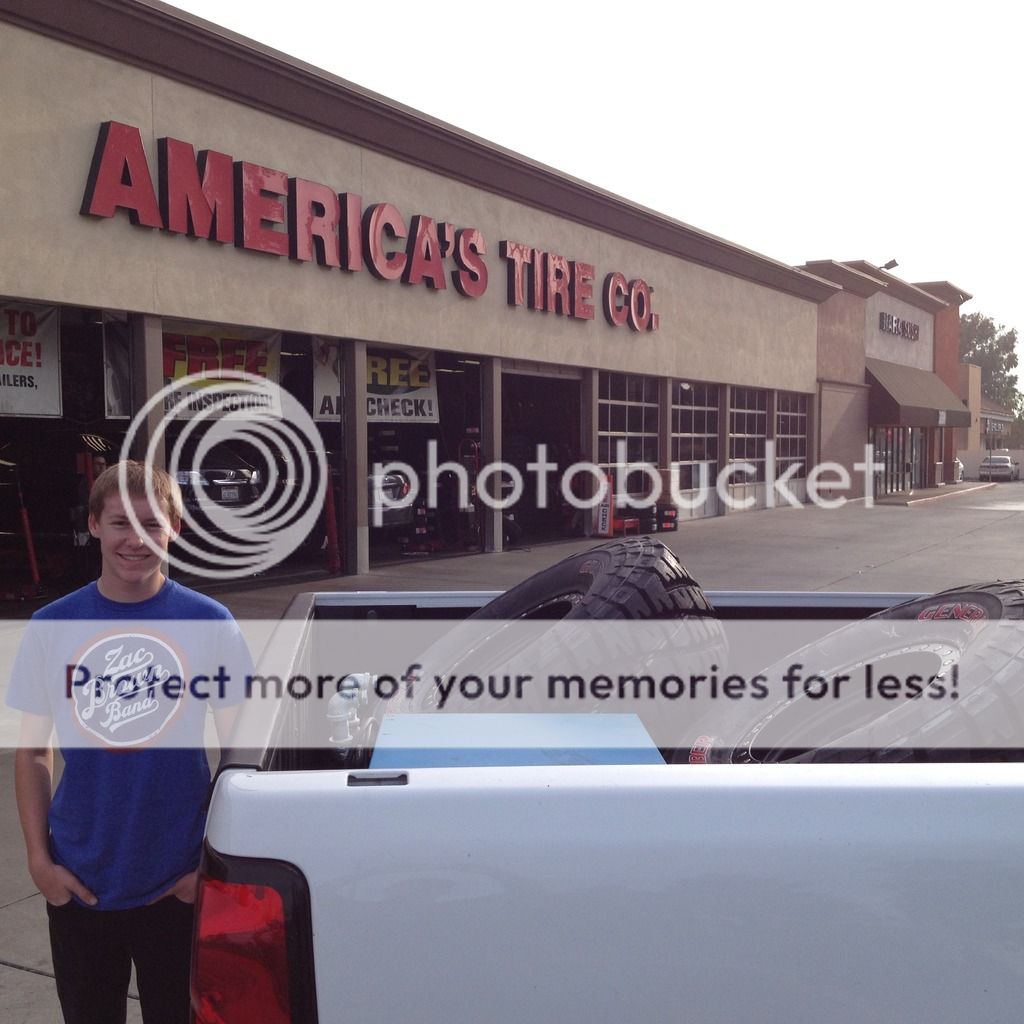
Hello all! I decided to share the buildup of my 15 year old sons first car. I have been a jeeper for 20+ years and have owned many jeep over the years. So naturally, when it was time for my son to get his first car I was happy that he wanted an XJ. I currently have a linked YJ on tons and a 1994 XJ that I am currently doing a full build on so like father, like son. He was already driving my 94 in Ocotillo Wells and Glamis so an XJ is a no brainer. One more jeep in the family. I was a little slow in starting this tread so some of the pics are several months old. The project is still underway so current pics will be added as work is performed. Hope you all enjoy our project.
We searched high and low to find a clean one owner, low mileage, post '97 (because as a father, I wanted my kid to have airbags), and had to be Patriot Blue. Very tall order but we pulled it off. I found this 2000 one owner, 119K, Patriot Blue 4x4. It only took about 3 months of searching.
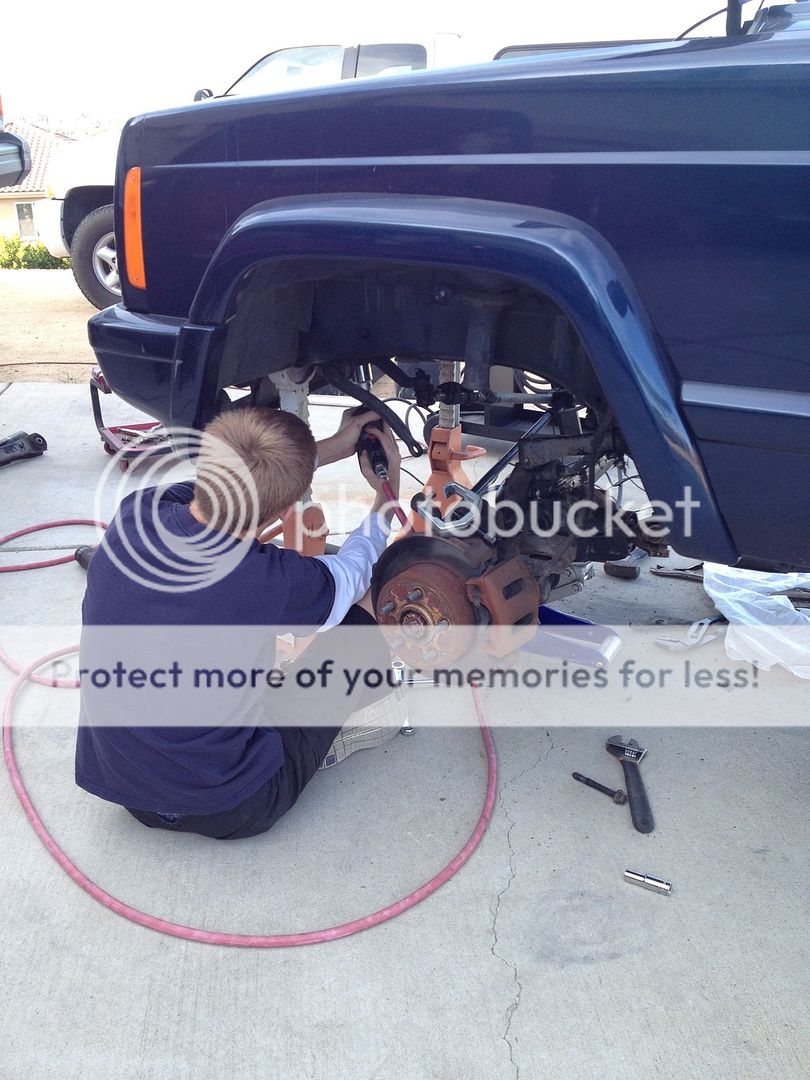
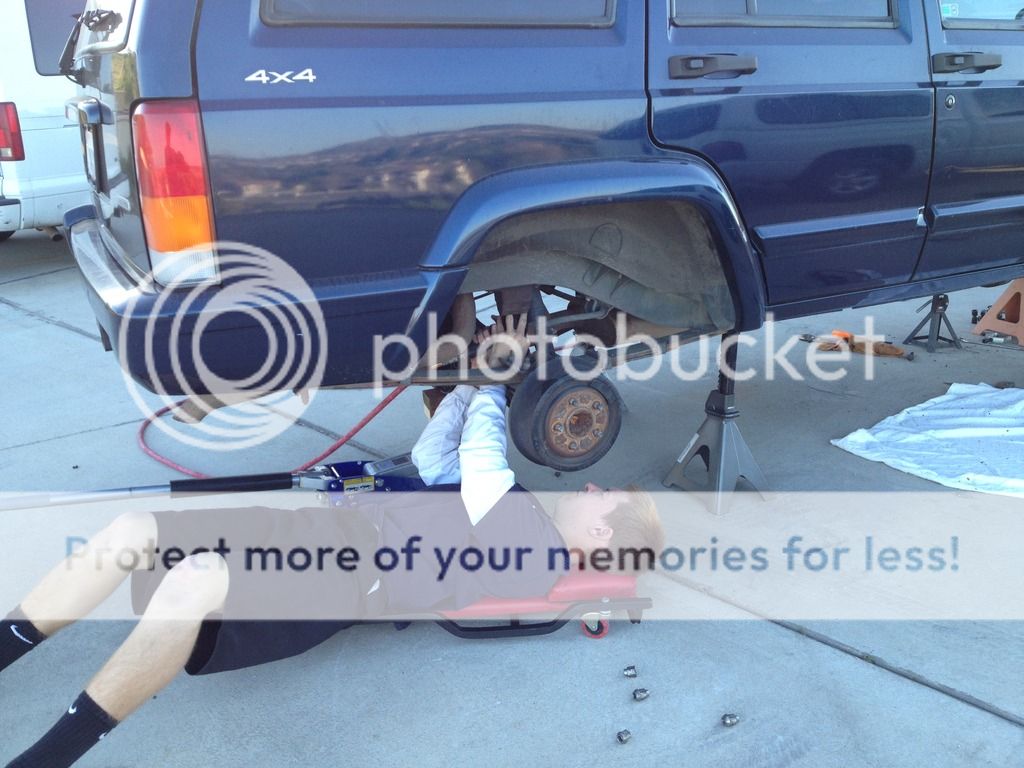
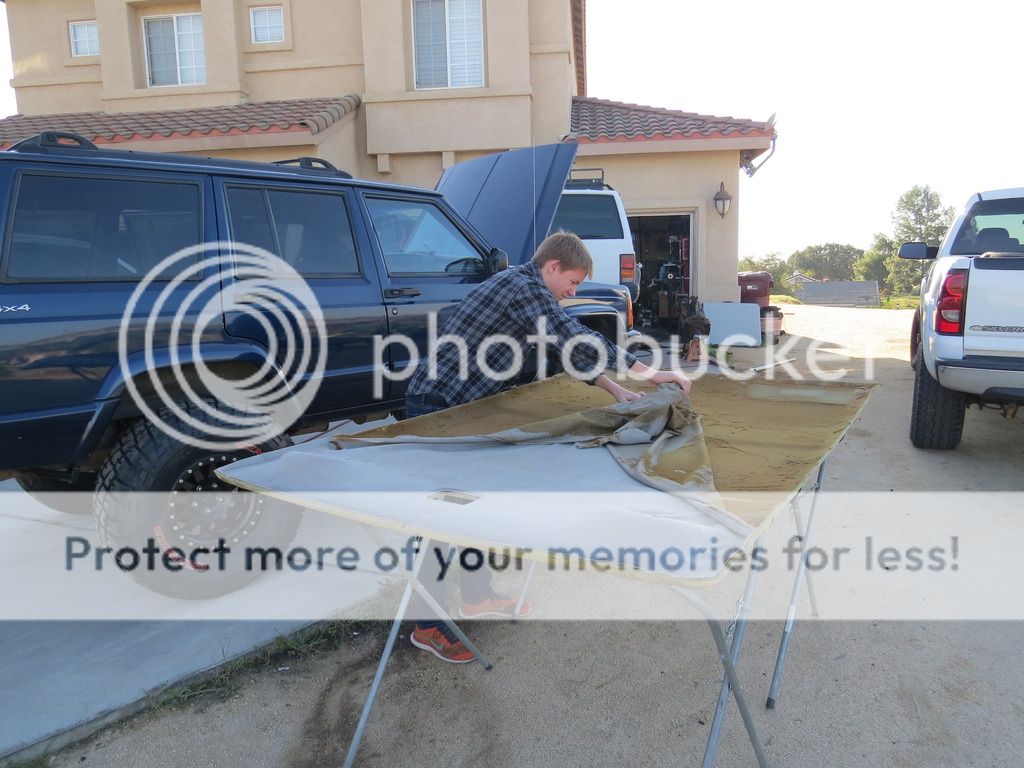
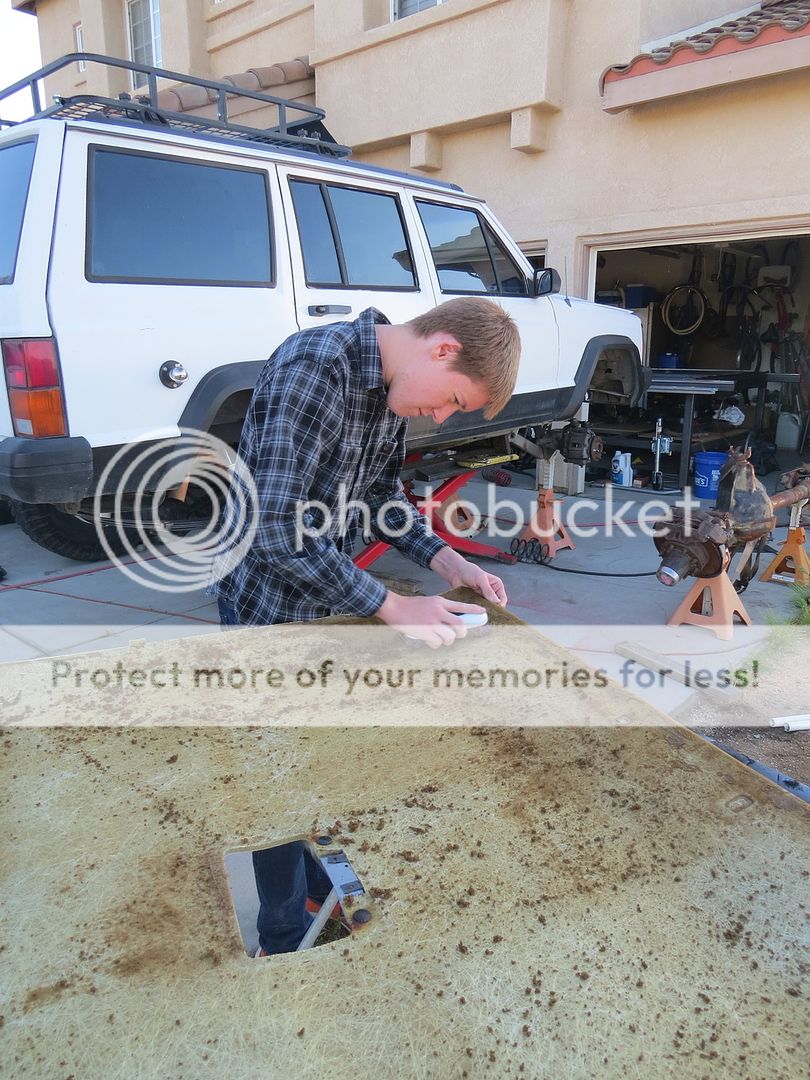
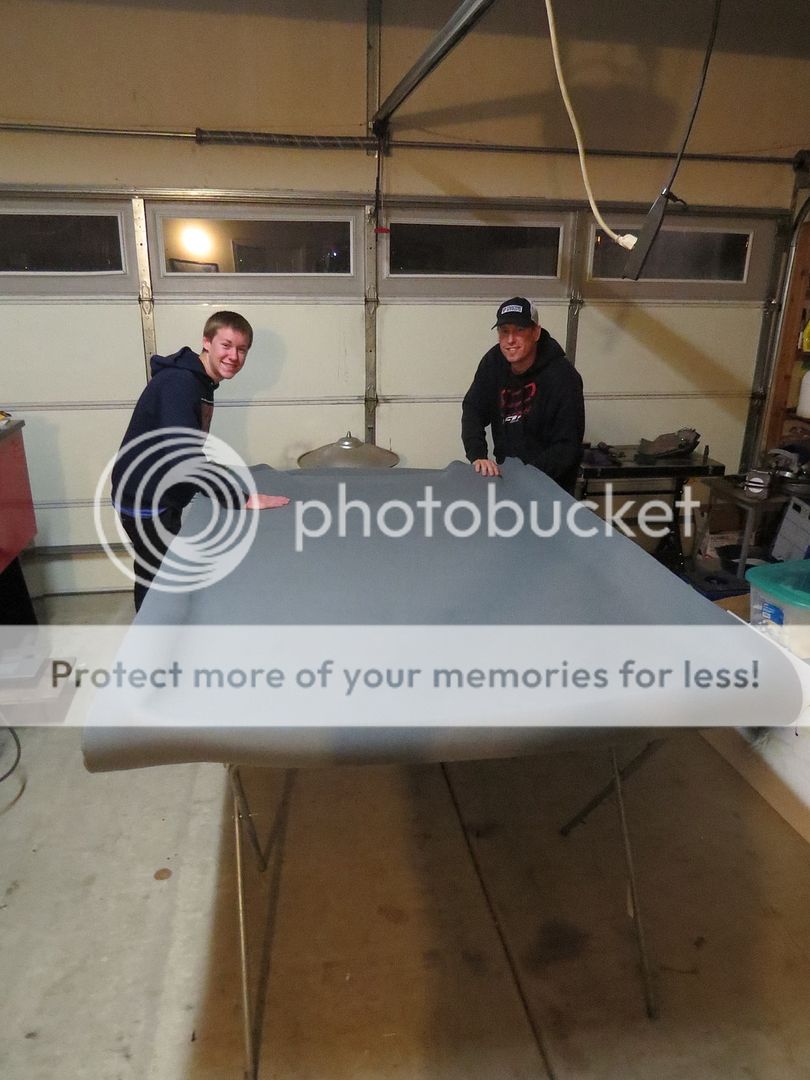
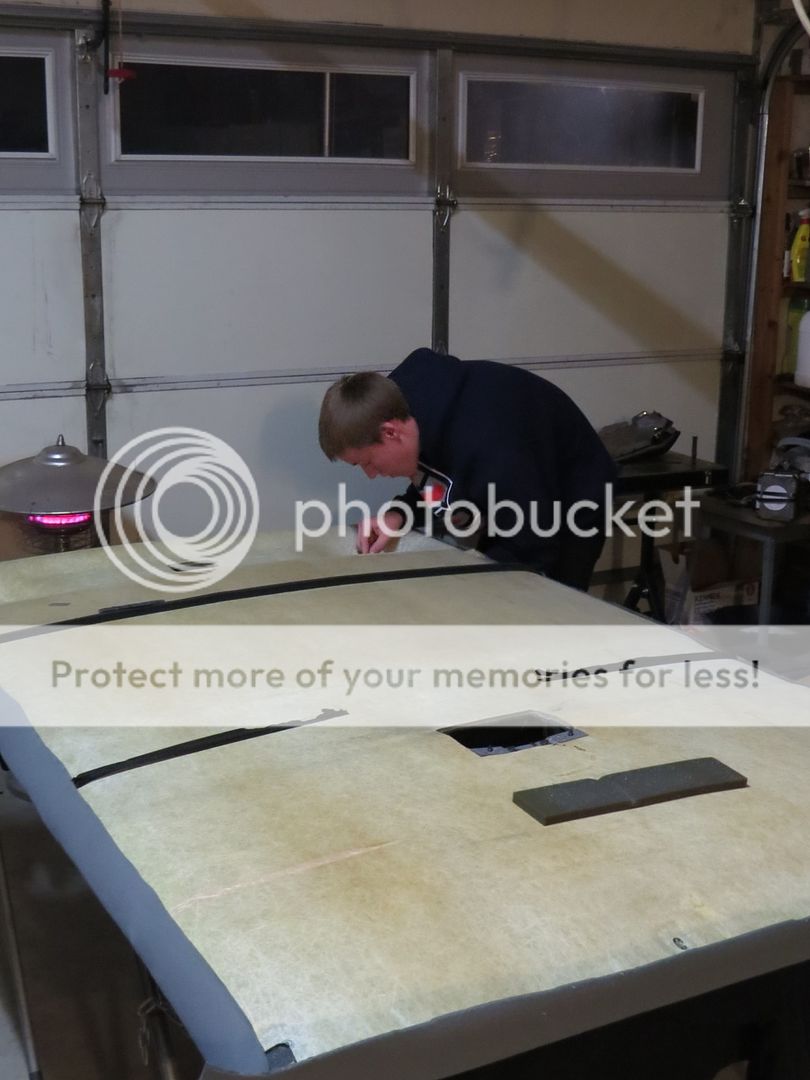
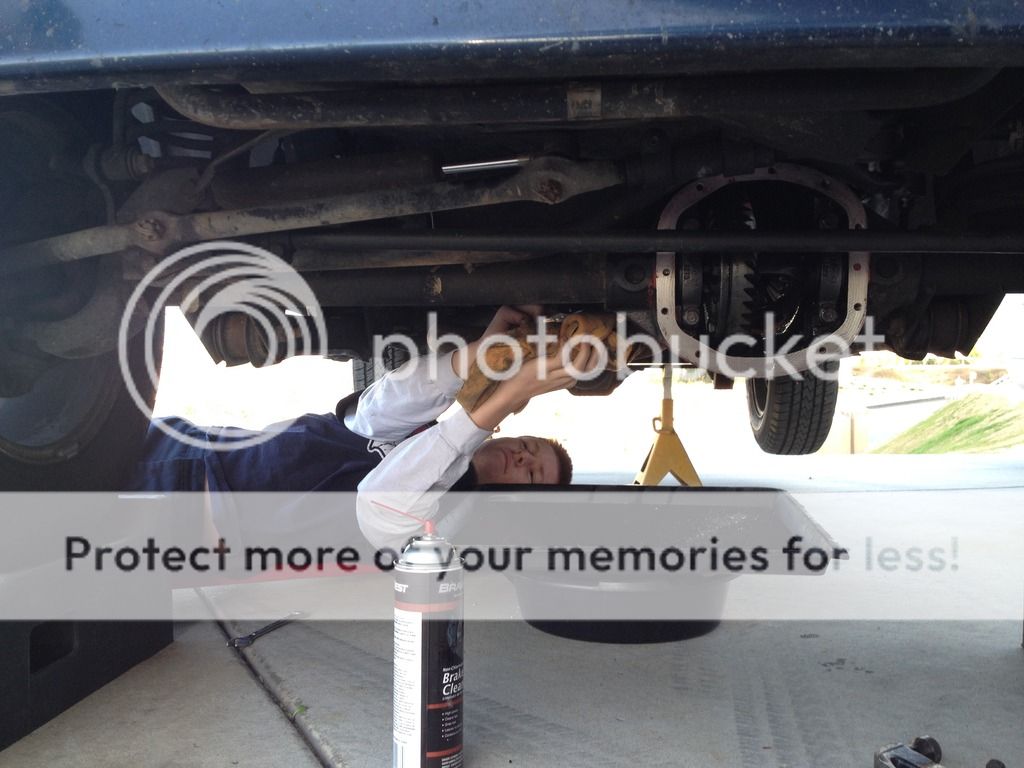
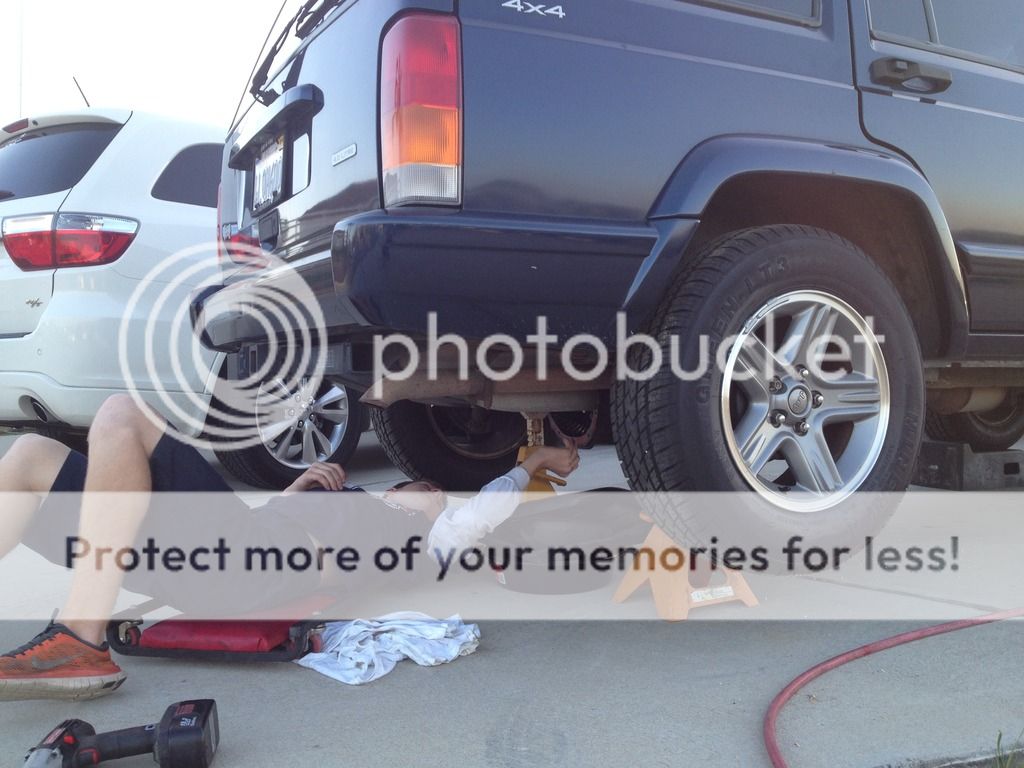
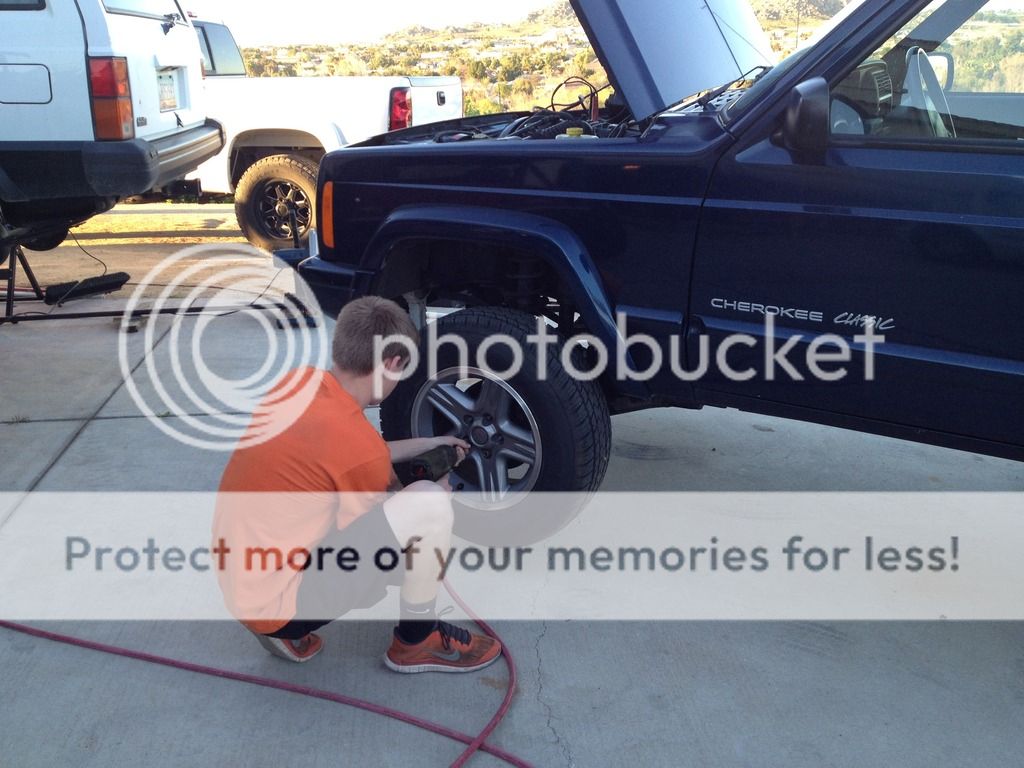
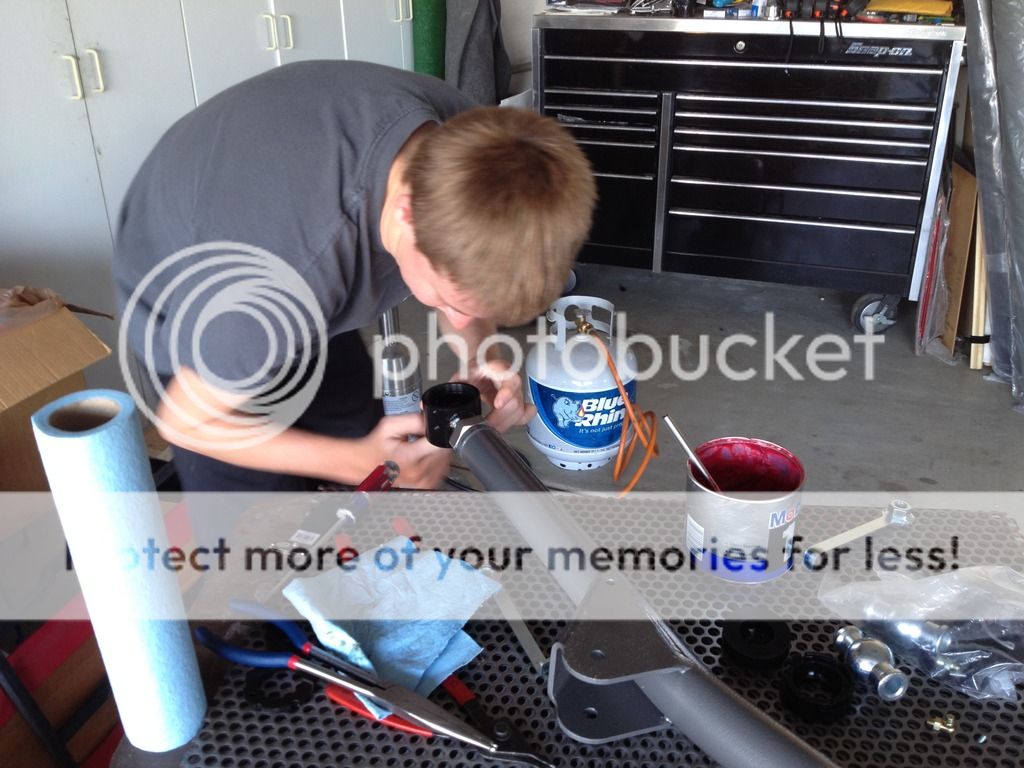
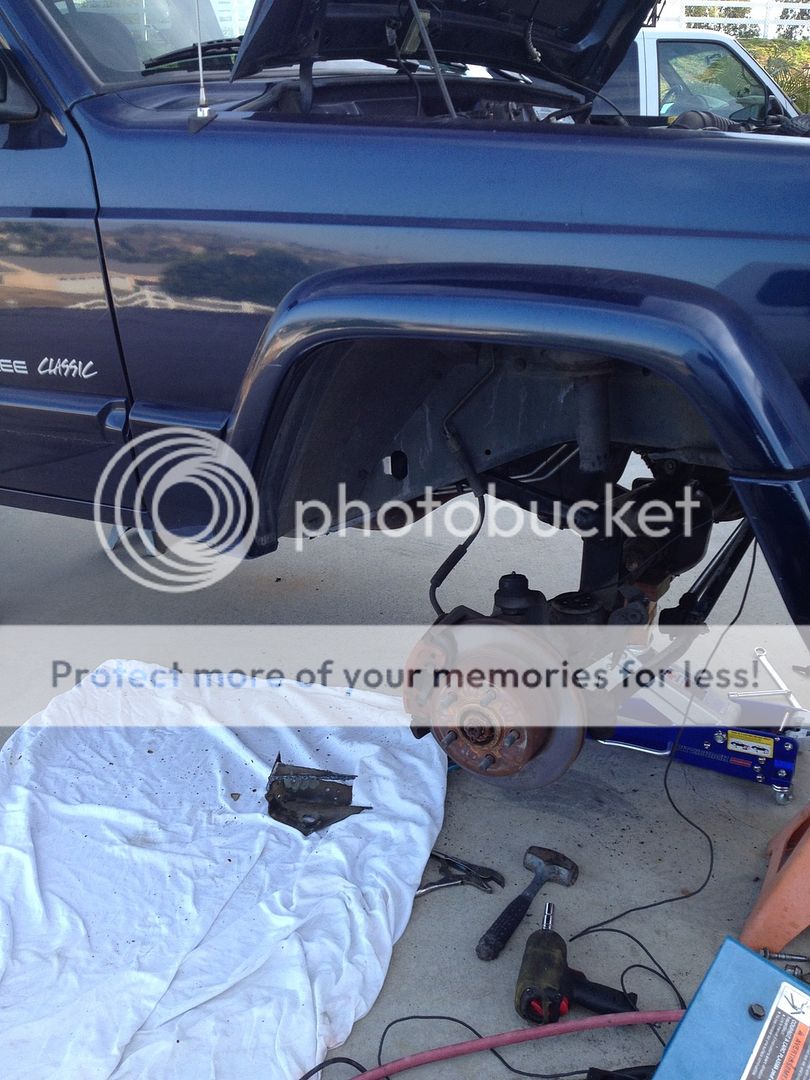
All the work will be performed my me and my son. After all, its his car so actually he will be doing (has done) most the work with my instruction and help.
Plans for the jeep are as follows:
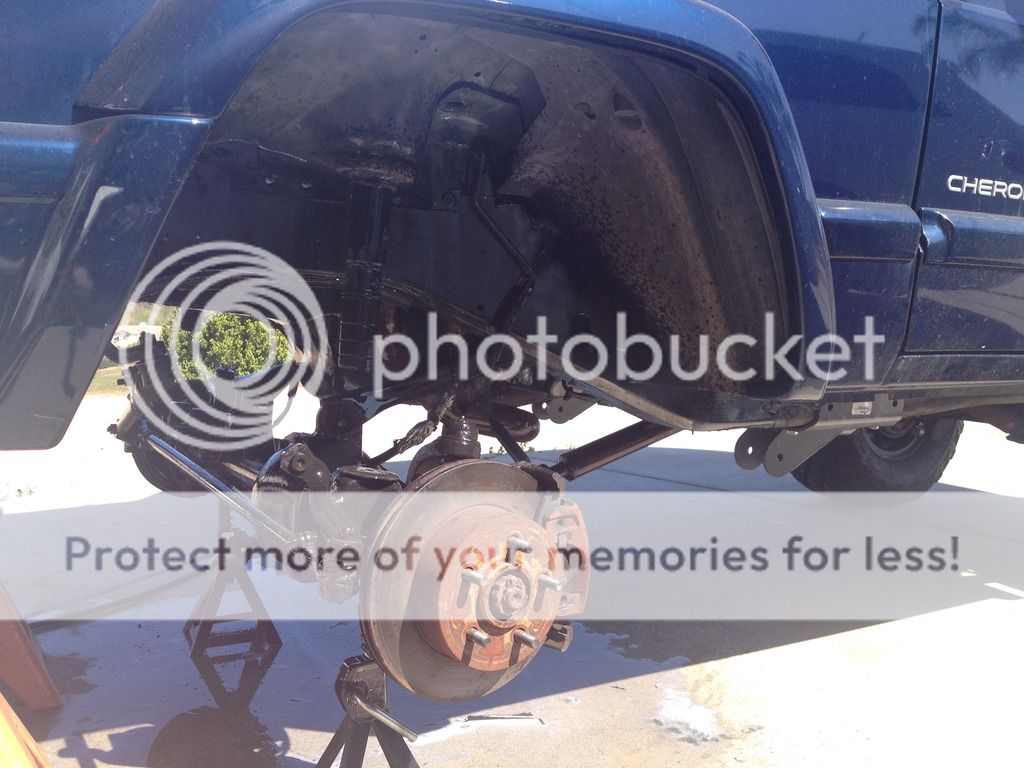
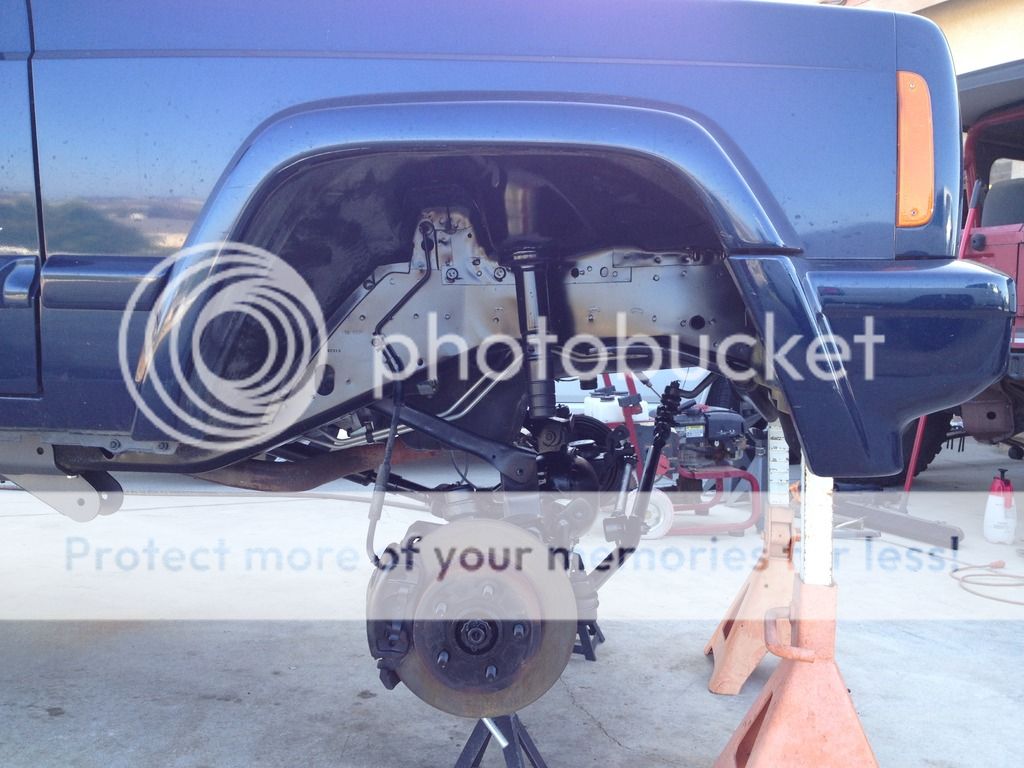
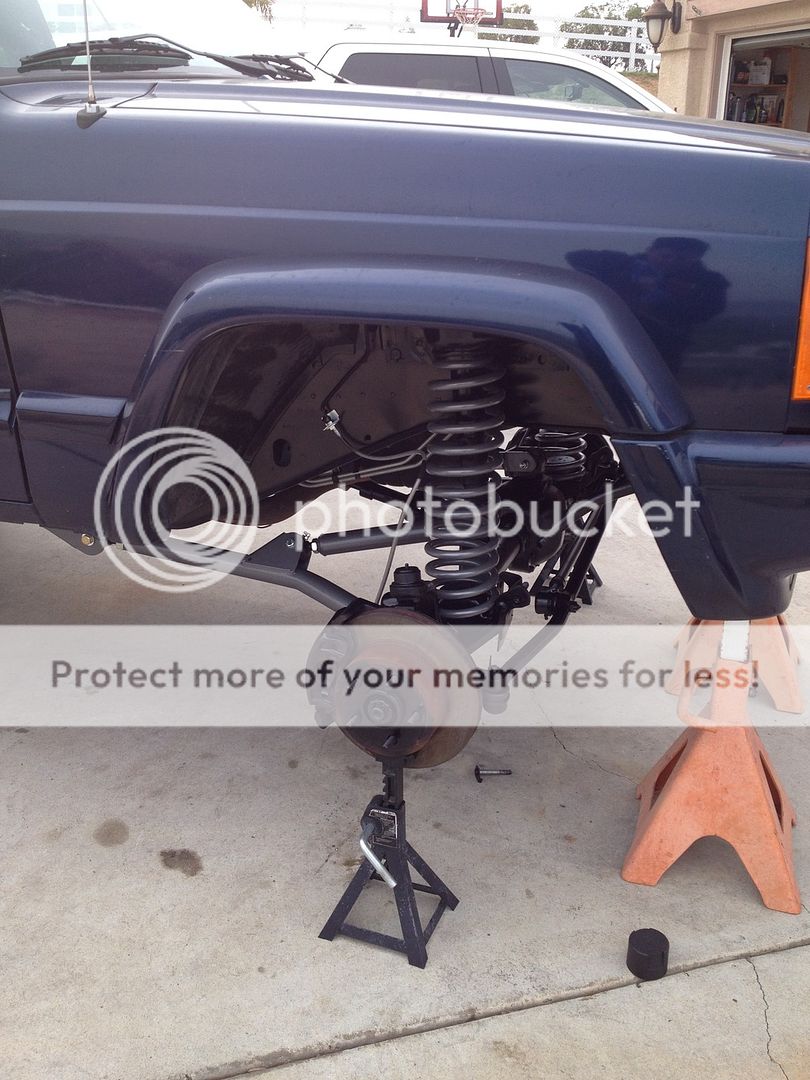
Full maintenance and repairs of all necessary items.
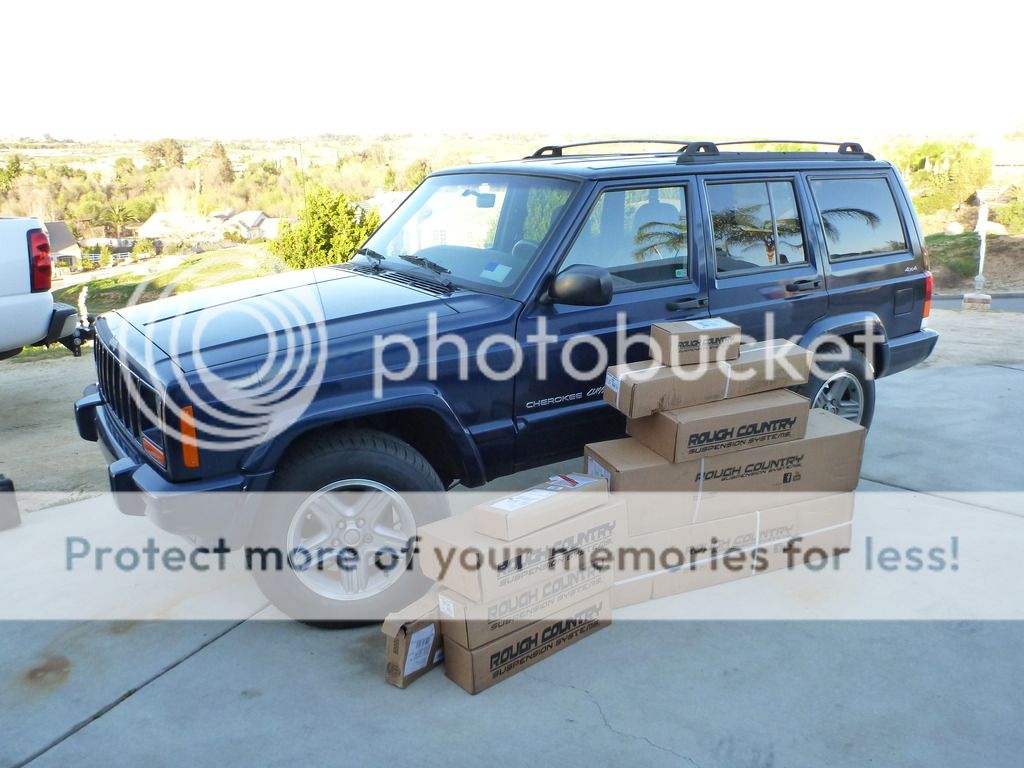
4.5" Long Arm kit
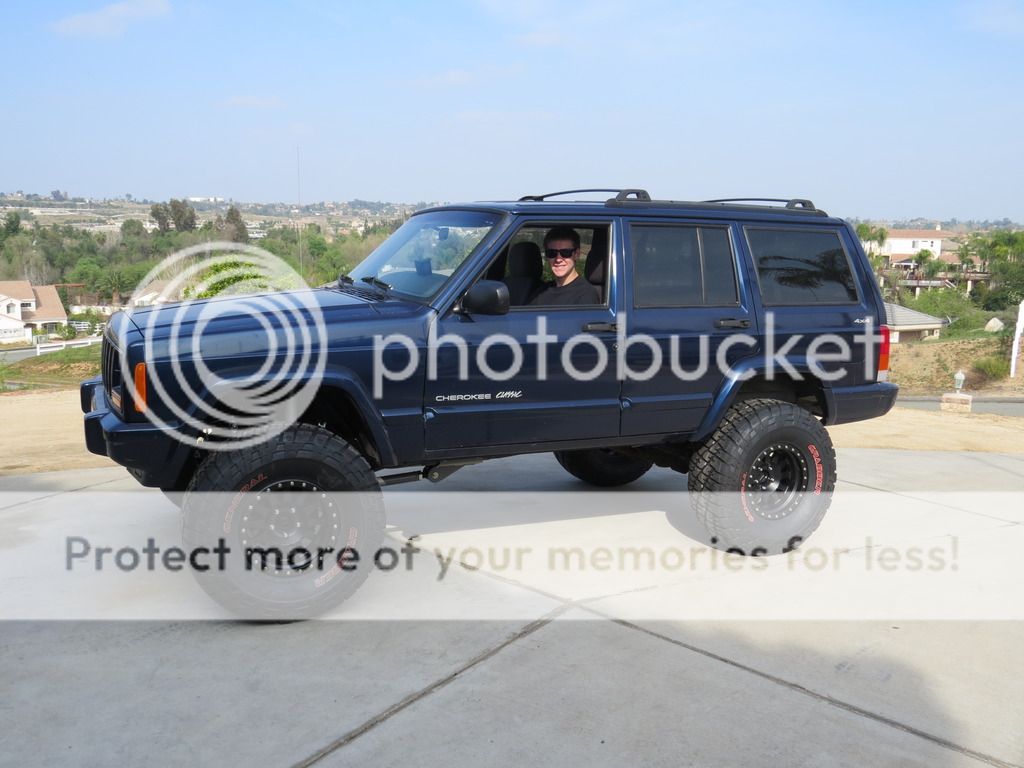
33" General Grabbers
15x8 Methods
Led Lightbar with custom built mounts
Glass front fenders
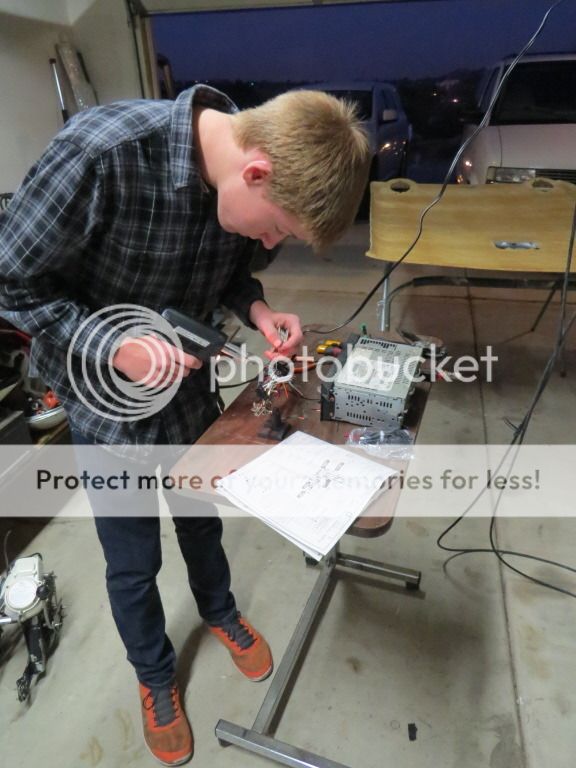
Audio
4.56 Gear sets
LSD's
SYE kit
Custom bumpers front and rear
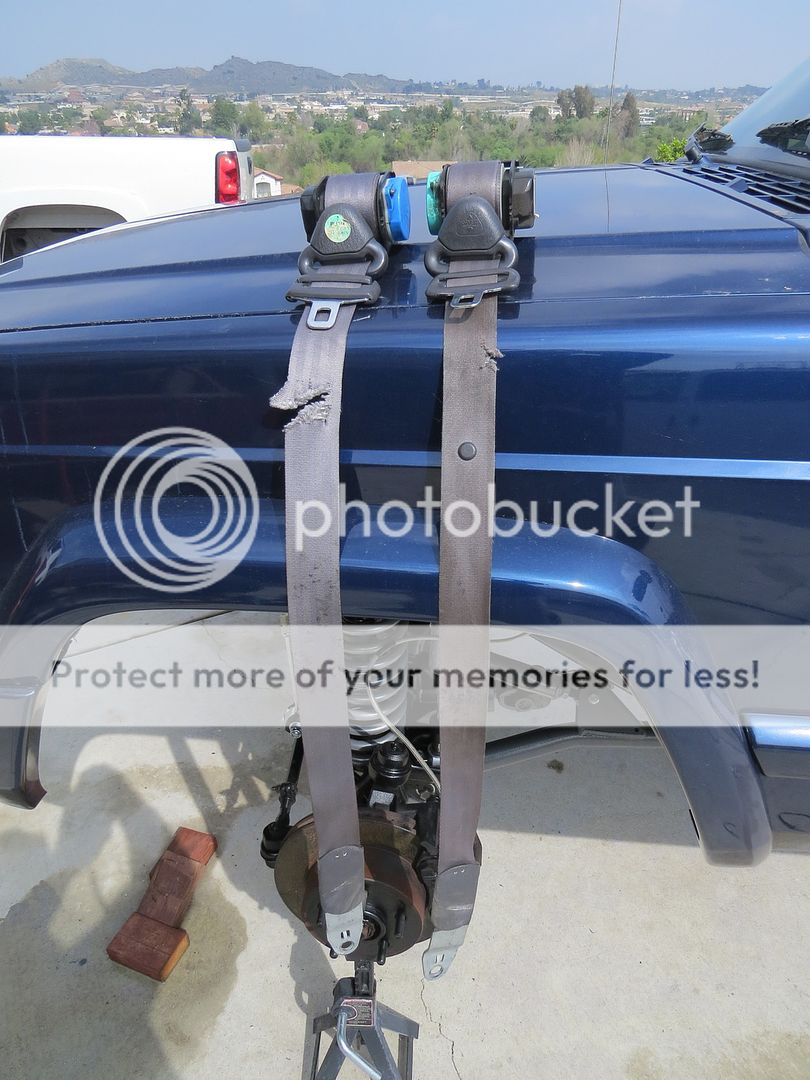
Roof Rack
More to come....
Over the next several days, I will post pics in order of how we are building it. This is an ongoing project so there will be plenty of pics and info.
The day we surprised him with the XJ..
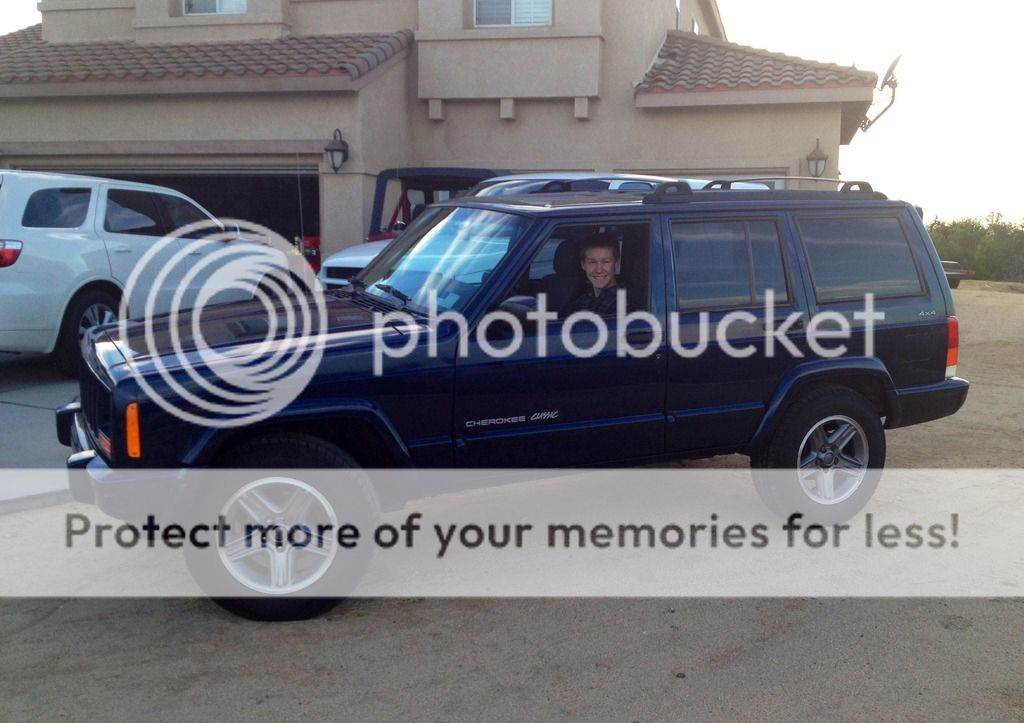

We searched high and low to find a clean one owner, low mileage, post '97 (because as a father, I wanted my kid to have airbags), and had to be Patriot Blue. Very tall order but we pulled it off. I found this 2000 one owner, 119K, Patriot Blue 4x4. It only took about 3 months of searching.
All the work will be performed my me and my son. After all, its his car so actually he will be doing (has done) most the work with my instruction and help.
Plans for the jeep are as follows:
Full maintenance and repairs of all necessary items.
4.5" Long Arm kit
33" General Grabbers
15x8 Methods
Led Lightbar with custom built mounts
Glass front fenders
Audio
4.56 Gear sets
LSD's
SYE kit
Custom bumpers front and rear
Roof Rack
More to come....
Over the next several days, I will post pics in order of how we are building it. This is an ongoing project so there will be plenty of pics and info.
The day we surprised him with the XJ..
")