For the past couple of years I've just been driving this thing and haven't done a whole lot of work on it, so I'm catching up on stuff and having a bit of an adventure in maintenance issues.
Lately its been having a lot of long hard starts, and bogging on hard acceleration sometimes too. Both of these point to a failed check valve in the pump, very common, and a simple test from Autozone loaner gauge proved it--pressure at "normal" of about of 32 PSI at idle, falling to 0 PSI very quickly after shutoff, indicating all of the fuel in the line draining back through to the tank. Another thing, is that even though this pressure is normal for 91-93 (continuation of Renix era), it is kind of low comparitively (94-96 uses 40 base) and supposedly these Ford injectors fire better with higher pressure too. Obvious thing was replace the pump, to fix the drainback, and to try and get pressure up.
Rockauto had the Spectra Premium sender assembly on sale, and since it included the sock and and a new o-ring gasket and everything else, and I've had good experience with Spectra Premium before (even used their sender assembly on my 85 Cadillac and was very pleased with it), I ordered one of those. However the part I got was not very good construction quality. First, the pump had threaded posts with eye terminals instead of the spade connectors, which means I could not swap in a stock pump unless I also had the stock pigtails. But that was not possible either because the Spectra Premium assembly did not have a ground tab on the pickup tube for stock pigtail, and instead ran the ground wire to the plate at the top, too far for the stock pigtail to reach. Plus, the wire colors at the harness were different, so I would not be able to do diagnostics from reference. Any one of these would be no problem but this much varience not acceptable to me.
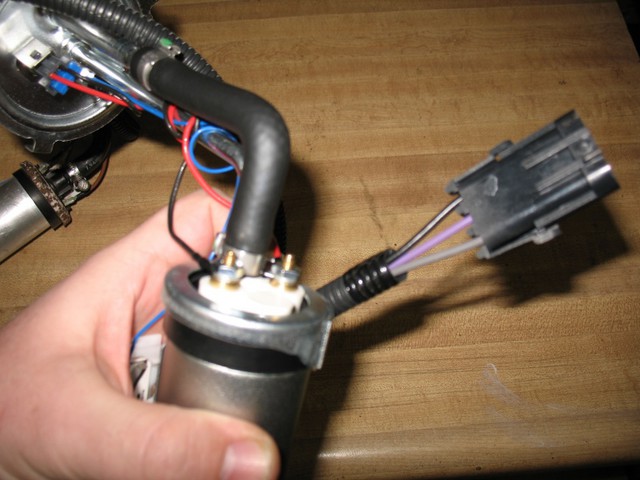
Looking around, a lot of pumps for 91-93 have these threaded posts (even some of the Bosch pumps), but it is clear that the OEM design is for spade terminals. It looks like people are just taking GM parts and trying to sell them as Jeep parts. The only picture of a pump that I can find that even shows the right terminals is for Delphi pump--cosmic irony Delphi is a GM brand and makes the right Jeep part.
Rather than waste more time, I already had an emergency backup pump from a part-out in one of my bins, so I pulled it out and did some bench work with it. I put a funnel in the elbow and filled it with mineral spirits to check for drainback, and it looked good. Then I filled a drinking glass with mineral spirits and submerged the pump to prime it and clean it--a little barking and gurgling, and then it emptied the glass in a split second. I got it installed, and the gauge showed 37 PSI at idle, so pretty good pressure. However it still showed rapid loss of pressure when the engine was cut off.
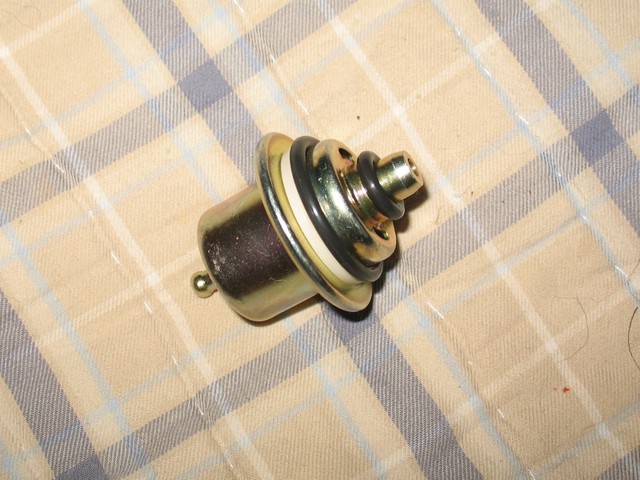
Simple test pinching the return showed a slower rate of decrease so the pressure regulator probably leaking a little. I think it is the original FPR, if so 350k miles on it so a little leak is okay LOL. Since I wanted higher pressure for the injectors anyway, I bought a Delphi 50 PSI FPR (interchange #5277829) which should run around 42 or so under vacuum (haven't checked it yet), but that should be close enough margin for the computer to correct from O2 sensor input. It probably runs rich at cold start, but I'm not seeing any problems with anything yet. I want to get an FPR gauge at some point but it is way down on the list.
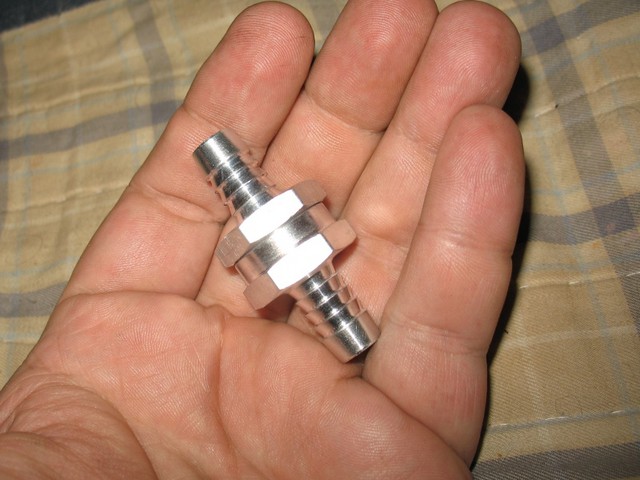
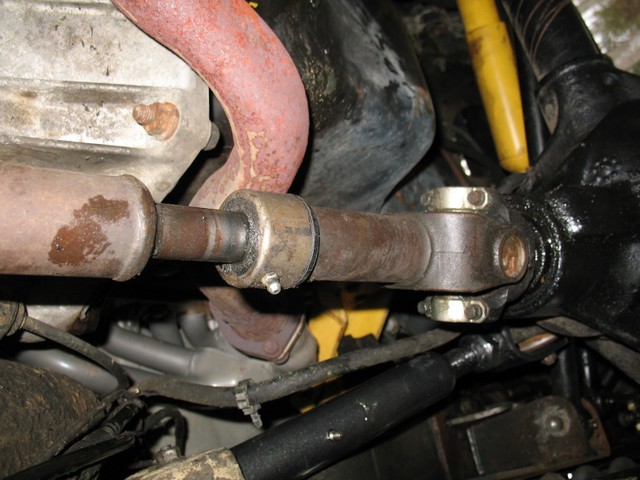
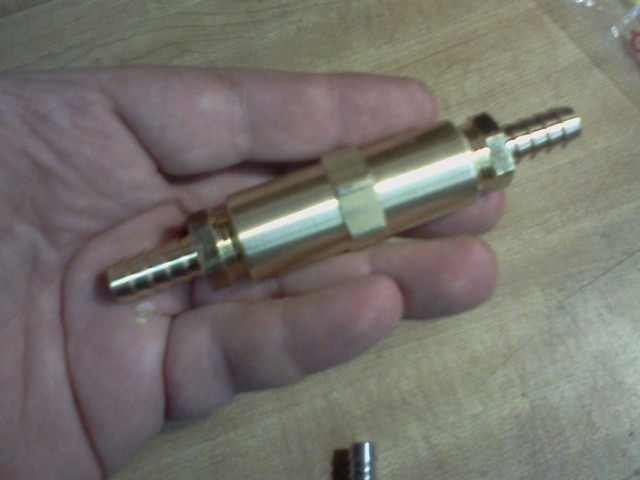
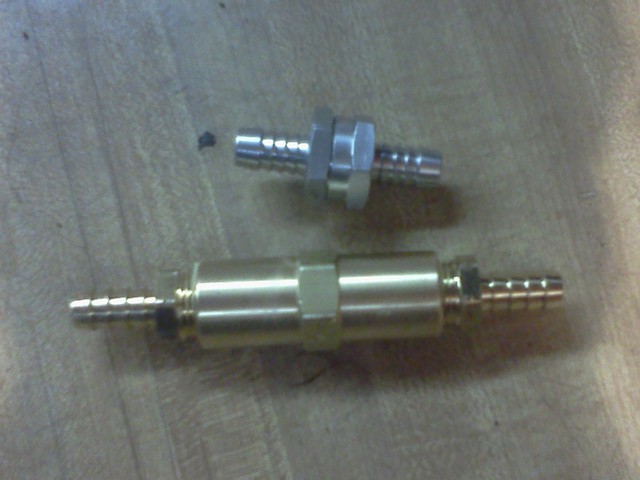
I also bought a check valve from ebay to test with, and that fixed the problem--$10 and no more hard starts
After all that, no more hard starts and the Jeep runs a lot better, plenty of power and no bogging. Only thing missing is a good backup pump--I ought to buy and install a Delphi and put the current one back in the emergency bag.
 aperwork. Good stuff man.