Alexia
NAXJA Forum User
- Location
- Huntsville, AL
I was asked to put up a build thread here on  . Better not to clutter up the chat thread anyway! I am going to summarize the last seven months. If you want to read over those completely read pages one through six on Comanche Club.
http://comancheclub.com/topic/32740-alexias-1987-to-1997-comanche/
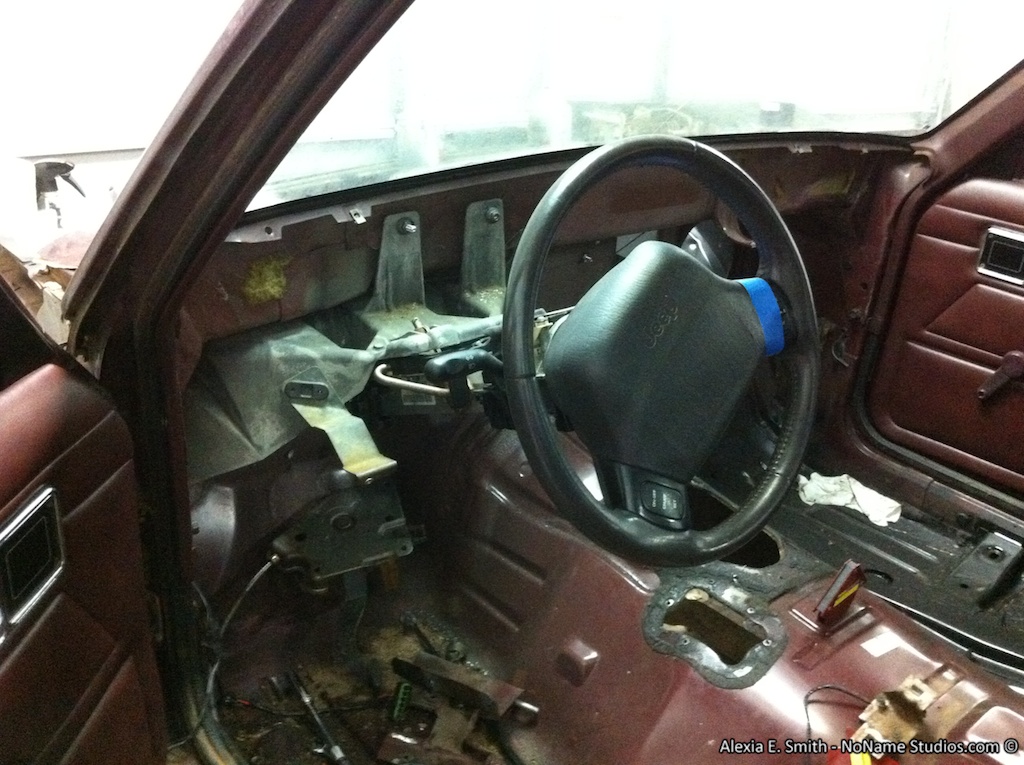
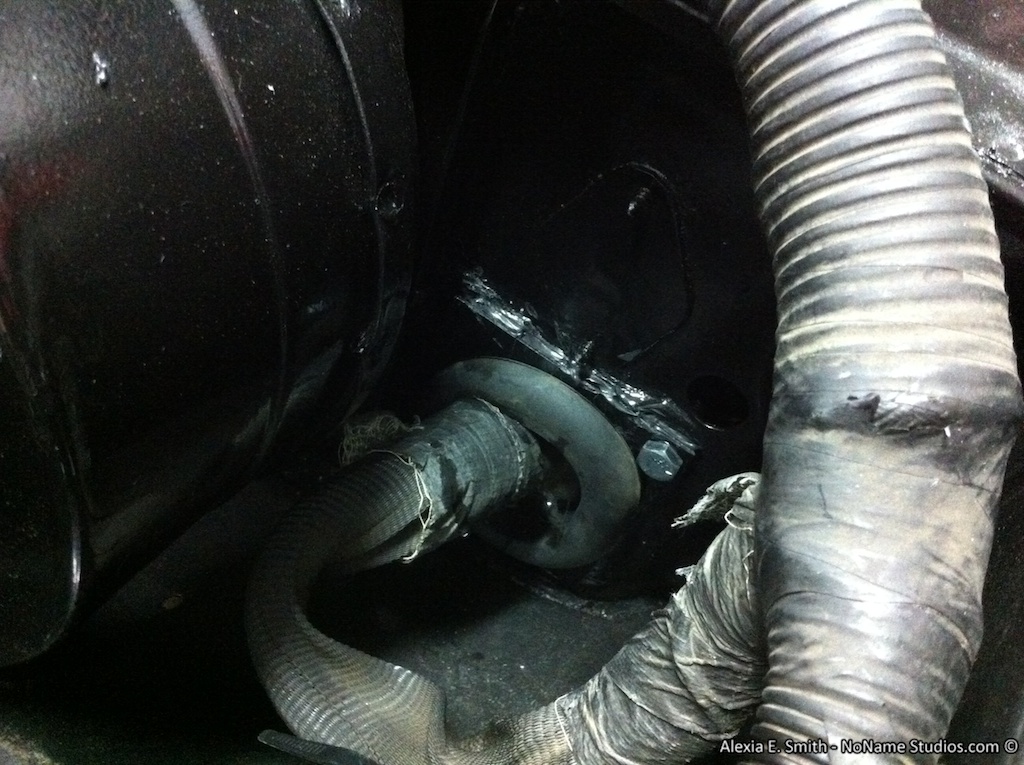
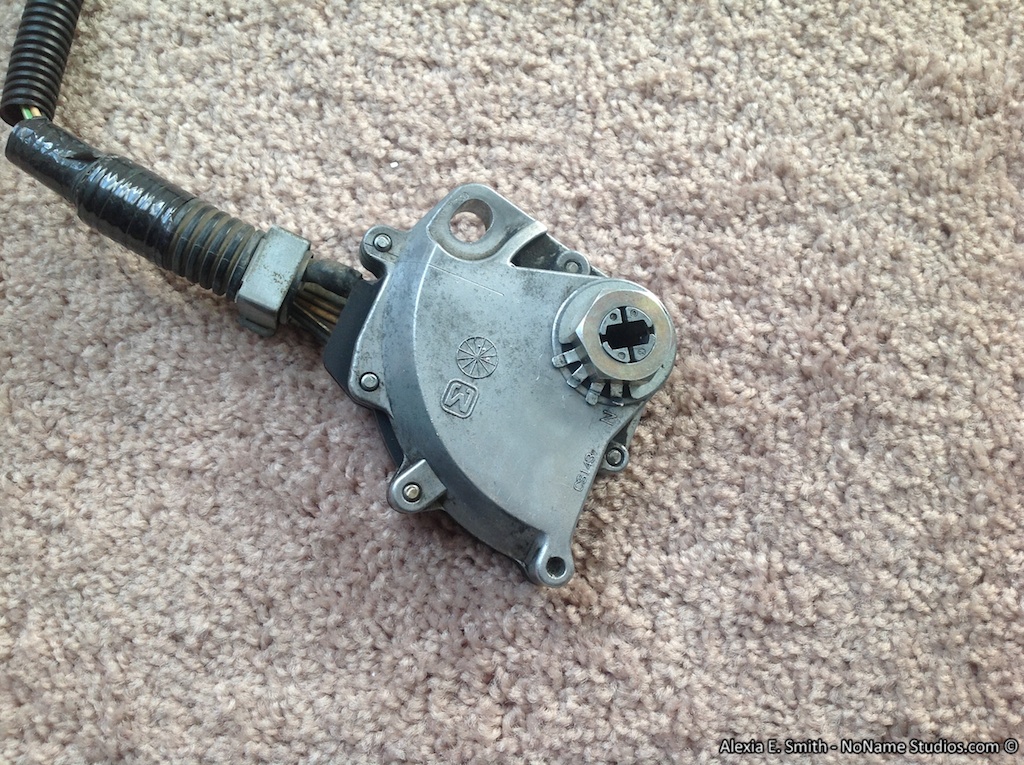
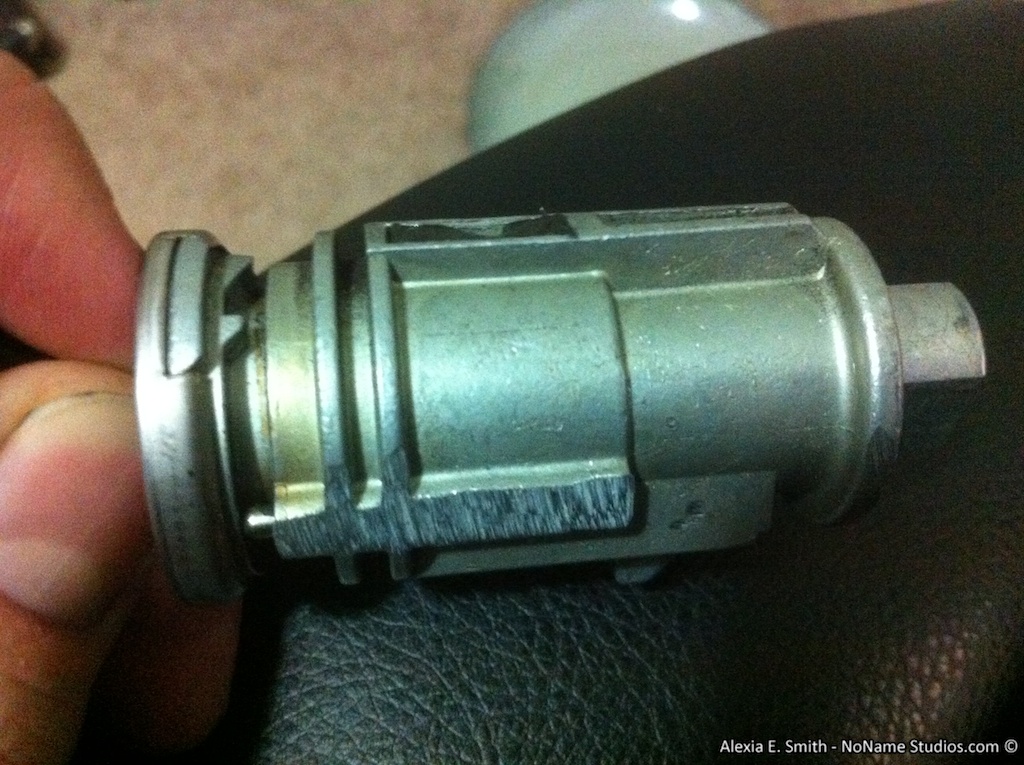
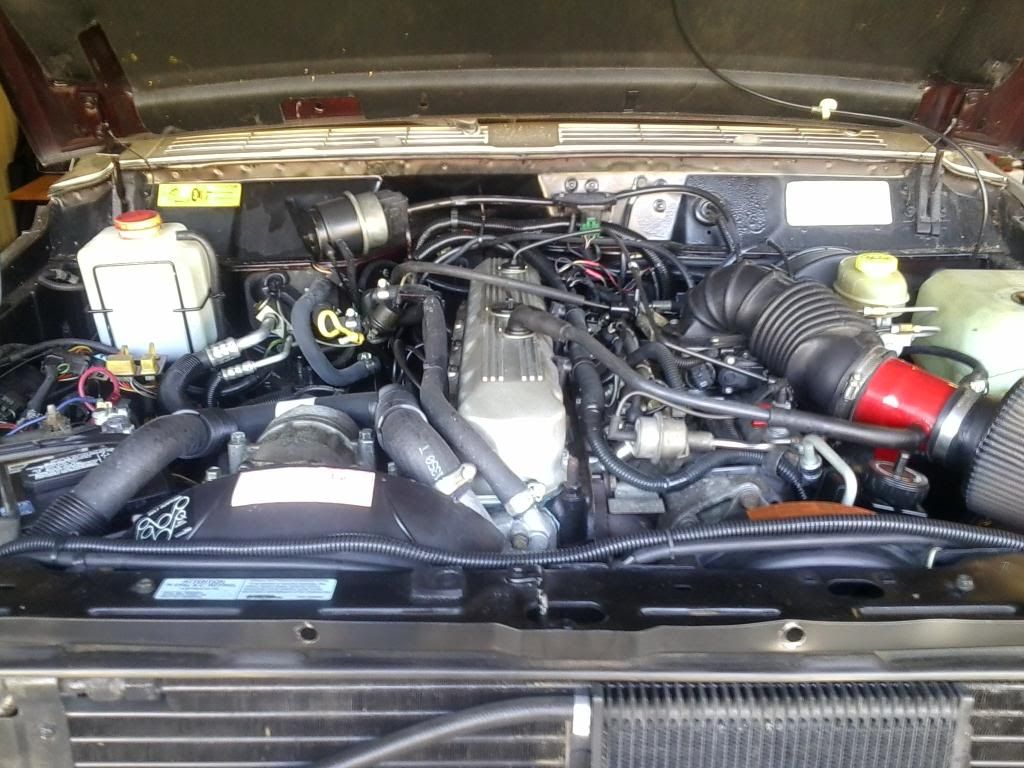
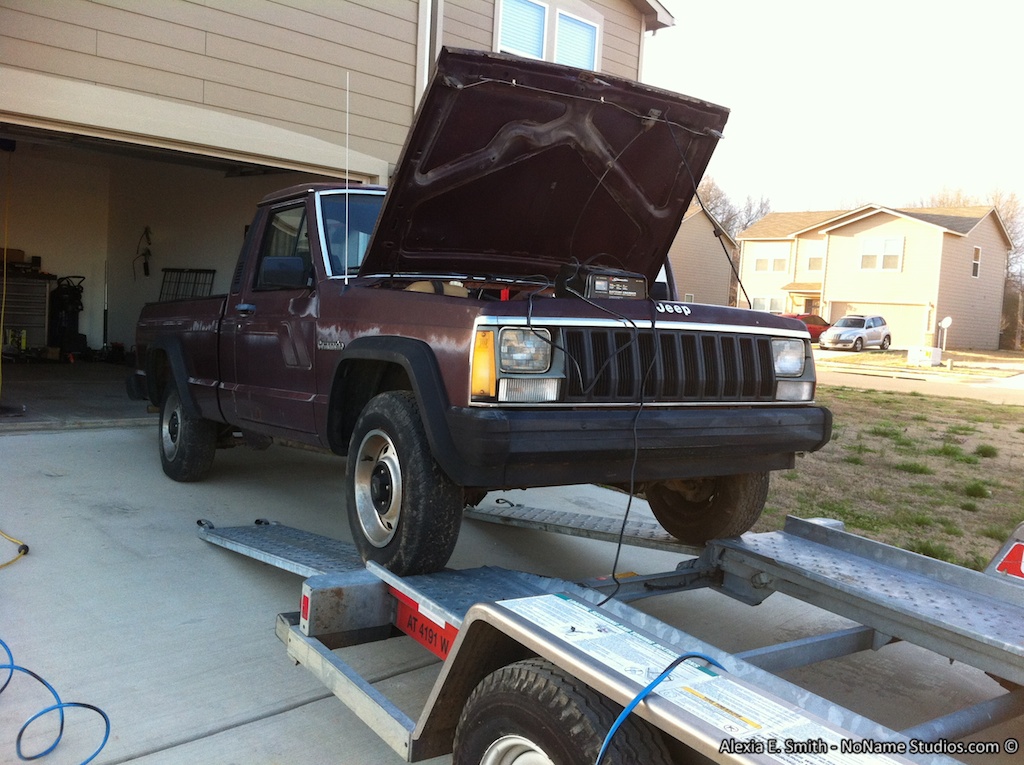
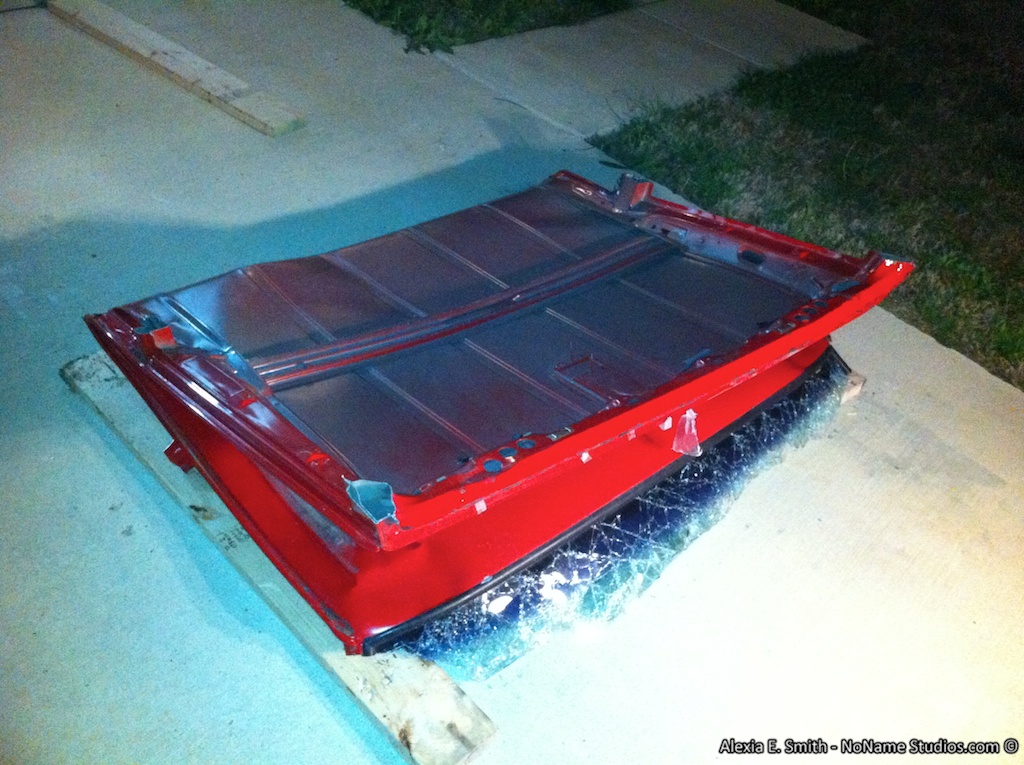
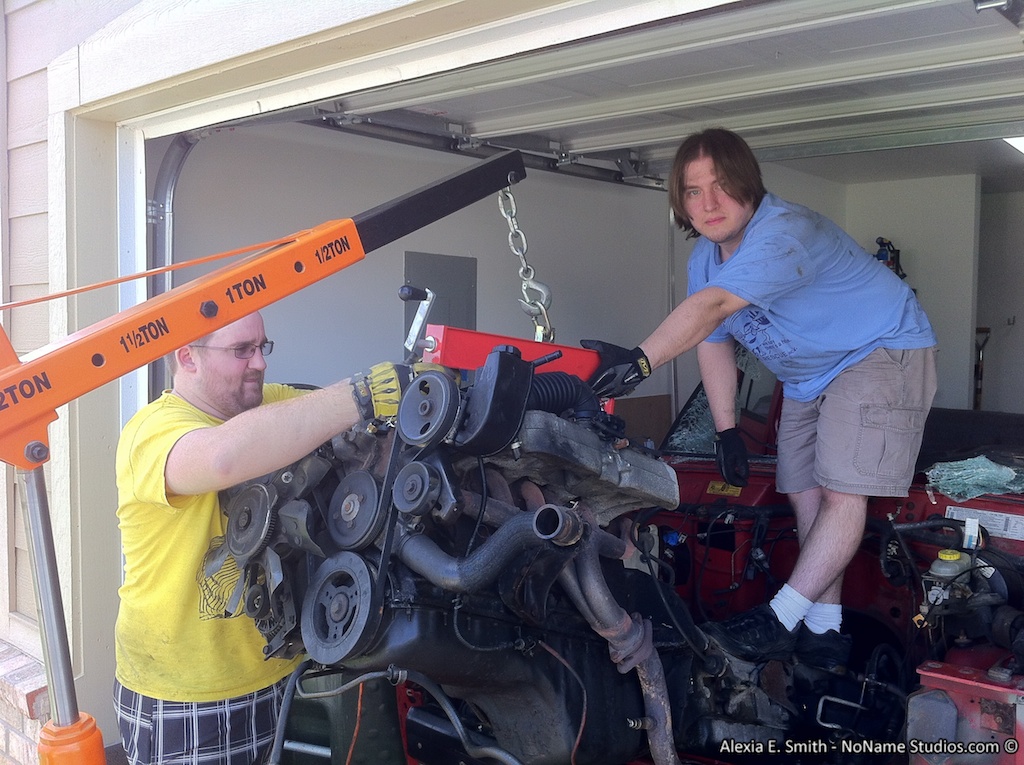
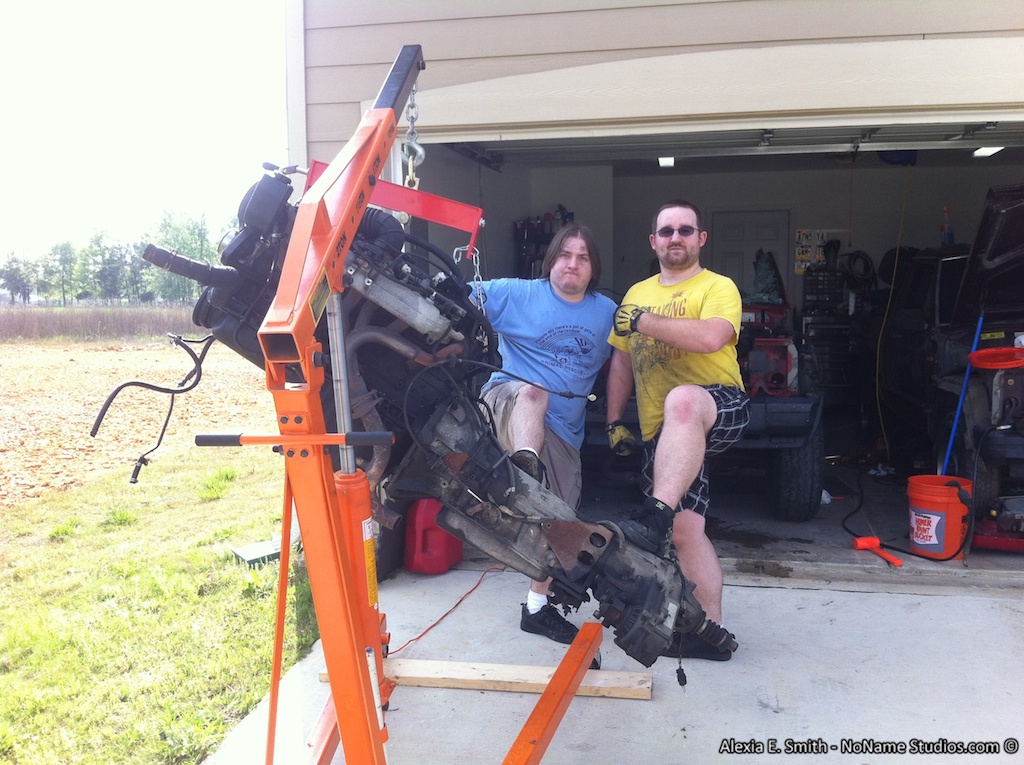
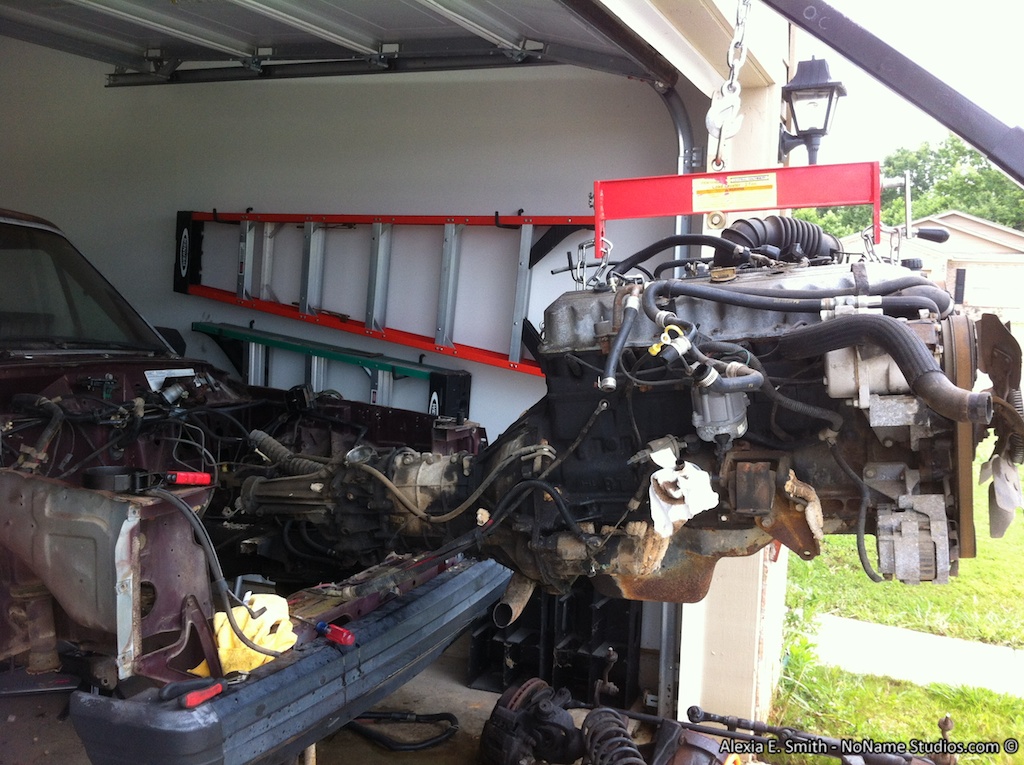
I bought this 1987 Comanche 4.0 Manual 2WD from RockinMJ today, 2012-03-04. It is having a starting issue that appears to be a bad fuel pump or electrical to the pump. We had a fun time getting it up on the trailer after the ratchet straps failed to help. Since it had a fresh battery and could crank I hopped in, put it in first gear, and used the starter motor to get it up on to the trailer. Even worked to get it off and backed into the garage!(With a few stops to recharge.)
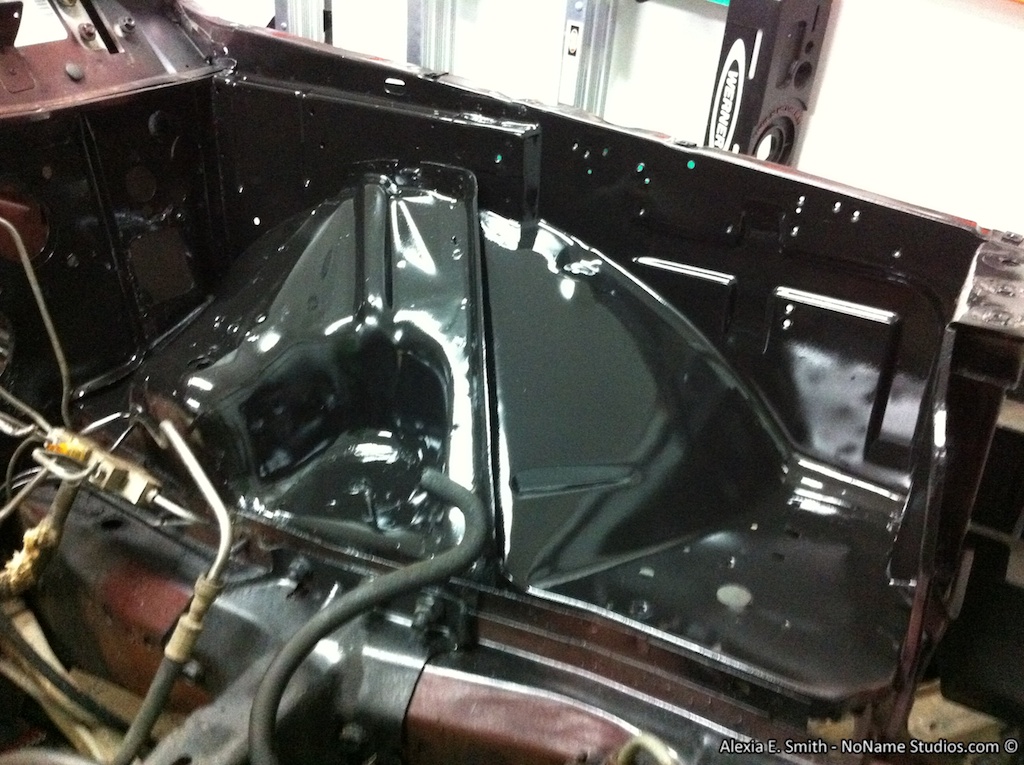
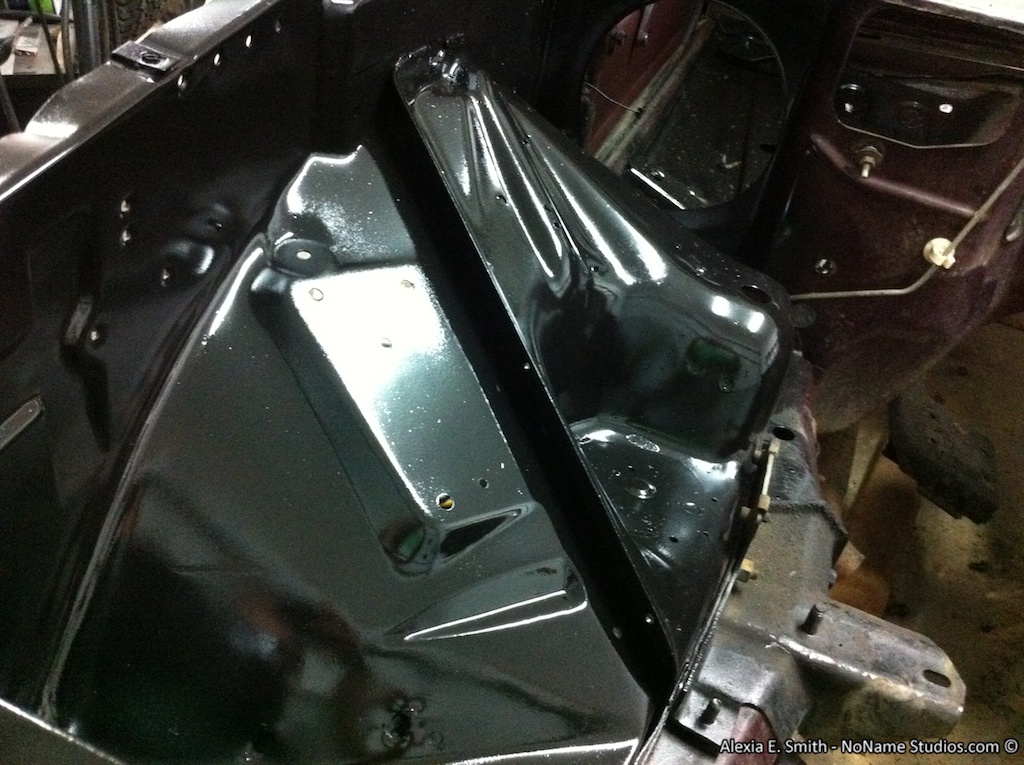
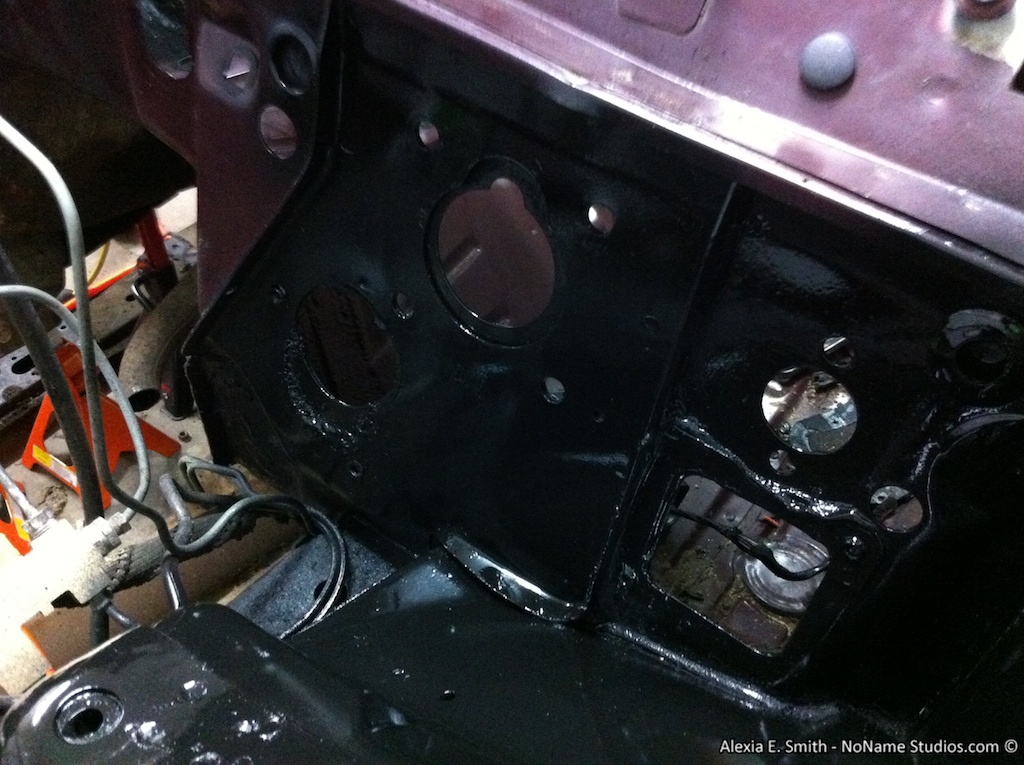
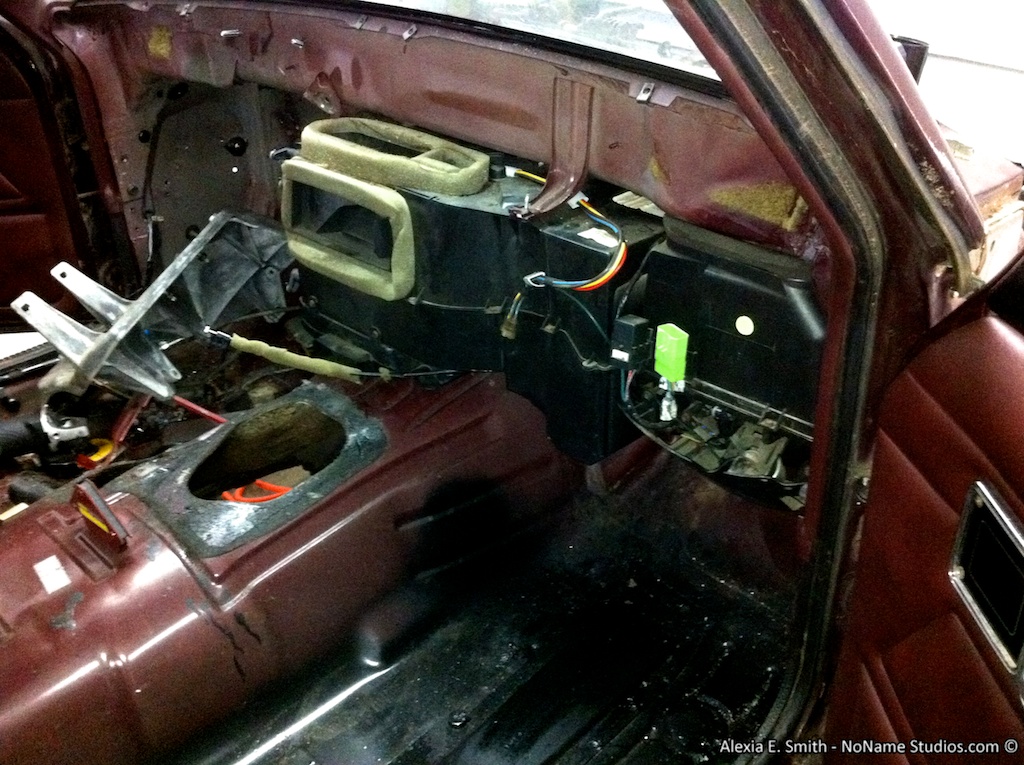
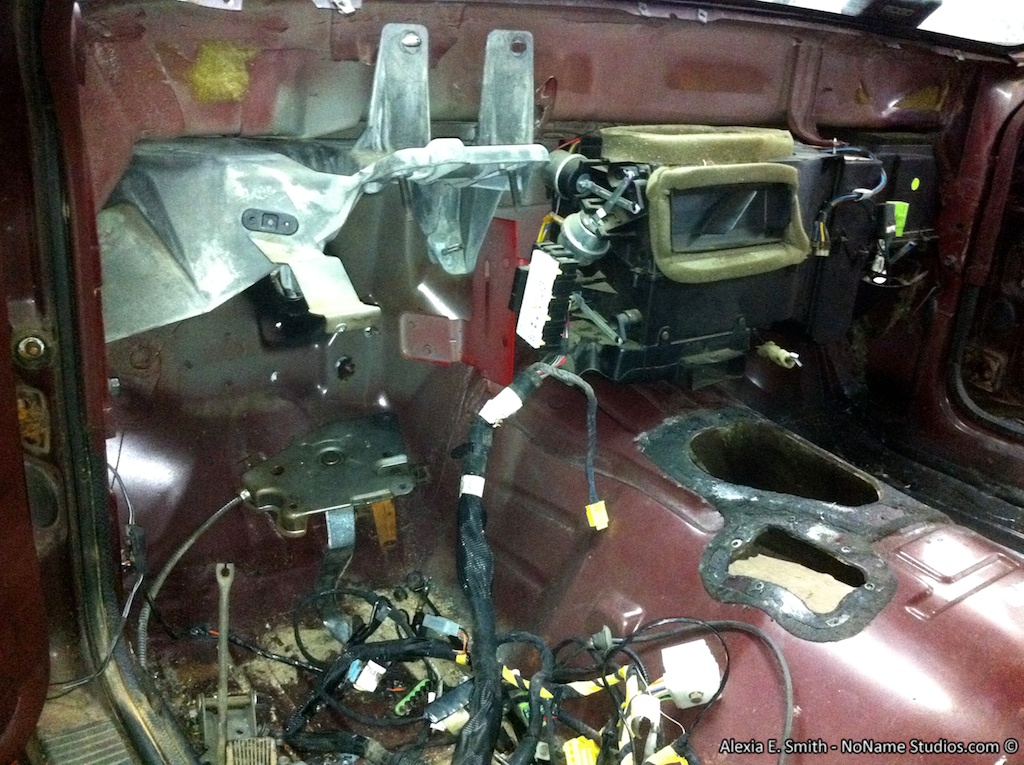
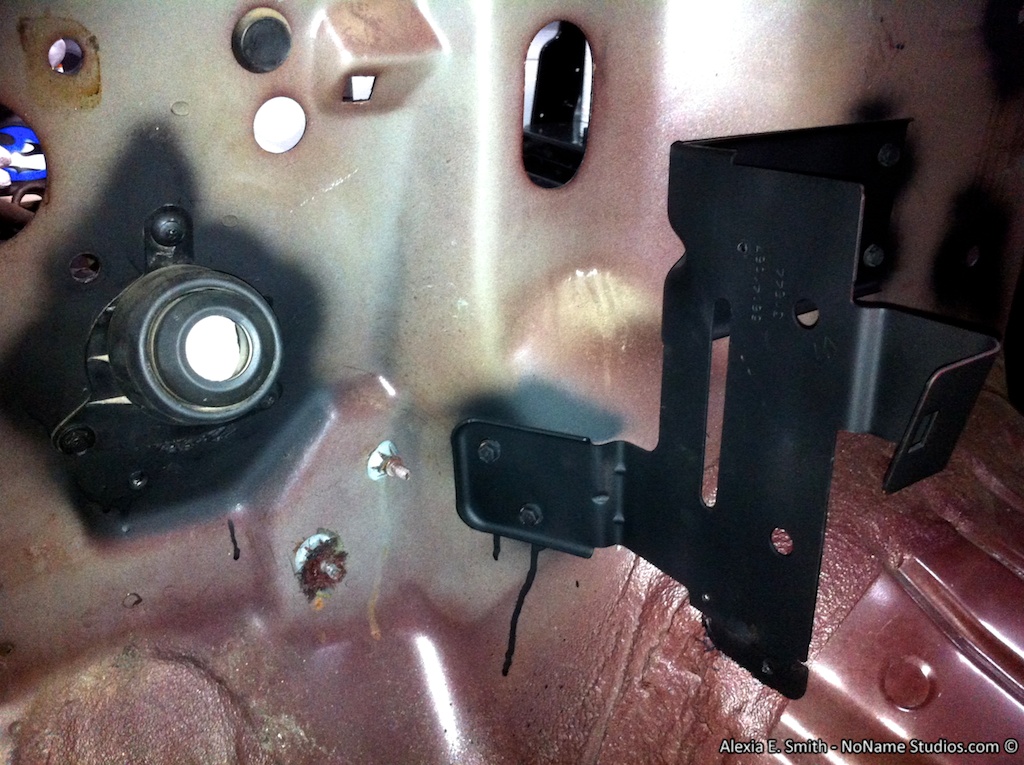
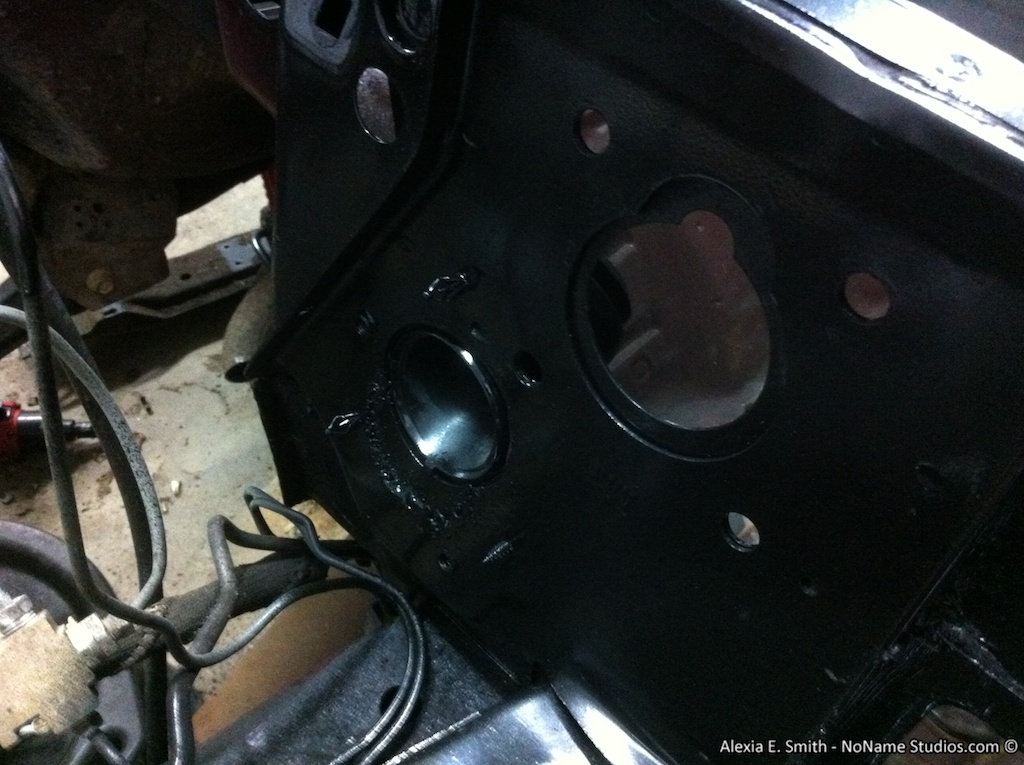
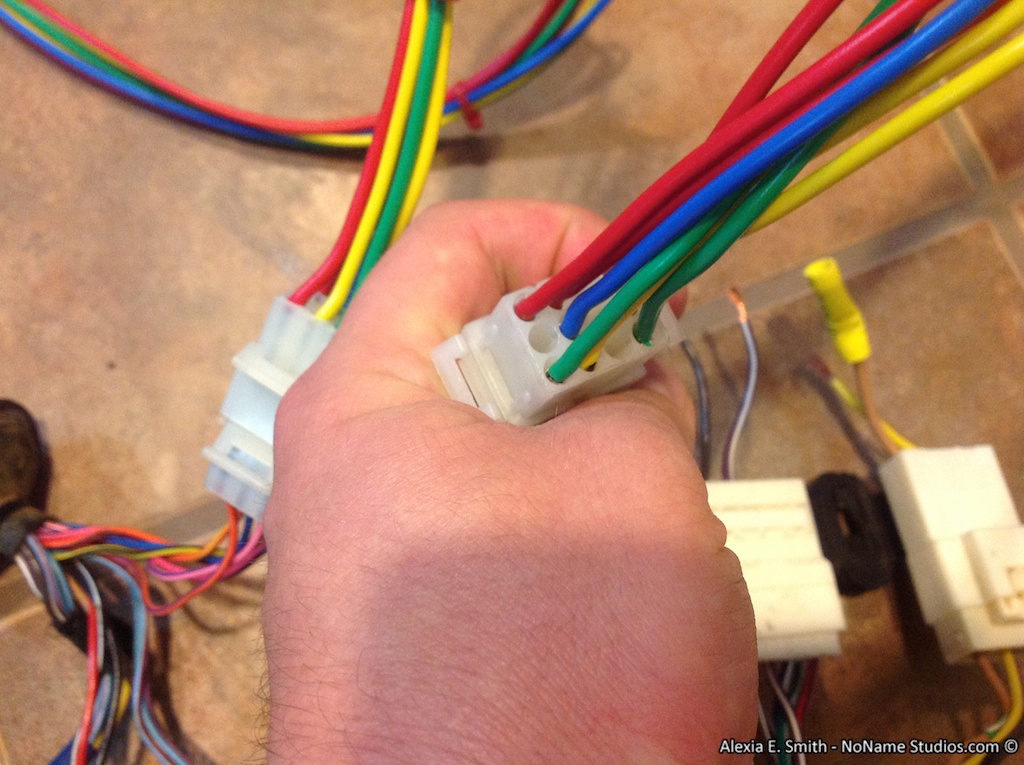
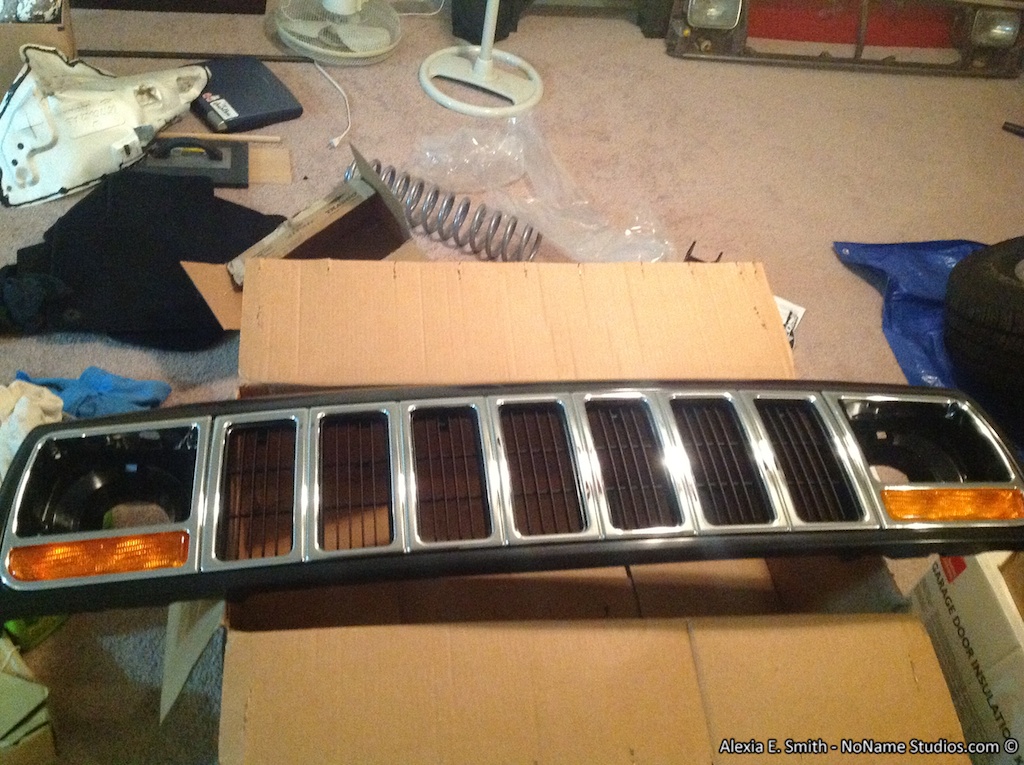
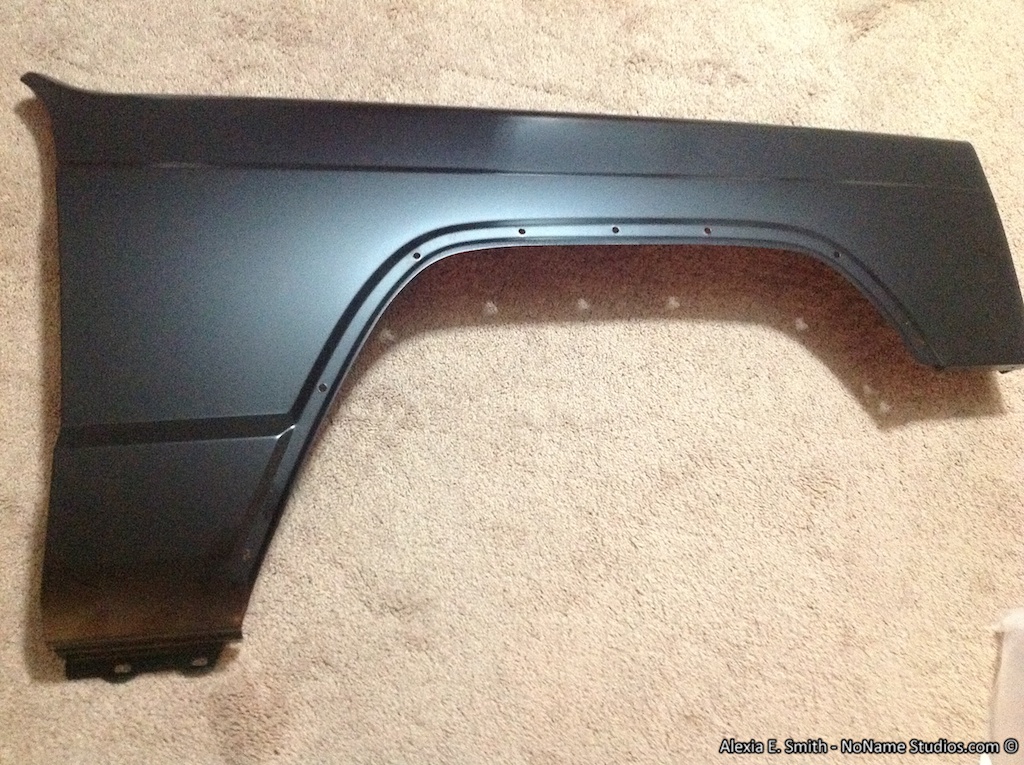
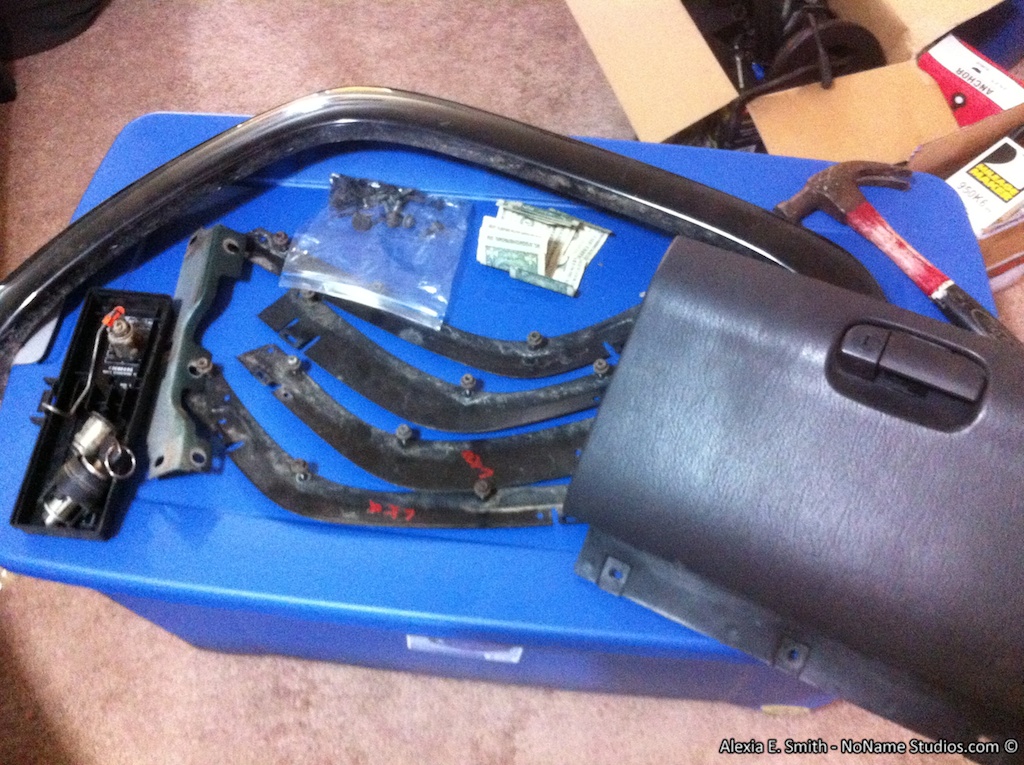
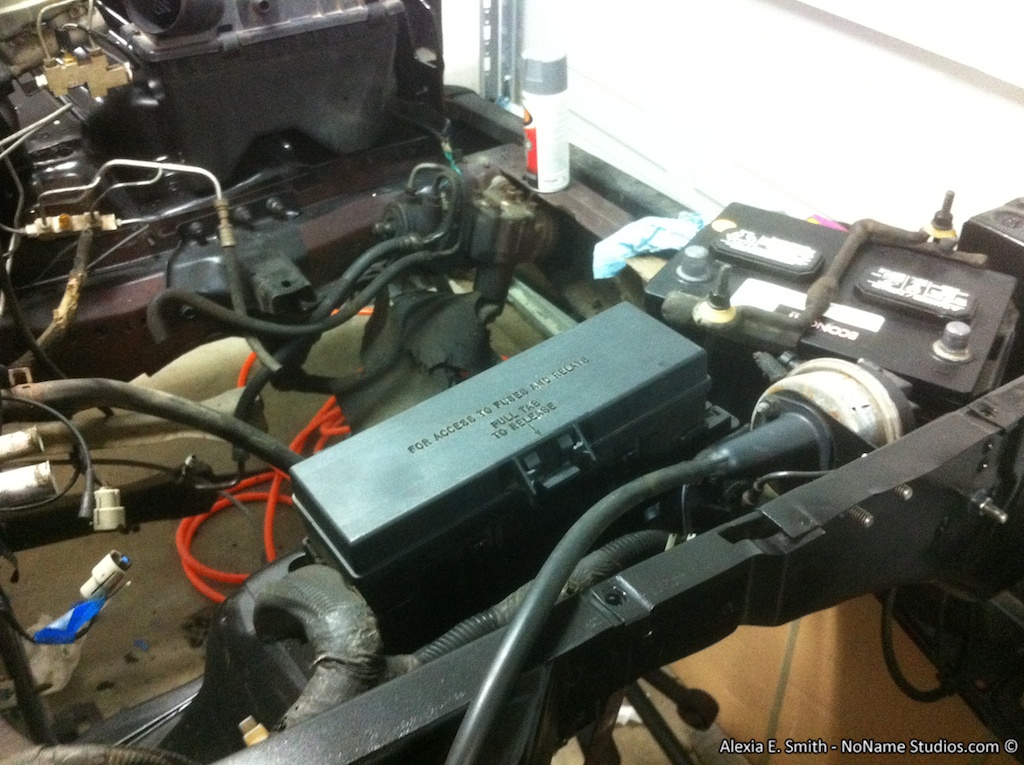
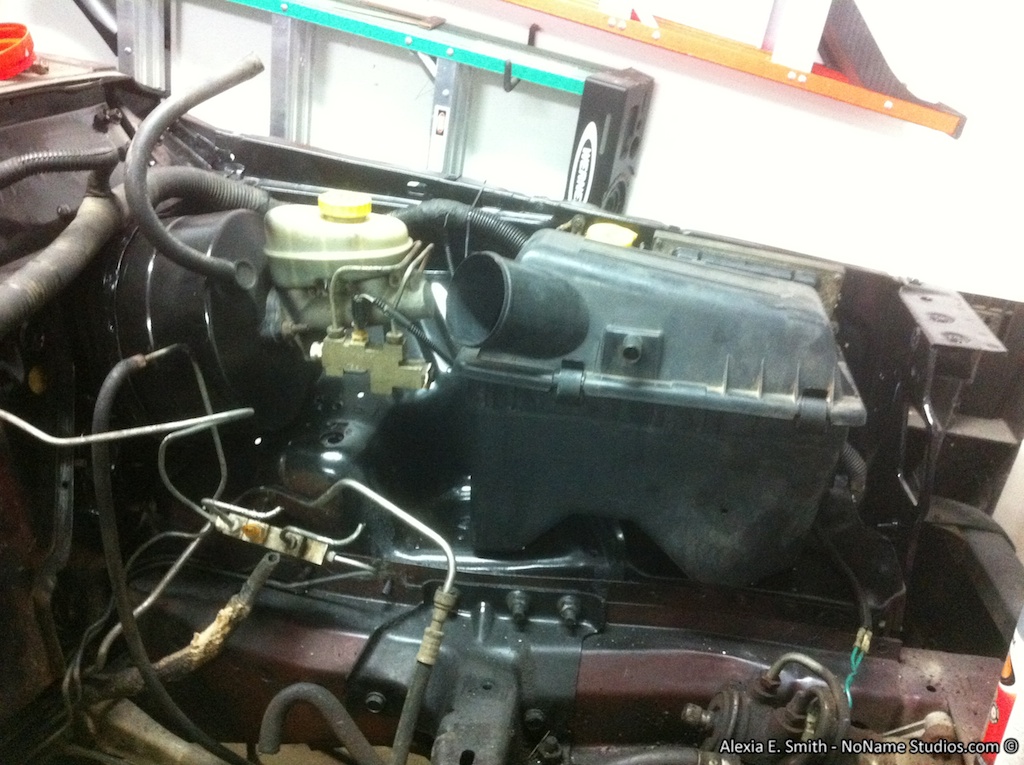
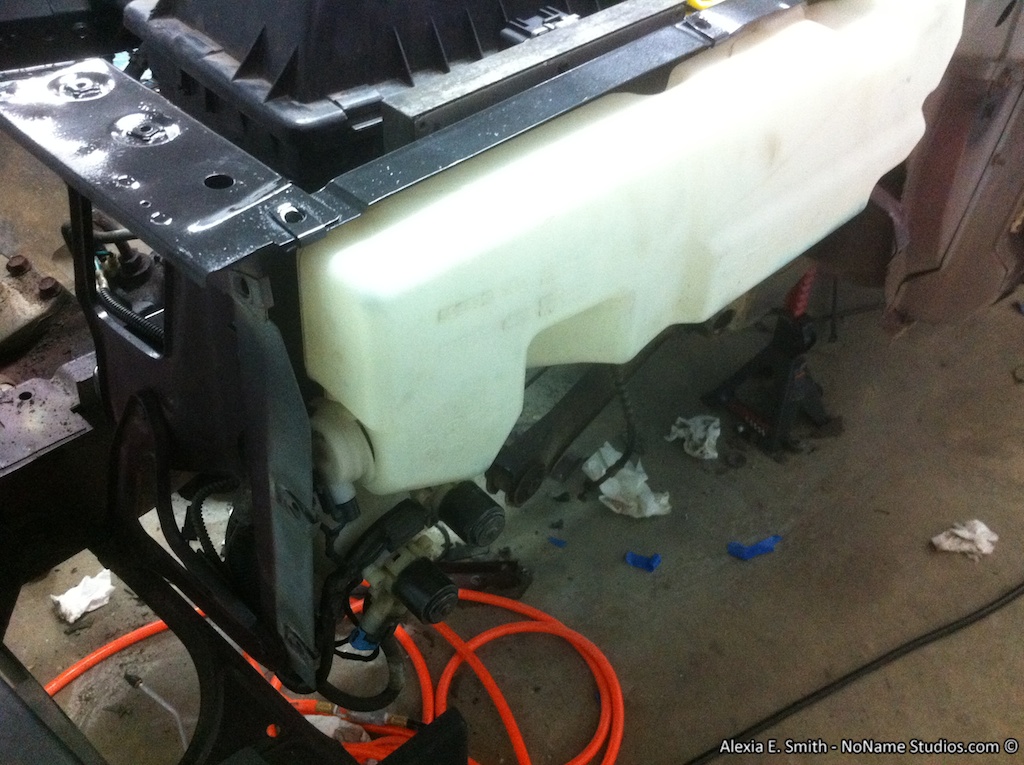
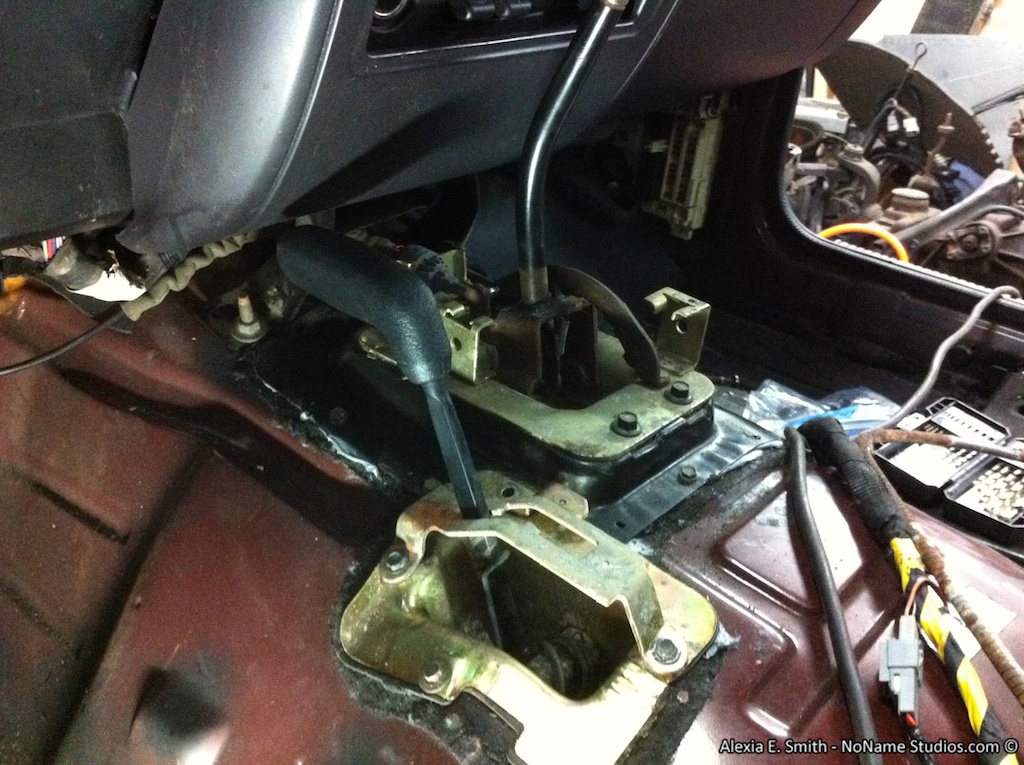
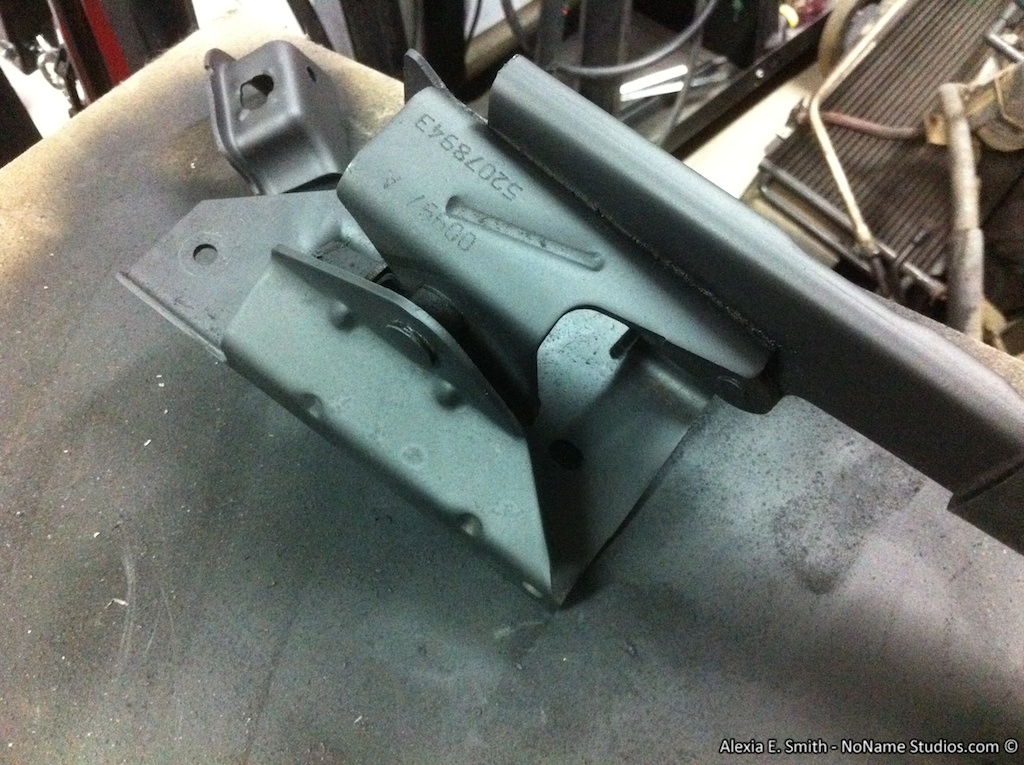
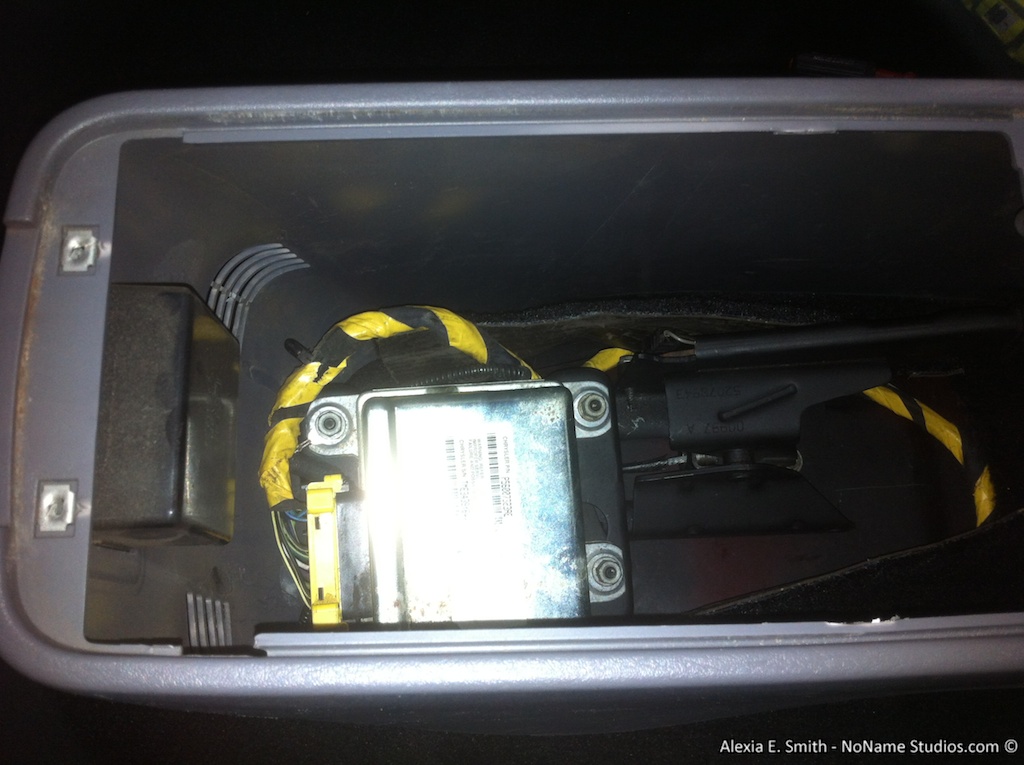
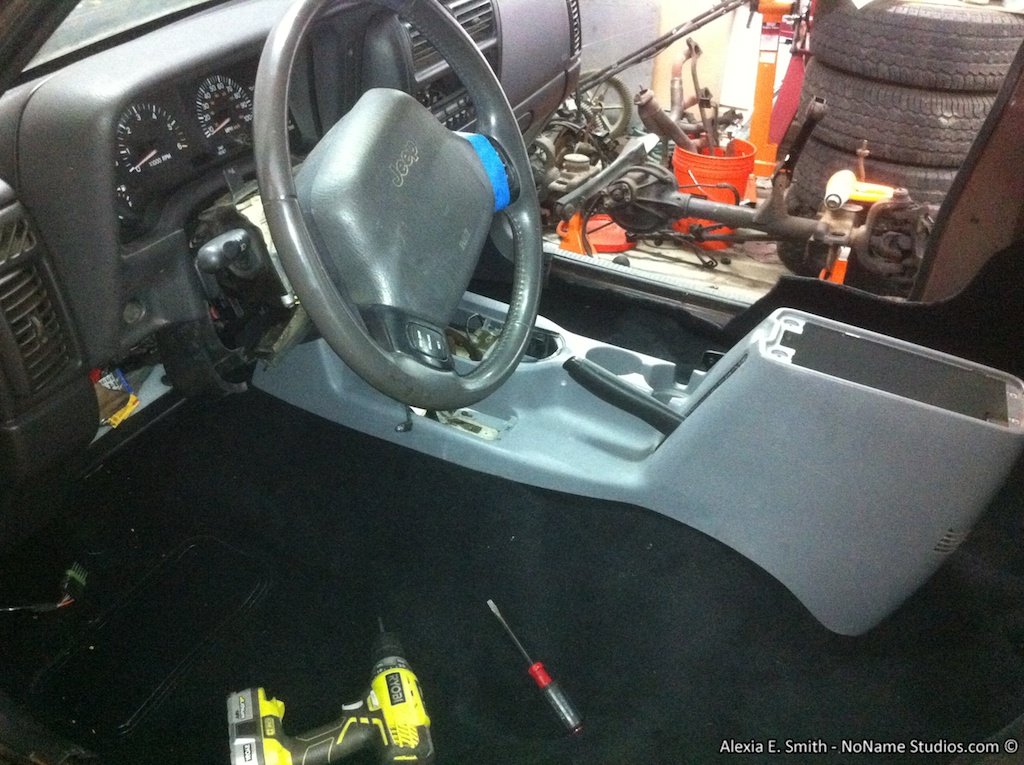
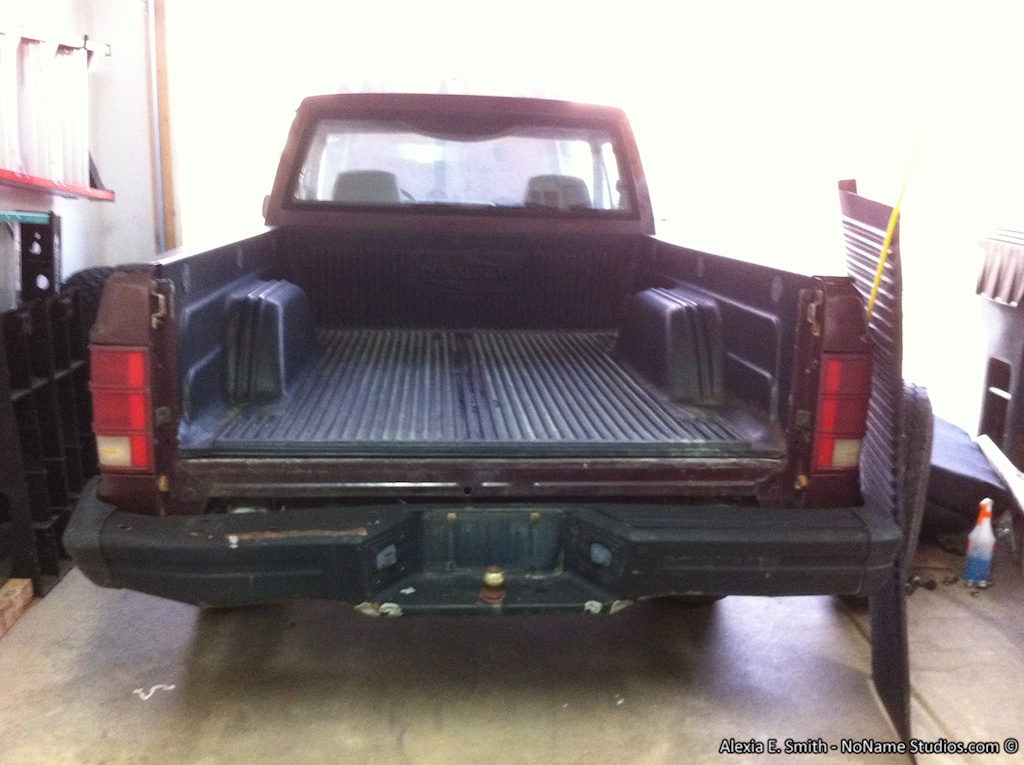
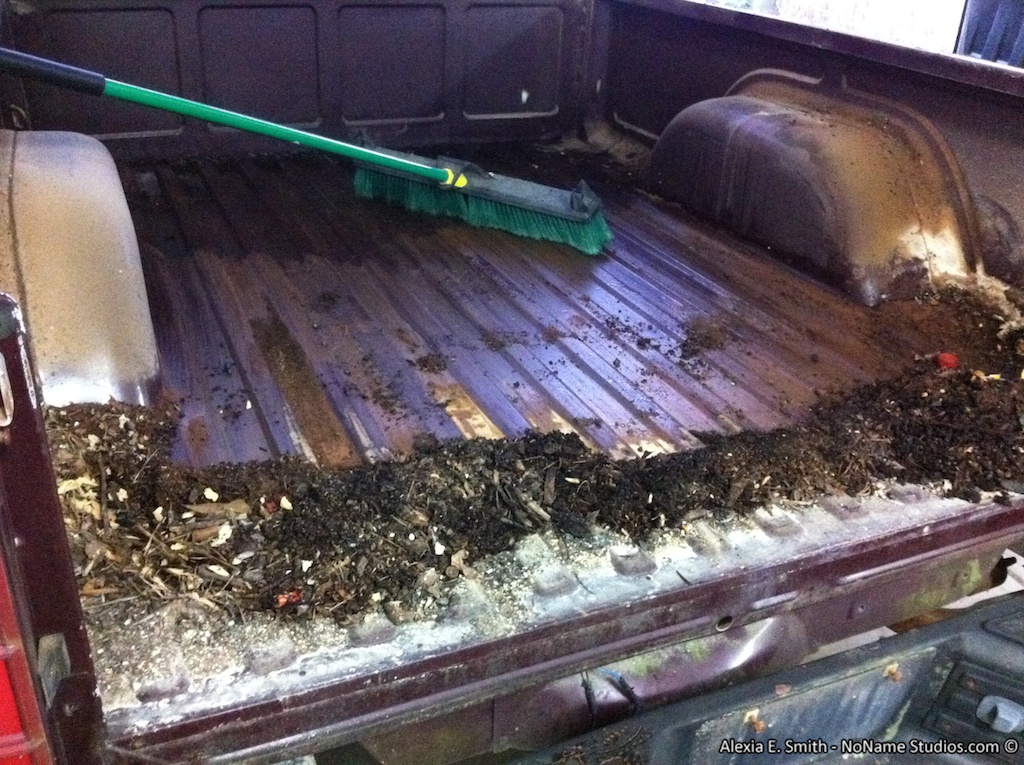
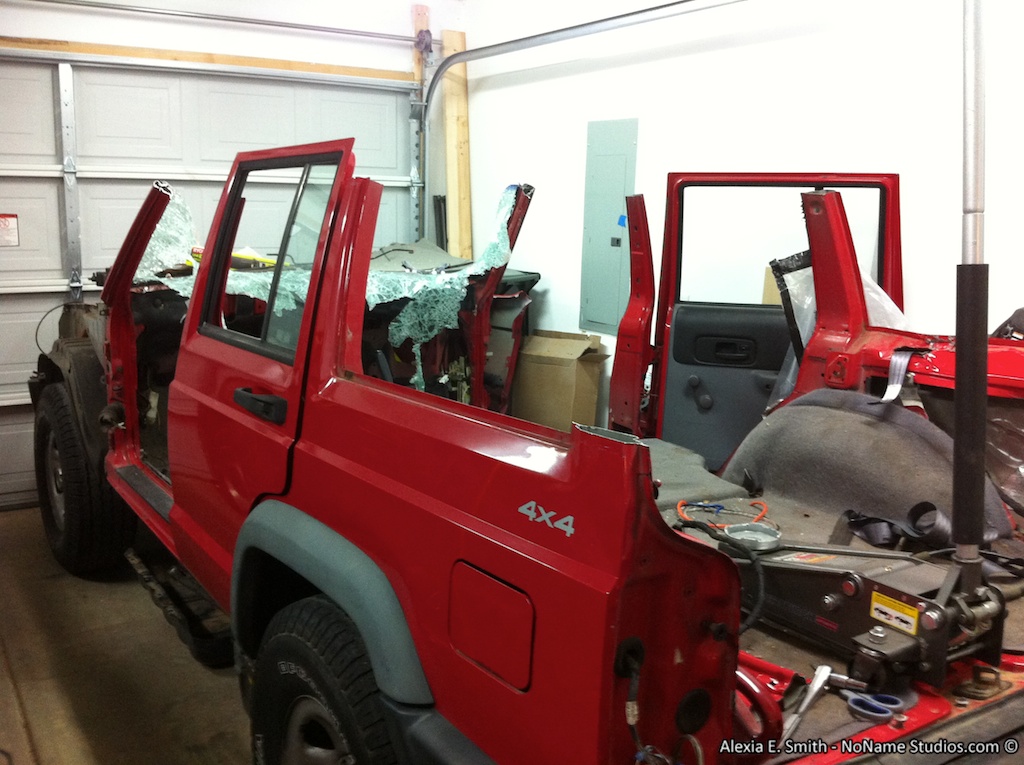
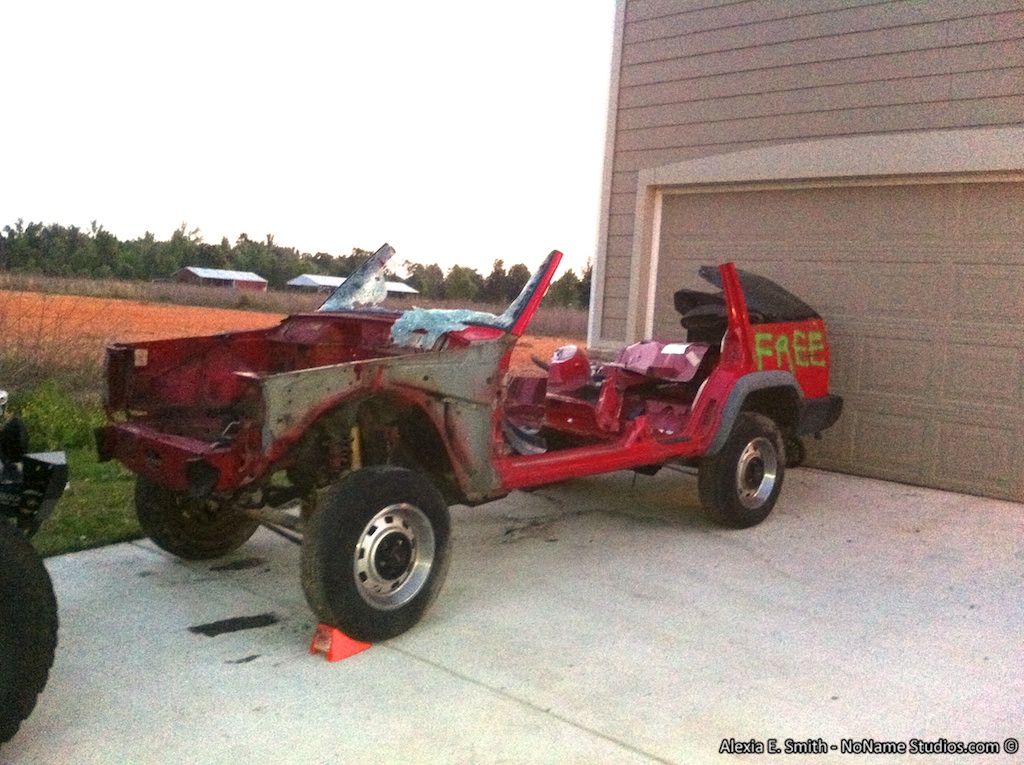
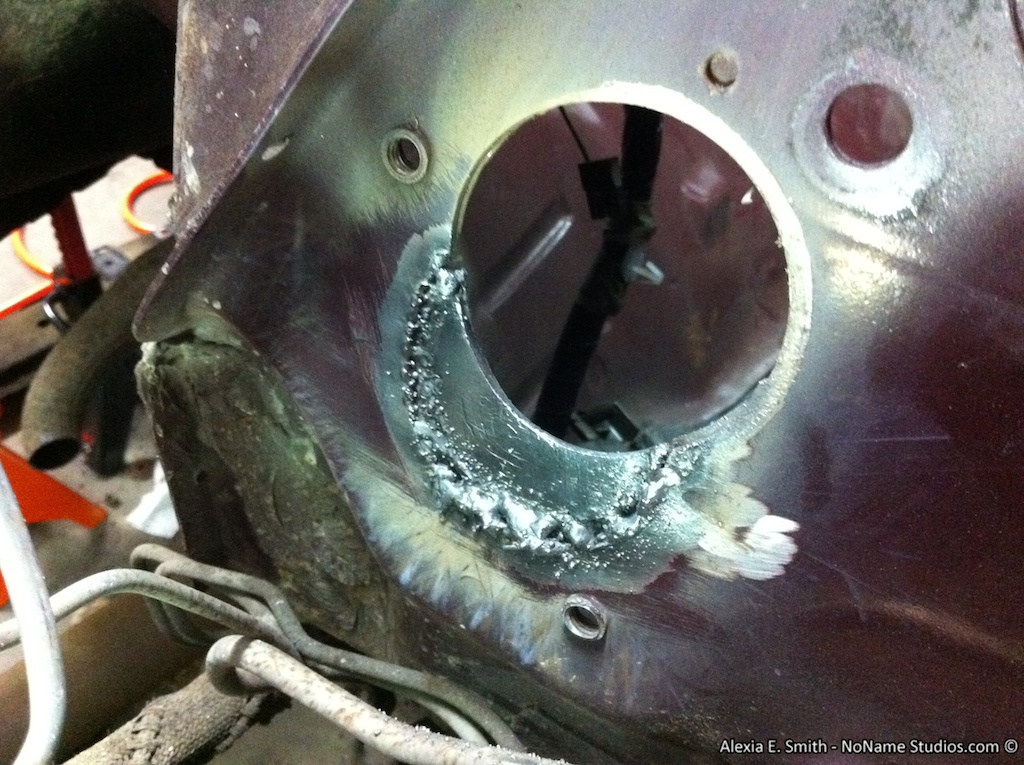
I consider myself the Jeep medic. I find a Jeep in need of love and healing, bring it home, and begin a long process of restoring it. Last year I found a deer collision XJ that I rebuilt the front end and redid the entire interior. Since this is a Comanche and quite rare now I plan to keep this one around. This is going to be a complete tear down and rebuild. There is some light surface rust across the roof and hood. The rest of the body has only one small dent that a is a simple fix, a lightly dented bed corner hidden by the bed liner, and a small bulge on the bottom of the tail gate that will take me less than a minute to fix with a hammer. The under side of the cab and bed look to be rust free. I am expecting a bit of light surface rust under the carpets.
Plans
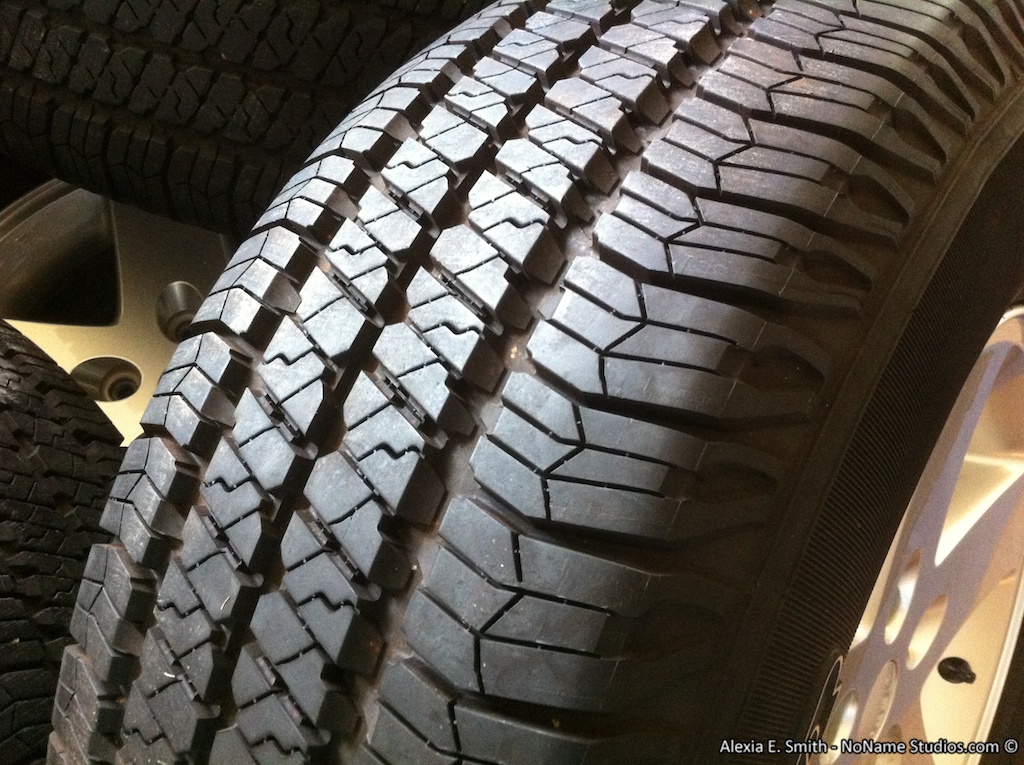
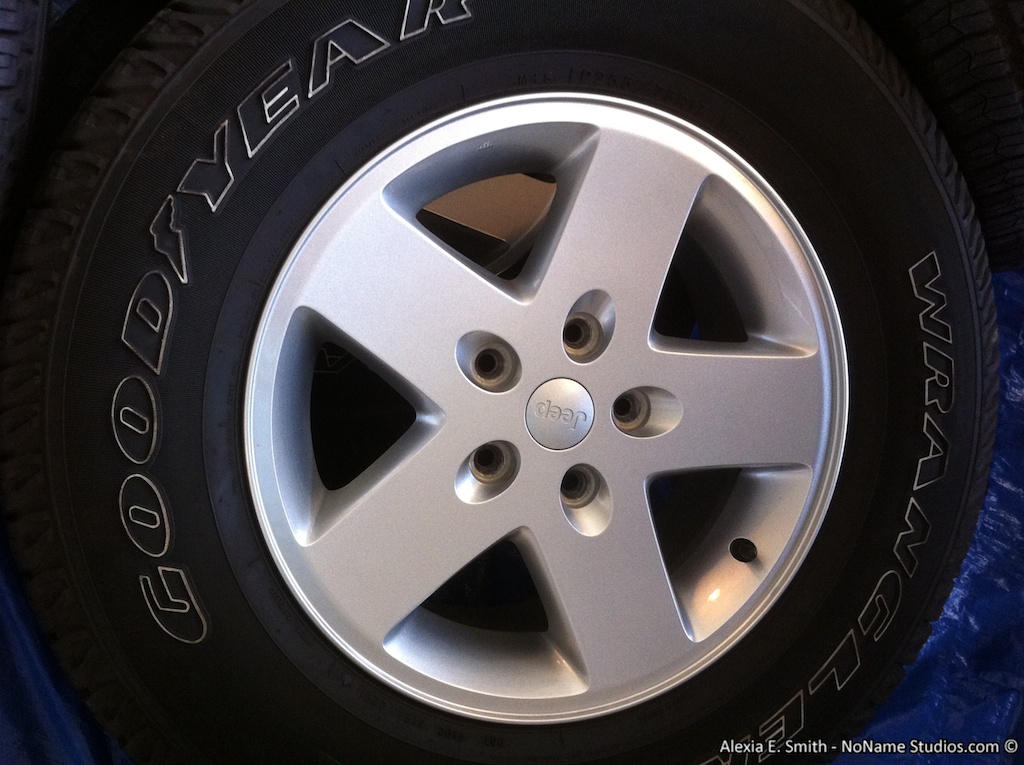
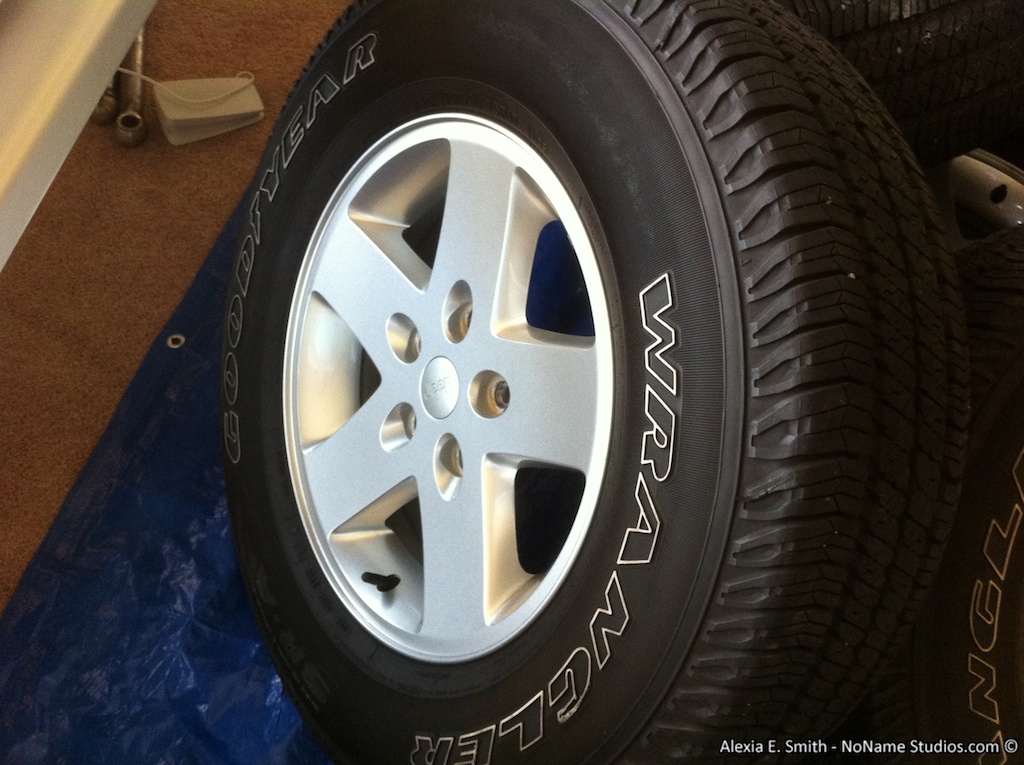
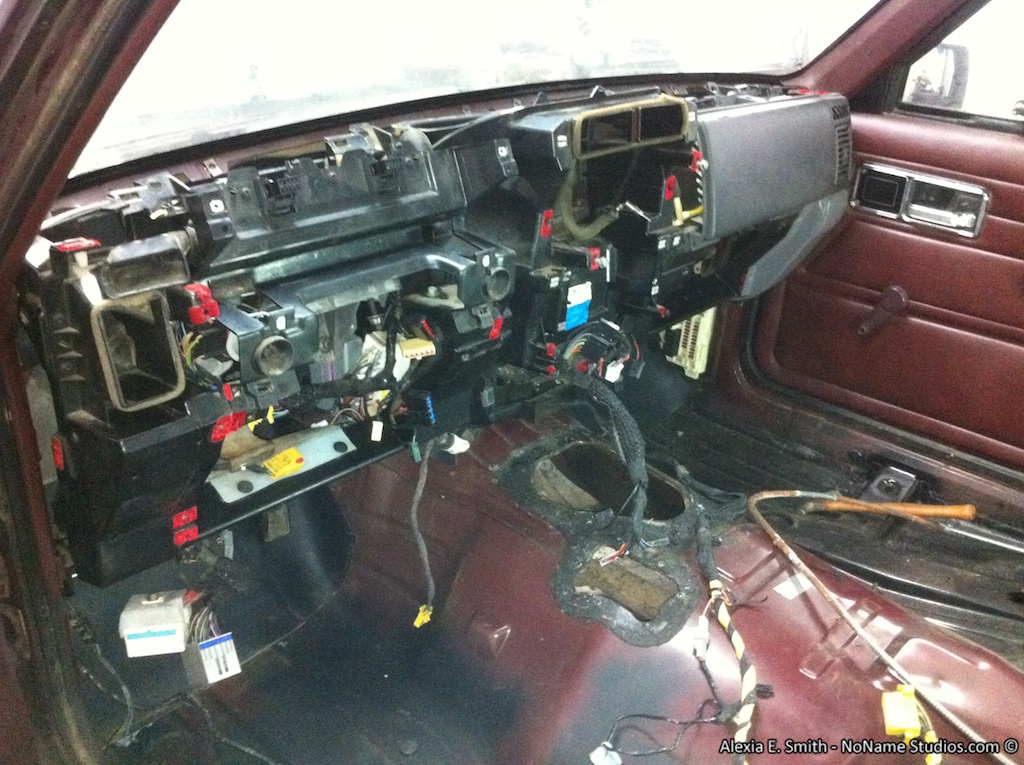
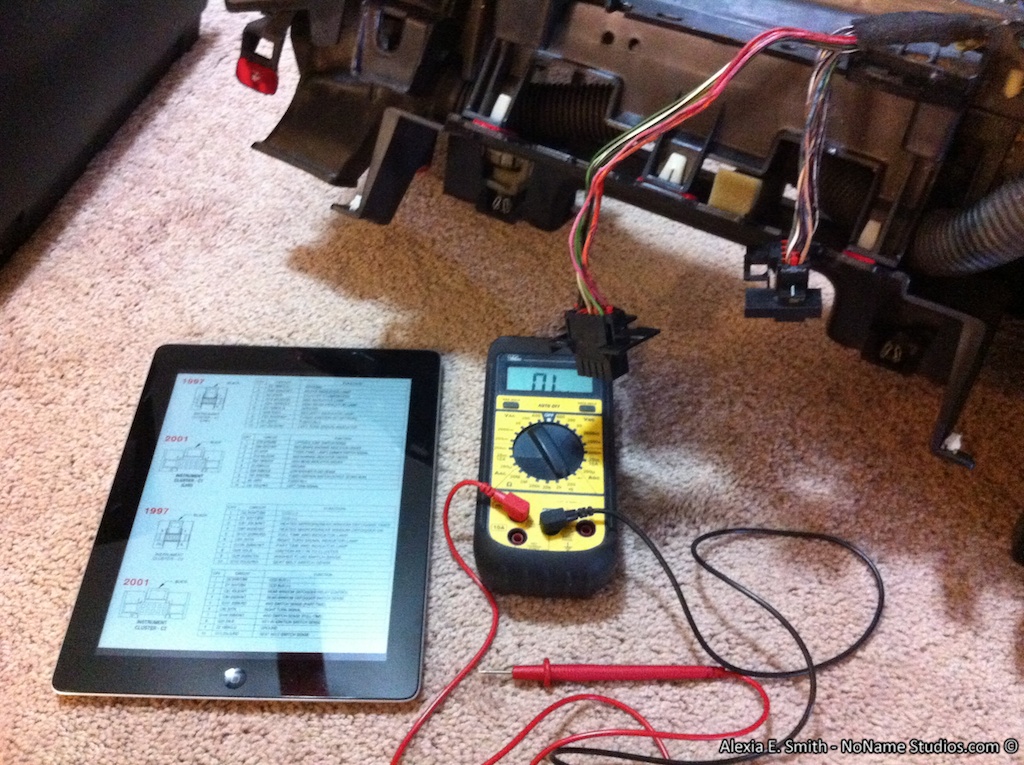
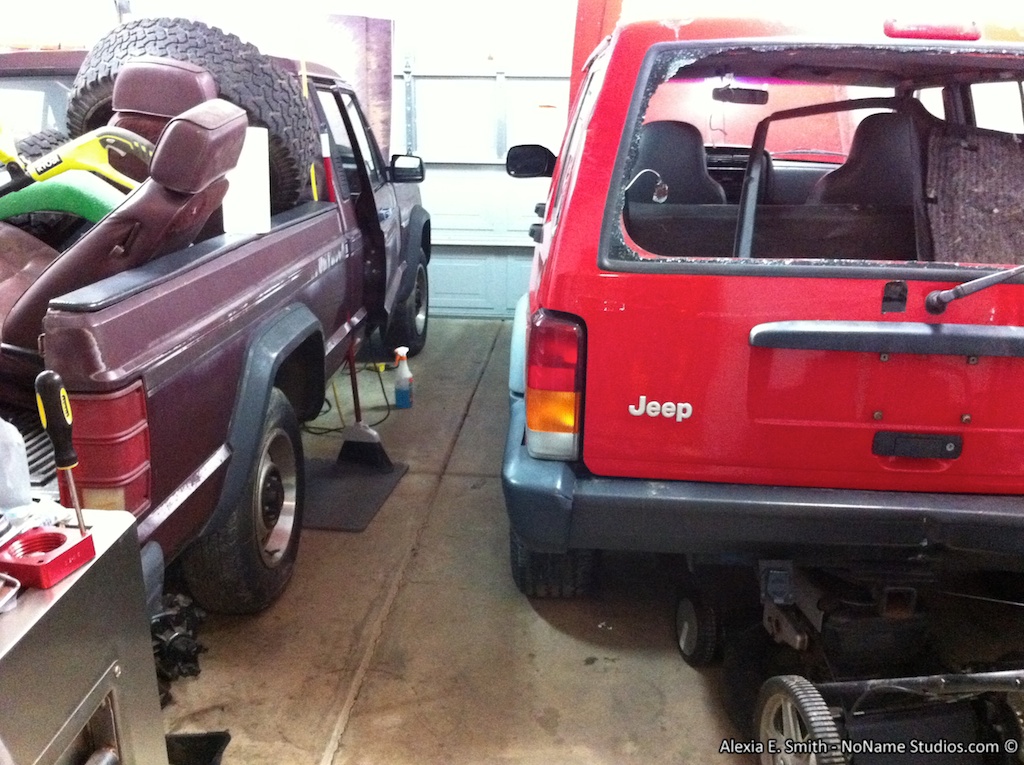
I picked up a donor 1997 XJ for $500 plus my $170 in costs to go get it. The owner is a true Jeep lover and was really sad to see it go. Unfortunately it was beyond reasonable repair. Even I would not attempt to repair it! It is the perfect candidate to donate parts on to an older Jeep in need a few kidneys.
Donor XJ inside my tiny garage. Notice my space saving by putting the lawn mower under the rear.

. Better not to clutter up the chat thread anyway! I am going to summarize the last seven months. If you want to read over those completely read pages one through six on Comanche Club.http://comancheclub.com/topic/32740-alexias-1987-to-1997-comanche/
I bought this 1987 Comanche 4.0 Manual 2WD from RockinMJ today, 2012-03-04. It is having a starting issue that appears to be a bad fuel pump or electrical to the pump. We had a fun time getting it up on the trailer after the ratchet straps failed to help. Since it had a fresh battery and could crank I hopped in, put it in first gear, and used the starter motor to get it up on to the trailer. Even worked to get it off and backed into the garage!(With a few stops to recharge.)
I consider myself the Jeep medic. I find a Jeep in need of love and healing, bring it home, and begin a long process of restoring it. Last year I found a deer collision XJ that I rebuilt the front end and redid the entire interior. Since this is a Comanche and quite rare now I plan to keep this one around. This is going to be a complete tear down and rebuild. There is some light surface rust across the roof and hood. The rest of the body has only one small dent that a is a simple fix, a lightly dented bed corner hidden by the bed liner, and a small bulge on the bottom of the tail gate that will take me less than a minute to fix with a hammer. The under side of the cab and bed look to be rust free. I am expecting a bit of light surface rust under the carpets.
Plans
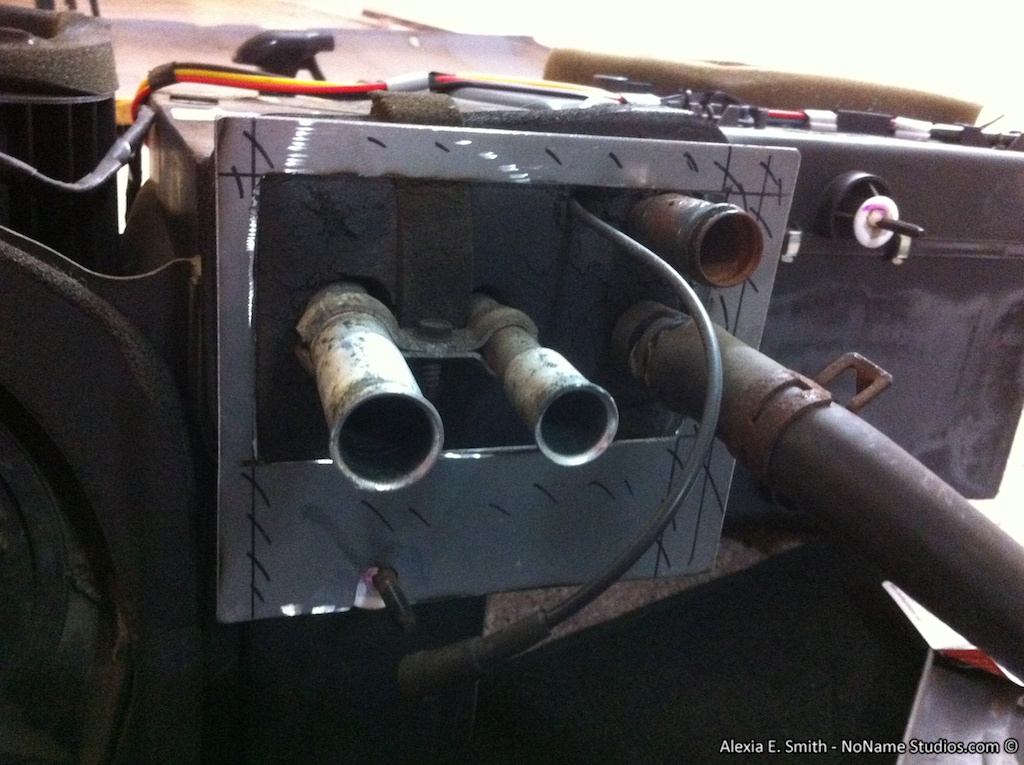
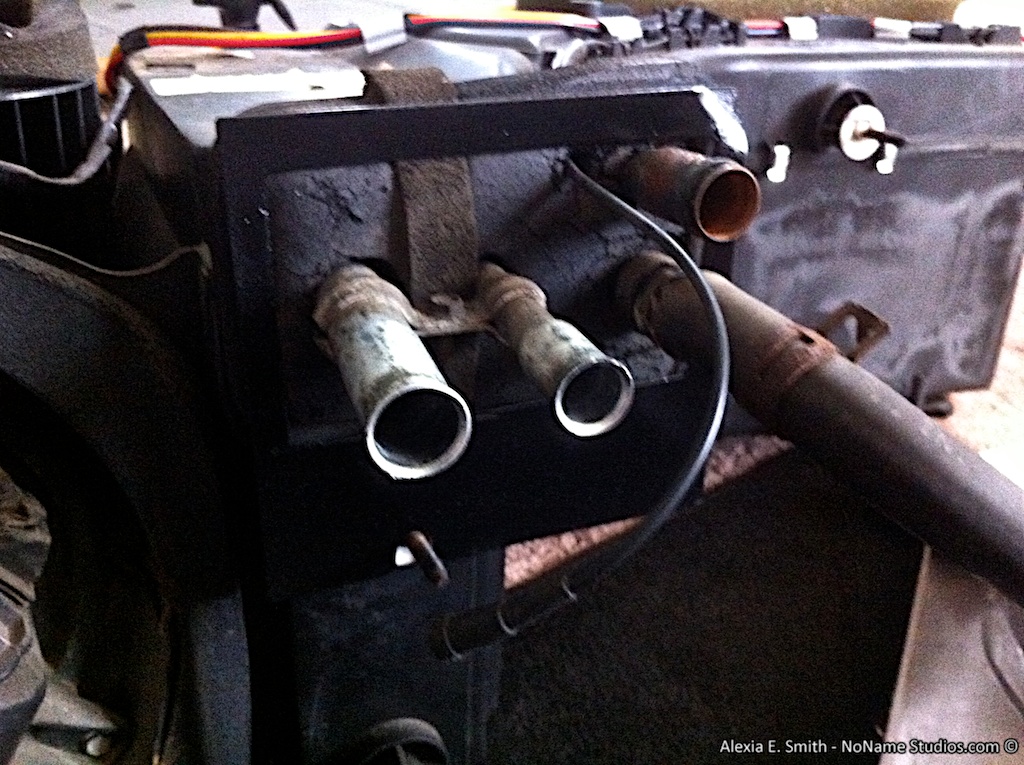
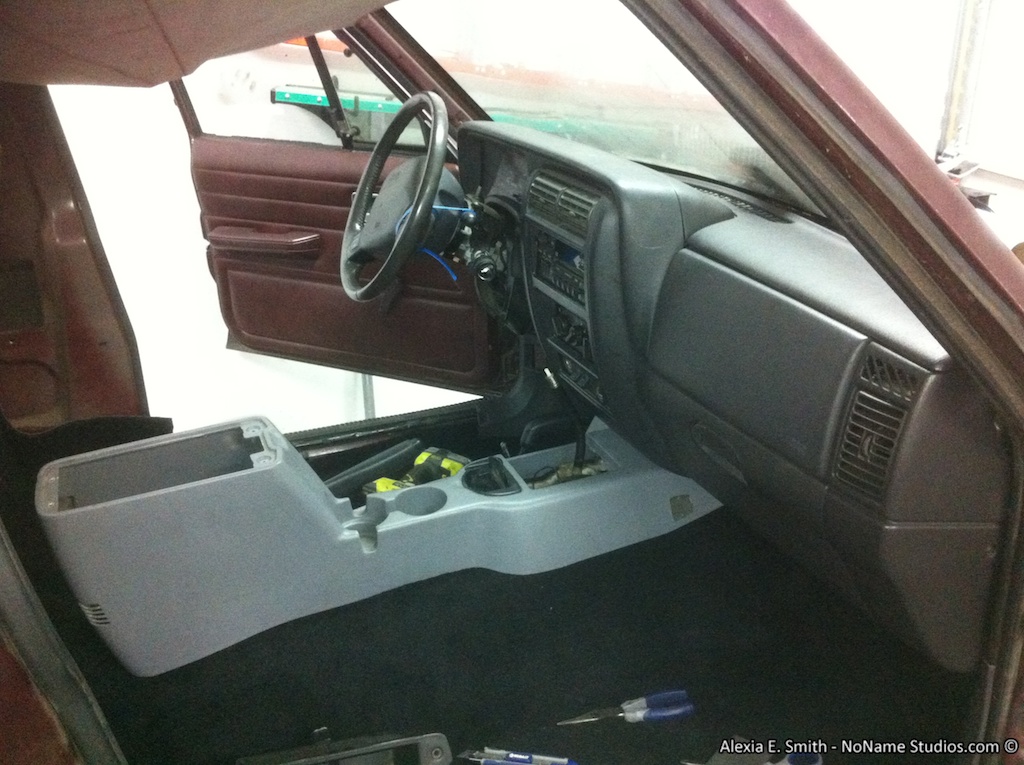
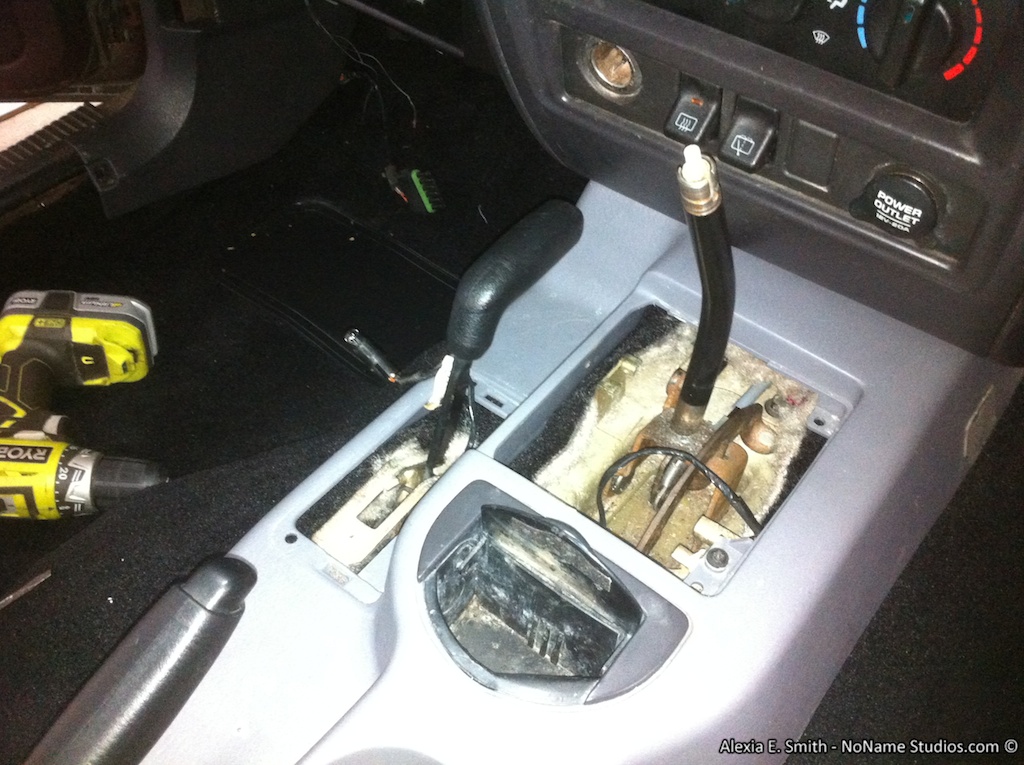
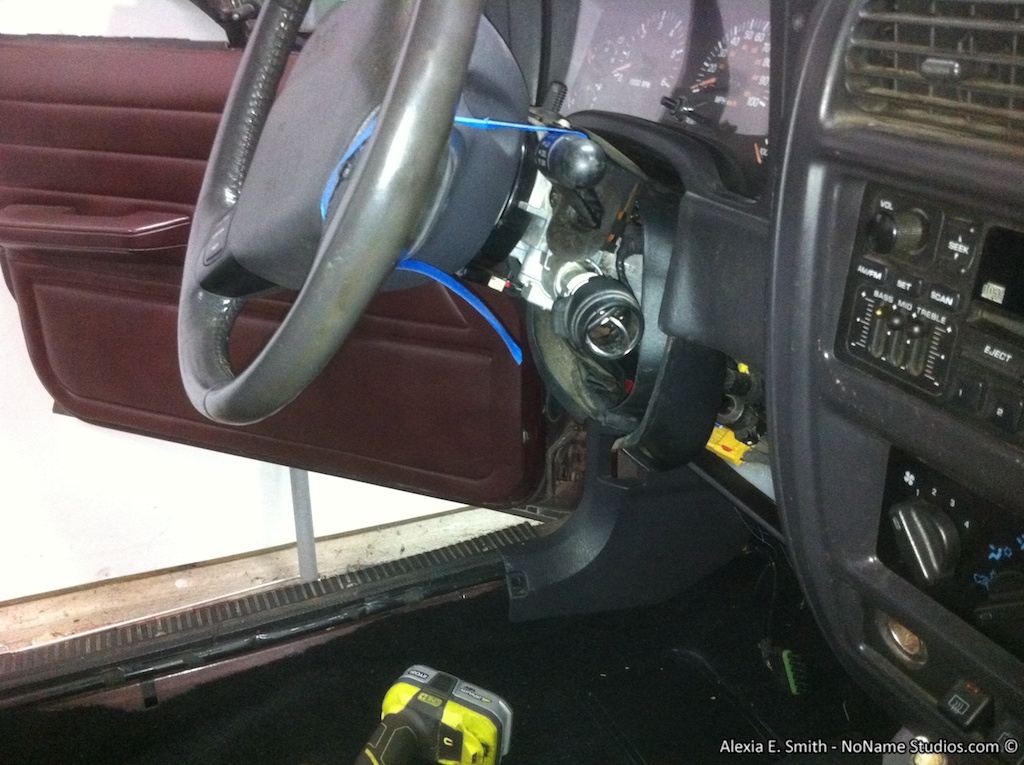
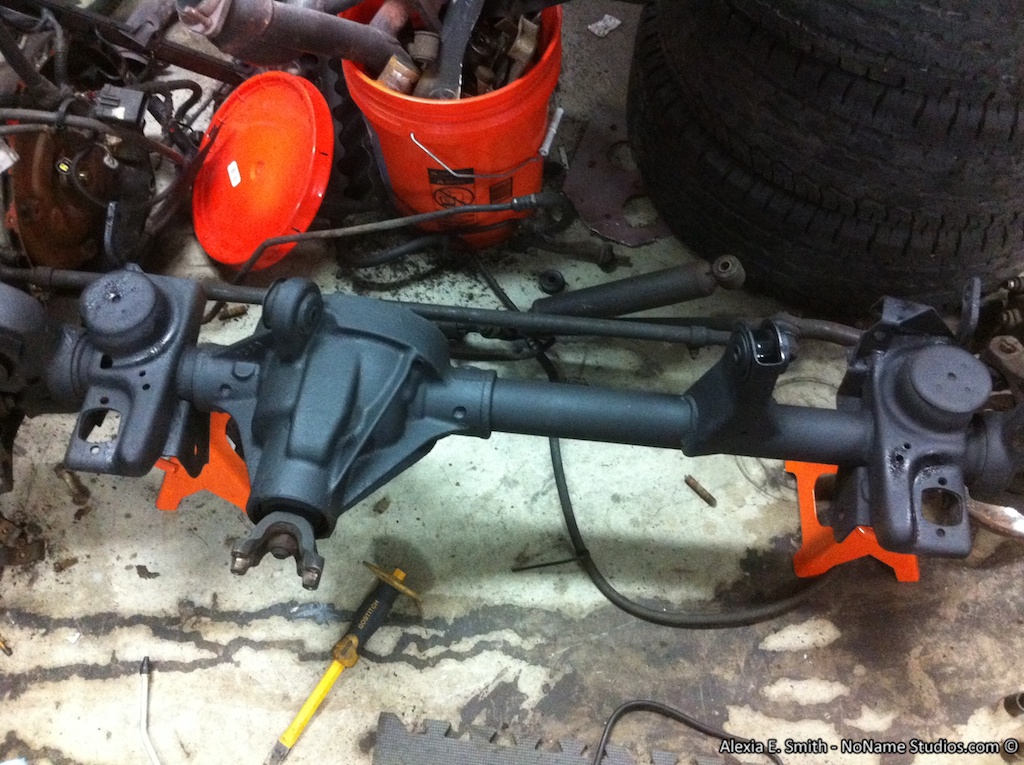
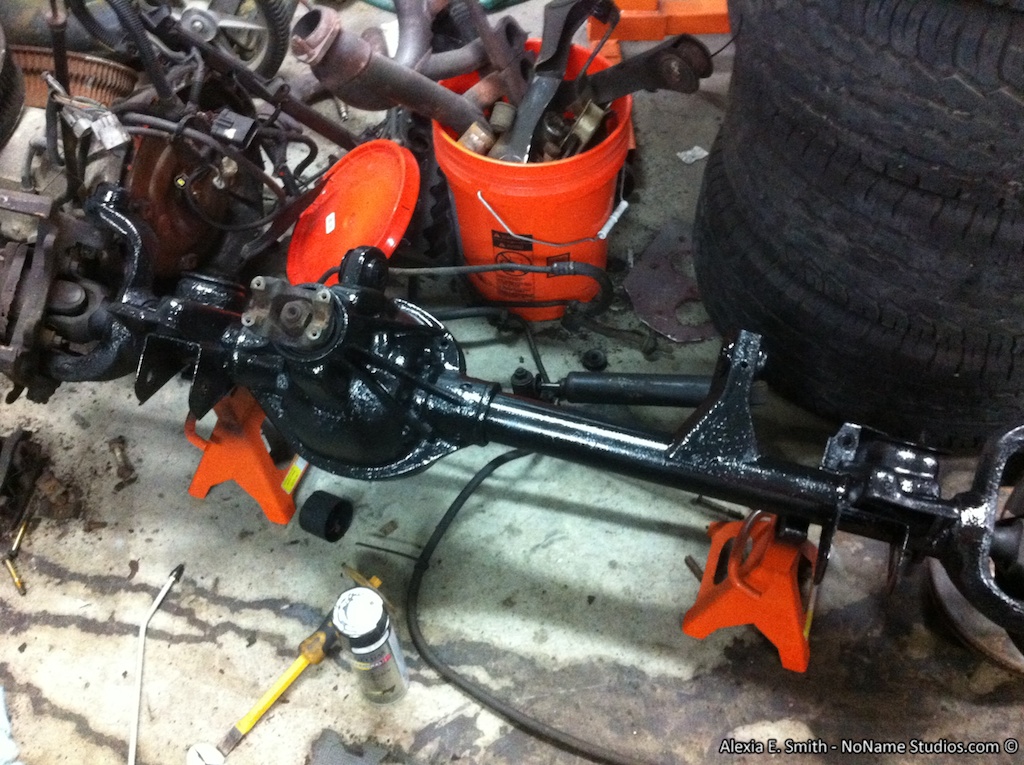
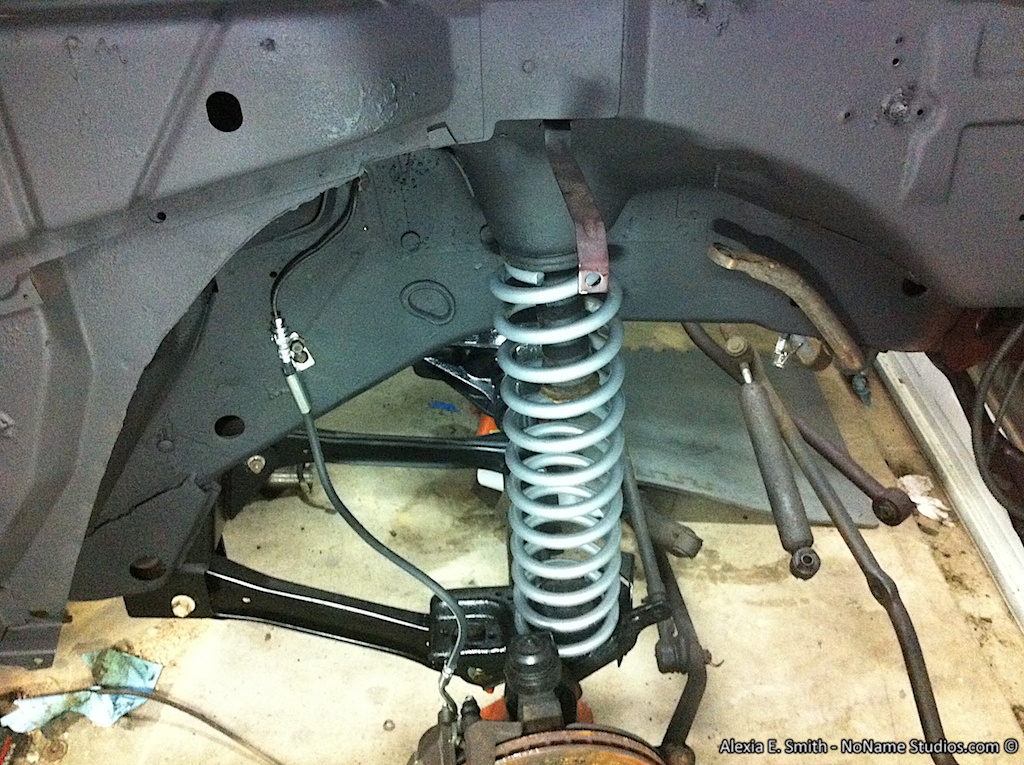
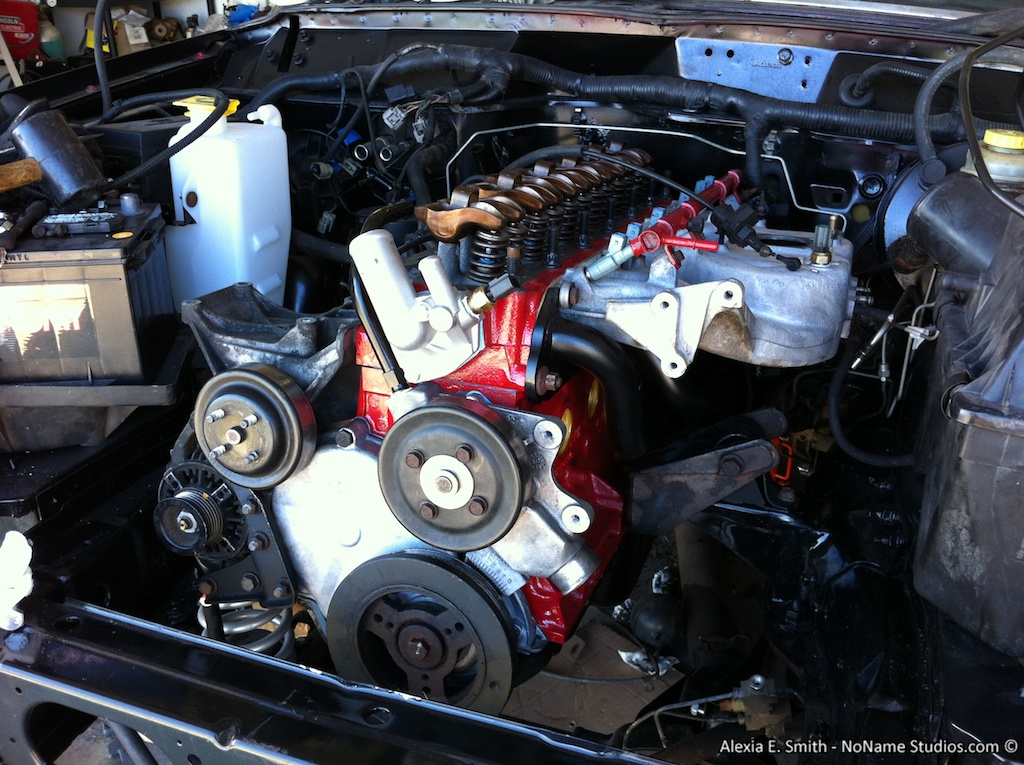
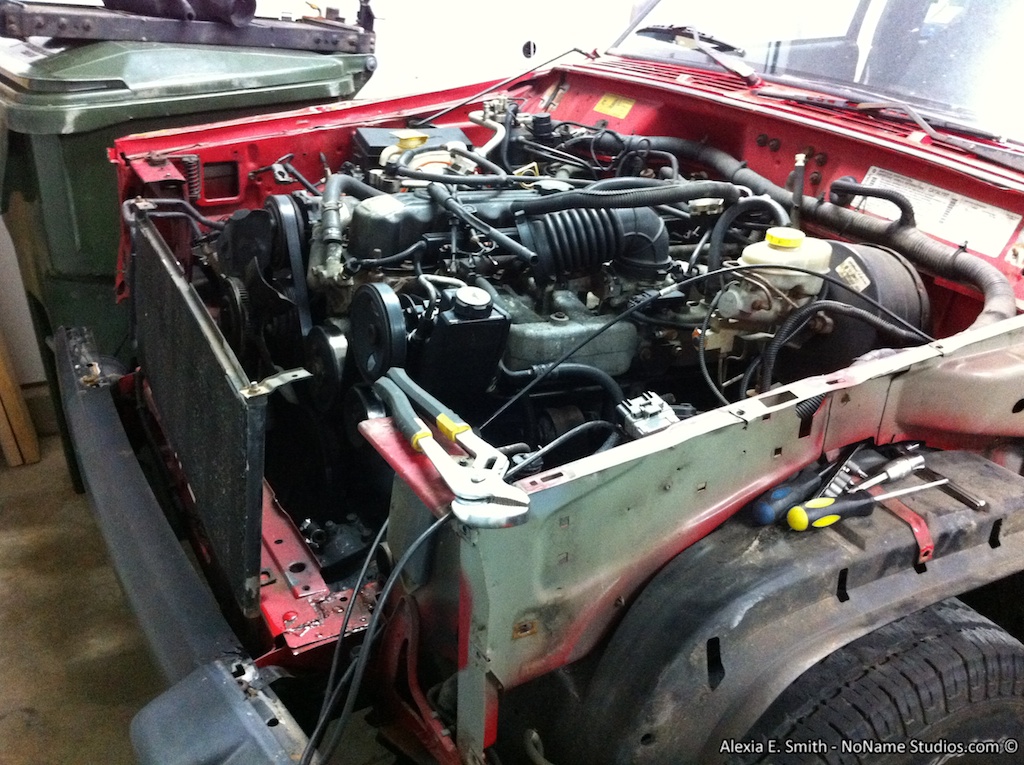
- 1997+ XJ Conversion(So cliche, but so worth it.)
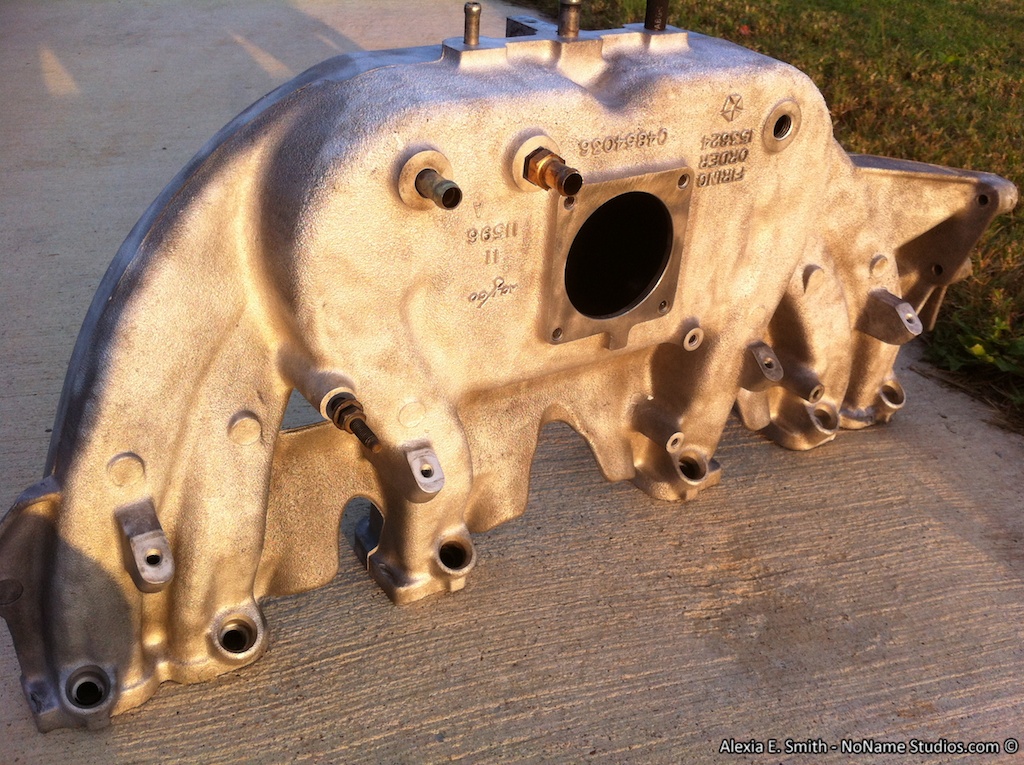
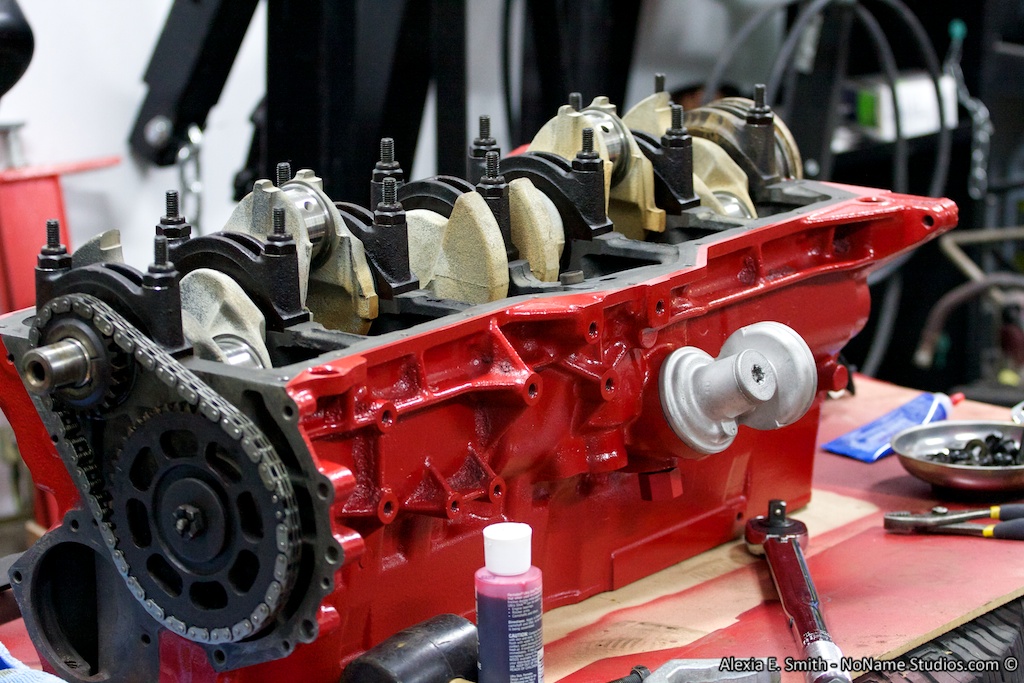
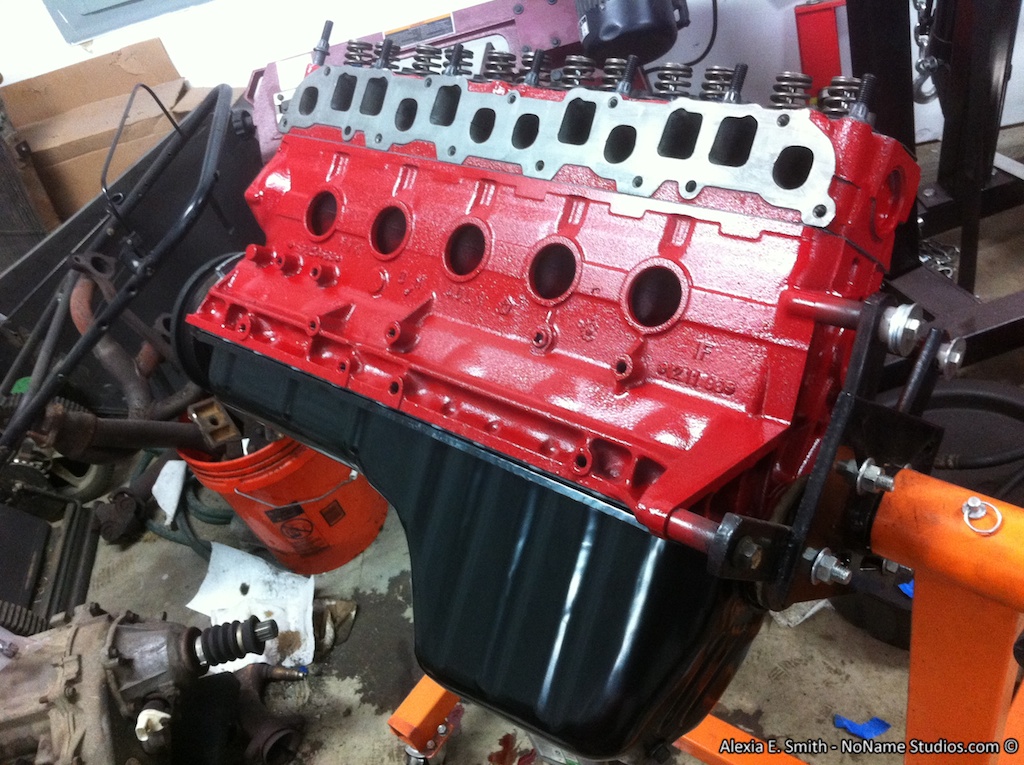
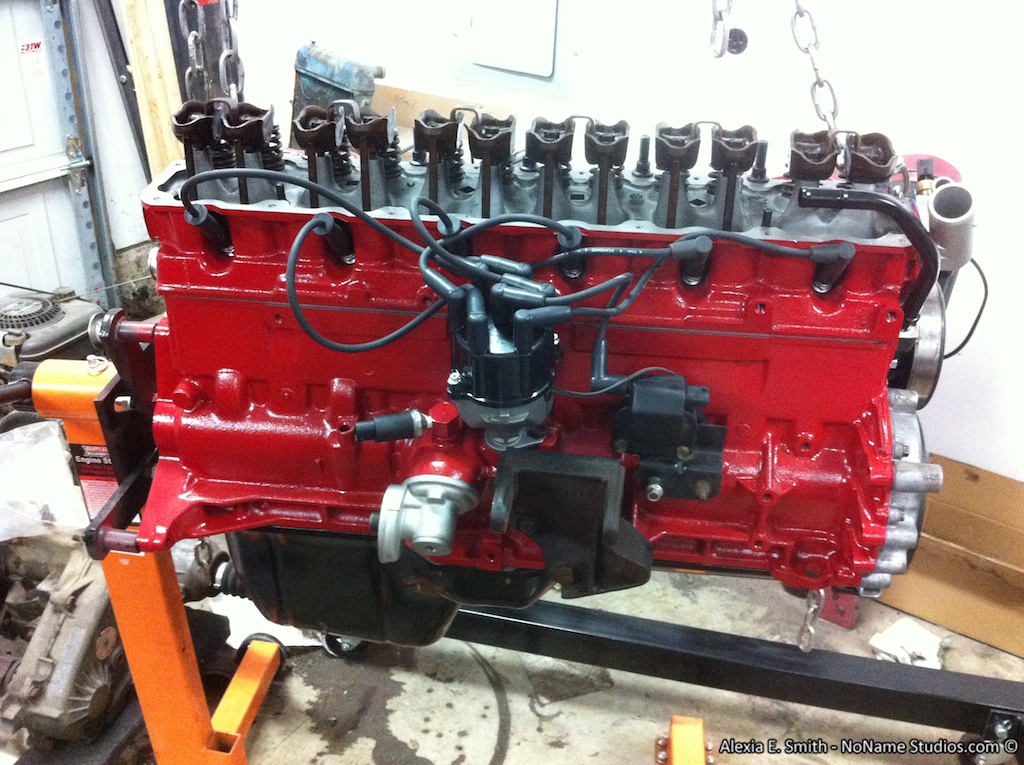
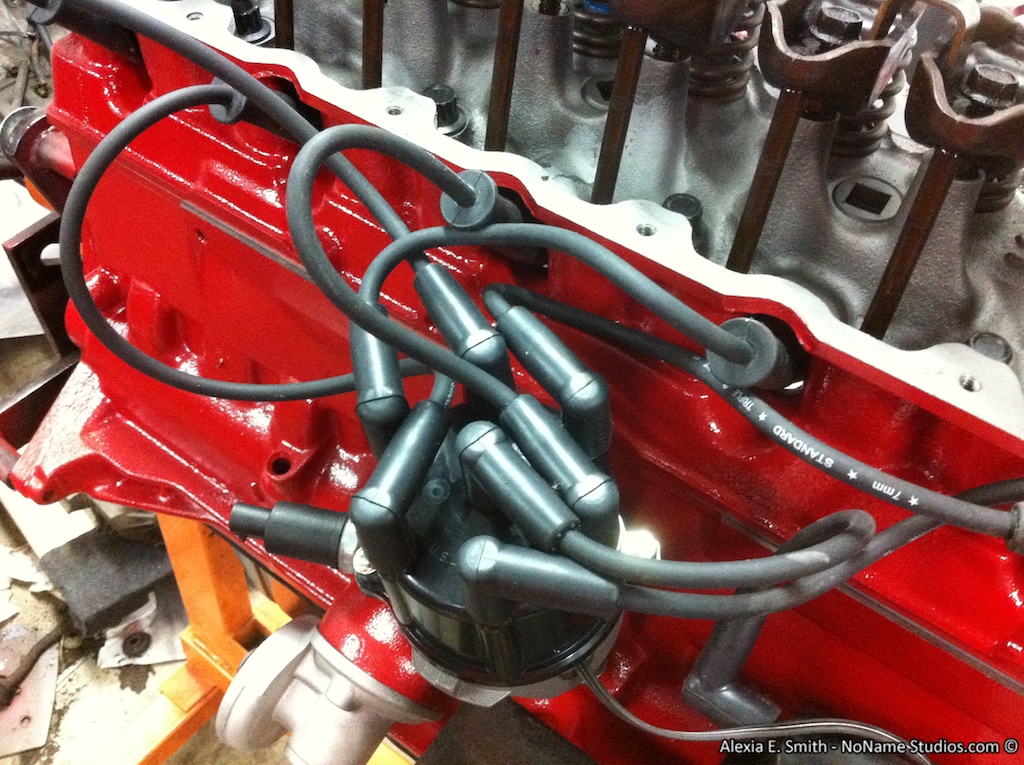
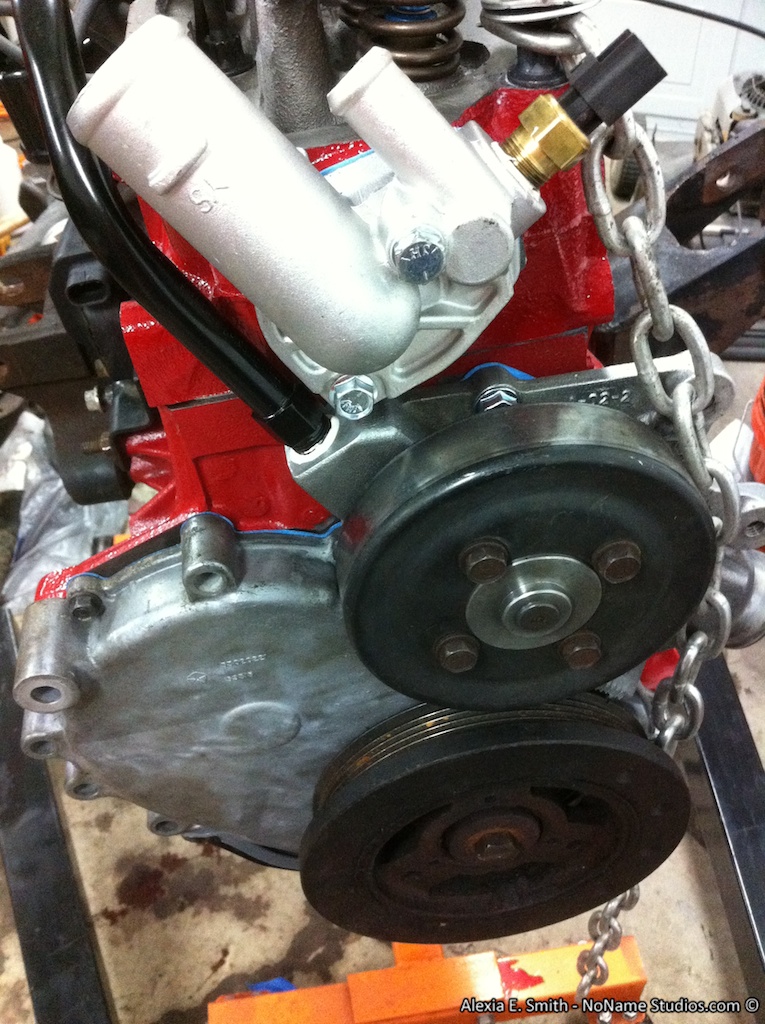
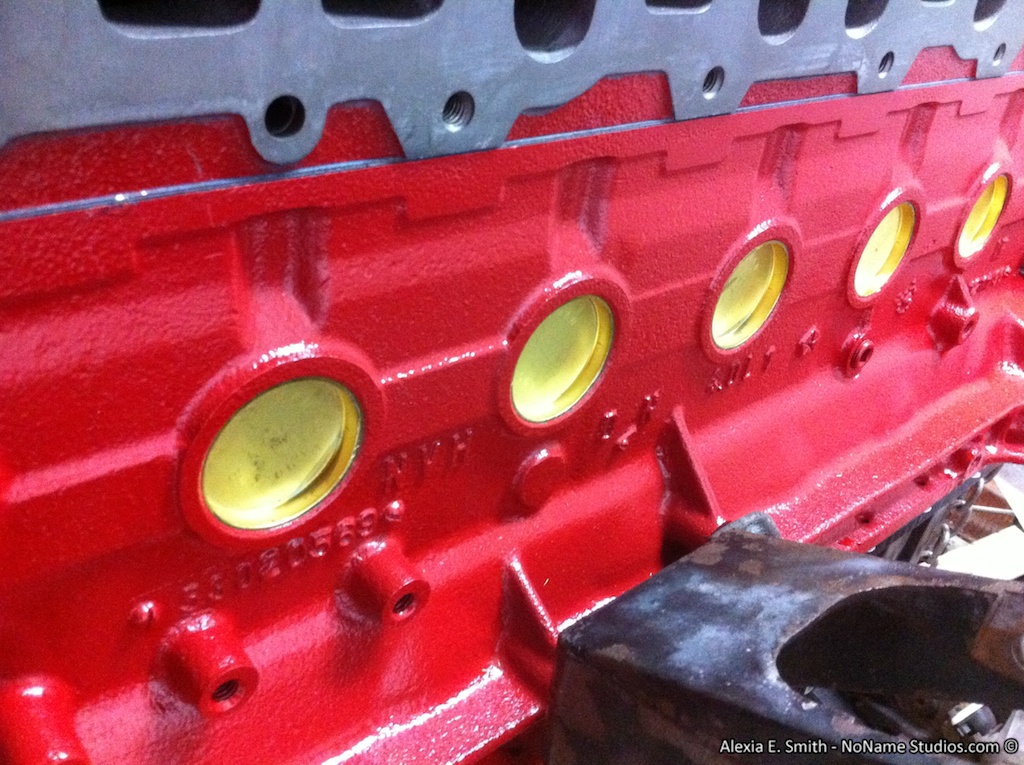
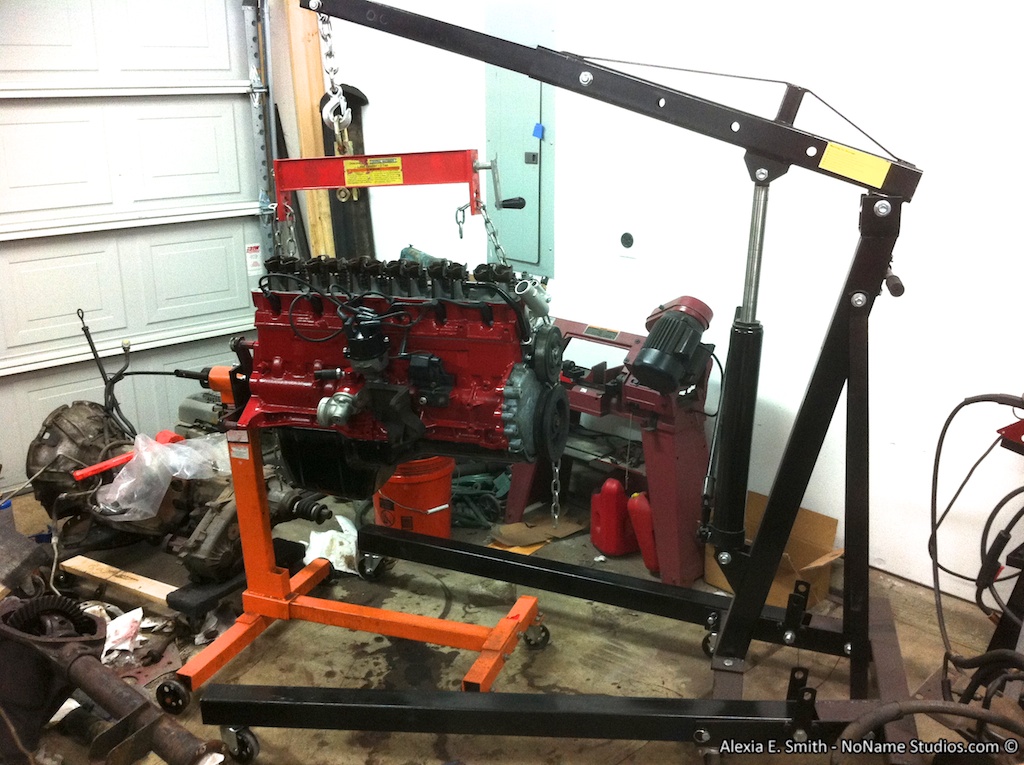
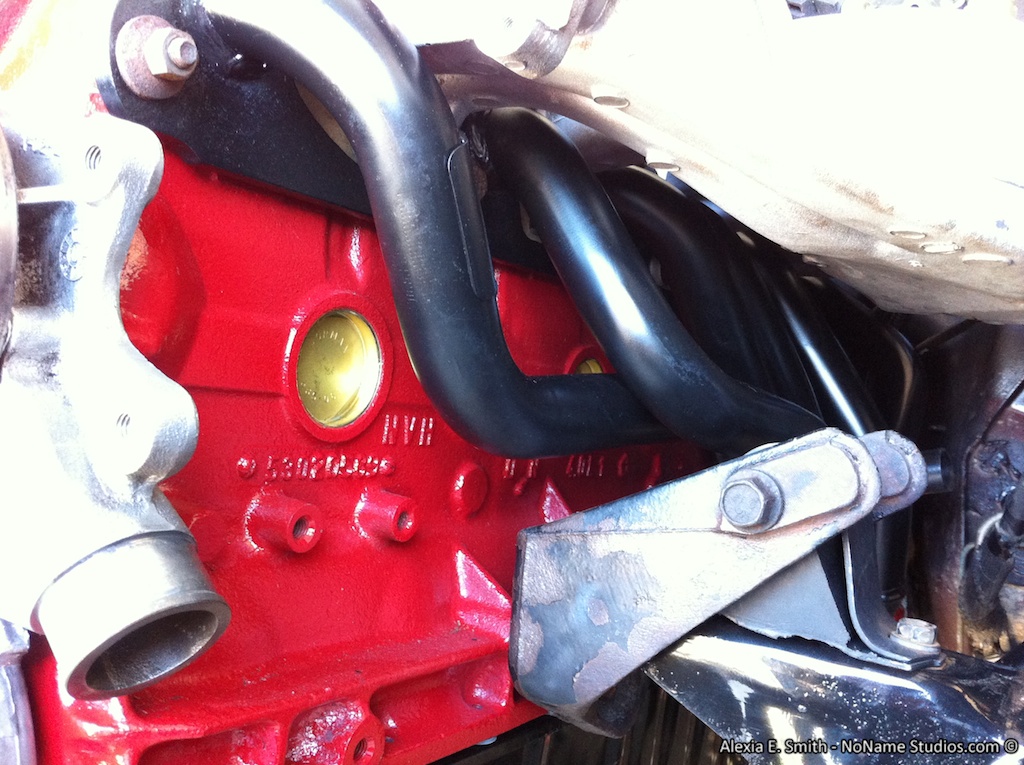
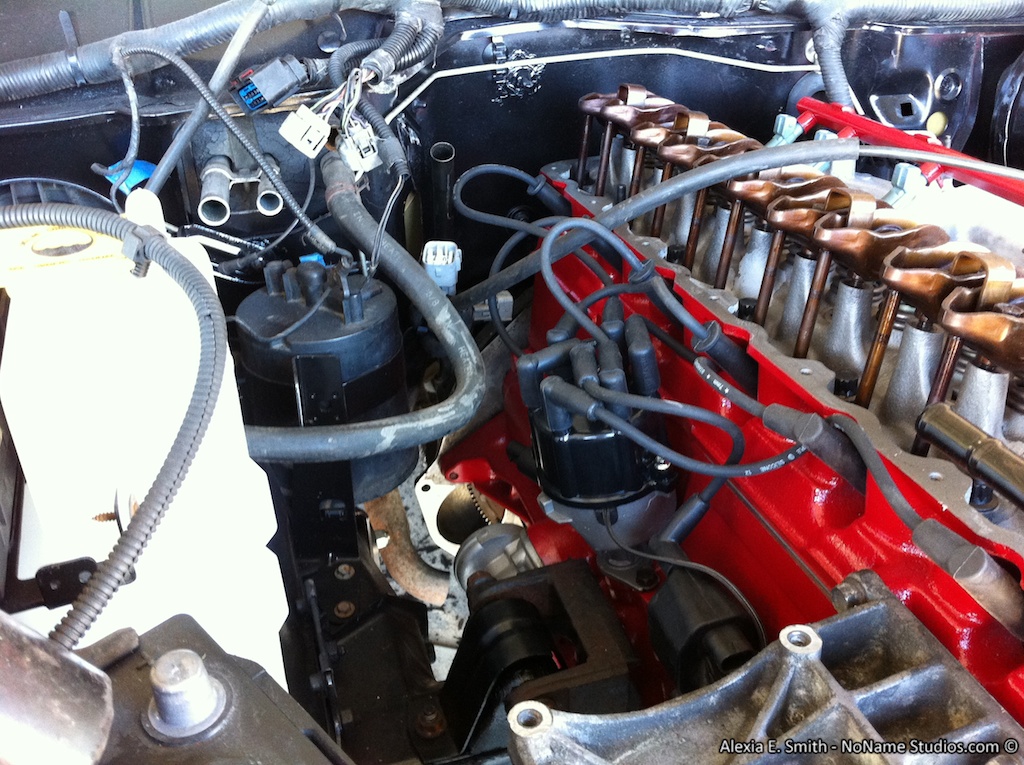
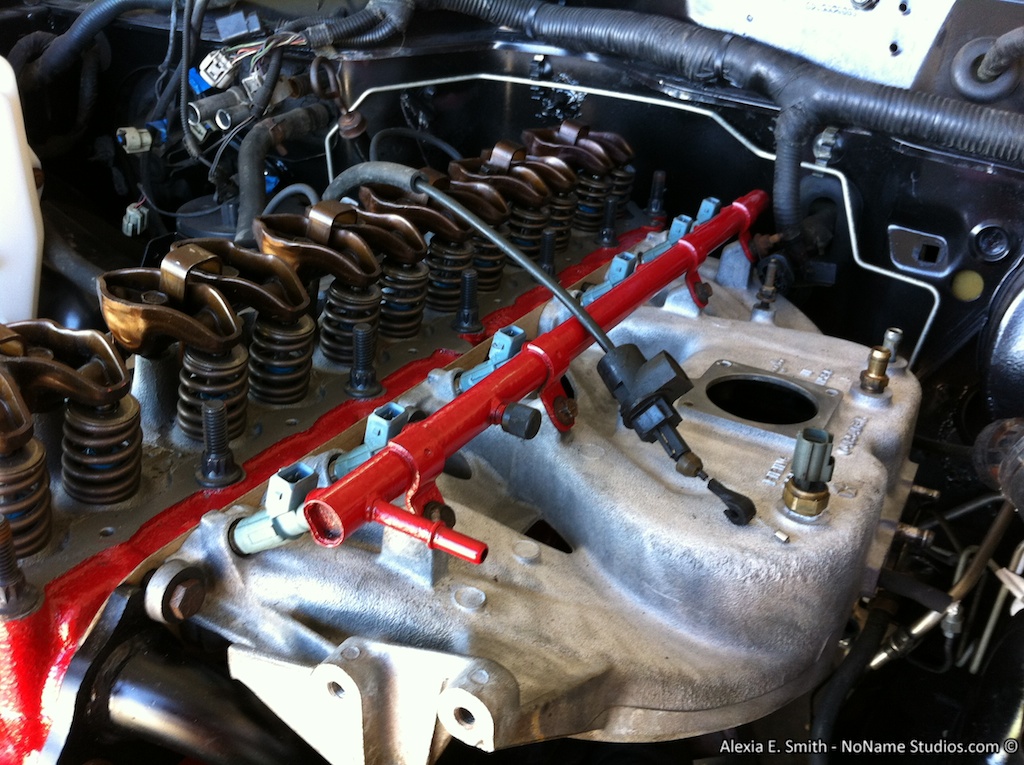
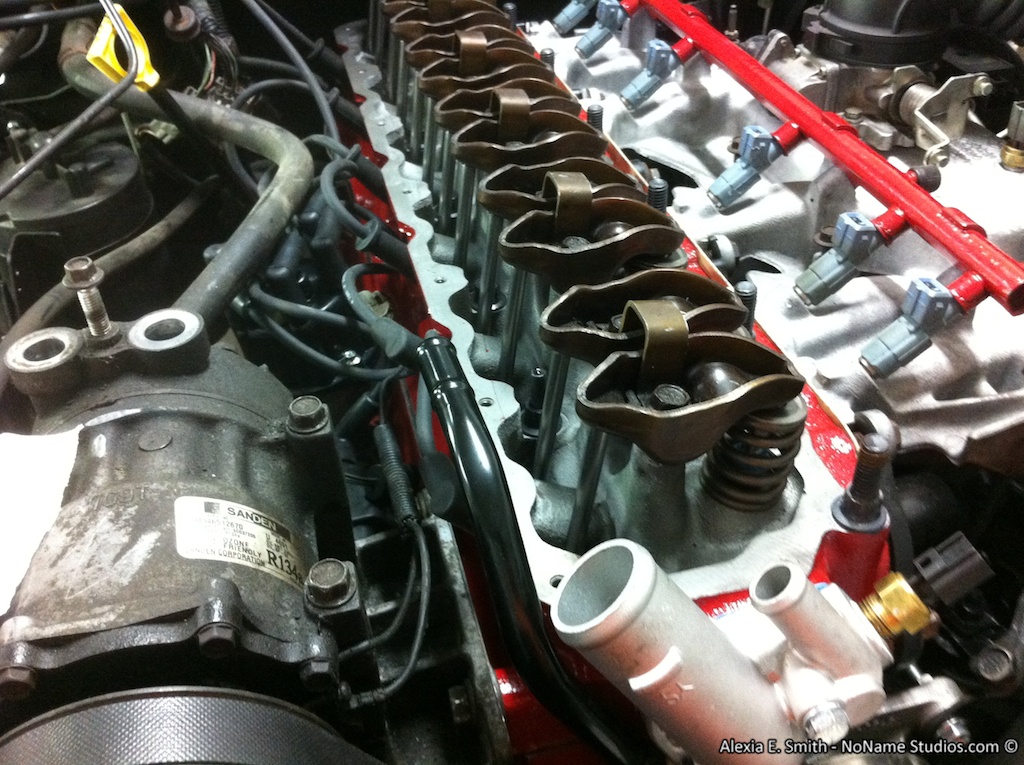
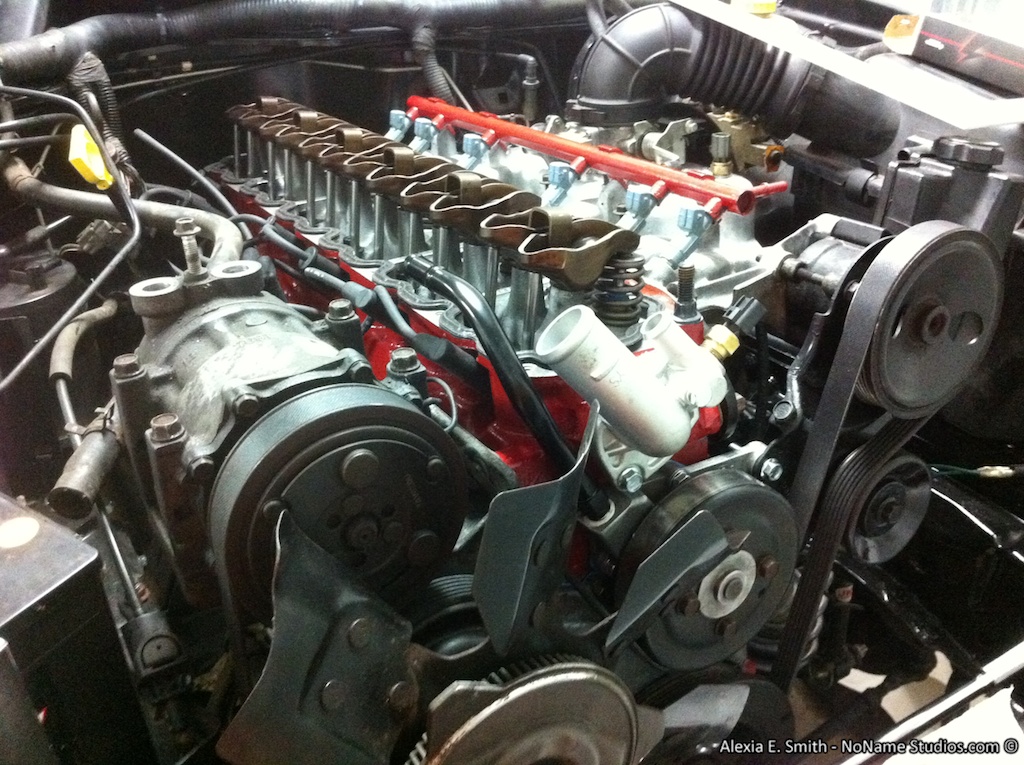
- 4.7 Stroker with Supercharger
- JCR Offroad Front Bumper - Already delivered and waiting for paint.
- LineX Bed Liner
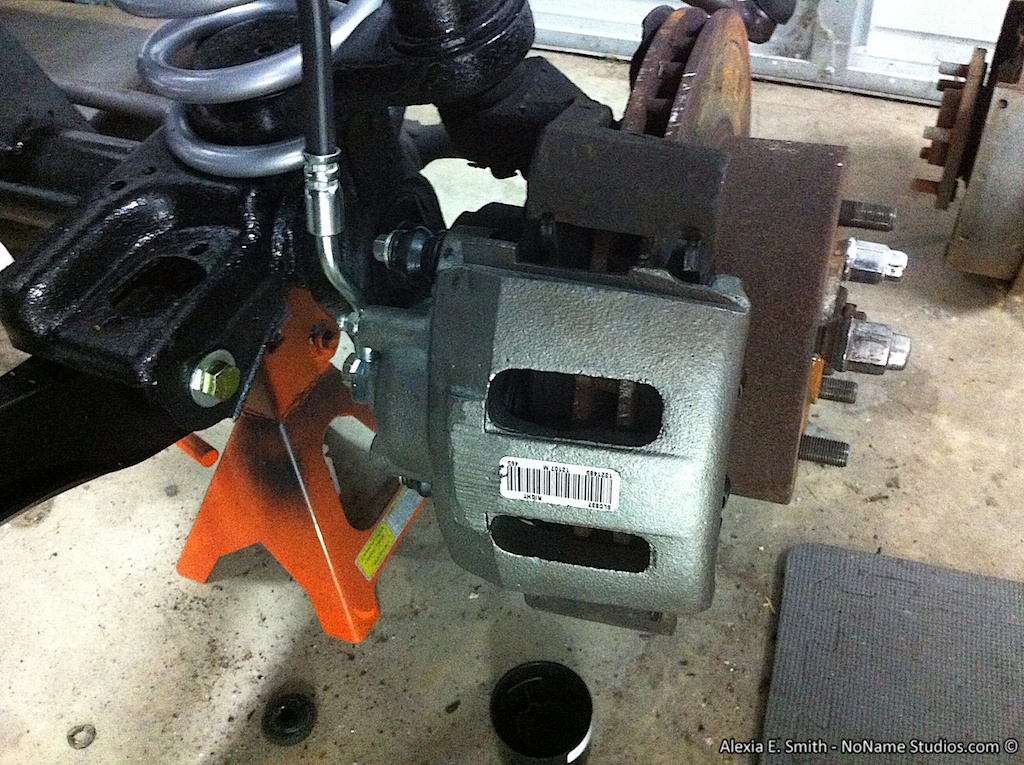
- 4WD Conversion - Donor is 4WD and have a NP242 ready to swap for full time 4WD.
- D44 Rear Axle
I picked up a donor 1997 XJ for $500 plus my $170 in costs to go get it. The owner is a true Jeep lover and was really sad to see it go. Unfortunately it was beyond reasonable repair. Even I would not attempt to repair it! It is the perfect candidate to donate parts on to an older Jeep in need a few kidneys.
Donor XJ inside my tiny garage. Notice my space saving by putting the lawn mower under the rear.