jeeperjohn
NAXJA Forum User
- Location
- Temecula, CA
I believe Harbor Freight carries them, I gotta pick one up myself soon.By the way, where did you get that nifty magnetic broom thingie?
I believe Harbor Freight carries them, I gotta pick one up myself soon.By the way, where did you get that nifty magnetic broom thingie?
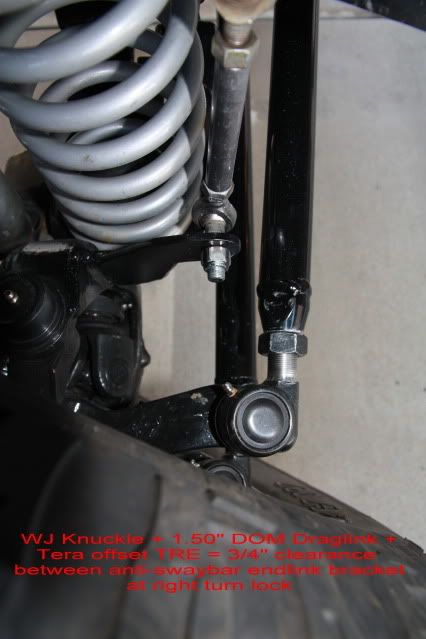
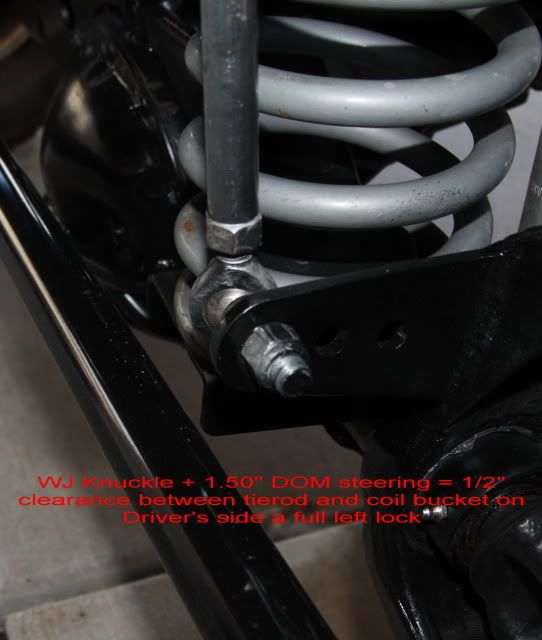
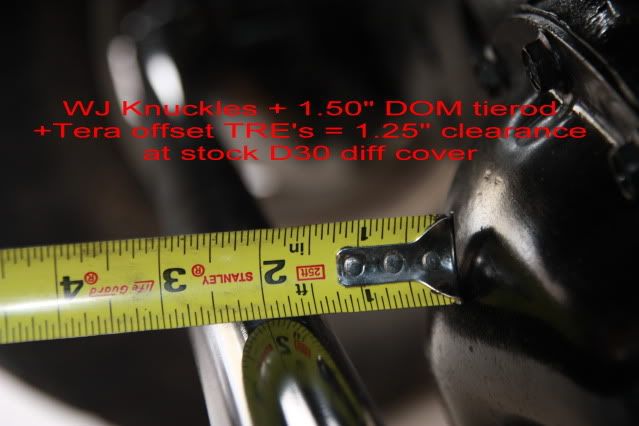
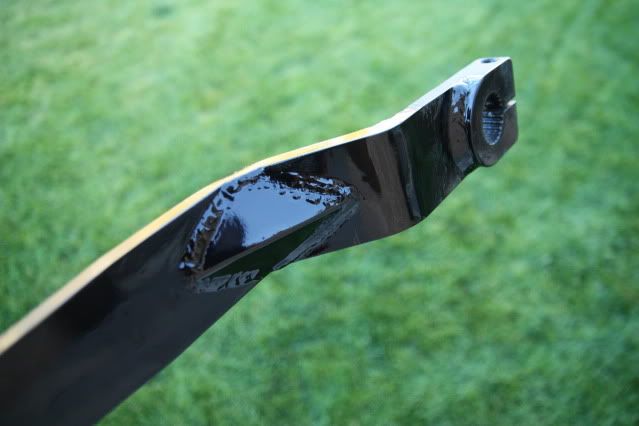
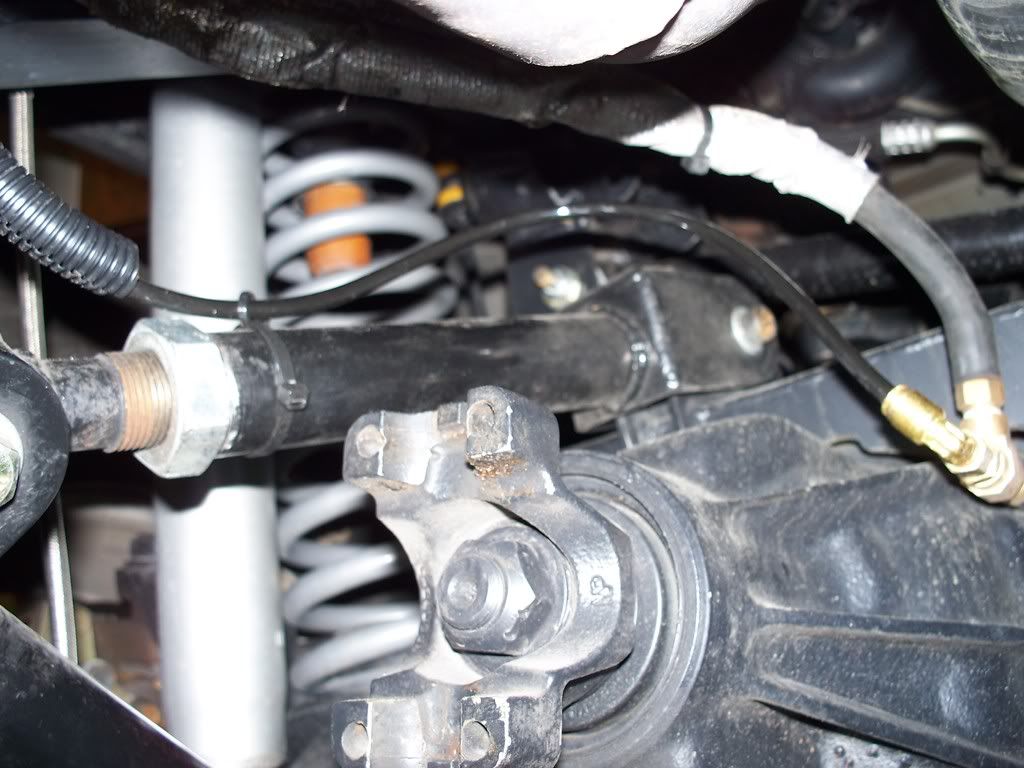
Instead of using WJ steering linkage, I selected 1.50" OD .250" wall DOM tube with weld inserts and Tera offset TRE's. The Tera units are 7/8" thread x 18 tpi.
The offset TRE's provide the tierod and draglink clearance needed to clear the diff, trackbar bracket and coil buckets. The pitman arm TRE is not offset.
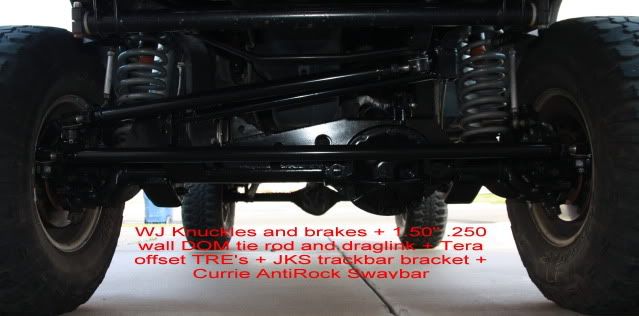
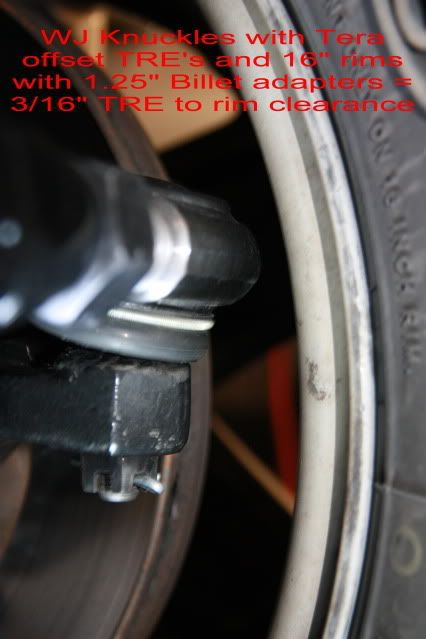
I've been very happy with this steering setup. Steering is precise and I love the absence of bumpsteer. I've not seen the need to run a steering stablizer. The WJ brake/steering combo is one the best mods I'd done to enhance overall drivability, it's they way the XJ should have been equipped from the factory.
So Jeff what was the verdict on the crown vs spicer ball joints?
I am thinking of doing mine again and just wanted to know, thanks.
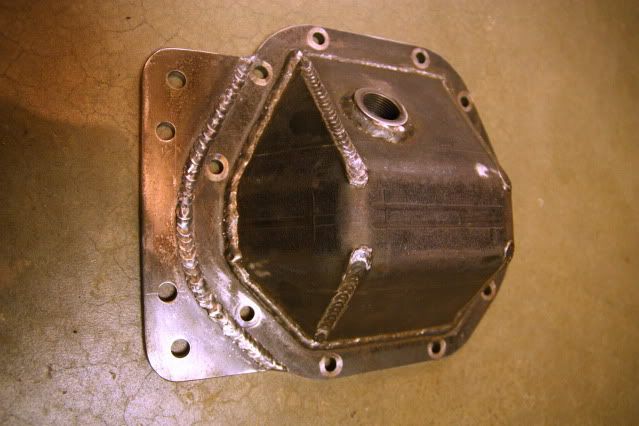
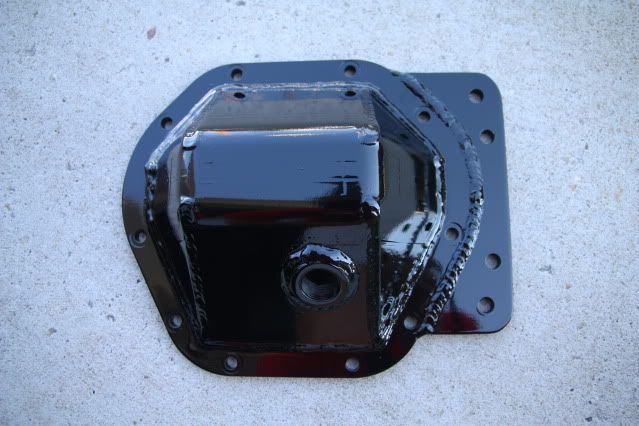


The brass 'T' that you installed for your diff - is that where the air is supplied from the ARB or is that only for venting?
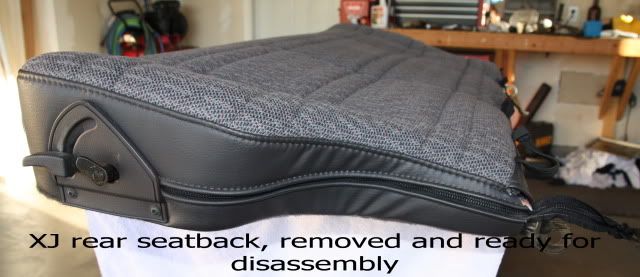
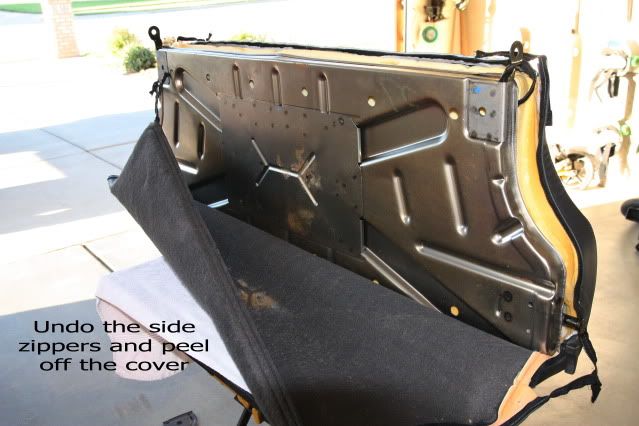
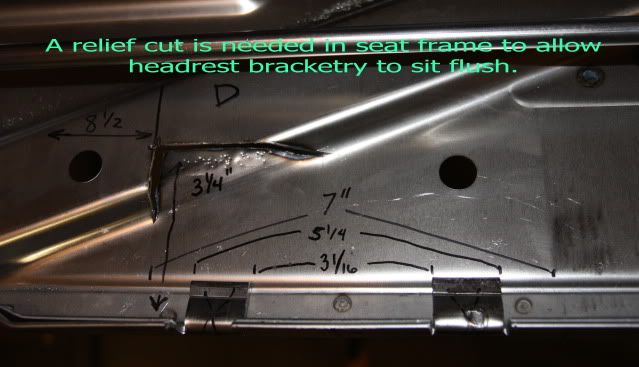
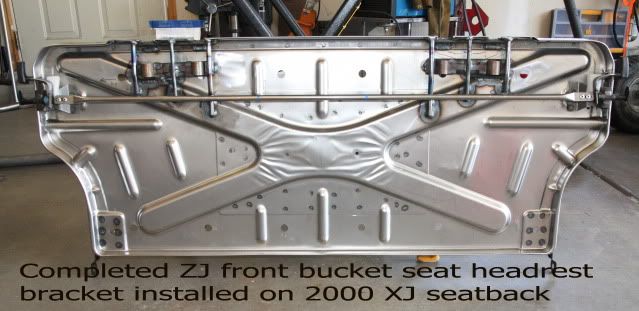
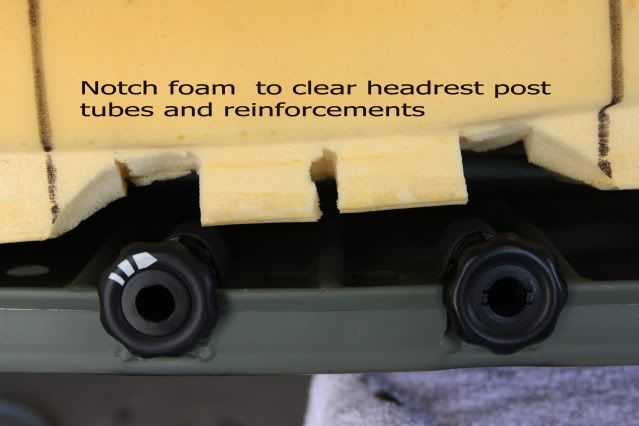
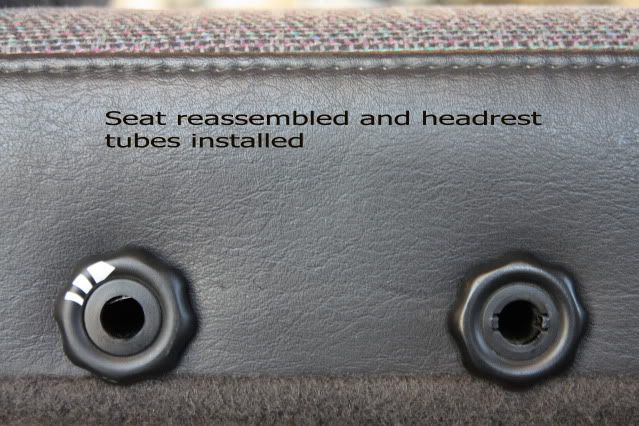
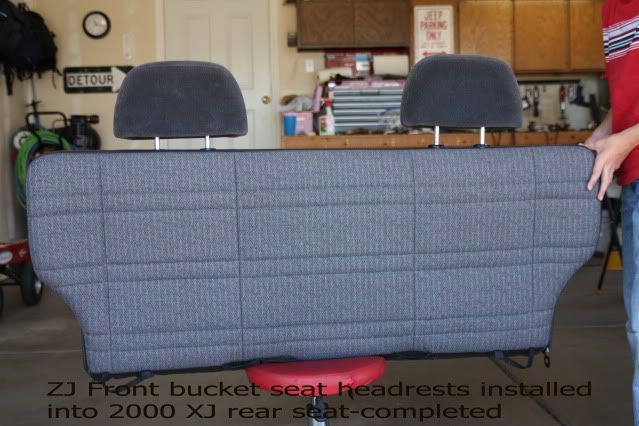
I looked at several options for donor headrests, even purchasing a full set of WJ leather seats at one point. I still wasn't convinced that I wanted to install WJ seats in my rig.
The brass 'T' that you installed for your diff - is that where the air is supplied from the ARB or is that only for venting?
Both.
The copper line from the ARB routes straight thru the brass tube and connects to the fitting on the end, the vent tube connects to the upper fitting on the T, venting out the top.
