Re: SubThump 10" (or 8") Box
Now for a few behind the scenes shots. I wish I had more, but I didn't have my camera handy while I was doing all the prep work. I completely lined the backside of the exterior body panel from the C-pillar to the D-pillar with DynaMat Extreme. That was a major PITA getting all the way up under the rear window and behind the seatbelt tensioner, but hopefully the DynaMat makes a difference for me. The rattles from my XJ Pod drove me nuts to the point that I'd keep my bass turned all the way down. I was going to do whatever I could to help make sure that didn't happen with this box.
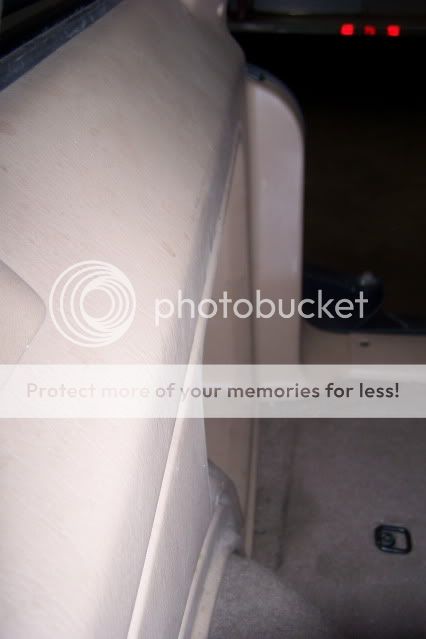
Here's the box mounted up without the panel in place:
It is attached to the unibody with one screw up front:
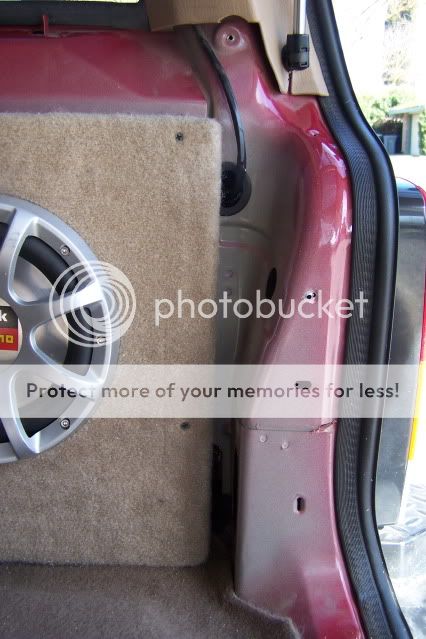
And two at the rear:
If you look at the above picture you can see the hole I drilled to reroute the lift-gate wiring.
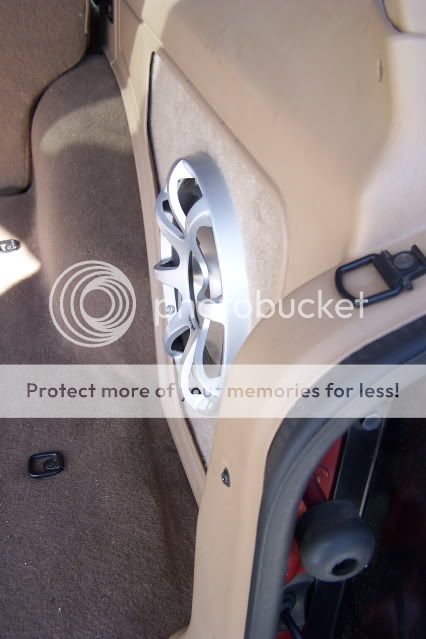
Here's a head on shot of the finished product:
For reference, I have an 8" Polk/MOMO MM2084 installed in there. Polk recommends .35 cu ft and this box is .32 cu ft so I stuffed some polyfill in there to help make up the difference. SubThump will also make the box with a 10" hole, but I already had this 8" Polk and I'm not into pissing off the neighbors anyways. I just wanted this sub to help fill in the lows that my speakers don't provide.
If you compare the first pic in this post to the last one, you'll notice the dimensions of the box are different than what you end up seeing once the panel is reinstalled. The panel actually sits in front of the box and just acts as a frame to cover the screws that you attached the box to the unibody with. The box does not protrude through the panel at all.
The color match on the carpet is fair, but by no means an exact match, at least for the 97-01 Camel color. It looks a little pale or faded in comparison to the factory carpeting. Maybe it matches early model tan interiors better? I really don't know...
Whether this install ends up looking professional or ends up looking like garbage really comes down to how good of a job you do cutting out the cubby. Since the box doesn't stick through the cubby it's really up to you as to where exactly you cut it. I would recommend cutting along the inside of the cubby right where it is at the same depth as the groove surrounding it. This will give the appearance of a "bead" running around the SubThump box and will make the panel sit nice and flush up against the carpeting on the new box. That is where I made my first attempt at cutting out the cubby. It didn't go so well... I was using a jigsaw and it drifted up on top of the "bead" as I was rounding a corner. Second attempt I used a utility knife and followed the top of the "bead" around the cubby. I made a couple of slow careful passes with the knife and it cut through it beautifully. I then took a Dremel with a sanding drum to it and smoothed out all the edges. Final product was nice, smooth, straight edges. It doesn't sit flush against the carpet as I was hoping for, but it looks good overall and I'm sure I'm the only one it will bother. You can see the gap in this picture:

So how does it sound? I don't know. My little boy was napping when I finished up and I never got a chance to try it out after that. I'll play around with it while I'm out snow wheelin' tomorrow and will post up my findings...
")