foxwar71
NAXJA Forum User
- Location
- Foxboro, MA
Well, I pulled the stock skid off when I started to build my custom rear bumper. While it was off, I decided to do a little reworking and reinforcing of it. Although it is kinda thin, 1/8" thickness, I felt the bigger problem with the skid is the large flat areas. A stock unit is pretty flexible and I could bend and move it all around just by hand. Instead of just plating the whole thing, I decided to just add more shape to it. Even with another layer of 1/8", it would still has flat areas that could easily bend upward, plus that would add more weight. Triangles are great at providing shape and strength, so I went and got some angle iron.

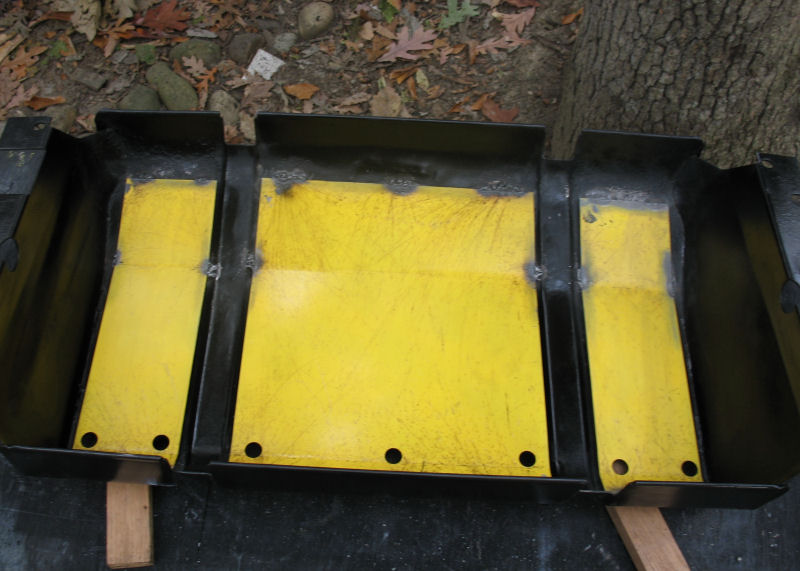
First on the list was the bottom corners. I used some 1.5" 1/8" thick angle iron and notched and bent it to follow the contour of the skid. I also added in some holes for plug welds. Then I used 0.5" 1/8" thick angle iron to go across the skid. On the front edge, it lined up pretty well with the small radiused edge the stock unit has. The middle one lines up roughly where the skid has the bend to kick up in the rear.


Next, I made a couple of stringers to try everything together from front to back. These needed a cutoff wheels thickness of a notch to it to be bent just slightly enough to sit nicely on the skid.


Then, everything got welded up. I took my time, did beads here and there, stopped to take pictures, layed a few more beads, drink adult beverage, ect....


Final touches included some gussets on the sides of the skid and some new black spray paint. Just holding the skid afterwards and its easy to notice how much stiffer it is. Before, I could disform it enough to make none of the mounting holes line up. Now, its as solid as a rock.


First on the list was the bottom corners. I used some 1.5" 1/8" thick angle iron and notched and bent it to follow the contour of the skid. I also added in some holes for plug welds. Then I used 0.5" 1/8" thick angle iron to go across the skid. On the front edge, it lined up pretty well with the small radiused edge the stock unit has. The middle one lines up roughly where the skid has the bend to kick up in the rear.
Next, I made a couple of stringers to try everything together from front to back. These needed a cutoff wheels thickness of a notch to it to be bent just slightly enough to sit nicely on the skid.
Then, everything got welded up. I took my time, did beads here and there, stopped to take pictures, layed a few more beads, drink adult beverage, ect....
Final touches included some gussets on the sides of the skid and some new black spray paint. Just holding the skid afterwards and its easy to notice how much stiffer it is. Before, I could disform it enough to make none of the mounting holes line up. Now, its as solid as a rock.