• Welcome to the new NAXJA Forum! If your password does not work, please use "Forgot your password?" link on the log-in page. Please feel free to reach out to [email protected] if we can provide any assistance.

Project: Rusty Nail

oh wow.. I feel like a total newb. I never use metric stuff... thanks for the catch. haha :(

the threads in the unit bearings are tapped for metric threads, not standard. the "grade" bolts are standard, "metric" bolts are metric. If you can, get the metric bolts in there

I was like wtf you're putting lot of new stuff in it lol. Im a guy who will reuse much stuff as possible but you're putting everthing new in it lol.
 
Not much got done really last night Got my new hole saws in so drilled out the holes for the other side of me rear truss and did some small odds and ends. Also got my order from my steel supplier and it was COMPLETELY wrong. I ordered 2x.250 Chromo they sent me 2x.500, also asked for 1.75x.125 DOM I get 1.25x.250 They were really nice about it and assured me it was an isolated incident but still that's a costly error for them specially with the chromo. So I guess I wait till monday now. Anyways not alot of picture stuff but here it is. OH and I also got 10.25 bolts for my bearings last night as well haha, forgot to grab pics however.

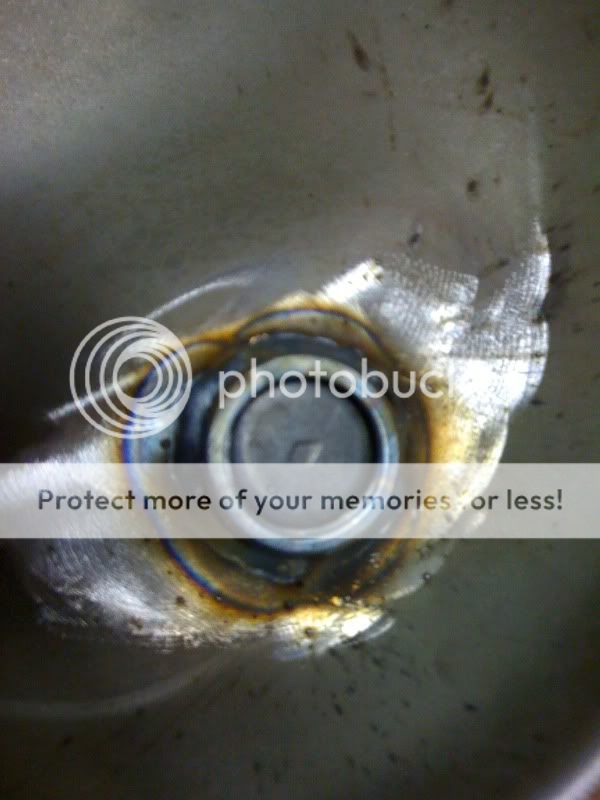
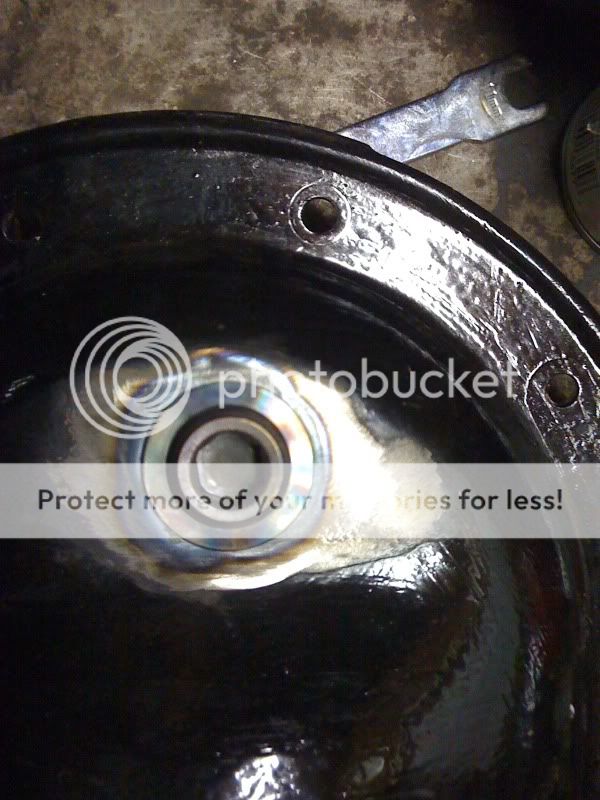
Also burned in the new drain plug for the rear diff cover..
8f77f68b.jpg


fb2e5fe6.jpg


just the other side coil mount details
311c48a5.jpg
 
Pretty cool build in for the subscription.
 
OH and I also got 10.25 bolts for my bearings last night as well haha, forgot to grab pics however.


Where are you getting your hardware? 10.25???:dunno:


Metric 4.6 = Grade 2
Metric 8.8 = Grade 5
Metric 10.9 = Grade 8
Metric 12.9 = Grade 9
 

call me crazy, but if you so desired, how would you take the leaf spring off if there is no bolt....? or had you not drilled a new hole yet?


one tiny comment: you mention that 8.25 has a cast pumpkin. it is specifically cast iron. cast just refers to how the metal was shaped. iron, steel, aluminum can all be cast (or forged, for that matter...) the fact that the pumpkin is cast iron is why you need to pre/post heat. and technically should be using a high nickel content weld rod/wire... but you can get away without that.

looks pretty good otherwise.
 
get those ballistic fab brackets mounted up yet? did they fit together pretty nice, i gotta set coming in the mail this week
 
get those ballistic fab brackets mounted up yet? did they fit together pretty nice, i gotta set coming in the mail this week

They went together great really good construction on all the pieces. I did have to grind the lca mounts a bit so they sat correctly on the tube. but besides that it was an easy installation. note though it your using XJ bar pin shocks take the bar pins out and test fit them in your new shock mounts before you weld the mounts up. they use a really wide mount if you set them up like how they are on the site. If not like I said I used 99 dodge 1500 shocks that worked mint.


call me crazy, but if you so desired, how would you take the leaf spring off if there is no bolt....? or had you not drilled a new hole yet?


one tiny comment: you mention that 8.25 has a cast pumpkin. it is specifically cast iron. cast just refers to how the metal was shaped. iron, steel, aluminum can all be cast (or forged, for that matter...) the fact that the pumpkin is cast iron is why you need to pre/post heat. and technically should be using a high nickel content weld rod/wire... but you can get away without that.

looks pretty good otherwise.

good catch, I never took a pic after I drilled out that hole.

I just kinda figured people new it was cast iron, if it was just cast steel there would be no need for pre/post heat correct? An old timer at my buddies work mentioned the high nickel rod (when or if) I'm going to have to try that.
 
correct, cast steel means no need for pre or post heat.

i've never welded cast iron with regular filler material. scientifically, it does make a difference... but it does work either way. you're just more likely to develop cracks if you don't use the high nickel content rod. cooling whatever you weld while surrounded by sand is an even better way to do it too.... it's slower than cooling it in air. i think i've heard of high nickel content wire... once. but i can't remember where...

I knew about the sand cooling and this is where I was worried actually, I didn't have that much sand to pretty much bury my diff so I wrapped it up in a welding blanket then set the axle on a sand back then put on top so the axle was sandwiched. After about an hour it was still slightly warm to the touch so I hope that did the trick.
 
i admire your dedication and workmanship, excellent job u can tell this is not your first time, really great info and details thanks i have learned quit a bit, just curioius when u removed the rear floor, did u drill allthe spot welds or just cut it off, really does look great
 
i admire your dedication and workmanship, excellent job u can tell this is not your first time, really great info and details thanks i have learned quit a bit, just curioius when u removed the rear floor, did u drill all the spot welds or just cut it off, really does look great

Thank you for the kind words! 8)

As for the floor I drilled out every spot weld, last time I tried to get around this and just use an air hammer and rip the floor off.. there's no way around that, you gotta take the time and a few drill bits and just do it.

well got my Chromo sleeve back from Universal Machine... and it was still to big... not there fault however.. when I checked the ID of the axle tube I did it from the knuckle end thinking it wouldn't be a big difference.. well after cleaning the tube out and getting right of the rust it sure did.. I checked the inside and there was a 15 thousandth of a difference spent 3 hours trying to make it work, freezing the chromo and heating the tube, sanding it, honing out the axle a bit.. nothing would make up for my mistake :rolleyes: back to the machine shop it goes...

0d5a89fa.jpg


It kinda was purty just sittin there though
299177fd.jpg


Another shot of the sleeve
d9193390.jpg


On a brighter note got one side of the coil bucket and lca mount done.
e694814b.jpg


FWIW with the ballistic kit I sure hope in the future they give a little more direction in tips for installation.. its a royal pain tying to locate LCA location and degrees without mocking it up under the truck.


I also ordered some more goodies yesterday...

RE coils (3.5)
Ballistic Beadlocks DIY basic versions
Ballistic front Diff Cover
Ballistic Steering (1-ton TRE Version)
Alloy USA 27 Spline front Shafts
Lube Locker diff gaskets
Cobra CB
Fire stick
And most of my exhaust pieces. :D
 
correct, cast steel means no need for pre or post heat.

i've never welded cast iron with regular filler material. scientifically, it does make a difference... but it does work either way. you're just more likely to develop cracks if you don't use the high nickel content rod. cooling whatever you weld while surrounded by sand is an even better way to do it too.... it's slower than cooling it in air. i think i've heard of high nickel content wire... once. but i can't remember where...


HTP have them and it cost over $100 for just 2 pound! :wierd:
 
Not much tech to really talk about in this update, finished up the other side of my rear truss plumbed the other hardline and got alot of goodies in form UPS :D Enjoy.

goodies_0003.jpg


goodies_0004.jpg


goodies_0005.jpg


This cover is really well built
goodies_0006.jpg


goodies_0008.jpg


Also started on my one ton steering... pic for size comparison
goodies_0007.jpg


goodies_0001.jpg


Beadlocks came in as well
goodies_0002.jpg


Also got my CB gear in, went with a firestick tunnable, firestick cable and this cb :)
goodies_0009.jpg


Also for those who were woundering this is the ID of a D30 tube
goodies_0010.jpg


Thats it for today... more progress tomorrow.
 
Took some pics this morning before work. This was a huge accomplishment for me even though it doesn't look like much at all. I also did a quick mockup of the steering and I'm decided that over the knuckle is my approach I already have the steel to make my own trac bar so why not at this point. Also looks like I'm plating the front of the unibody as well... :-| the list grows again....

got both tires mounted on the new rear axle.
8ea55e52.jpg


In with the new :D
3653e309.jpg


Also decided it was time to pull the front finally as well.
84b6d45a.jpg


And never will this axle see the light of day again. Coil buckets were all rusted out, bump stops were completely missing, but amazing enough all the bolts came right out.
5dc44239.jpg


Here's a pic of the morning after AKA no crappy cell pics.
(one side leaf pack isn't in yet fyi in case someone asks about the gansta lean.)
IMG_8233_0011-2.jpg


Side profile
IMG_8235_0012.jpg


Also anyone know where I can get a really cheap 7 degree 1.5 inch per foot reamer?
 
Back
Top