• Welcome to the new NAXJA Forum! If your password does not work, please use "Forgot your password?" link on the log-in page. Please feel free to reach out to [email protected] if we can provide any assistance.

Project: Rusty Nail

POR 15 is crap crap crap,i dont understand why everyone on here uses it .is it because you can brush it on, if so there is a two part epoxy made by lesonal, or utech that you can brush on and it sticks for ever.
 
POR 15 is crap crap crap,i dont understand why everyone on here uses it .is it because you can brush it on, if so there is a two part epoxy made by lesonal, or utech that you can brush on and it sticks for ever.

This is my first time using POR 15... and I agree not impressed at all, I'll look into Utech instead thanks for the info!
 
Dont forget to grind your cover to match the axle now :gee: LOL.
I shaved my 8.25 and new everyone thinks its a fricken 35. Kinda funny.
 
I have a quick question about your rear truss and welding techniques. I am not very experienced in welding and wondered why you post heat your welds. Other than that it looks awesome so far, its nice to see rigs that aren't all bolt on parts!
 
I have a quick question about your rear truss and welding techniques. I am not very experienced in welding and wondered why you post heat your welds. Other than that it looks awesome so far, its nice to see rigs that aren't all bolt on parts!

That's ok I'm glad to explain... On this axle (Chrysler 8.25) the center section is cast not steel so welding mild steel directly onto it will cause one of two things either the housing to crack due to it's very brittle and was heated and allowed to cool to quickly or the weld it self is not safe because it only adhered to the very surface of the housing. Pre-heating the area and also allowing a very slow cool down will prevent this.

Also I've received some PM's on what I used to adjust the threaded sides that adjust the carrier left and right so I'll throw up my 5 minute tool I made..
It's a scrap piece of DOM
5ef68a5e.jpg


It just slides in the large hex via a welded nut on the end.
0546963d.jpg


And the other end just comes out enough to put a socket and ratchet on
ff77de3c.jpg


Blame easy as pie

Small axle updates..
Brake lines, shafts, and drums.

5b0ede74.jpg


42f39643.jpg


I'll button up the rear axle tonight and time to move on to brackets, links and steering for the front :)
 
Ok so update time boys and girls haha.


Got my free front end into my garage today. yeaaa another Dana30 but hey, I'm going to fix most the week links and like I've said the whole thread I don't need tons and 40's. This is a rig that she can learn to wheel in but still build up when needed when the time comes.


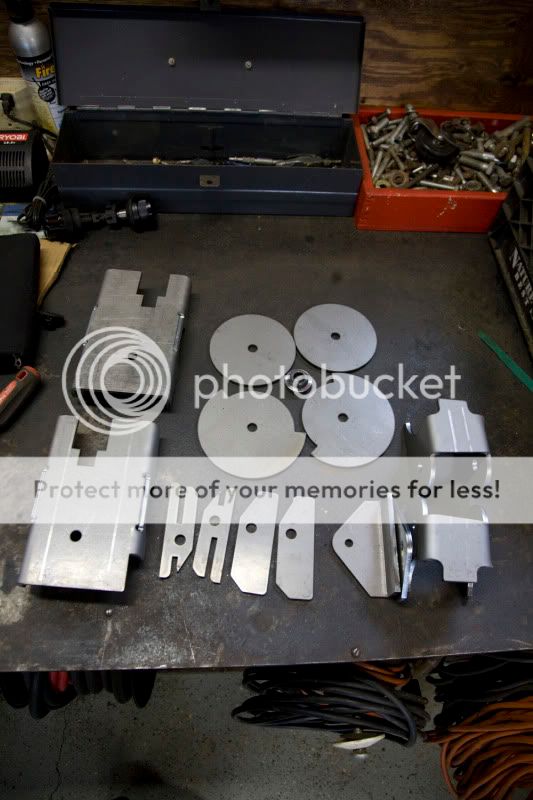
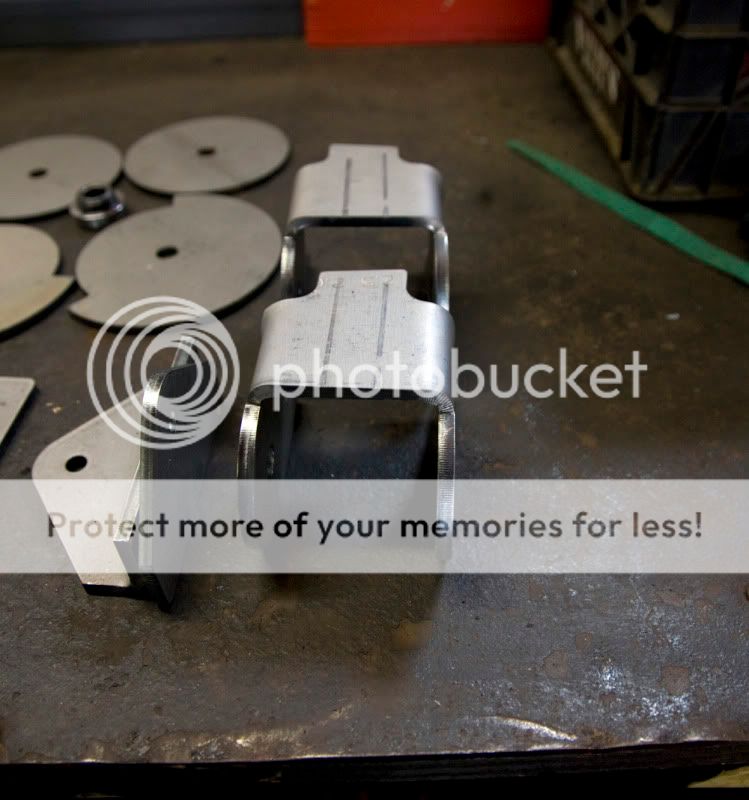
So, some of the things I will be doing to the d30 Ballistic fab Xj coil brackets, my own upper mount, an internal sleeve, and I'll also truss the ears of the inner c's to stop them from bending. I think I might make my own front diff for this axle as well not to sure on that one yet however.

The inner truss I'm talking about is alot like this kit
http://www.rockslideengineering.com/servlet/the-9/R-dsh-SE-Inner-Axle-Housing/Detail
Doing mine much similar using DOM tube but instead of that odd shapped 2inch thick chunk O' steel I'll be using 3/16's plate.

Ok pic time...

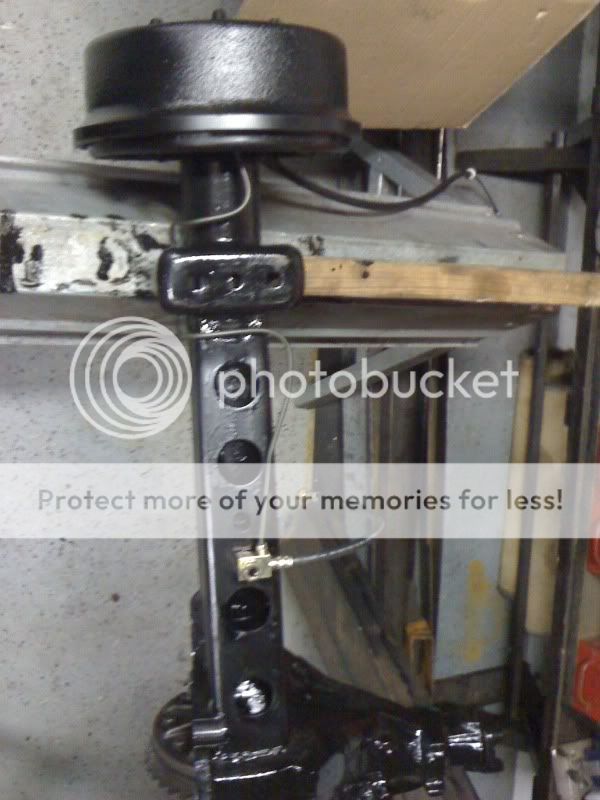
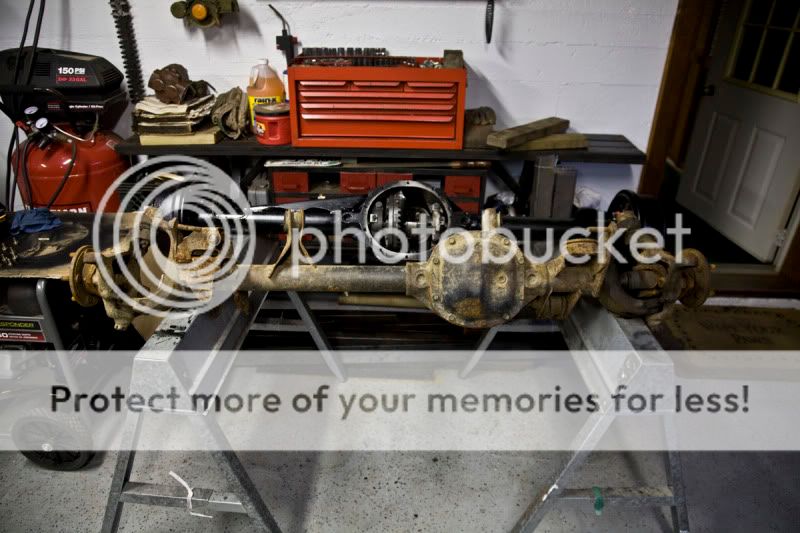
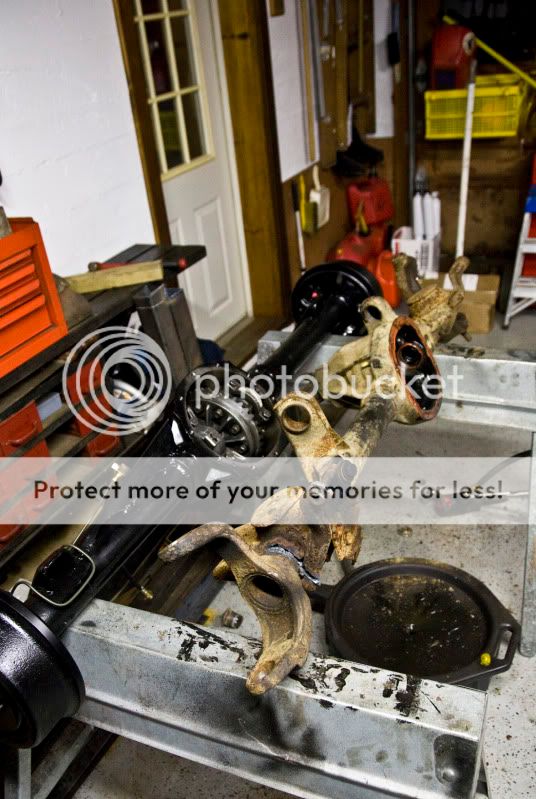
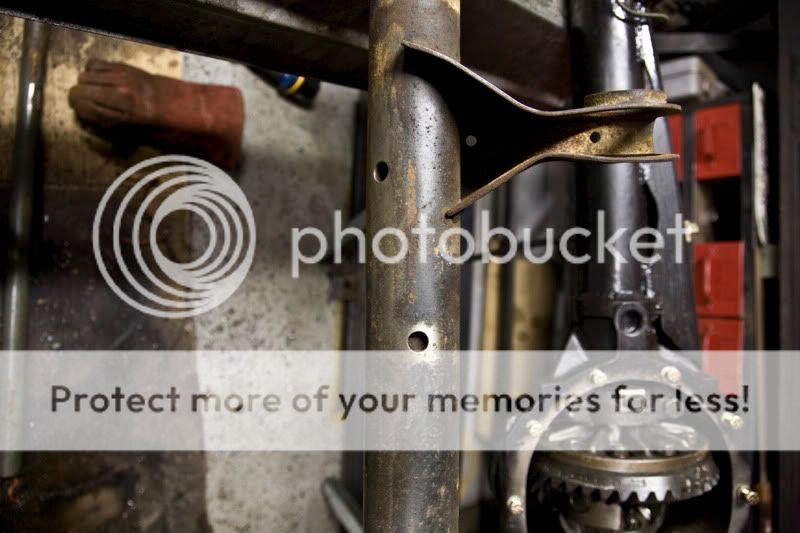
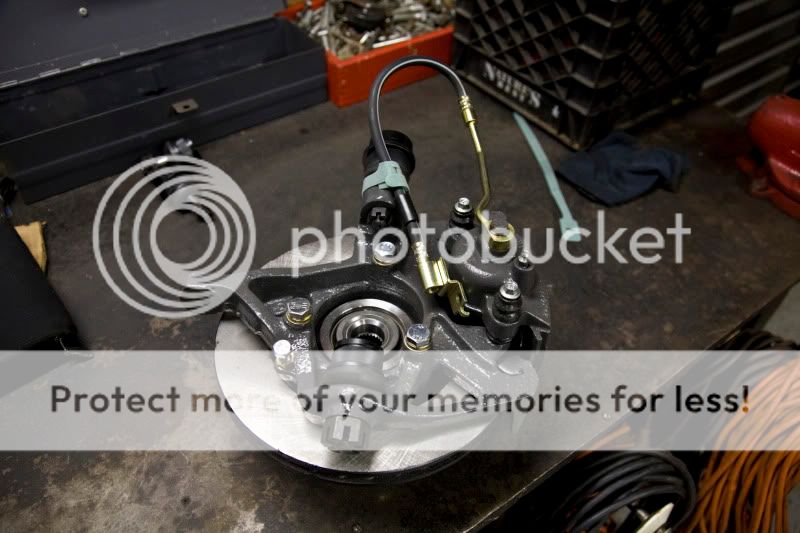
This is the victim 95 Hp d30 no disco... nothing special
d30_0001.jpg


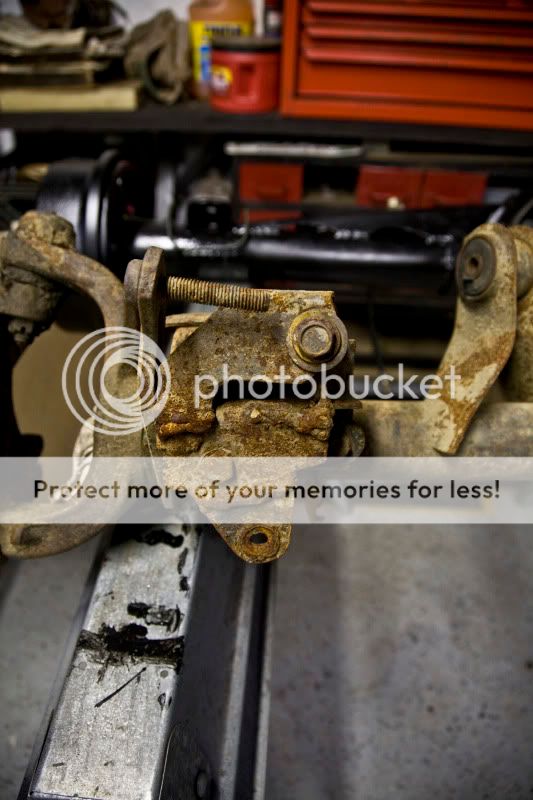
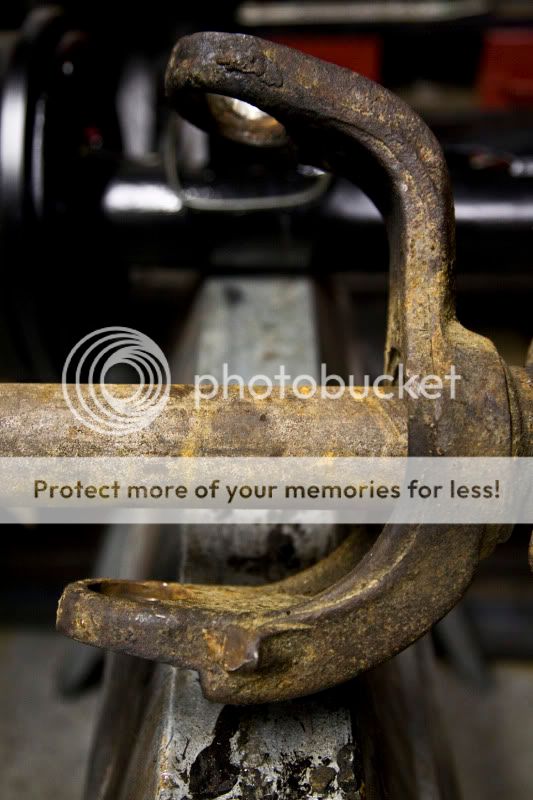
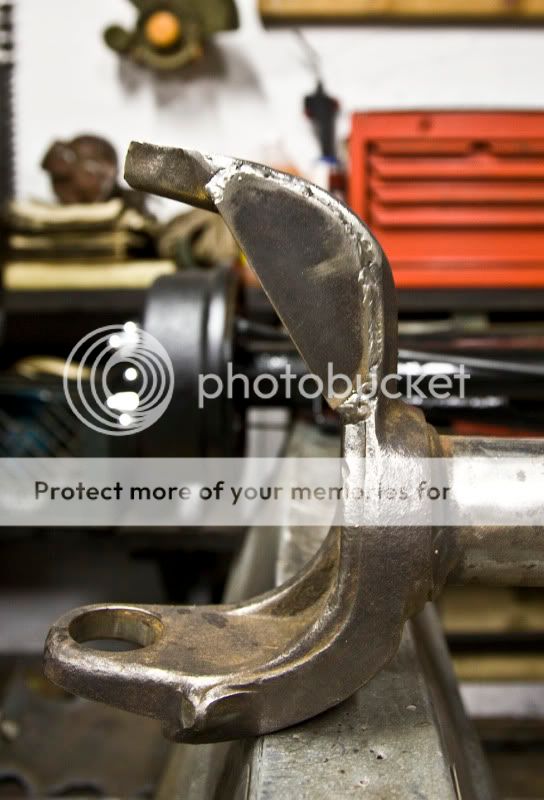
As you can see these brackets are cooked.. seen much better days and nothing I wanted to repair.
d30_0002.jpg


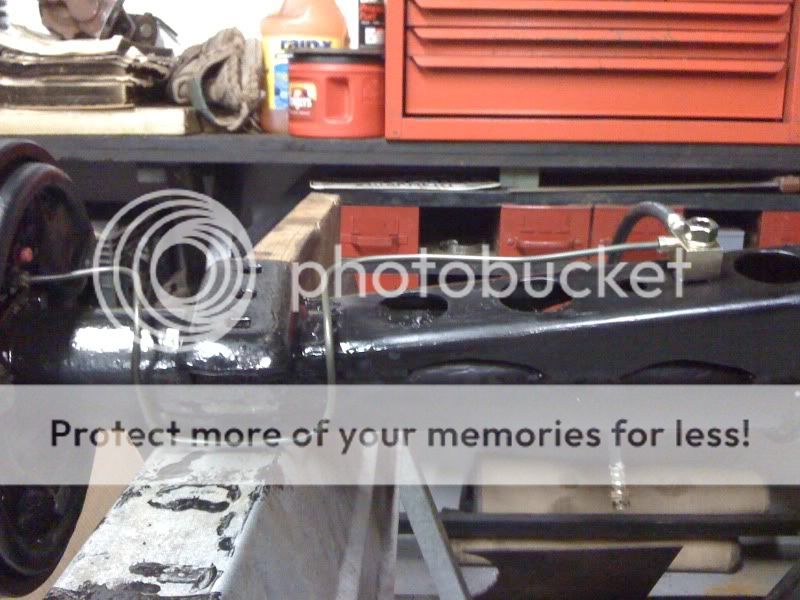
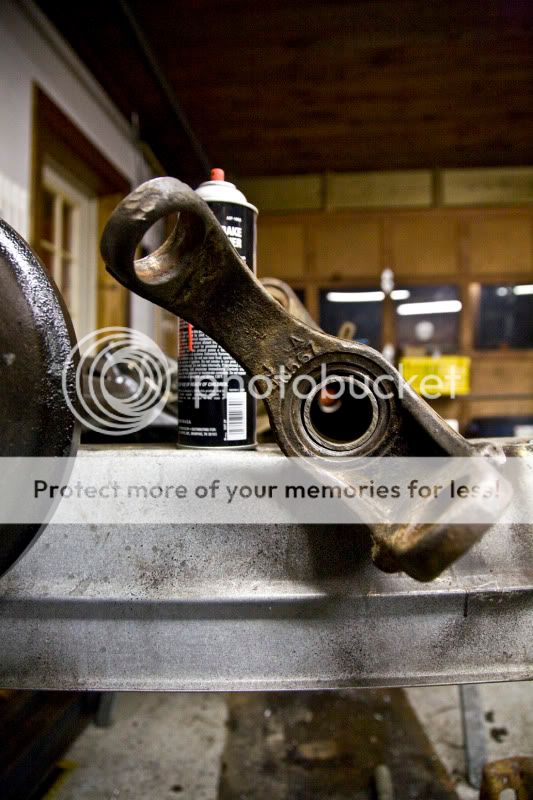
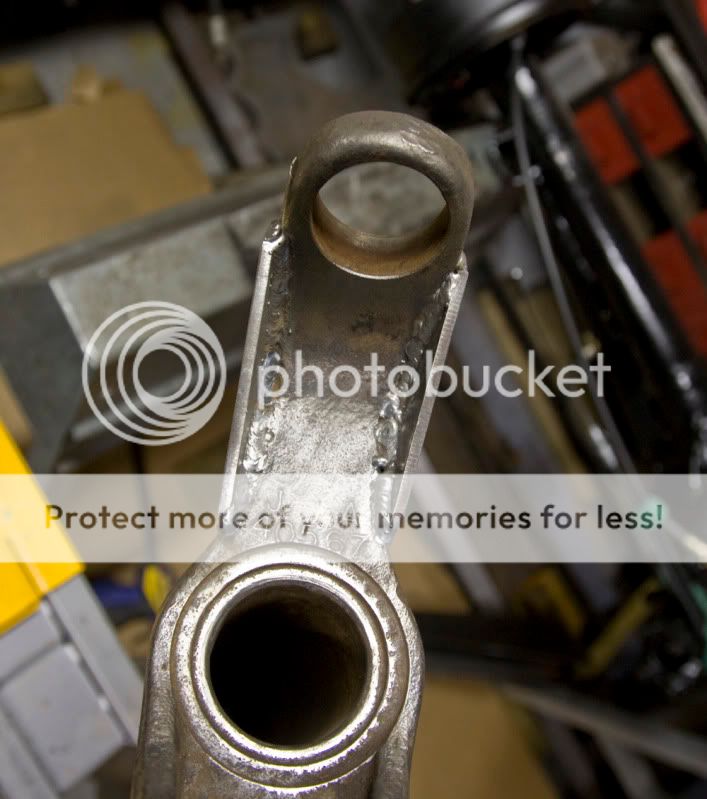
and the control arm monstrosity haha
d30_0003.jpg


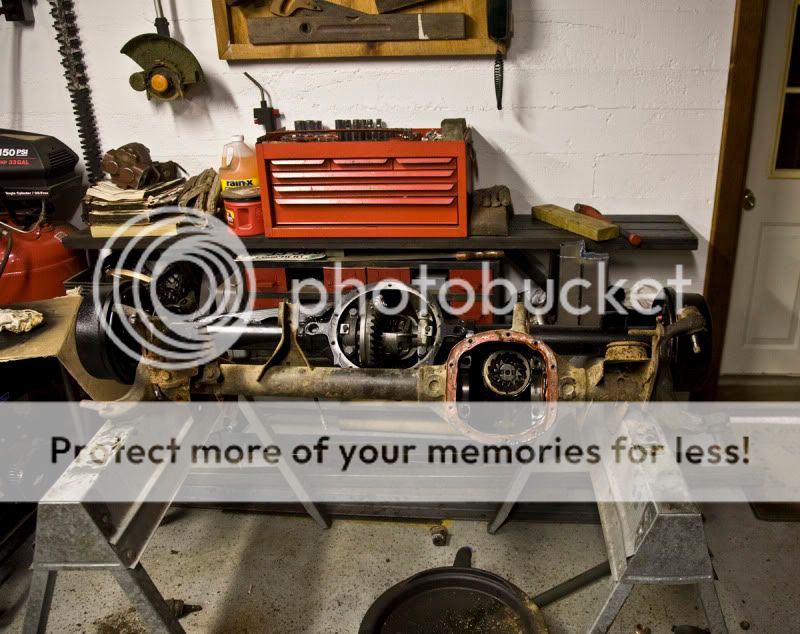
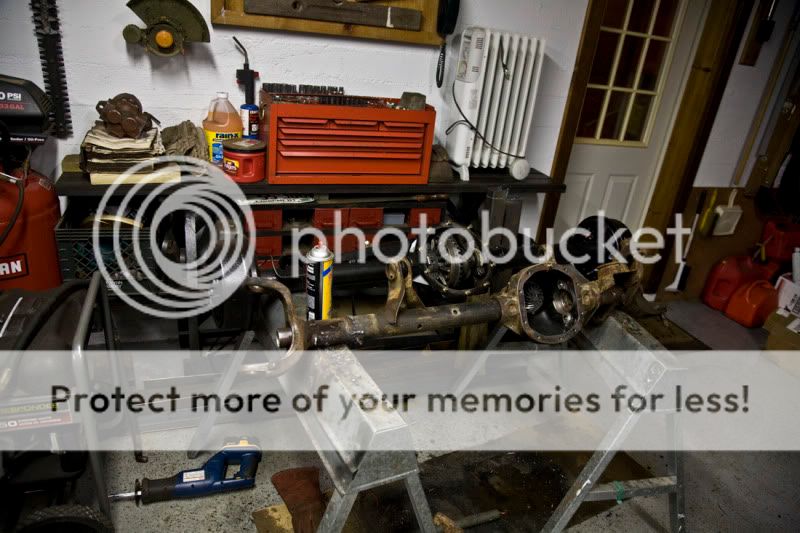
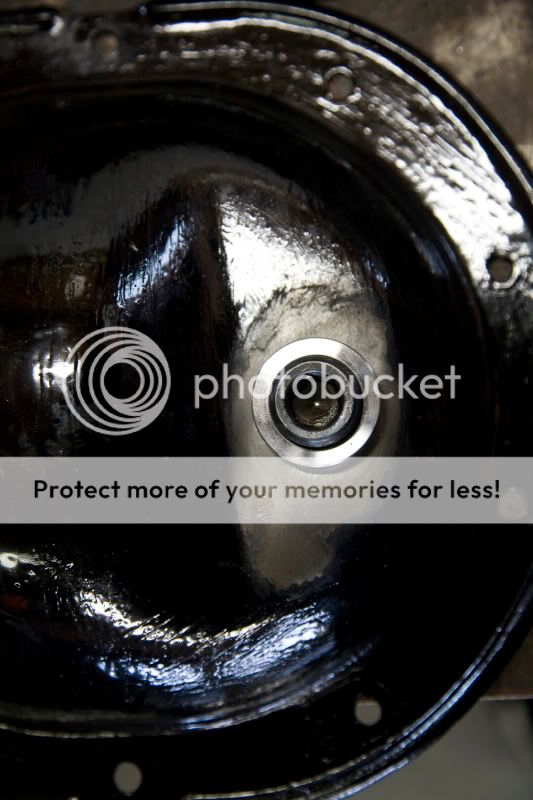
well for free I didn't mind this. So first thing is I stripped it down right away...
d30_0004.jpg


I'll be running another Aussie locker up front here as well.
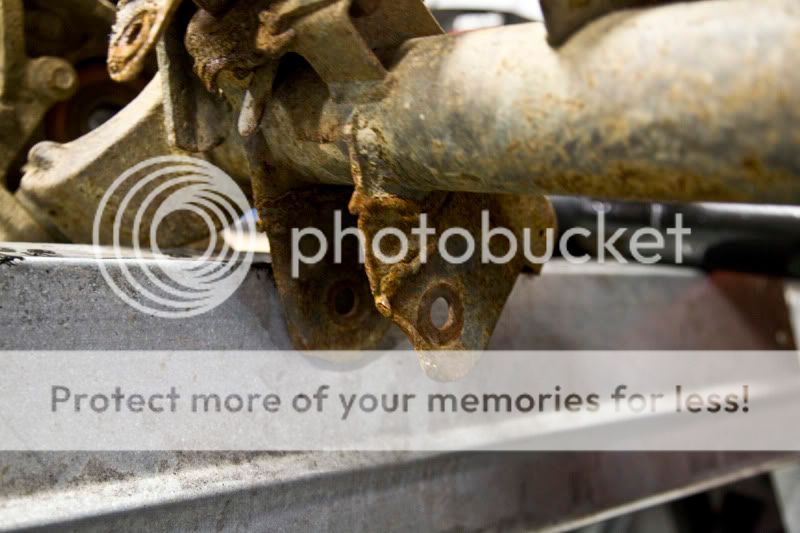
Next was to cut the old buckets and all the mounts off and toss those.

d30_0006.jpg


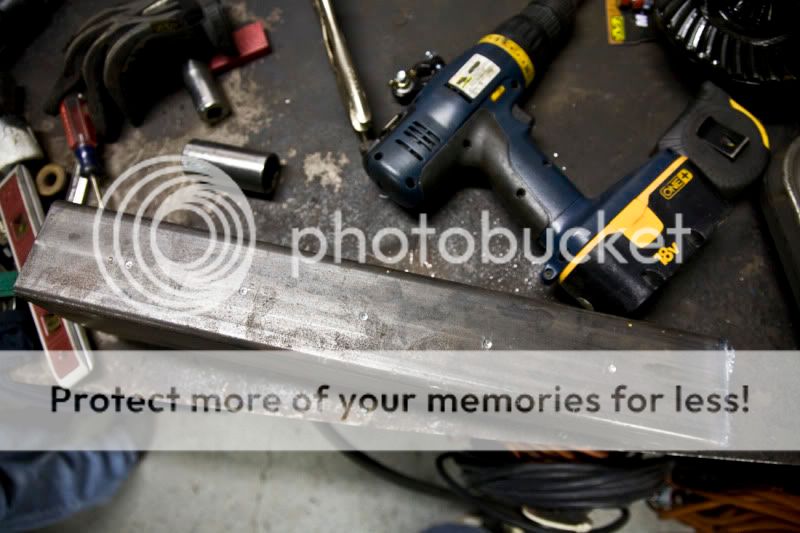
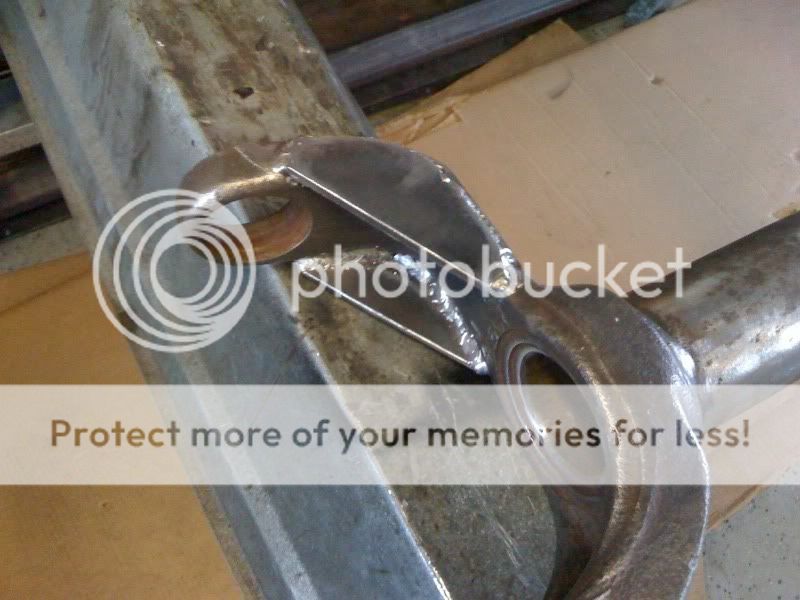
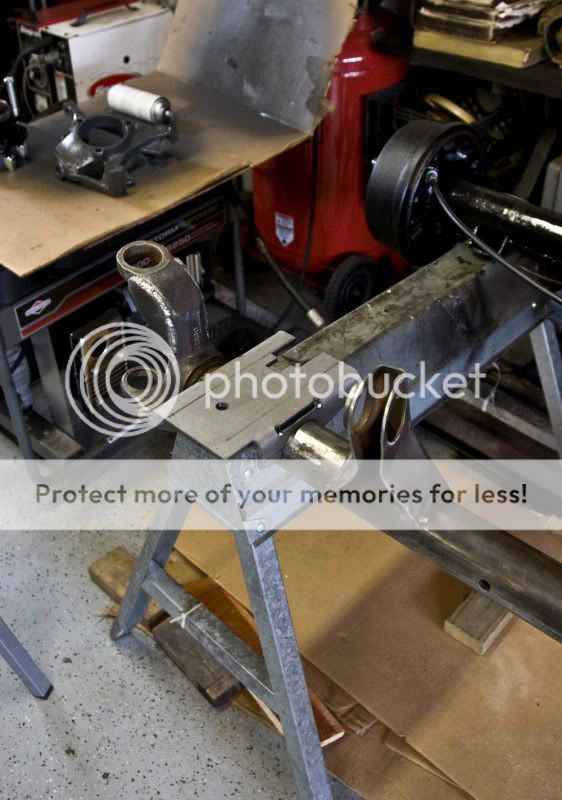
And a pic of the inner truss idea I'm doing. (don't mind the nasty rusted tube just for a visual.)
d30_0007.jpg


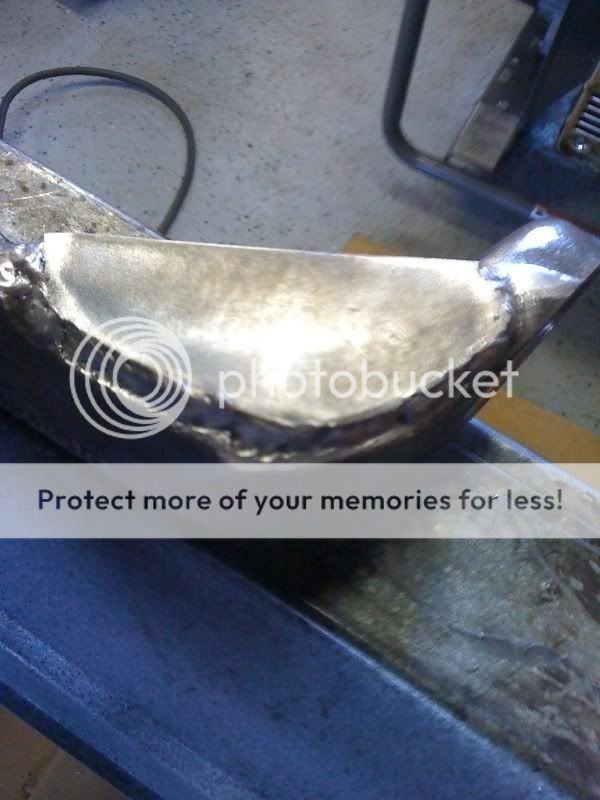
And started the last side of my rear axle truss..
I just hate using a hole saw ughhhh :(
d30_0005.jpg


While I'm on this, anyone know the OEM degrees for the stock coil brackets? Mine are all tweaked so I can't really trust them. And I can't seem to find it in my notes...
 
Alright getting that coil bucket off was a total pain in the ass. but hey it's off..
dana405.jpg


dana401.jpg


I drilled out 4 rosette holes in the tube to help keep the sleeve in place...
dana402.jpg


Now that I cleaned the tube out of dirt, rust, and oil. the new DOM sleeve does have a little room so I plan on ordering a run of Chromoly 2.00x.280 it's I figured I might as well do it right from the start.
dana404.jpg


dana403.jpg


Yea I was pretty excited to get that thing off...
dana400.jpg


That's all I have for now... just waiting on Ballistic fab to come through for me.
 
Well I got a little bit of work done before going BACK to work. 60 hour weeks have been kickin my **s lately. Anways not much to show really braced my inner c's and assembled my knuckles trying to decide of what kind of shafts for this as well. :-/ but anway here's my c's all welded up :D

cbd39751.jpg


8c1d0685.jpg


and my knuckles loaded with all new fresh components
75d6ef34.jpg
 
I will have to say that's impressive to put forth that much effort on a rusty vehicle. You are a better tech guy than I.

Nice work. Coming along well.
 
here's my new updates..


First off some sharper pics of the trusses on the inner C and the completed knuckle assembly

frtaxle_0019.jpg


frtaxle_0018.jpg


frtaxle_0020.jpg


frtaxle_0016.jpg


And my stuff from ballistic came in!!!!

These coil mounts and link mounts are beastly!!!! really really good stuff :)

Ballistic_0001.jpg


Ballistic_0002-2.jpg


Ballistic_0003.jpg


Have a slick solution to take care of that STUPID rubber plug in my 8.25 diff cover :D

Ballistic_0004.jpg
 
Why did you paint the rotors? Seems like a waste of time and a great way to give yourself a decent chance of sliding around while the melted paint keeps your brakes from actually working.
 
Also just noticed (when trying to see if they were graded bolts or not) that you have your brake calipers swapped - they're not going to be very easy to bleed that way.
 
Are those bolts connecting your bearings to your knuckle graded...?

Yes there grade 8, they were also an odd metric size but yes there graded.

Also just noticed (when trying to see if they were graded bolts or not) that you have your brake calipers swapped - they're not going to be very easy to bleed that way.

haha yea sorry I noticed I put the wrong side caliper on the wrong knuckle... I fixed it after I took that pic lol I also paited the rotors with Caliper paint, I just hate having the fins and hat rust like crazy, just trying to prevent it a bit. I figured it wouldn't be a problem using that stuff.
 
Back
Top