check this out. i tried to set a link and couldn't so i just copy and pasted.
User Info IM User Email User Reply Quote Report
I have been doing a write up over in Cars and Bikes about my CJ-7. Some have asked how I had it set up in terms of equipment, and asked that I did a write up specifically on the loadout.
My goal was to try and carry all the parts and tools I'd need to make basic repairs while on the trail, and sustain myself back to base camp to do any serious repairs. Turns out I field tested my system twice on my latest outing, and it worked fine. Had to replace two radiator hoses in the field, and also replace a broken spring shackle hanger. I was able to make the repairs with the equipment I had on board, minus the hanger which I ran across a streak of luck to find.
I'm not sure this setup would be 100% applicable to a BOV, because in my particular vehicle (dedicated 4 wheeling rig) my loadout takes up a lot of room. But, there is still plenty of room for more gear as well.
Anyway, feel free to look through and pick and choose anything that may help you with your vehicles.
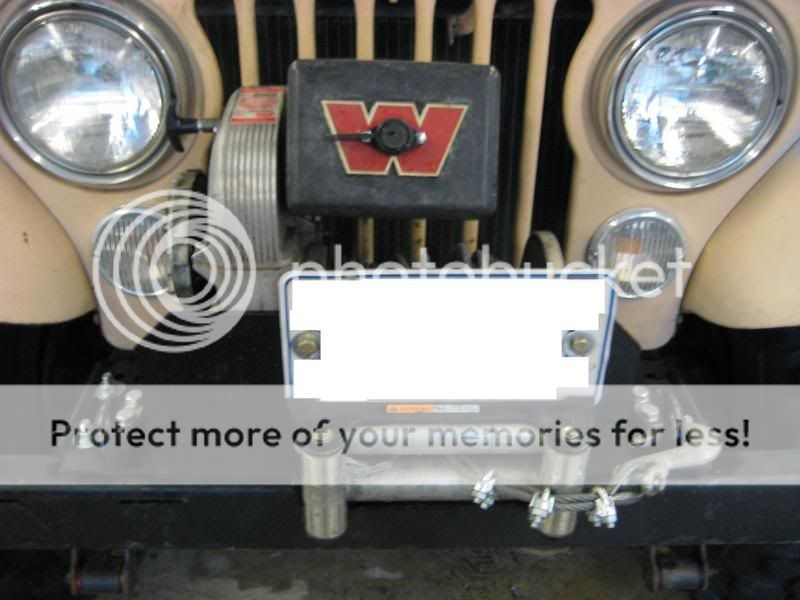
Here is the vehicle, it's a 1980 Jeep CJ-7. It has a 258cid inline 6, with a 4 speed manual.
On the front is a Warn M8274 8,000lb winch. It's mounted in a Warn mounting plate, and I drilled holes for two tow hooks. Winches don't do much good without sufficient recovery points. I intend to add a swing-away tire carrier/rear bumper soon, which will add recovery points to the rear.
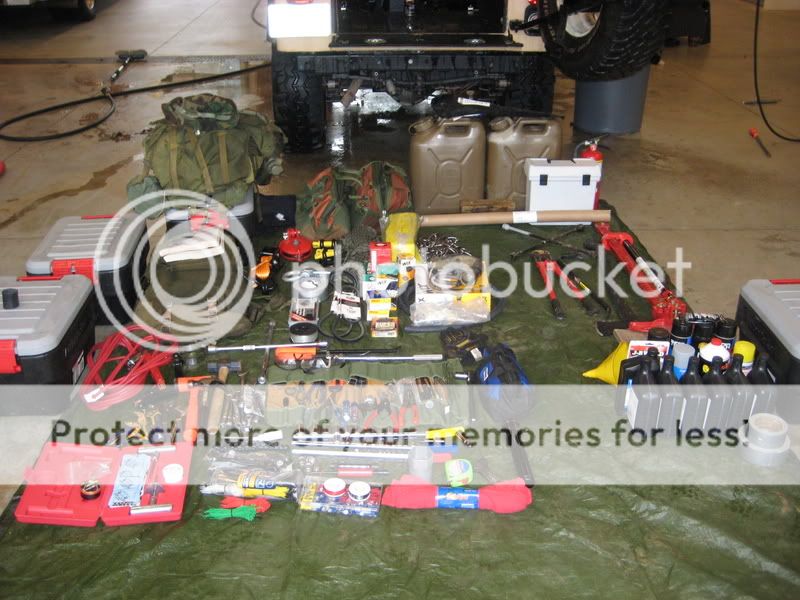
Here's all the equipment that stays inside, laid out on the ground. It looks like a lot of stuff, but when it's packed creatively it goes in well, leaves plenty of room for extra gear, and stays in place during bumpy off road maneuvers. My packing system is modular, and consists of four rubbermaid tubs and some soft bags. The idea is to be able to secure equipment inside the tubs and bags and be able to strap it down so it doesn't move. Having standardized containers makes it easier to organize, secure, and find the stuff that I need.
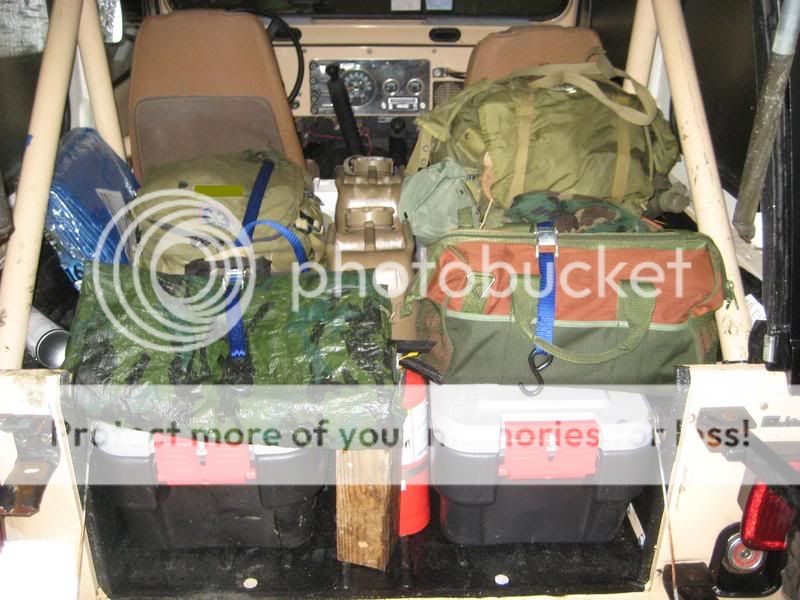
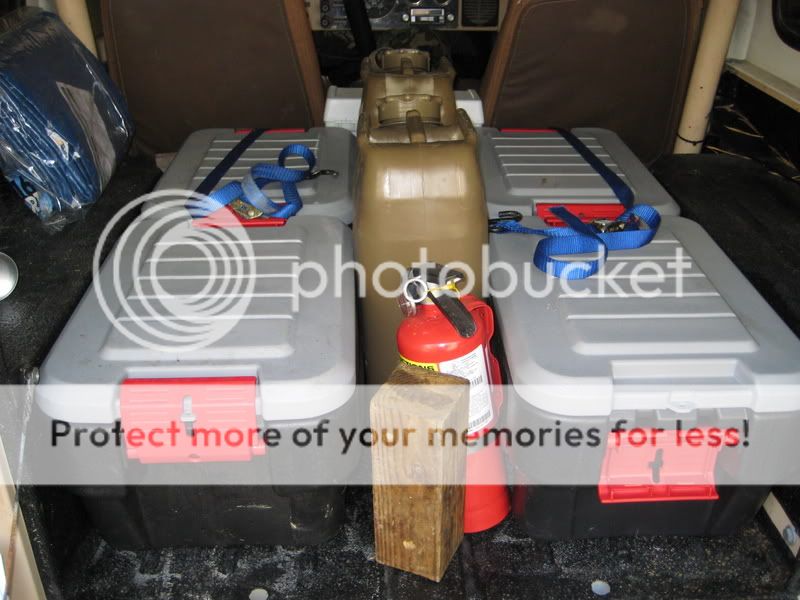
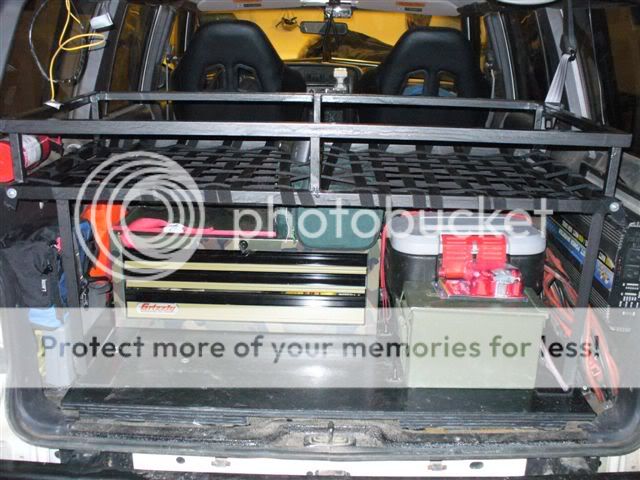
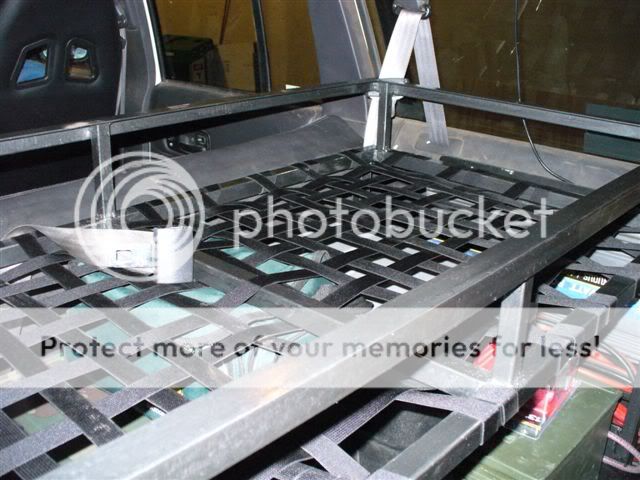
Here's a view of all the stuff loaded up in the back of the Jeep. It fills up the rear cargo area, but as you can tell, with the hard top there is still plenty of room to stack additional gear, dufflebags, clothing, equipment, and what not on top.
The equipment is layered, with the four tubs and some additional items making up the first layer, and the soft gear as the second layer. It's all strapped down using two cam-buckle cargo straps, which are secured to tie-downs that I installed in the floorboard and the tailgate. The two MFC's will be stored on the swing away bumper when I get it, and they will be replaced by two MWC's in the same location inside. The fire extinguisher eventually will be mounted somewhere convenient and easy to access, but again, for now it is loose. The tarp is very handy for trail repairs, no sense in getting swamped in mud while trying to work on your equipment. It of course is a regular tarp, and can be adapted to many other uses easily.
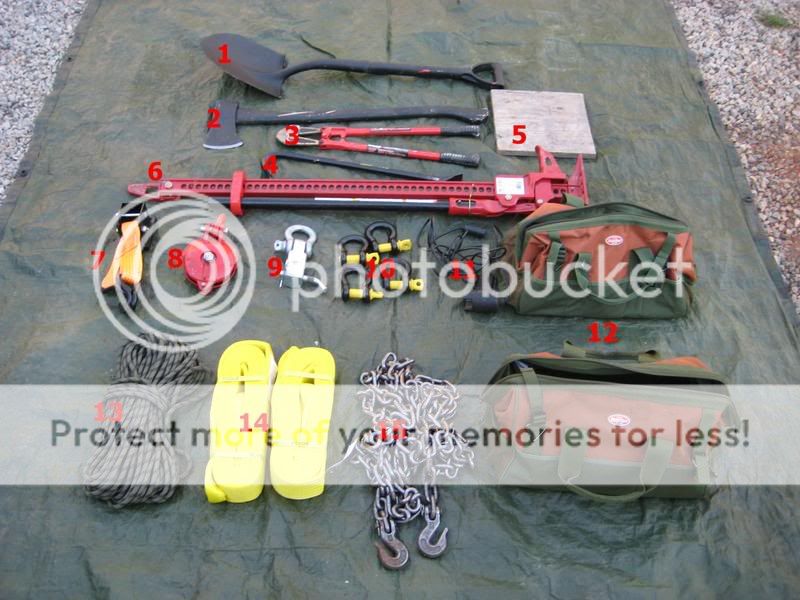
The two soft bucket-boss bags contain the recovery equipment. They stay at the top of the layer so that they can be retrieved easily when needed.
1. D-handled shovel
2. Flat head axe
3. Bolt cutters
4. Wrecking bar
5. Plywood base for Hi-Lift
6. Hi-Lift Jack (also, spare parts kit not shown)
7. Hi-Lift Helper (attaches to holes in wheels and lifts truck by rim)
8. Snatch block
9. Receiver Shackle
10. 3/4" Shackles
11. Winch remote
12. Bucket Boss canvas cargo bags
13. Rope (Just watch Boondock Saints if you need to know why)
14. (2) 3" x 20ft snatch straps
15. 3/8" x 20ft transport chain
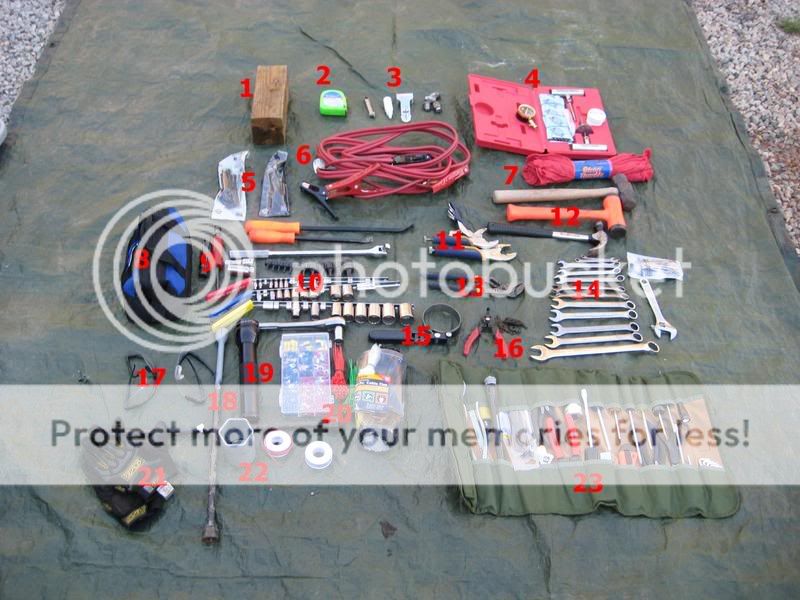
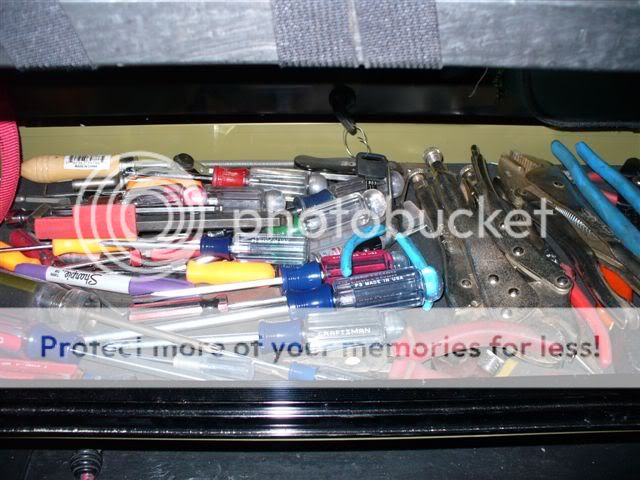
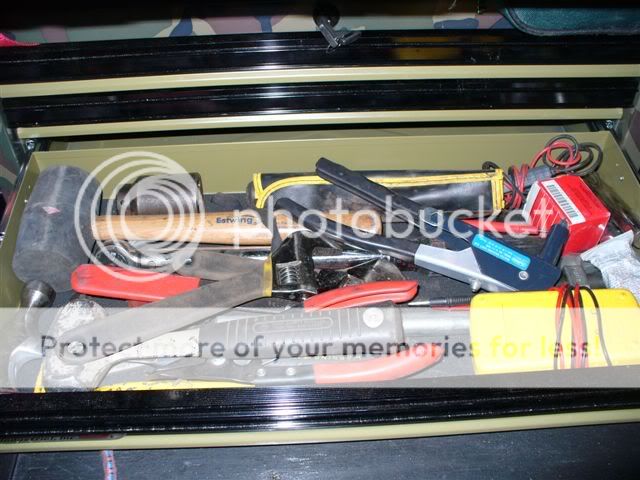
One of the outermost tubs contains tools. I am not rich enough to own a dedicated set of tools for my jeep and one for my toolbox in my garage, so I just transfer over a lot of the tools when it's time for a trip. I tried to bring along the tools I'd need to make standard repairs, and some specialty repairs for crippling damage (hub removal socket, etc) for trail carnage.
1. 4x4x6 Wooden Block
2. Tape measure
3. Plug gapper, gasket scraper, spare lug nuts
4. Safety Seal tire repair kit w/ gauge
5. Hex wrenches
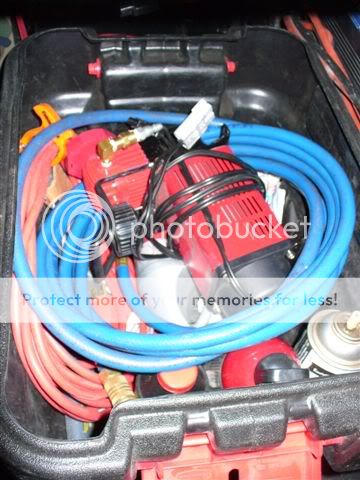
6. Jumper cables
7. Shop rags
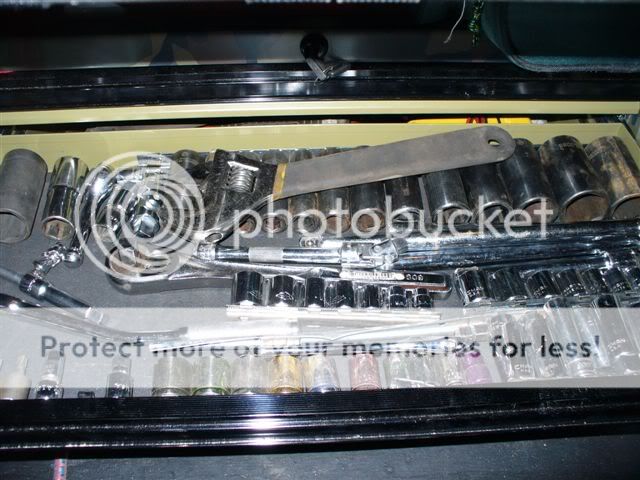
8. Assorted sockets and ratchets
9. Drum brake tools
10. More ratchets and sockets
11. Vice grips
12. Hammers
13. Channelocks
14. Box wrenches / adjustables
15. Strap wrench
16. Circlip pliers
17. Eye pro
18. Tire iron w/ correct side spray painted (got tired of turning it around and around)
19. 2 cell Maglight
20. Electrical equipment (zip ties, connectors, tape, etc)
21. Mechanix gloves
22. Hub tool for CJ front hub nut
23. Various hand tools (pliers, screw drivers, wire crimpers, razor, hacksaw, battery tool, etc)
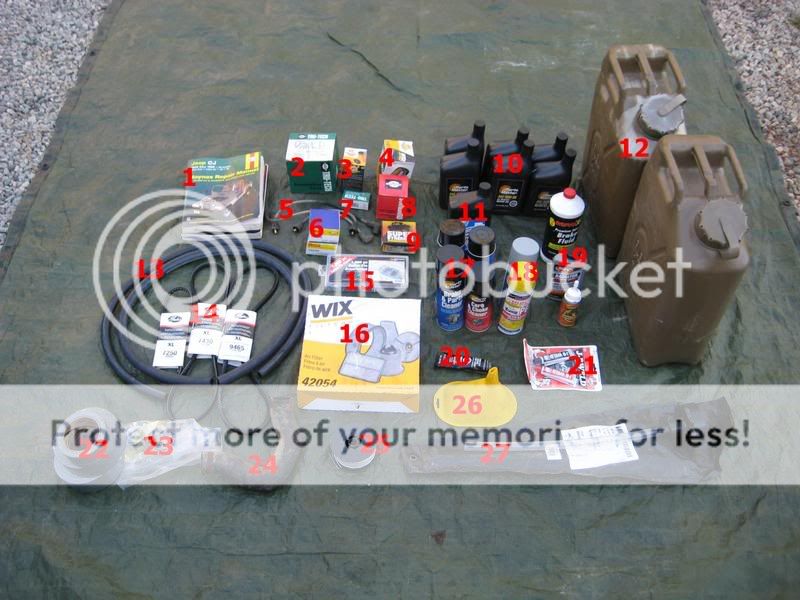
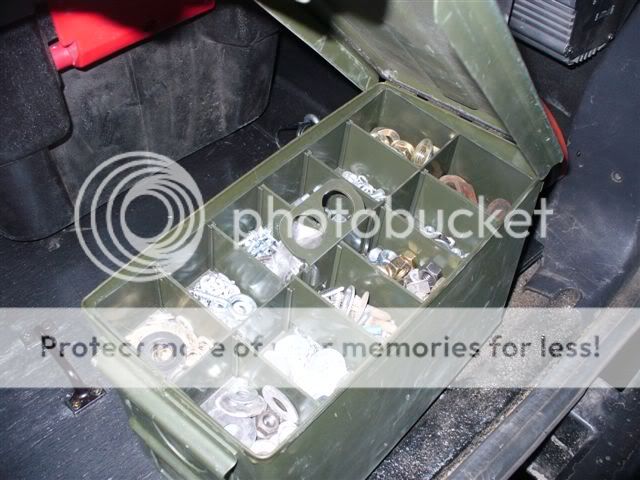
Two more of the tubs contain spare parts and fluids. I can't carry every single spare part on the jeep, but I am slowly compiling a selection of stuff that breaks often or can cripple the jeep if it goes down. To save money, as I perform upgrades or basic maintenance, I keep the old parts if they are in good condition, and they become the trail spares. That's where I got the distributor cap, button, fuel filter, plug wires, etc. I carry a full oil change, along with some other essential fluids (need to add gear oil!). I also carry some shop supplies to work on the jeep in the field.
1. Haynes repair manual
2. Distributor cap
3. Fuel filter
4. Oil filter
5. 2 longest plug wires, 1 coil wire
6. Thermostat, radiator cap
7. Rotor button
8. Starter Solenoid
9. Front axleshaft U-joint
10. Oil change
11. Power steering fluid
12. (2) Military Fuel Cans
13. Heater hose
14. Accessory drive belts
15. Cotter pin assortment
16. Air filter
17. Shop supplies (engine degreaser, carb cleaner, brake cleaner)
18. Shop supplies (PB Blaster, grey primer)
19. Shop supplies (DOT 3 brake fluid, radiator stop leak, gorilla glue)
20. Shop supplies (sillicon RTV gasket material)
21. Shop supplies (JB Weld)
22. Duct tape
23. Hose clamps and assorted bolts/nuts
24. Radiator hose
25. Bailing wire
26. Funnel
27. MFC Spout (3/4" gasoline version)
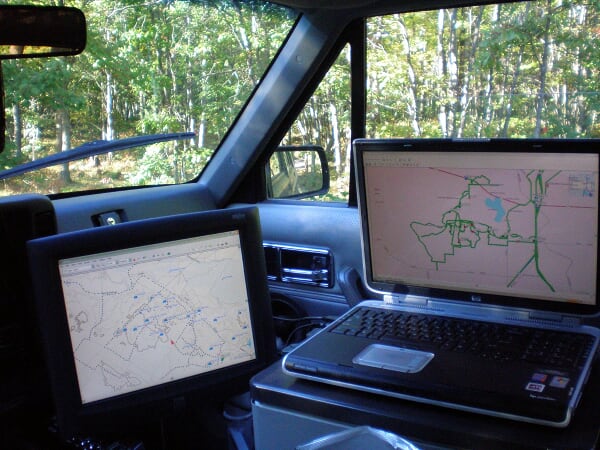
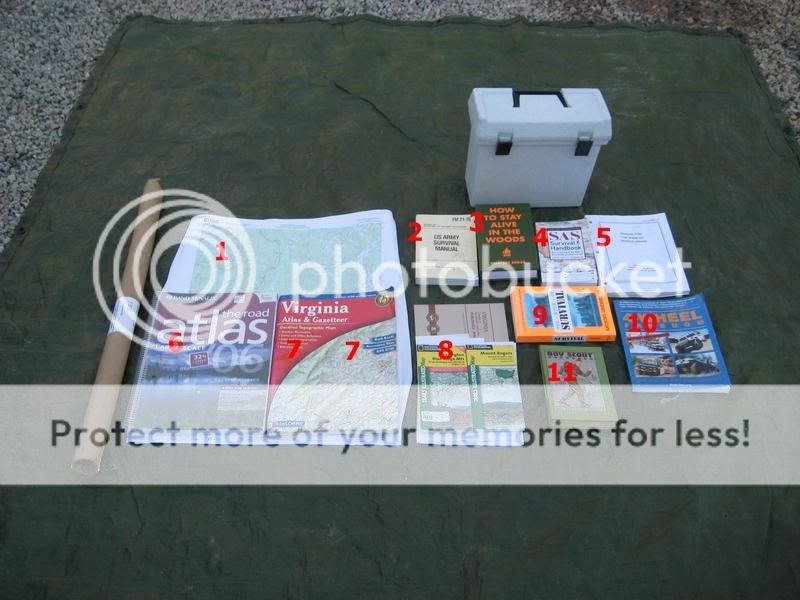
Here are the maps, books, and manuals that stay in the vehicle. Plenty of USGS topo maps for areas near home and areas we travel to, a Delorme atlas with detailed topo maps that shows many smaller jeep trails (great resource, get the one for your area! lots of roads that aren't on other maps are in this book!). Also, plenty of good reference manuals and materials for field use. I plan to laminate the maps and make overlays.
1. USGS topographic maps for AO's we go to
2. FM 21-75 US Army Survival manual
3. How to Stay Alive in the Woods (Bradford Angier)
4. SAS Survival Handbook (John Wiseman)
5. FM 21-20 Wheeled Vehicle Driver
6. Rand McNally atlas
7. Delorme Topo Atlas and Gazetier (BUY THIS BOOK FOR YOUR AO!)
8. Various NG maps, state forest maps, WMA maps, etc
9. Survival book, unknown author
10. 4 Wheel Freedom (Bill Burke)
11. Boy Scout Handbook (8th edition, I believe, circa 1960's)
The fourth crate holds camping supplies such as air mattress, stove, cookwear, 550 cord, chem lights, etc. My rucksack for this particular trip was packed with clothing and hygiene supplies and sleeping bag, and the other bag is my BOB that stays packed. There is some redundancy in some of the equipment that way, but I know that if I grab the BOB and nothing else, I'll at least be set.
Also, I have a full size spare tire. I run 33"x12.50" Super Swamper TSL tires on 8" rims, with a 33"x12.50" BFG MT as a spare. Most trucks these days come with a full size spare, but if you upgrade your tire size, make sure you remember your spare. Also, make sure you remember it when it comes to maintenance, keep it inflated, make sure it isn't dry rotted, and consider rotating it onto the ground every now and then.
This is the stuff that stays in my dedicated trail rig, then we add camping supplies as well. Please feel free to critique it, I'm not that concerned with redundancy or trimming halves of ounces, but I'm always willing to take advice! Again, it may not be the perfect setup for a BOV, but maybe it can generate some discussion and help someone out with planning their own setup. I'm slowly trying to duplicate (on a smaller level) a similar kit for my Taco doublecab.
Posted :: 10/31/2007 5:56:15 AM CST
http://http://www.ar15.com/forums/topic.html?b=10&f=18&t=606659