• Welcome to the new NAXJA Forum! If your password does not work, please use "Forgot your password?" link on the log-in page. Please feel free to reach out to [email protected] if we can provide any assistance.

DIY Cowl Hood

Lots of welding and grinding. Figured I didn't need to bore you guys with that. I'll post a pic up when I have the drivers side welding and grinding done.
 
After checking the fitment of the filler panel I found that I need to hammer down the edge of the hood more. I marked the placement of the panel with a sharpie before I cut it free from the hood. I marked it where the panel laid flat against the lower section of the hood, to give a reference of where to trim the panel.

3940106278_985b06f9ff.jpg


Then use the same technique as before with the piece of wood as a dolly and a hammer. Here is the shot of the hood after hammer forming the rest of the edge.

3940105480_2d1baecef5.jpg


With the edge hammered down the filler panel fits better a long the top portion of the hood, but not the bottom due to the tapered body line of the hood.

3940105774_1cc19d17fa.jpg


Now trim the panel along the bottom where it lays flat with the lower section of the hood.

3939329825_8048953930.jpg


With your 60 grit flap wheel clean up the edges, as well as clean the surface of the panel on both sides. This will help with getting better penetration on your welds.

Here you can see the inner radius of the pipe with a section of panel cleaned off compared to the rest of the panel on the left end in the picture.

3939330105_3eb1d7681b.jpg


Here is a comparison shot of the outer radius of the panel cleaned up. (Untreated piece on top)

3939330411_d3fb65e8f9.jpg


You will find now that you have trimmed the piece in half that it is much more flexible and easier to line up against the hood. With the piece mocked back into place press the filler panel up against the raised section of hood. With your free hand take your sharpie and trace the line of the hood along the back side of the filler panel.

3939330989_1cc9ec1ec8.jpg

3940108364_0c0b51748f.jpg


Now trim along the line, be sure to cut to the high side of the line. Then take some time lining the panel up and trimming it down to a better fit with your flap wheel. Also use the flap wheel to clean up the edges of your cut.

3940108598_a863163b61.jpg

3940109176_9a953131bd.jpg


Now set your hood height again and clamp the patch panel in place. Be sure to leave enough of the panel along the top to allow you to trim it to follow the transition between the two edges of the hood. Tack your piece in place and double check for height and fitment.

3939332417_5243b88d4f.jpg

3940110254_fbb7d059bd.jpg

3940110528_f3d410b081.jpg
 
Now work you way down the panel tack welding the panel in place. Again be sure to space out your tacks to help keep the heat down. This will lower your risk of building up to much heat and burning through or warping the metal. When you need to push the panel against the hood to weld it, a good tip is to use a piece of wood to press the two together. Here are a couple of shots showing what I mean.

3939333717_cafa6ed4eb.jpg

3939334031_02866d809a.jpg


To finish of this post here are a few shots of the tack welding and some cleaned up shots.

3940111696_2febc21744.jpg

3940112488_2eda53ff8f.jpg

3940111940_ac4674dfc6.jpg

3940113076_2e0f0177f1.jpg

3940113542_bb88812c5e.jpg


I still have a lot of welding and grinding to do and then I get to repeat the whole process on the other side. I will post up shots of the rest of the work on the drivers side. I will leave out the passenger side as it is just the same process over again. I will then cover the finishing and painting of the hood.
 
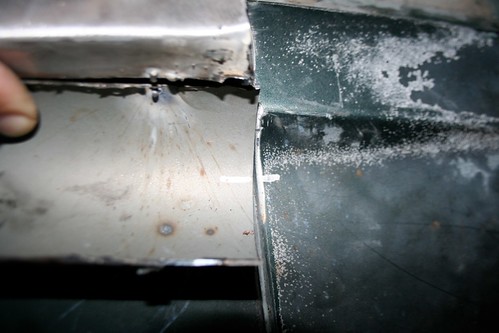
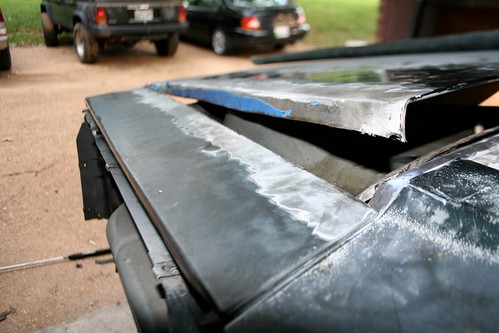
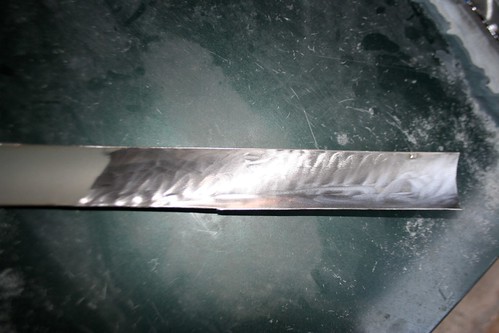
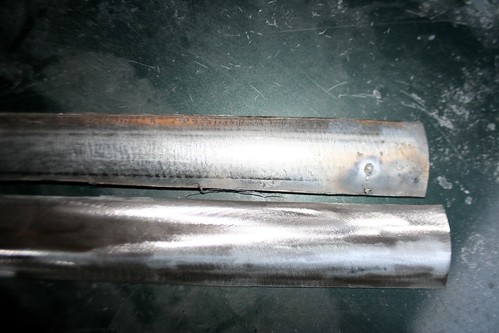
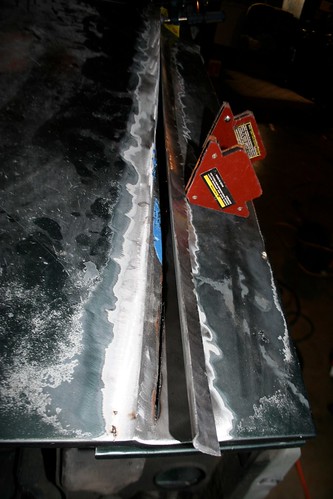
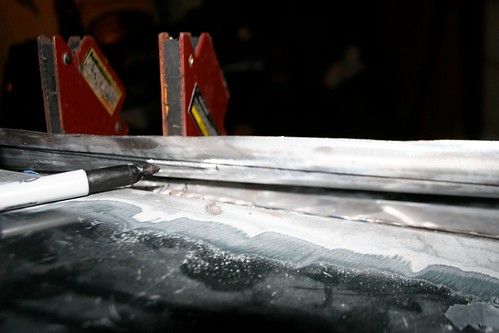
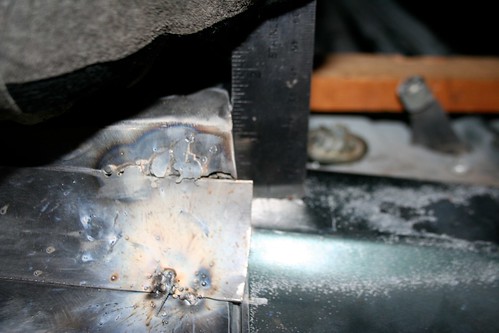
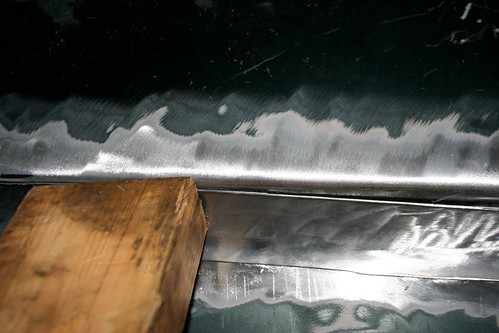
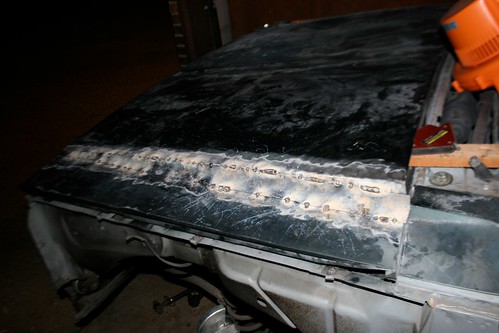
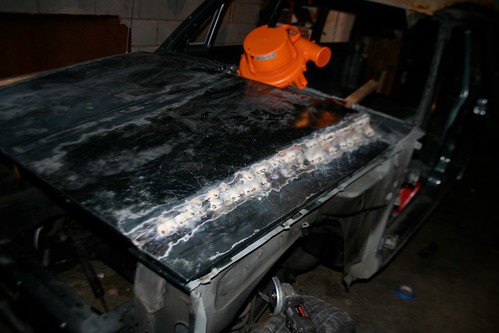
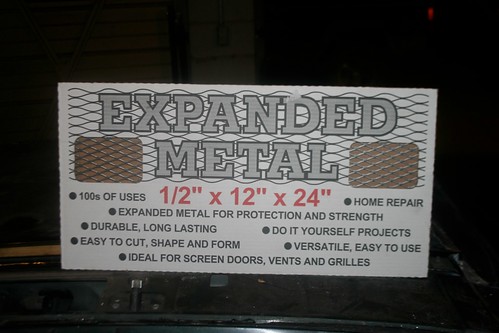
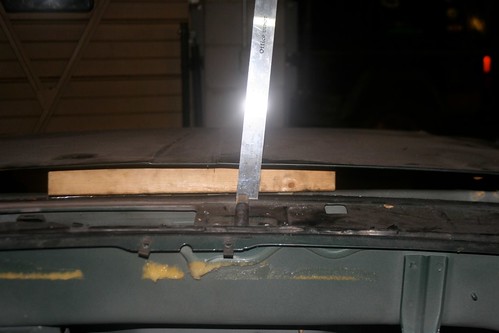
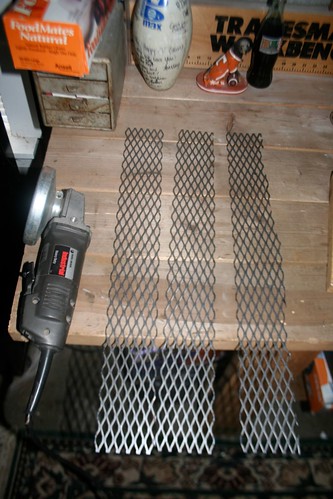
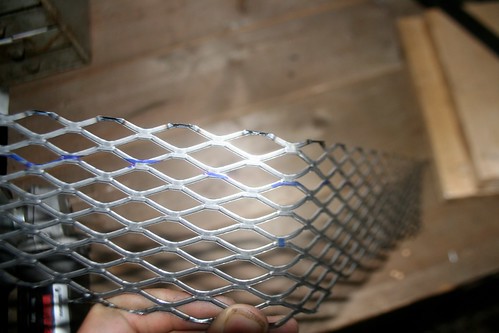
Now both sides have the patch panels welded in, with finish welding and grinding still in order. I'll post pics of that later on once it's finished up. Moving on now to the bracing of the hood in the center. As you may remember in the first post I had to separate the skin of the hood from the bracing to allow it to be raised. This left the center of the hood very flexible and would not be strong enough for driving conditions. I did not want to use solid pieces of metal to add support as this would cut down on the air flow. So after a quick trip to Home Depot and $10 later we have:
3939339239_7f0c0c16bd.jpg


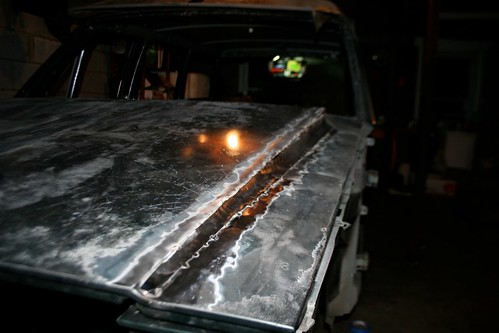
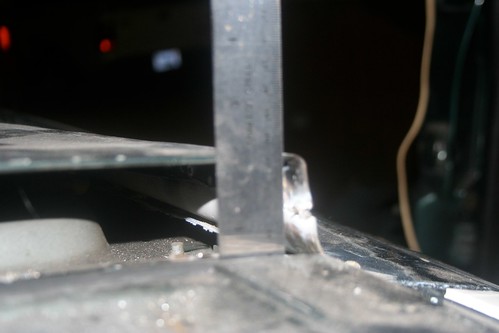
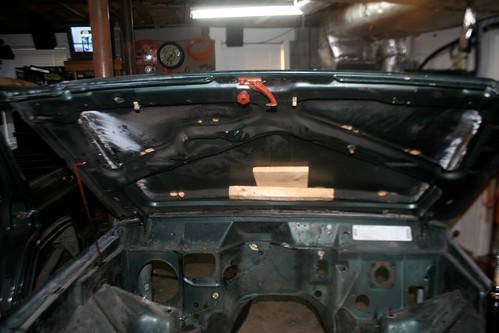
Now starting at the back of the hood I measured to make sure that the center was at the correct height compared to the ends.

3940114316_f3d68d0d88.jpg

3939337479_8dd4ba0326.jpg

3939337857_837698e558.jpg


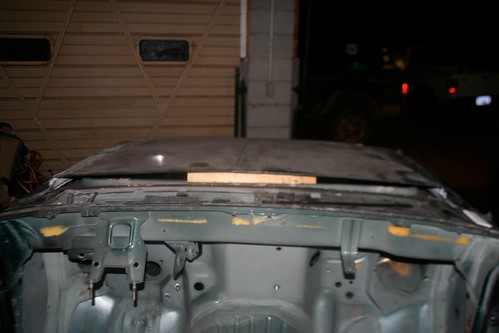
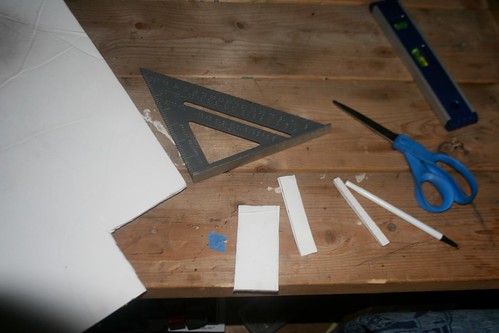
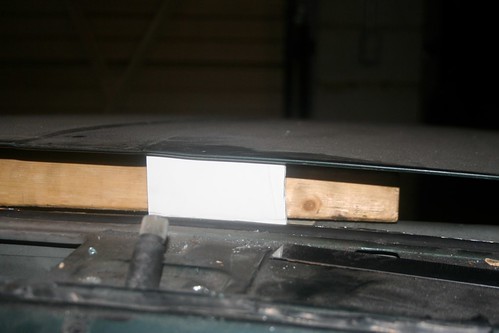
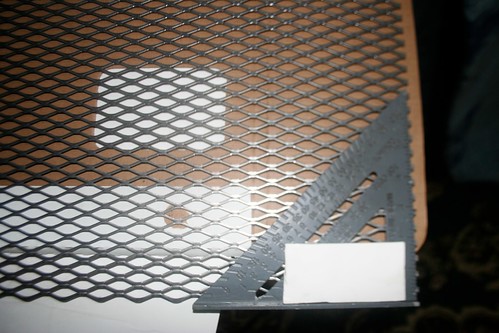
Next grab a marker, square, scissors, and some card board. I cut out a piece and trimmed it until it filled the space between the hood skin and bracing.

3939338377_b1a1ae8179.jpg

3940116048_342c29b331.jpg


Next transfer the measurement over to your expanded metal and cut into appropriate lengths. Make sure to allow a little extra so that you will be able to trim the metal to the natural curve of the hood.

3939339811_9bb1e7b577.jpg

3939343161_6e9699e211.jpg


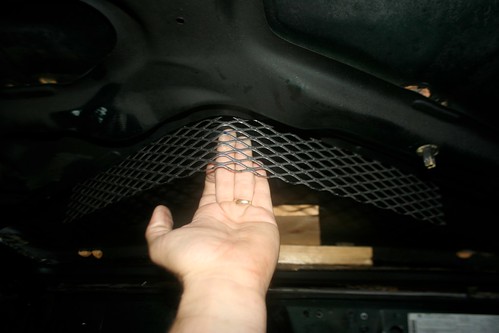
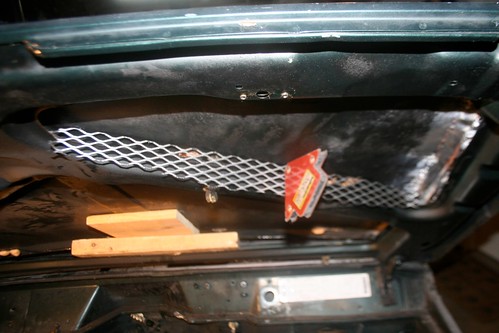
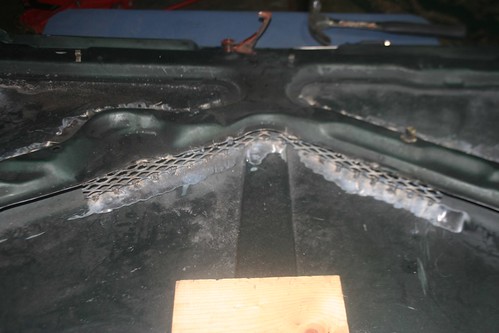
I will be coming back to the rear portion of the hood but for now I'm going to focus on the inner supports. With the hood opened I took the strips of expanded metal and mocked them into place.

3940120684_1cfbfefefc.jpg


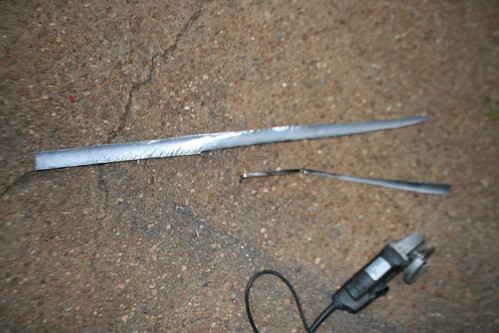
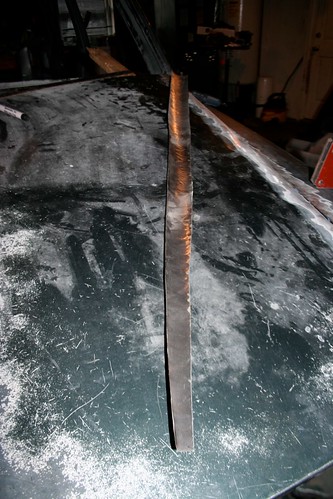
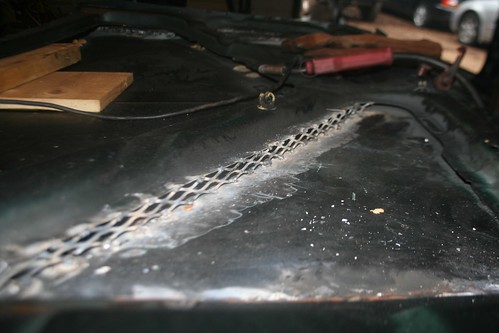
Starting with the back side of the brace, I centered up a piece of expanded metal and bent it into a V to until it fit well along the brace. The expanded metal is very easy to shape by hand. Most of the bends I did by hand or with the edge of the table and a hammer.

3939343857_57f69cdf17.jpg


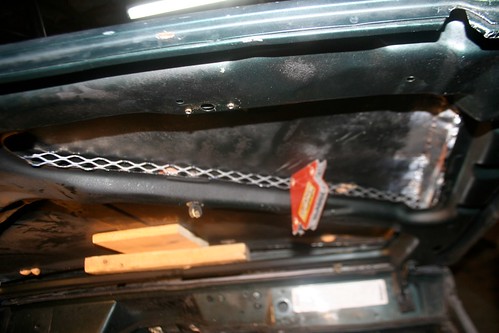
With the piece held in place against the brace, take a sharpie and trace the edge of the brace along the expanded metal with your free hand.

3939344465_a3b1a59f5b.jpg


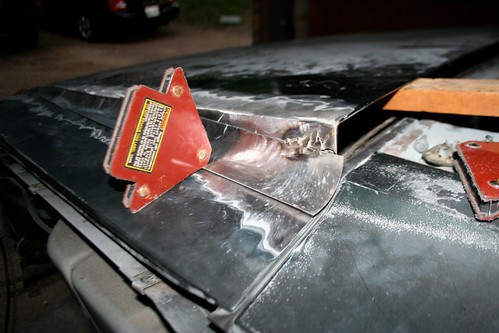
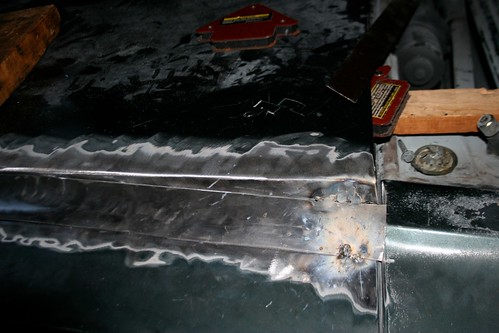
For the front right brace it was easy to fit. I only had to bend the last 1/2" or so for it to follow the contour of the brace. Then trace and cut just like the last one.

3940121714_7b6f0cc3b6.jpg

3939344973_440a40257f.jpg


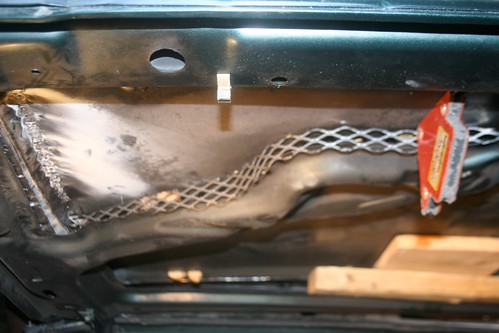
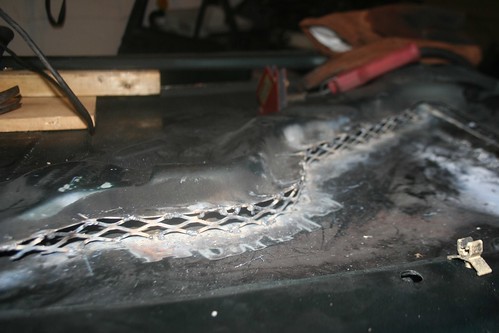
Now the left brace takes a bit longer due to the brace accommodating for the clearance of the A/C compressor. Just keep working the metal until it matches up. You won't get a perfect fit the first try, it will take a lot of tweaking and fitting. Like I said it's very malleable with your hands so it's not that hard to get the fit.

3939345241_9645ef6ecb.jpg
 
Next I put the hood on a work table, cleaned off the hood where it needed to welded. Take your time and make sure you have your welder set at a low heat as you will burn through the expanded metal very easily. Here are some shots of the braces welded in.

3940124260_c907b66676.jpg

3939346287_9154510d74.jpg

3940123984_31dfa81014.jpg
 
So, do we only get updates once a month.

Paying jobs come first.


No shit pay the guy to make one for you then you have all your updates you want.

Looks good man. I just built my cowl and went the strightened edge look bent out at bottom and turn out nice enough but I like you idea behind this and look forward to seeing how it turns out to look.
 
man this is looking awesome. i did the same thing with my camaro hood, but instead of using a tube to get the curve, i just used fiberglass. ive got some pictures of it if u want to take a look
 
Back
Top