Jeepedo129
NAXJA Forum User
- Location
- Henderson, NV
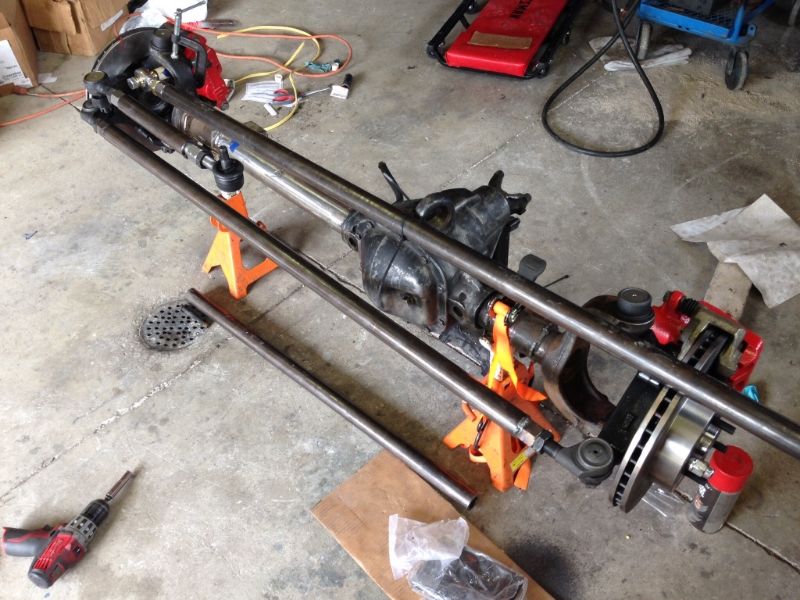
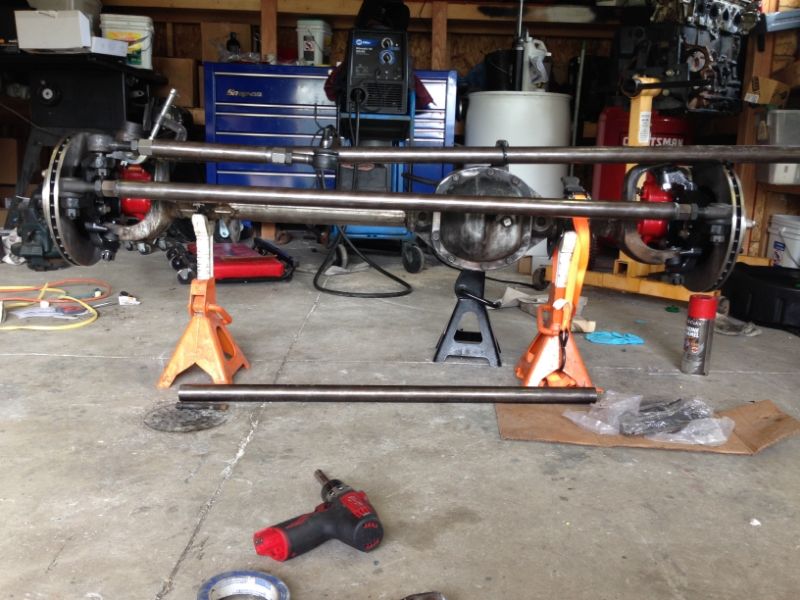
So, in my spare time this week I got a small part of the WJ steering done.
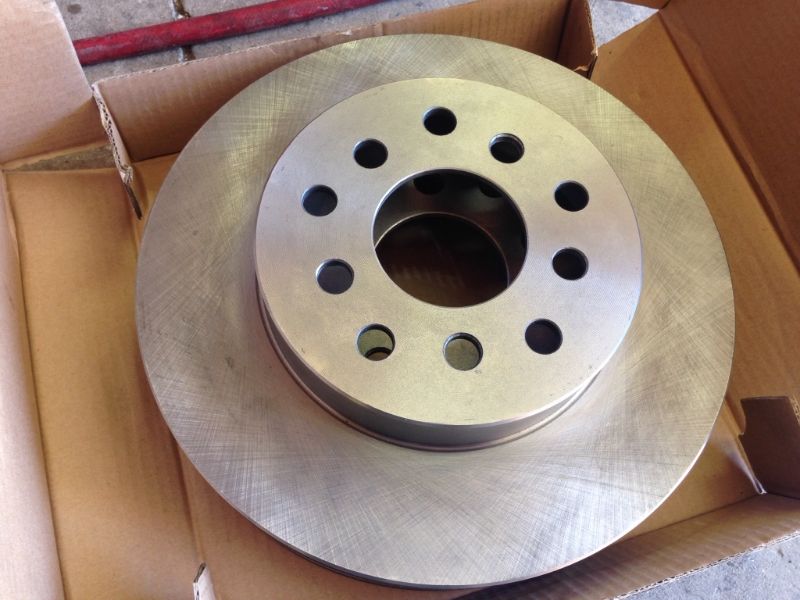
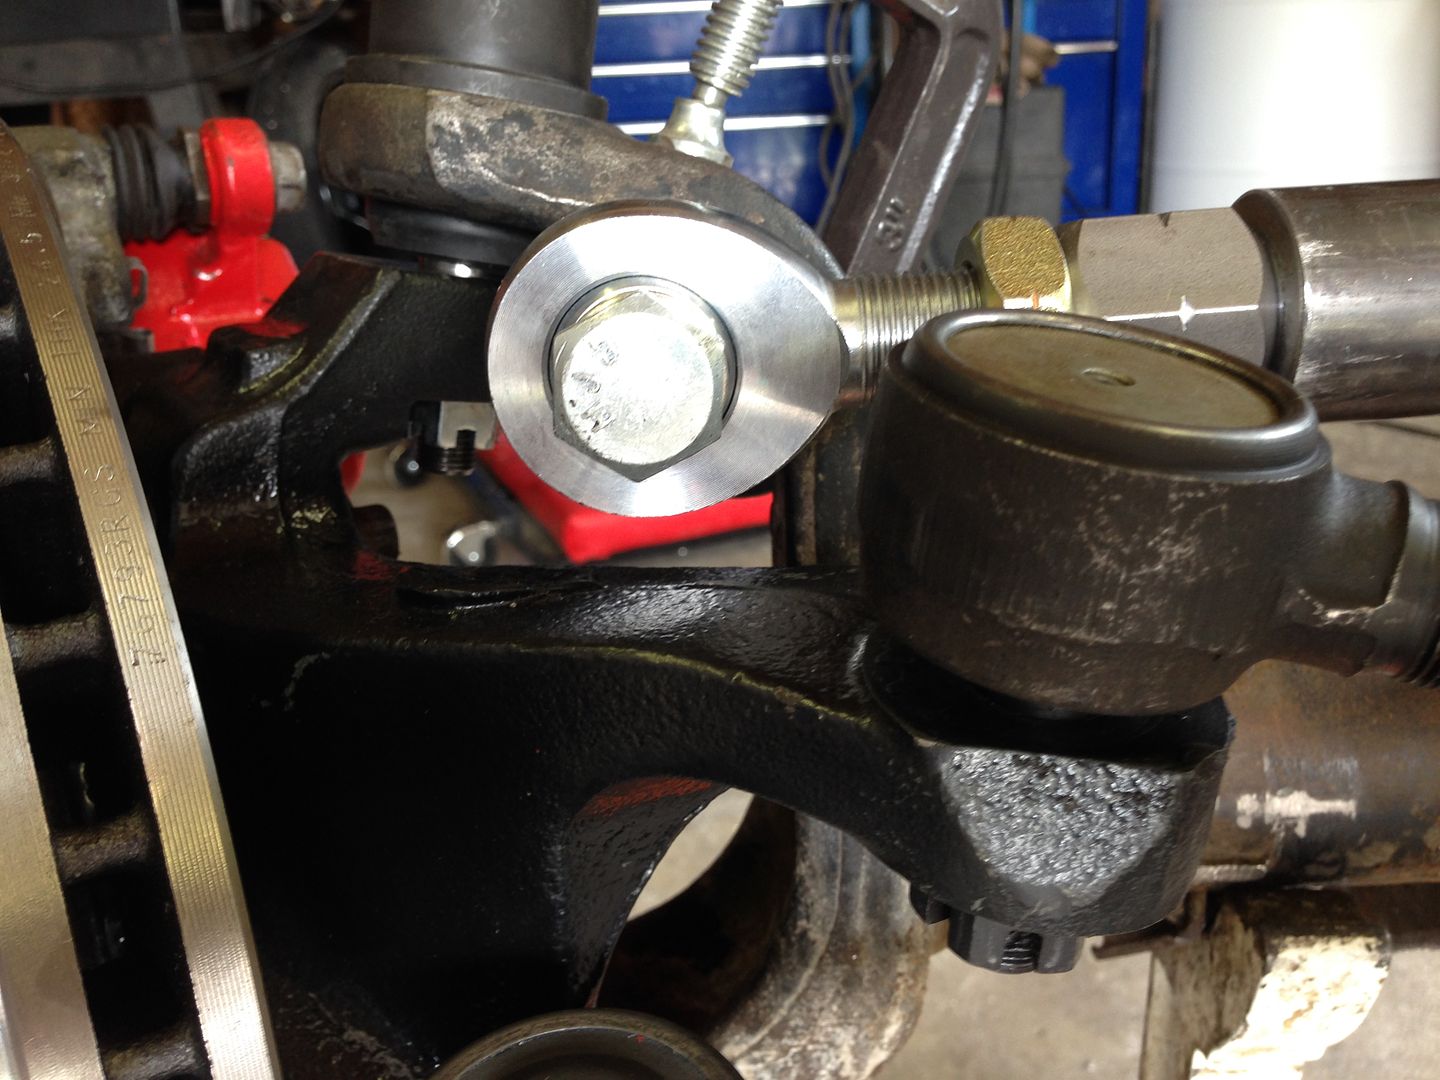
I bought new unit bearings, I used 2003 TJ unit bearings, got them for 130$
Then I cleaned up my knuckles, and the cheap ass in side of me didn't want to go get them blasted soooooo I decided to try electrolysis. Yeah science
I went to school to be an Aircraft mechanic, so part of that was metallurgy, and learning about how to heat treat and clean certain metals. I did a quick online refresher to check my knowledge and gathered my supplies.
First I got a 6/12v battery charger, washing soda (soda carbonate) a 15gal tub, wire and some random scrap pieces for my anodes.
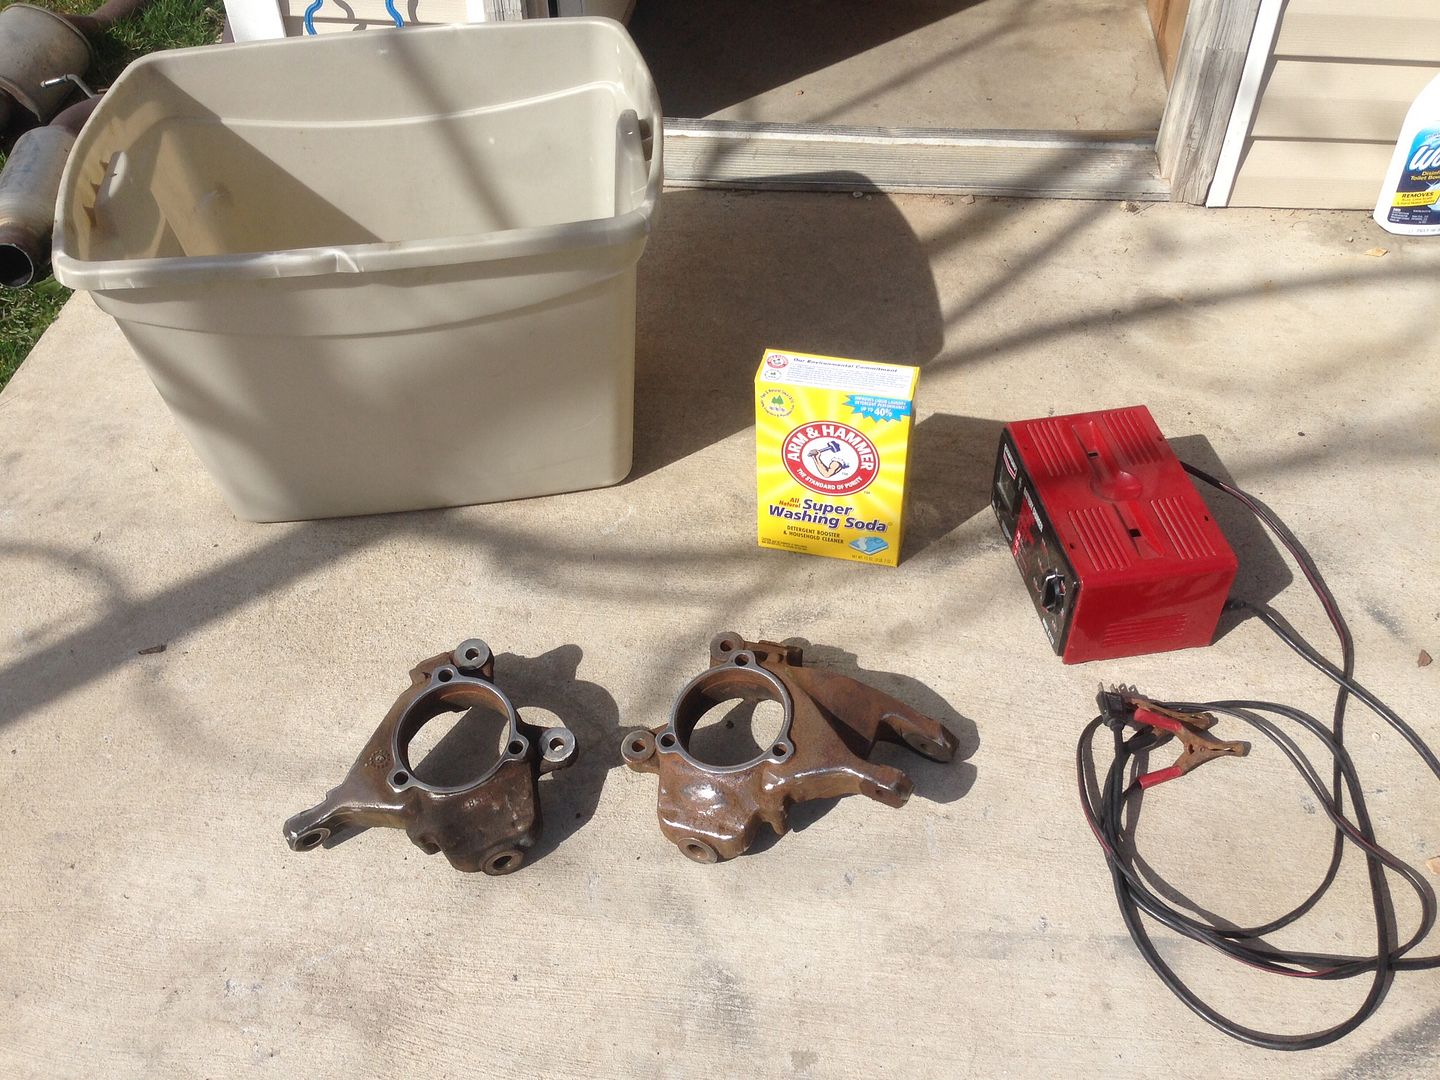
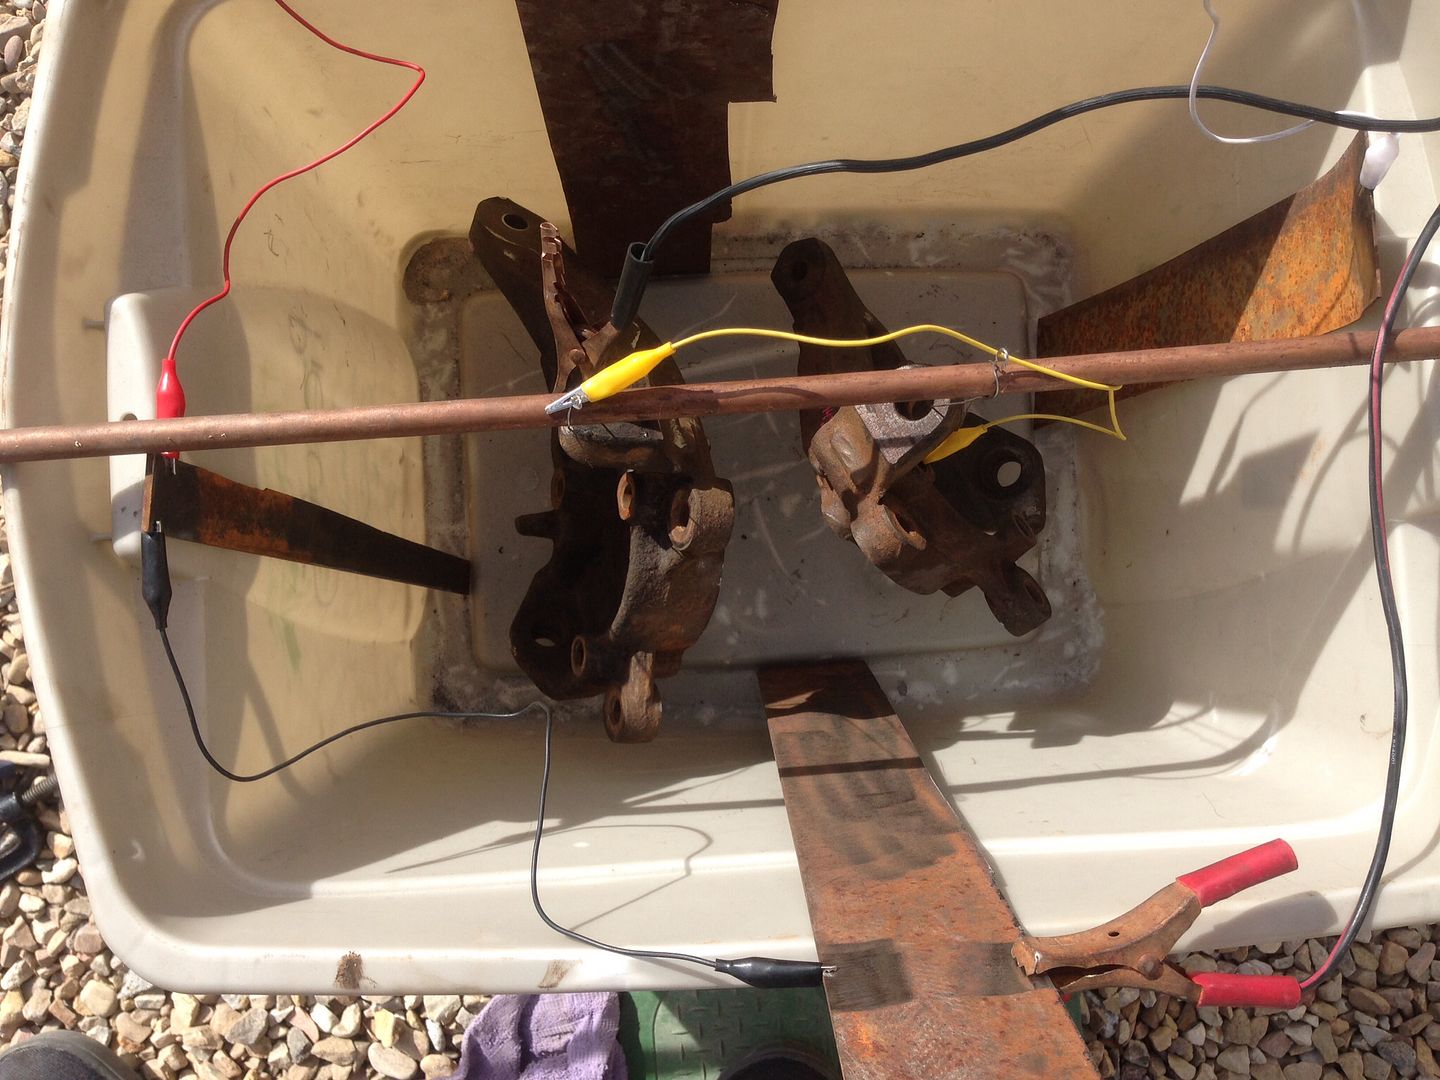
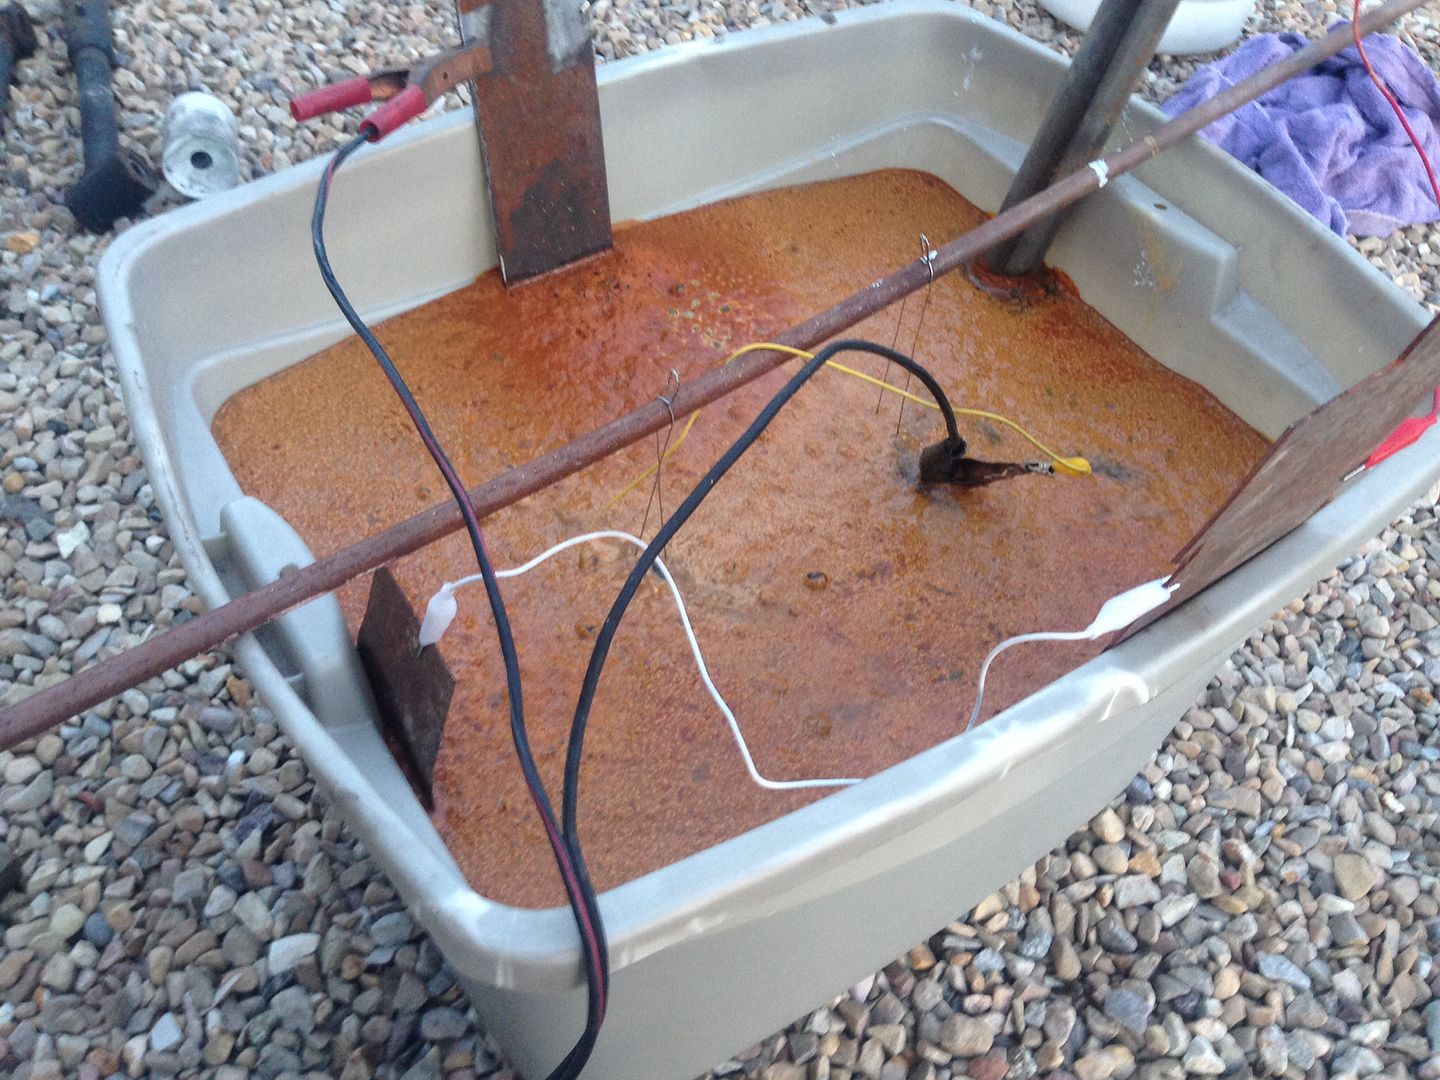
I mocked up how the knuckles would sit in the tub, then wired the anodes in series to the positive side of the charger. Basically, this works line of sight, so the more anodes you have the better your results will be. I have 4 of various sizes. I put the knuckles in the tub so they are off the bottom and not touching the anodes.
Next, I mixed up my electrolyte. I mixed about 1-2 tablespoons of washing soda per gal of water. I've been told baking soda works too, but I don't have any experience with it so I can't say much about that.
I turned the charger on to 12v 12a. The ammeter showed about 7ish amps, if the amps are too high, then add water, too low add washing soda. It's cool because it instantly starts working. You can see the bubbles coming off the knuckles and accumulating on the anodes. One note here, this process splits the water molecules down to their elements, hydrogen and oxygen. Which can be flammable, so keep it in a ventilated area and wear proper PPE. (Gloves, Glasses)
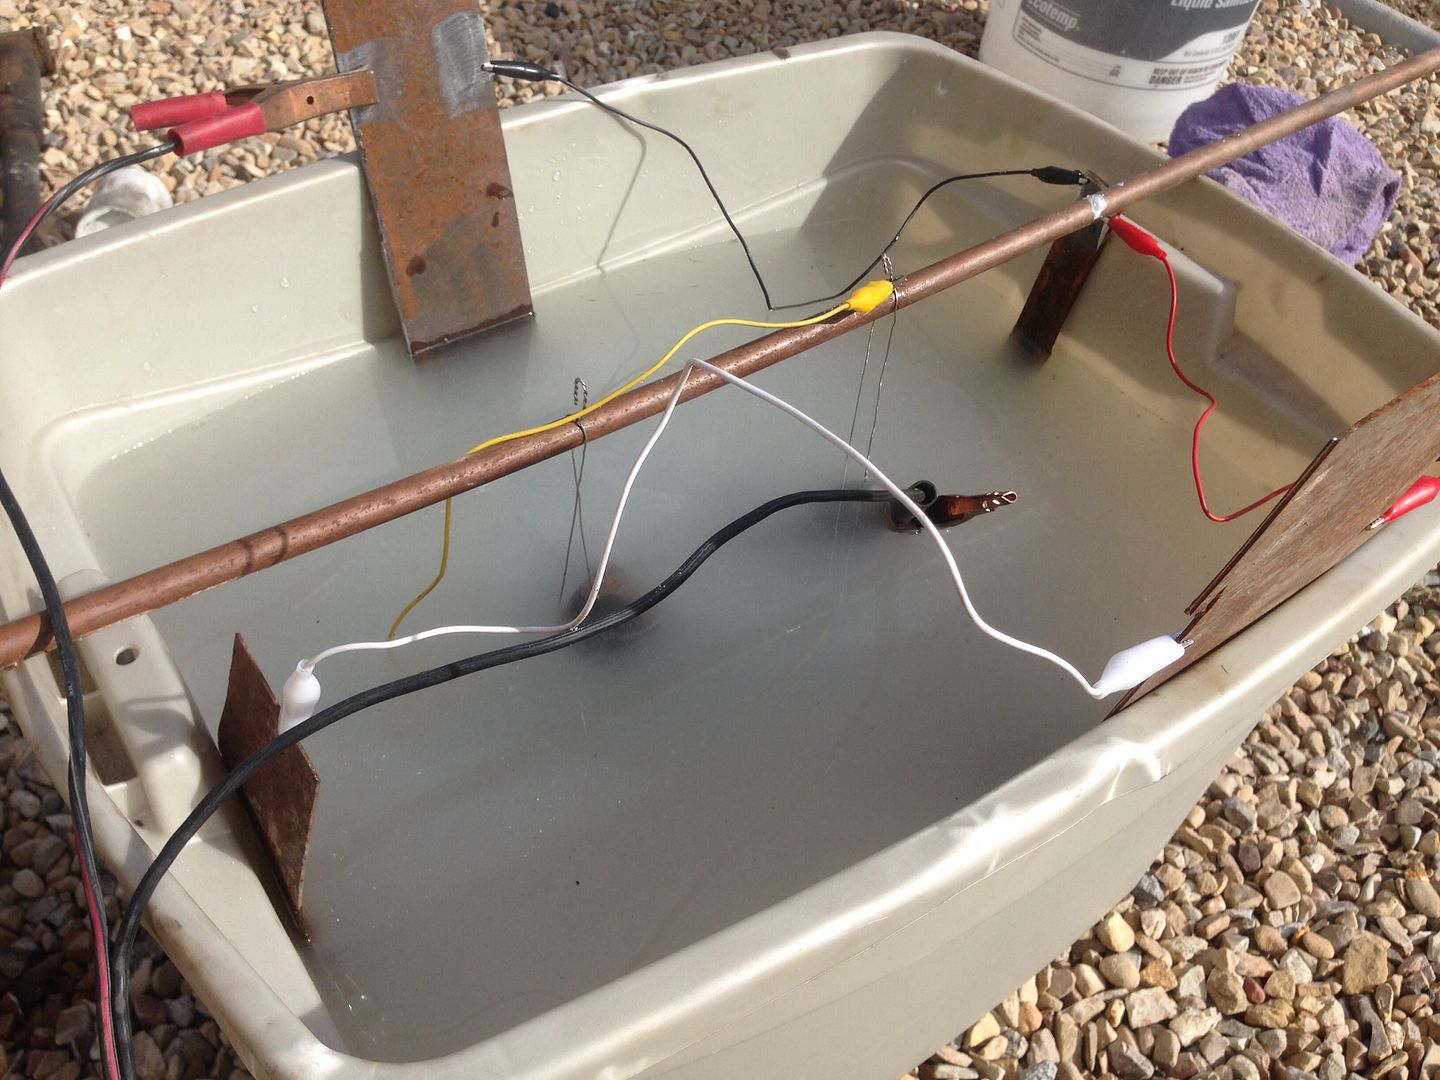
After about 2 hours my parts were done. This is the sludgy soup that is left.
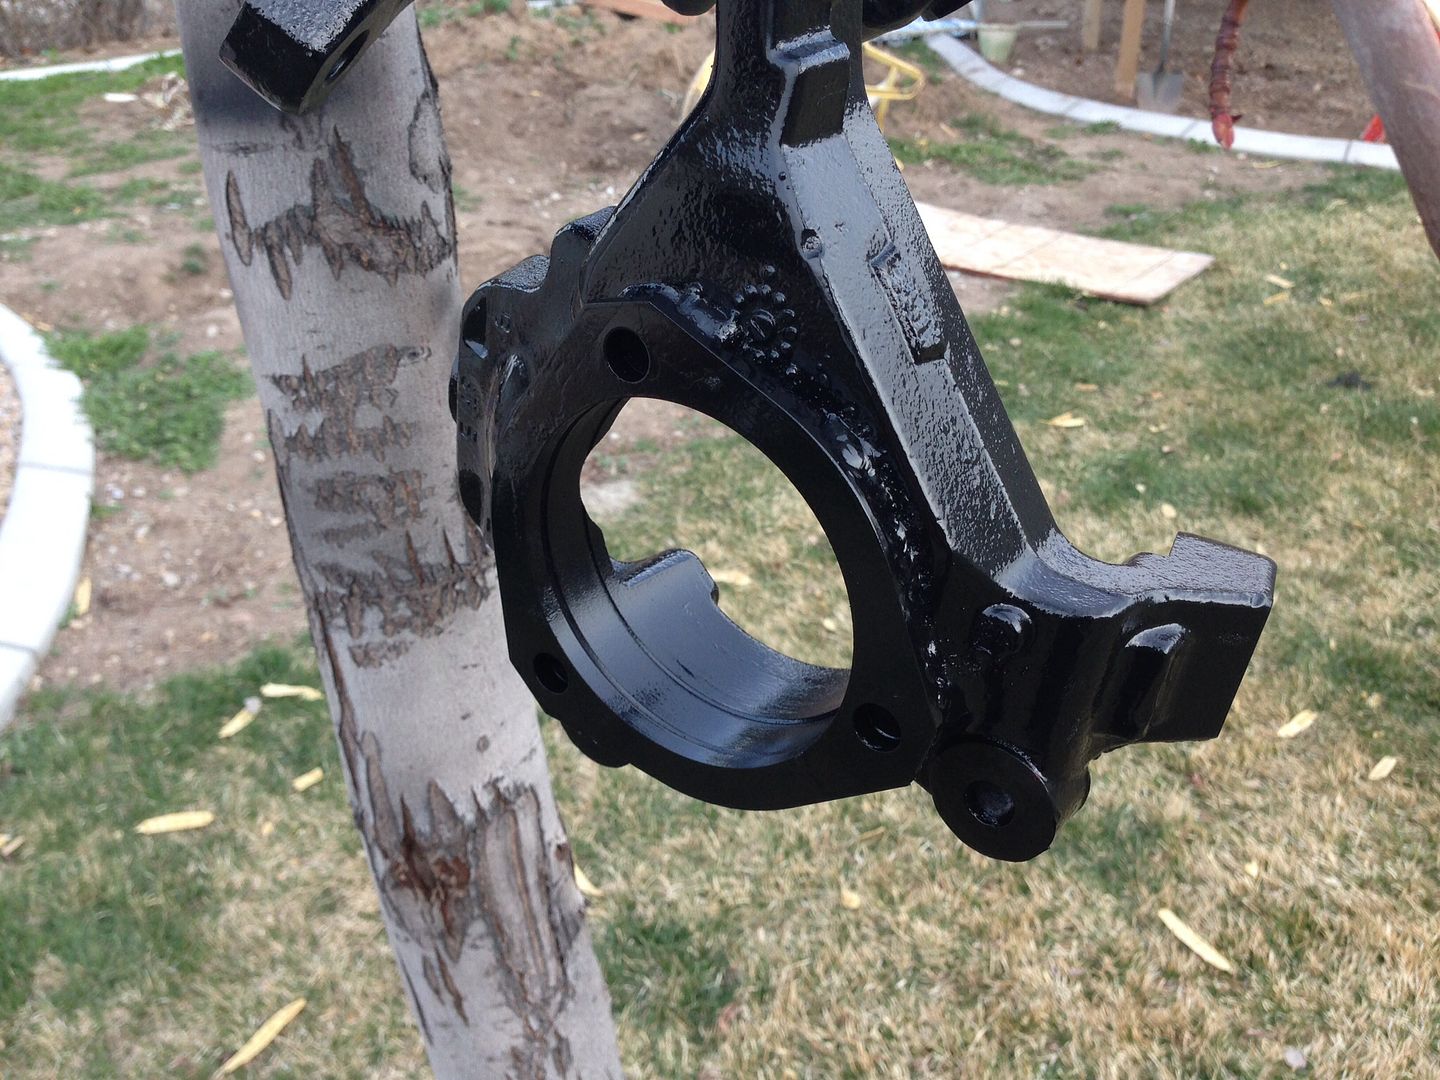
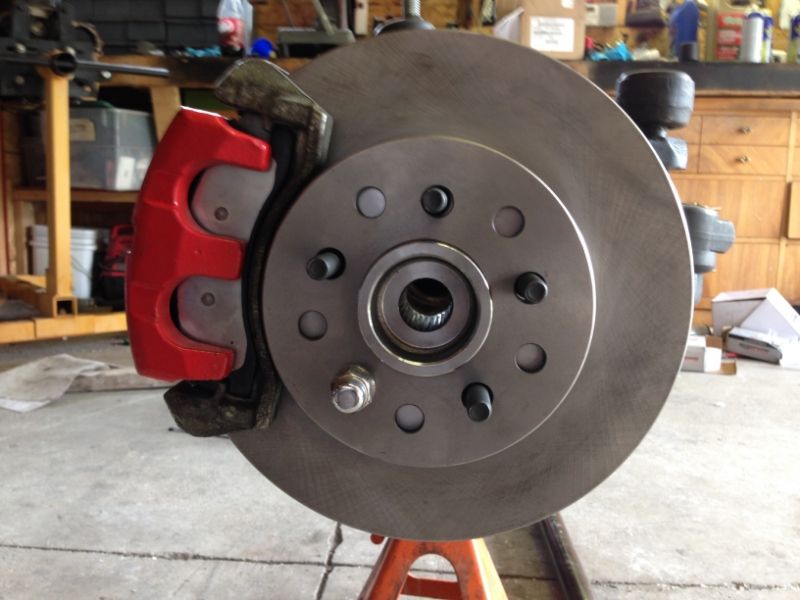
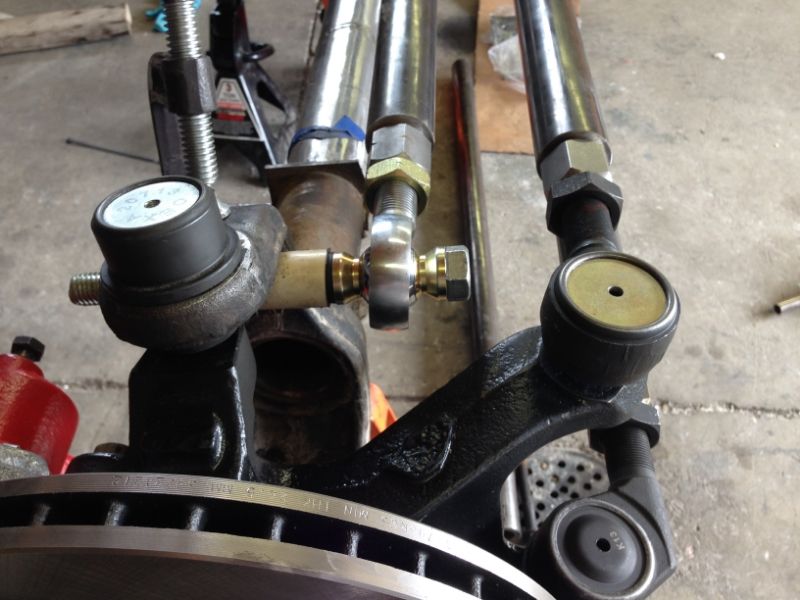
After I removed my knuckles I rinsed, then took off the last little bits with a light wire brush. This is the final product, the one on the left is before I wire brushed the sludge off.
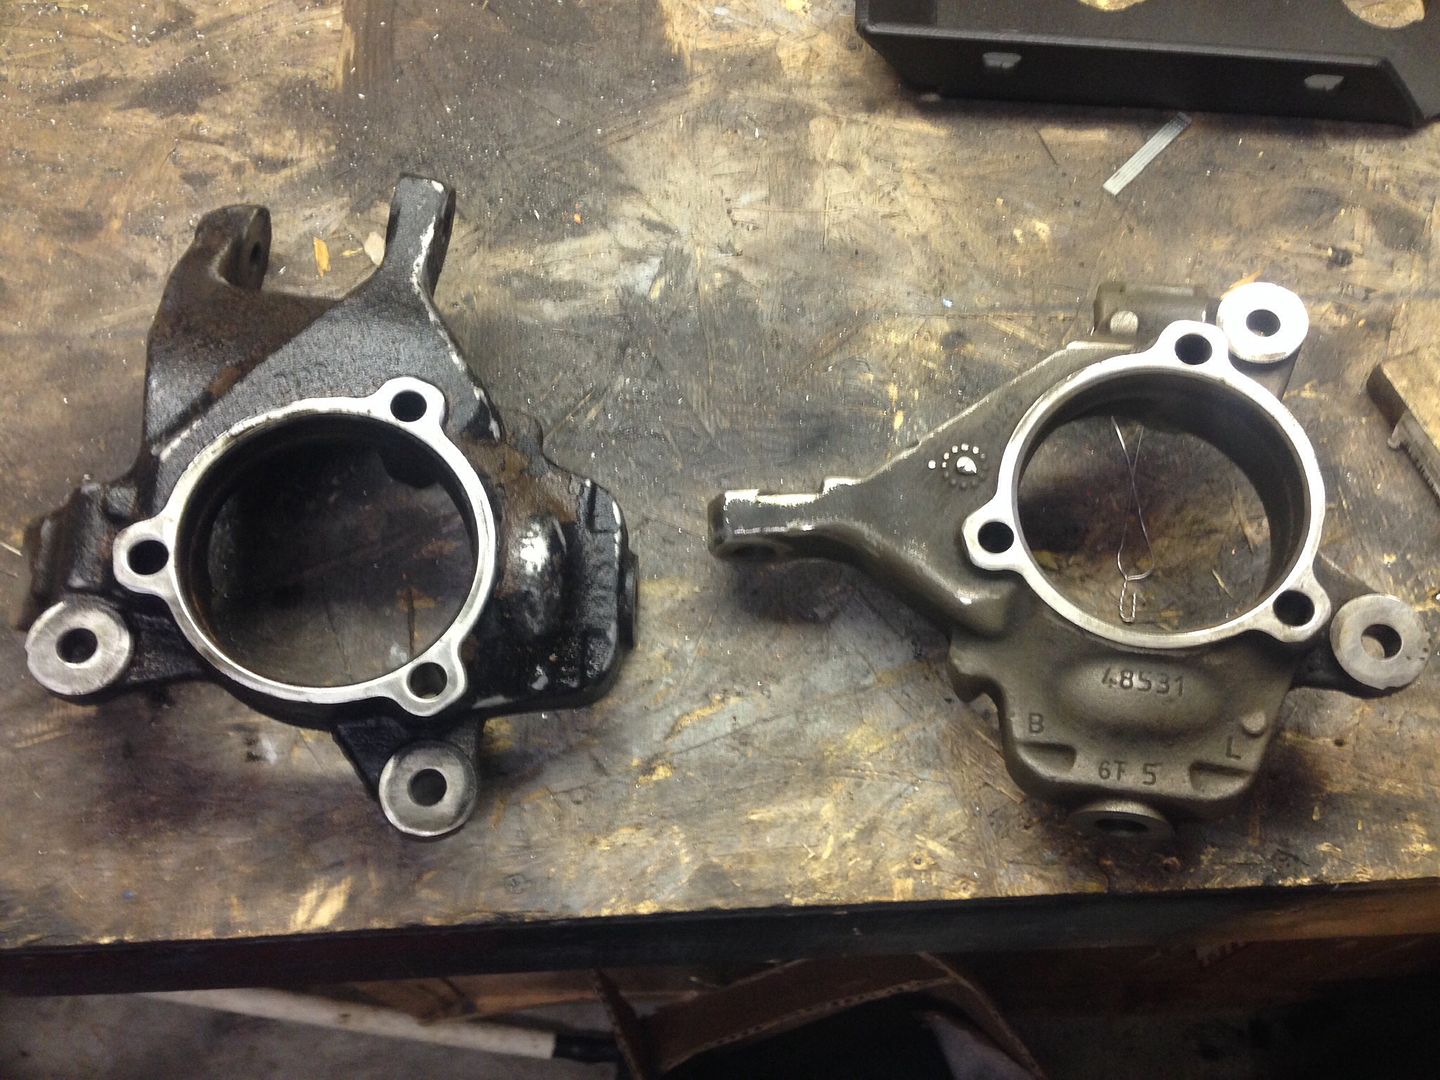
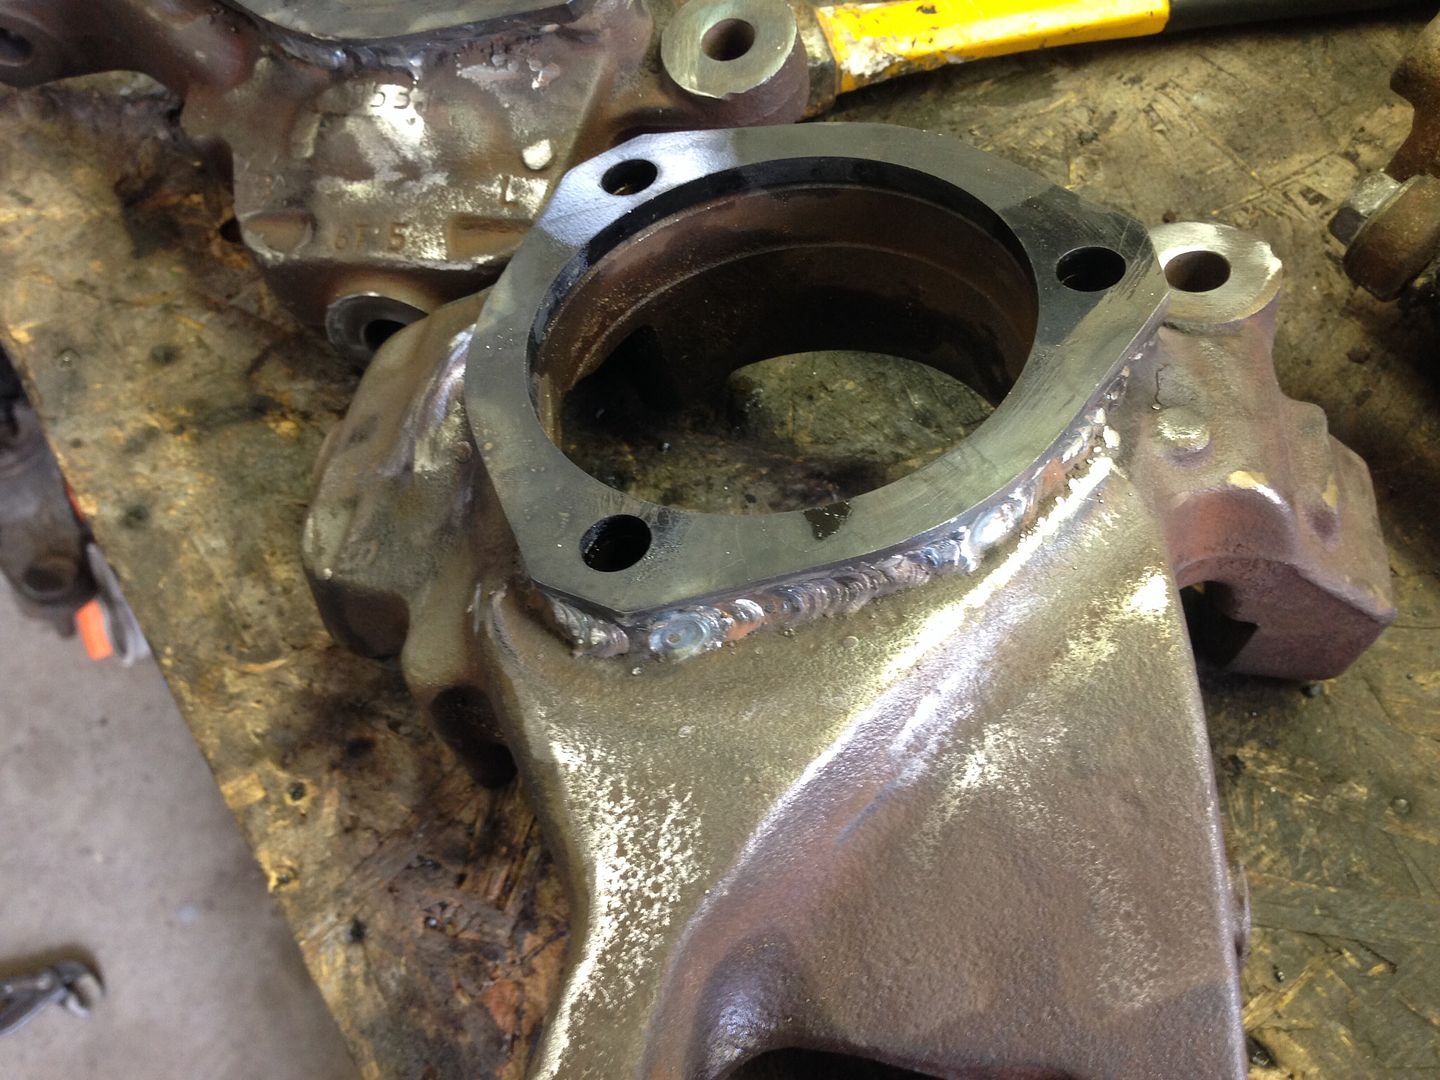
I'm very impressed as to how well this worked, it took off 90% of the rust and grime right off the knuckle, right down to bare metal. Now time to weld on my jks spacers.
I bought new unit bearings, I used 2003 TJ unit bearings, got them for 130$
Then I cleaned up my knuckles, and the cheap ass in side of me didn't want to go get them blasted soooooo I decided to try electrolysis. Yeah science
I went to school to be an Aircraft mechanic, so part of that was metallurgy, and learning about how to heat treat and clean certain metals. I did a quick online refresher to check my knowledge and gathered my supplies.
First I got a 6/12v battery charger, washing soda (soda carbonate) a 15gal tub, wire and some random scrap pieces for my anodes.
I mocked up how the knuckles would sit in the tub, then wired the anodes in series to the positive side of the charger. Basically, this works line of sight, so the more anodes you have the better your results will be. I have 4 of various sizes. I put the knuckles in the tub so they are off the bottom and not touching the anodes.
Next, I mixed up my electrolyte. I mixed about 1-2 tablespoons of washing soda per gal of water. I've been told baking soda works too, but I don't have any experience with it so I can't say much about that.
I turned the charger on to 12v 12a. The ammeter showed about 7ish amps, if the amps are too high, then add water, too low add washing soda. It's cool because it instantly starts working. You can see the bubbles coming off the knuckles and accumulating on the anodes. One note here, this process splits the water molecules down to their elements, hydrogen and oxygen. Which can be flammable, so keep it in a ventilated area and wear proper PPE. (Gloves, Glasses)
After about 2 hours my parts were done. This is the sludgy soup that is left.
After I removed my knuckles I rinsed, then took off the last little bits with a light wire brush. This is the final product, the one on the left is before I wire brushed the sludge off.
I'm very impressed as to how well this worked, it took off 90% of the rust and grime right off the knuckle, right down to bare metal. Now time to weld on my jks spacers.