• Welcome to the new NAXJA Forum! If your password does not work, please use "Forgot your password?" link on the log-in page. Please feel free to reach out to [email protected] if we can provide any assistance.

Anyman's build

wow very impressed....and x3 put down the grinder for a little while. haha..keep up the awesome work..

btw thanks for the inspiration on doing the waggy 44 very happy with it!
 
8355759991_b912b7bec6_c.jpg

Maybe put the guard back on the grinder?! I've sworn to myself I will never take the guard off.. even if it means I can't use it because it gets in the way.

Good work!
 
Thanks for the compliments, and the ridicule. I definitely deserve the latter!

I finished the bumper several months ago and I did in fact take SEVERAL weeks off from using the grinder ... I thought about my life, and where I had gone wrong ... what the universe was trying to tell me. Then I remembered that old saying: crap happens! :looser:

Maybe put the guard back on the grinder?! I've sworn to myself I will never take the guard off.. even if it means I can't use it because it gets in the way.

That's an interesting observation right there! I took that guard off when I first bought the grinder 4 years ago, it's somewhere in my garage... I remember saying something like: "These stupid things are for people who don't know what they're doing!"

Nice.
 
I would of gave up after that head injury.
 
That's an interesting observation right there! I took that guard off when I first bought the grinder 4 years ago, it's somewhere in my garage... I remember saying something like: "These stupid things are for people who don't know what they're doing!"
Nice.

I remember seeing a thread about a bumper build where a guy nearly cut his arm off with a grinder that had no guard. He swore he'd never take it off again and after seeing his wounds, so did I. Some interesting dialogue: http://weldingweb.com/showthread.php?t=29638

In the end you are ok and have a nice bumper to show for it!
 
Alright, a couple quick updates, these are some odds and ends I've done over the past year or so.

Starting out with the KC lights. I had these on my old bumper and hadn't taken the time to mount them on my TnT front bumper yet. So as I went to work on the wiring I decided to touch up the paint and before I knew it I was at this point:

9729779906_609648ecf0_c.jpg


So while those dried I took some angle and gound it a bit and drilled some holes in it:

9726549415_2fe32605fb_c.jpg


It had to be notched as such due to the dimpled holes in the bumper. Next I drilled some bolt holes in the bumper and gave it a test fit:

9726548471_0af40bf8b6_c.jpg


9726547447_e33643d5aa_c.jpg


Of course I neglected to get a decent after picture, but here is one from the trail, you get the idea:

9729777088_2645b26e05_c.jpg


I like the way it turned out and the fact that I resisted the urge to weld them or the bracket onto the bumper. It's nice to know I can easily remove the assembly for whatever reason. I also think out in front on the bumper like that is a good spot for them; they really light up the trail and don't throw any shadows from my hood. :thumbup:
 
My rear was sitting an inch or two lower than my front once I had it loaded for the trail and I never got around to fixing it. Also I lean a bit to one side and compensate for it by adding some lift to one of my Acos on the front. But I figured that one of my rear shocks was ho'd out and that was actually casing the lean, not the front. In addition to all this nonsense I have a bad rear drive-line angle I'd also been meaning to correct...

Anyway, at one point someone local was ditching some 4" lift springs for cheap so I picked those up but, well, they didn't look right to me but I figured I'm a idiot so I'd try them anyway. So I first picked up some 4° shims, but those turned out sucky - they're aluminum and your center bolt head is supposed to go through them and into your perch on the axle... that was never going to work, I would have to weld something to my center bolts to get the length I'd need to go all the way through the shim and into the perch...

XJeeper clued me in to steel shims that bolt to your leaf pack - much better. I picked a set of those up from Tom Woods Drive Shafts up in Ogden. I like them though I do wish the were longer so they fit my perch better, here is the comparison, steel on the left:

9729812260_c5d906457c_c.jpg


9726582555_9f0f58da55_c.jpg


I put those on the ho'd out 4" lift springs:

9726583223_442ebe95b7_c.jpg


I should mention the spring's holes were too small... go figure. So I drilled those out, which was a lot easier and faster than I thought:

9726582317_2e5b516e15_c.jpg


When I slapped those under the jeep and she sank like a ship anchor! I lost 2 inches of lift with these "new" springs and was even more lopsided than before... Sorry, no pic of that, but most of you could have spotted the problem from the get go:

9726583749_6fa7dbb8f1_c.jpg


I was thinking, "I've never seen a spring that didn't have a symmetrical arch ... but what do I know, I'm sure they're fine!" :banghead:

Alright, back to my original, old springs, but luckily my buddy XJess98 went and snagged some S10 leaf packs from a yard and he gave me one of the leafs, which I figured would be all I'd need. I cut down the S10 leaf and added it between the 2nd and 3rd leafs in my pack - pressing them back together was just a little tricky - those S10 leafs have a lot more arch in them than even my 4" Rubicon Express lift leafs!

9729810682_c93d07ccce_c.jpg


I didn't have bolts long enough since I had already cut the other center bolts down... :rolleyes: So I picked up some grade 8 bolts and the holes in my perches are large enough that I just had to take the edge of the points with my grinder to make them fit:

9729811076_7941ece38a_c.jpg


Also, I learned that since I'm pushing my axle back using one of the offset holes in my perch (they're TnT's u-bolt eliminator perches) I really needed to drill holes forward in the shim so everything would lineup better.

This is where they line up using the original holes:

9726584263_8642972d93_c.jpg


This is where I got them by re-drilling:

9729811406_a6874a64ab_c.jpg


Would be a lot better if they were longer, but this will work for now. Mounted to the spring pack:

9729810032_ceb92e3ae7_c.jpg
 
Then I encountered another issue - with the added thickness of the pack with the new S10 leaf and the 4° shim, my forward bolts on the perch were too small:

9726580447_539701826d_c.jpg


(Notice I hadn't trimmed the center bolt yet :thumbup:)

So to the parts store!

9729809490_92e903c604_c.jpg


Better! but wait ... why didn't I put her down on her feet first to see how it looked? I don't know... but once I did I realized just how much a single S10 leaf can give you!

9729809250_4eaa56f87f_c.jpg


That is a terrible pic and doesn't do it justice, but I had about 6" too much lift at that point. :spin1:

So I ended up reconfiguring the pack, I took out the S10 spring that I had added and I REMOVED my second to last leaf (on the small end) and swapped it with another S10 spring cut down to the same size. Of course after that the new longer front bolts were too long, so naturally I went back to my original bolts on the perch. :rolleyes:

In the end, it turned out really well - with the S10 leaf swapped in place of my small one I got the 2" I was looking for. I would post a pic but A) I didn't take an actual "after" pic, and B) flicker is down ... so I can't link to one from the trail. I'll put something up when it's back online.
 
Okay, here is the best pic I can find to illustrate where I'm sitting after replacing my 2nd smallest leaf with one from an S10 pack cut down to the same size. This pic isn't on flat ground and this was a 3-day trip so there is a little extra weight toward the rear. Essentially, when I'm fully loaded for a one day trail ride I'm pretty well even:

9970011623_703aca1751_c.jpg
 
Last edited:
Okay, still trying to get caught up:

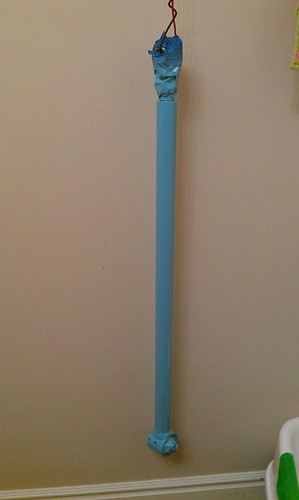
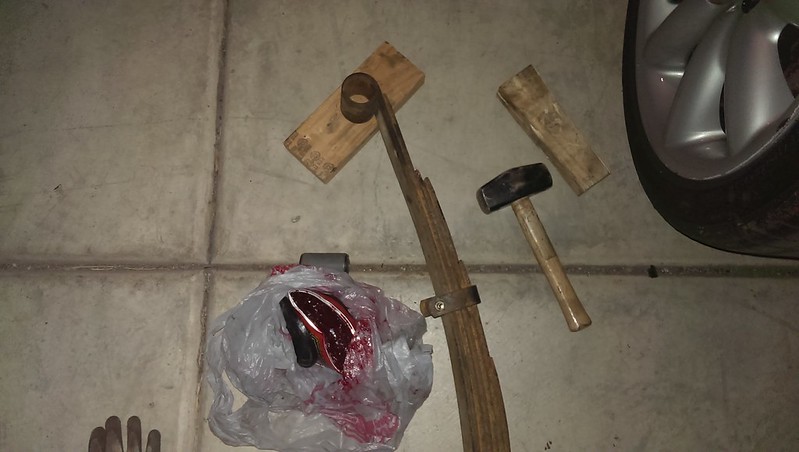
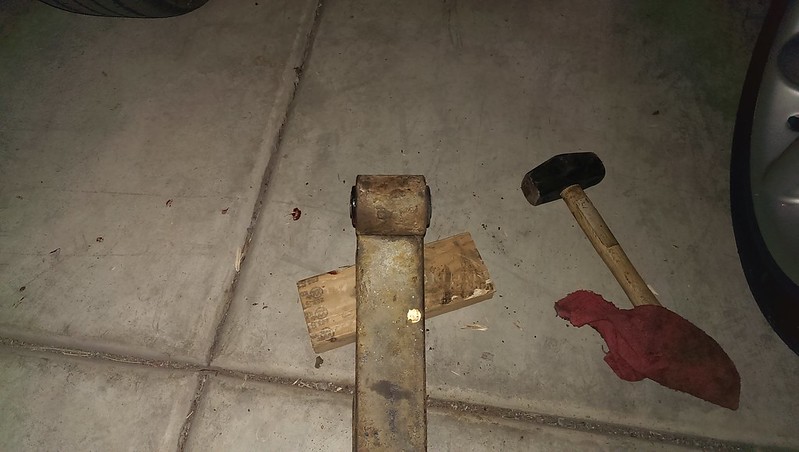
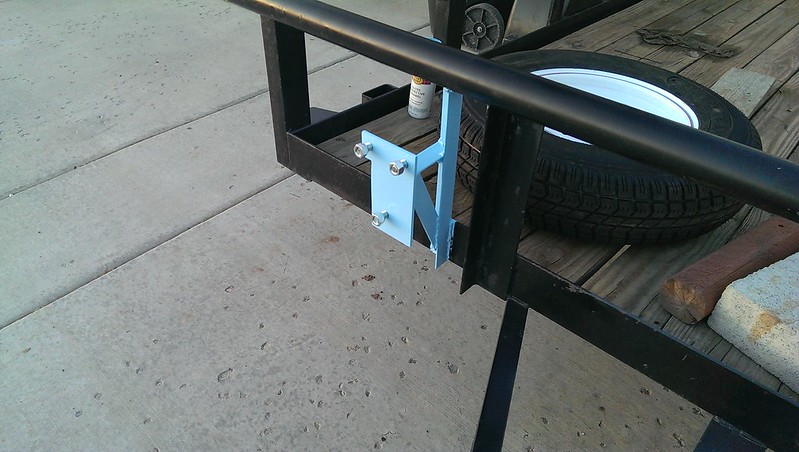
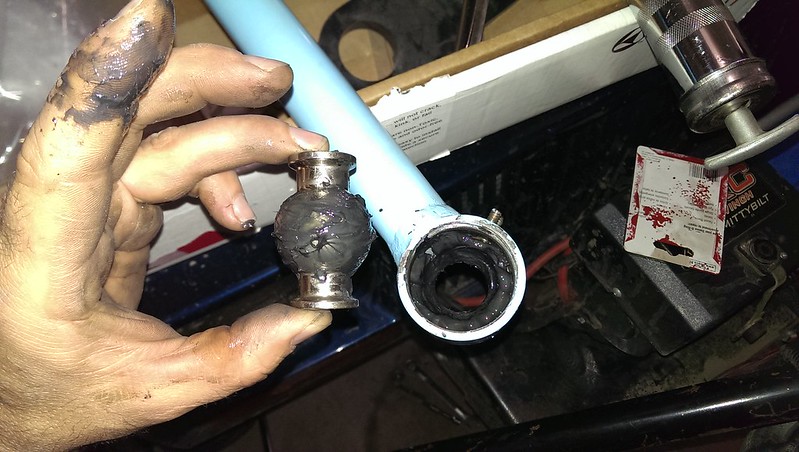
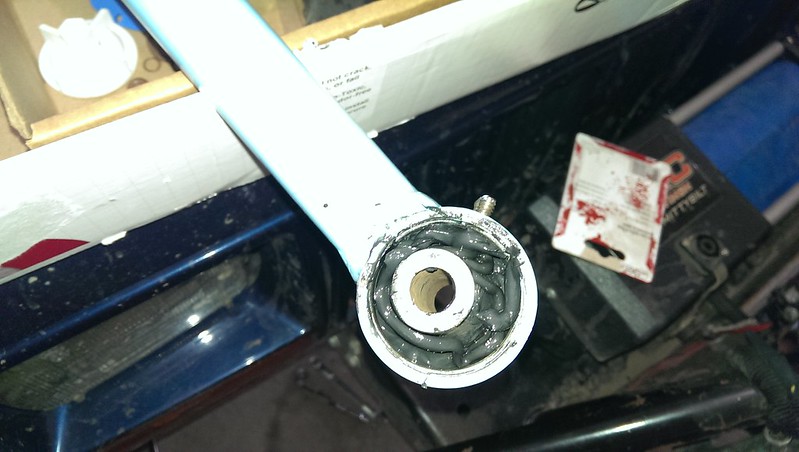
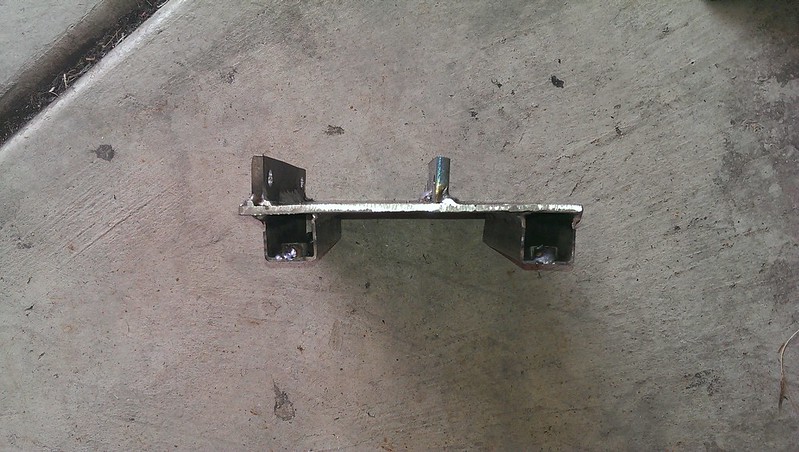
In preparation for my summer trip I got a lot of little projects knocked out. First, I painted my track bar I built, I was temped to use black but resorted to my standard upgrade color at the last minute:

9969590644_cf2619b430.jpg


It was still too cold to let it dry in the garage so I brought it into the bathroom to dry... My wife loves it when I do stuff like that! :twak:

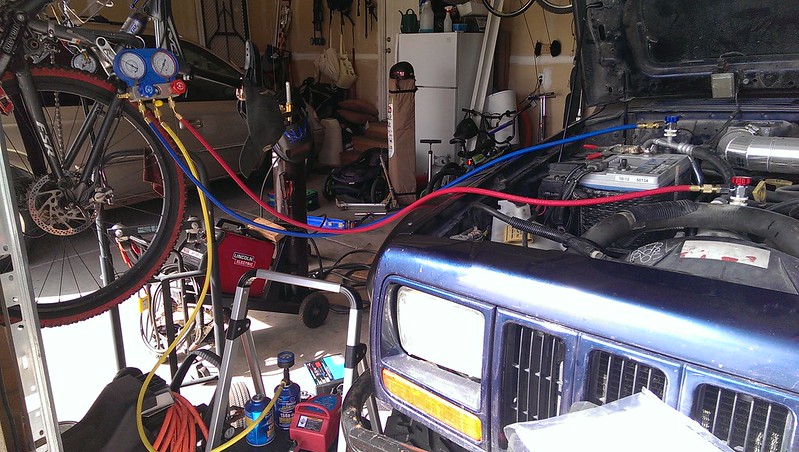
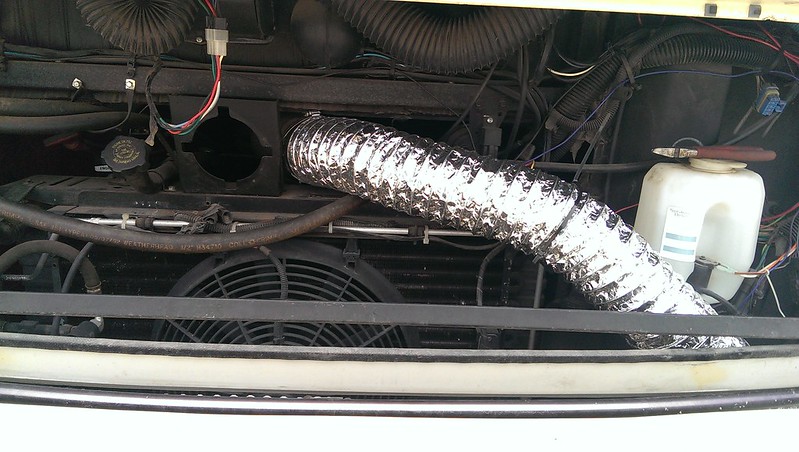
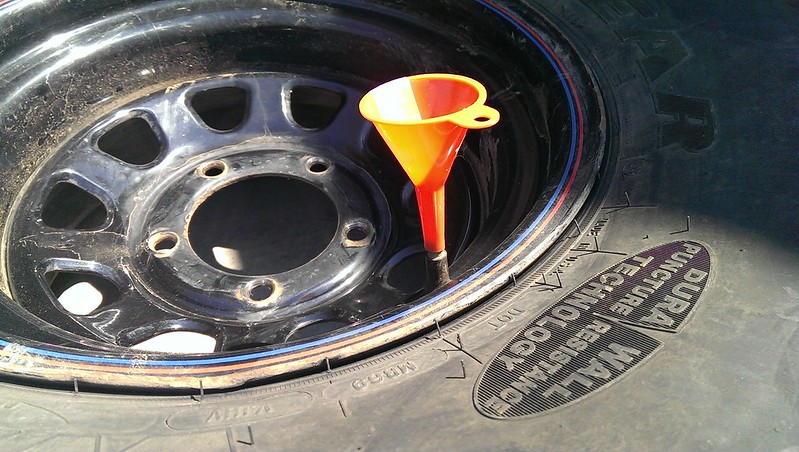
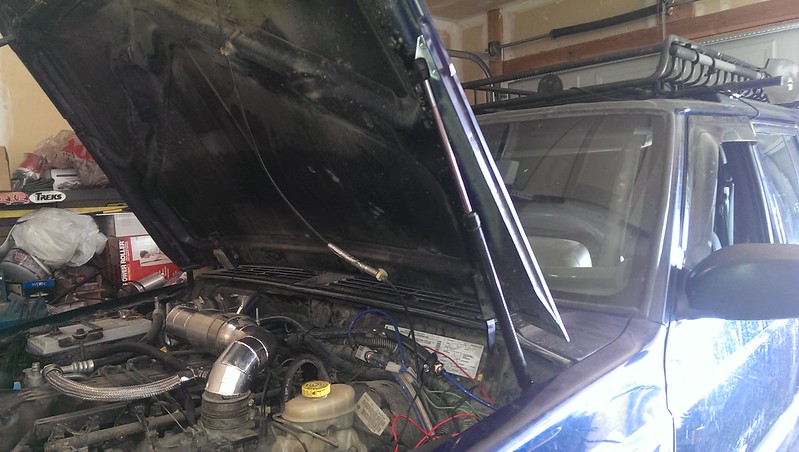
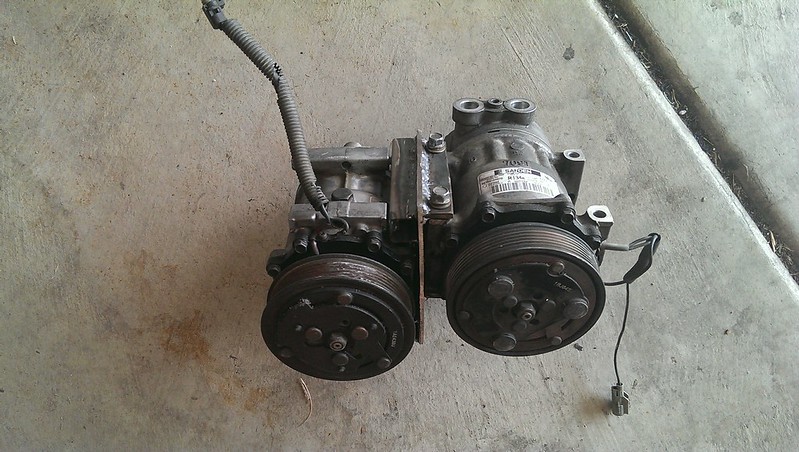
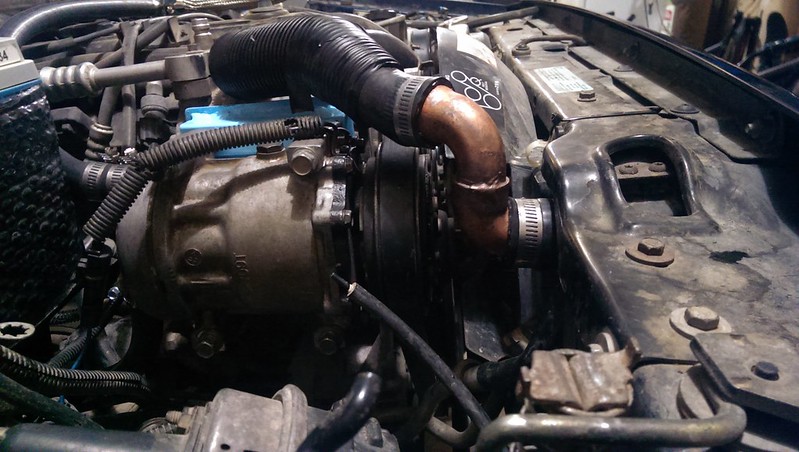
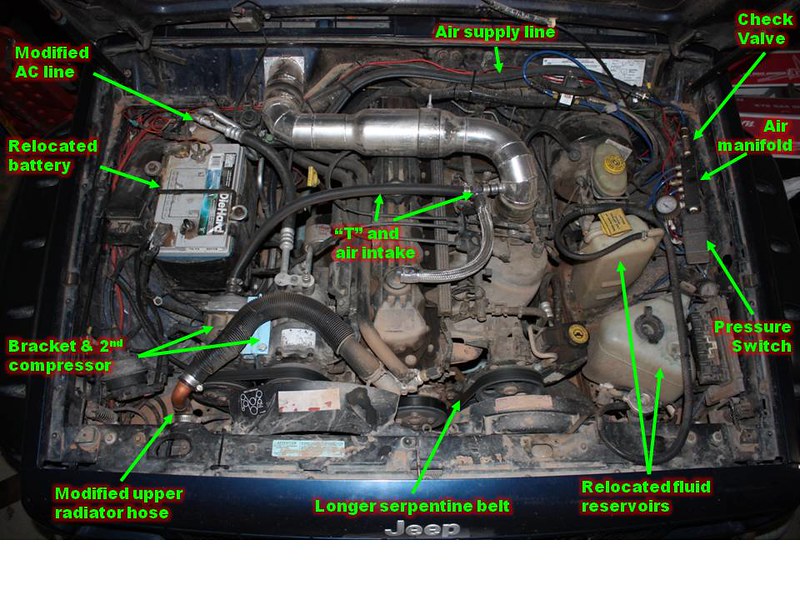
Then I finally got around to charging my AC. It has been needing it since I broke a line during my battery relocation mod last November; I finally bough a manifold from Harbor Freight:

9969570265_14f4ae9f6c_c.jpg


I used one of their air compressor attachments vacumes, I could only pull about 20 bar for 10 min or so before I got conerned that I might damage my compressor... Then I put a 30 bar vacuum on it and let it sit for a few hours to check for leaks. It didn't seem to lose any vacuum so I went ahead and charged it up. I did end up leaking some freon over the next few weeks but it is still blowing cold so I'm not sure if the stop-leak in the freon fixed some pin-hole leaks or what. I suppose I'll know for sure in another few months.

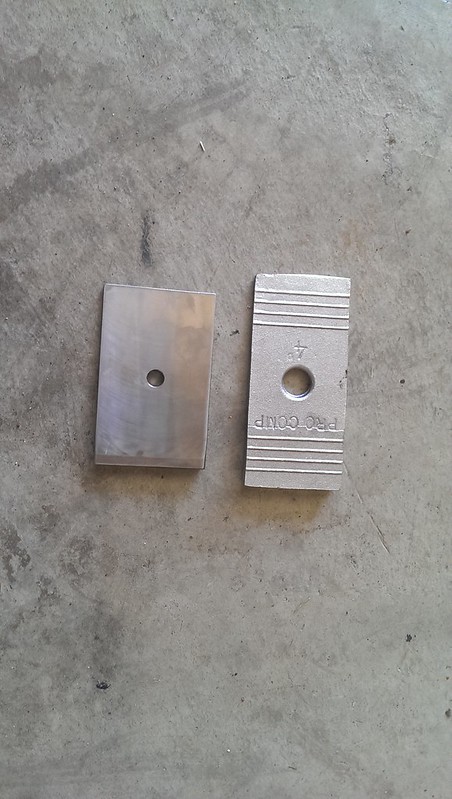
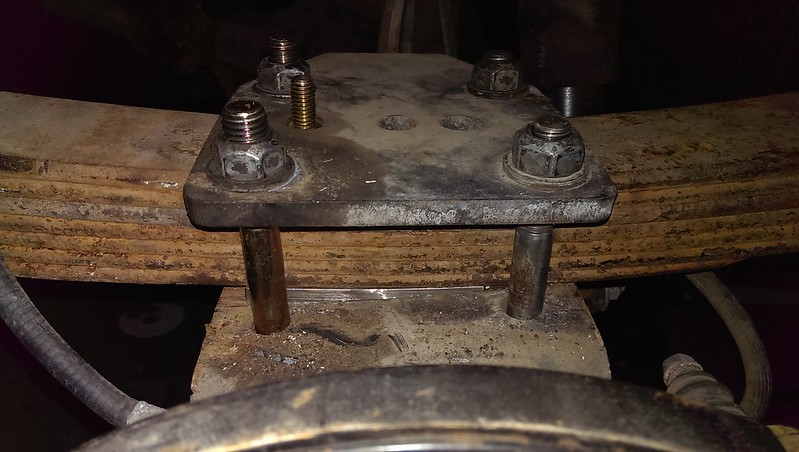
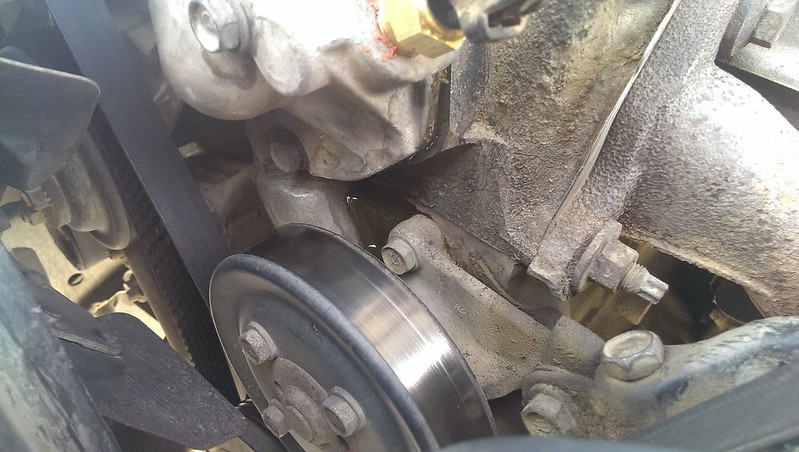
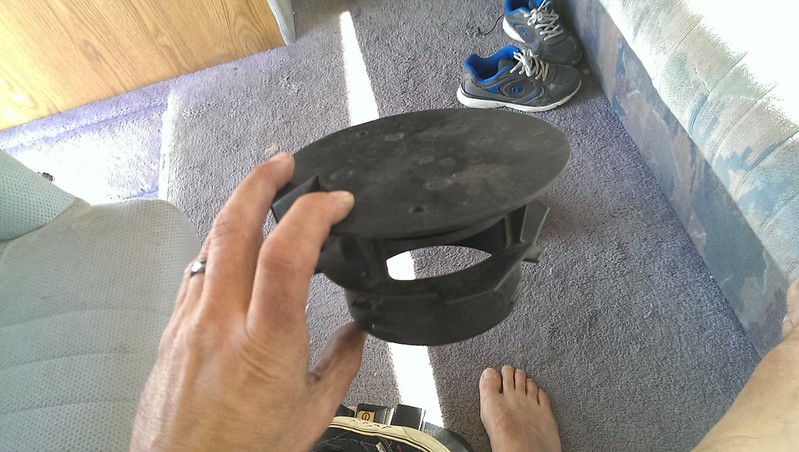
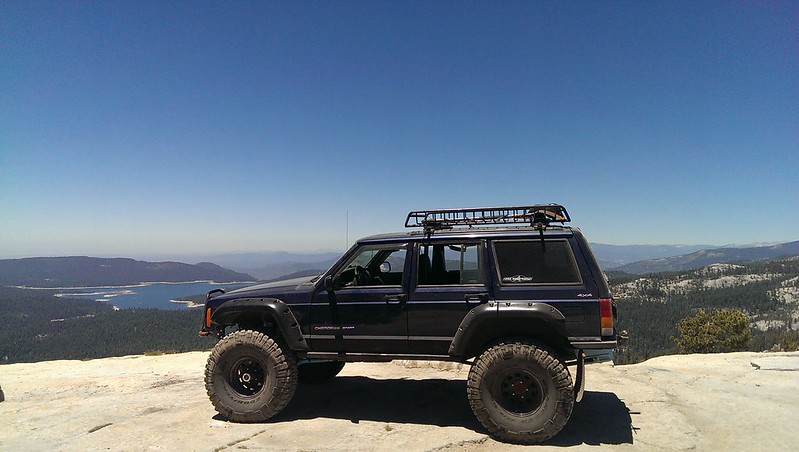
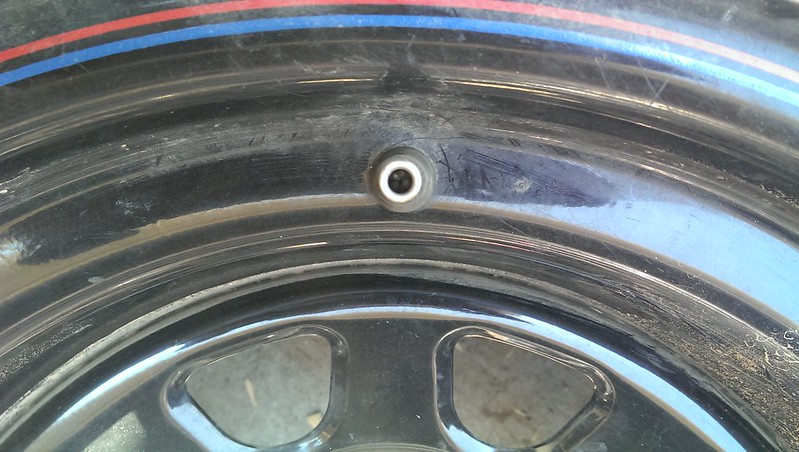
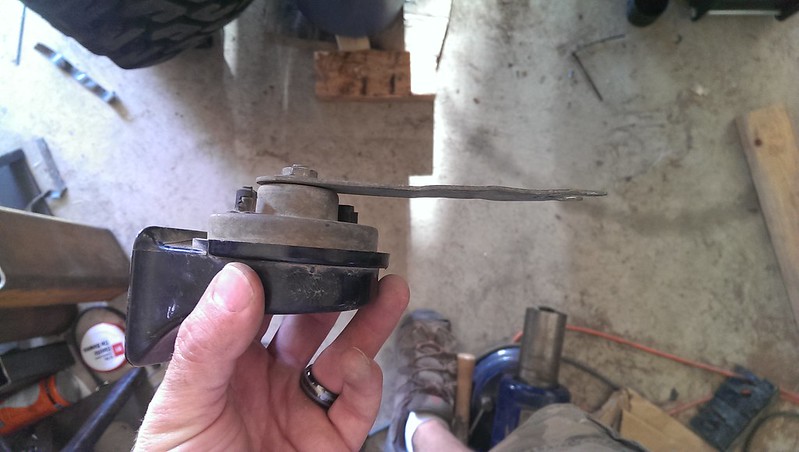
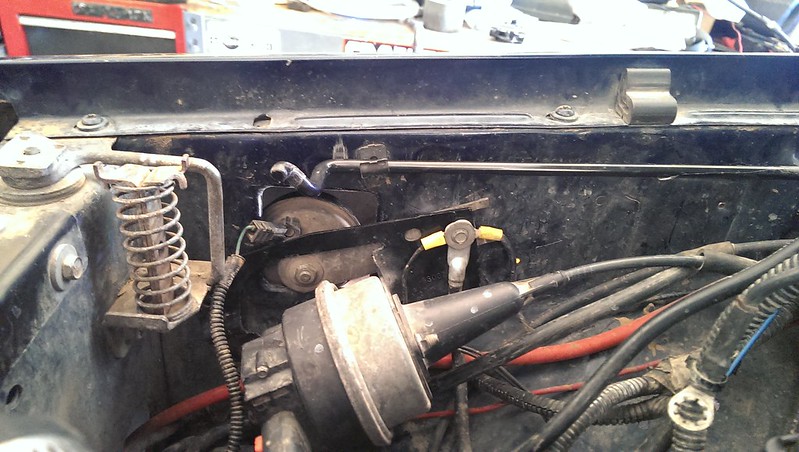
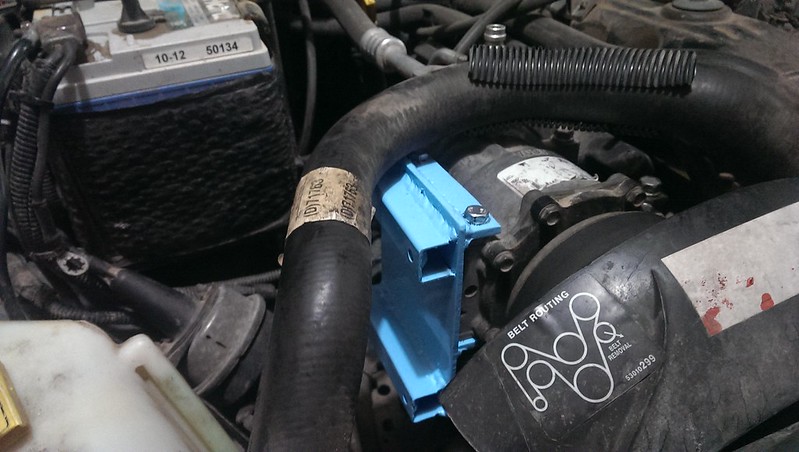
Then on a trip up Farmington Canyon my XJ temp was behaving strangly. at seemingly random intervals the temperature needle would immediately SPIKE to 250°. I replaced the Temp sender the next day, ran back up the canyon and still had the same result. So then I replaced my thermostat and I was having trouble getting it to seal right, here you can see the leaking:

9969635486_2fb9ca8d30_c.jpg


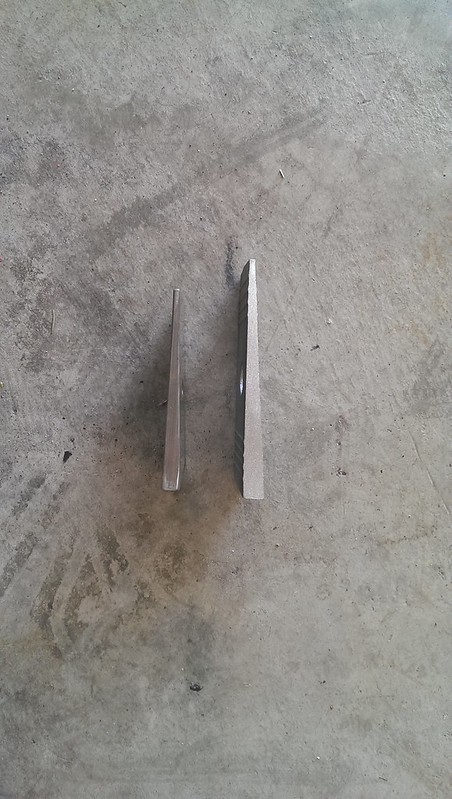
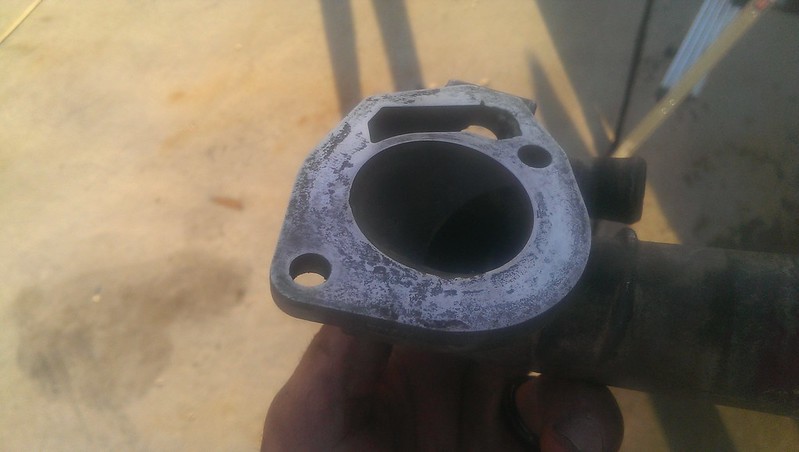
And I figure it was just too pitted to seal correctly anymore:

9969638506_6ab07a8fb3_c.jpg


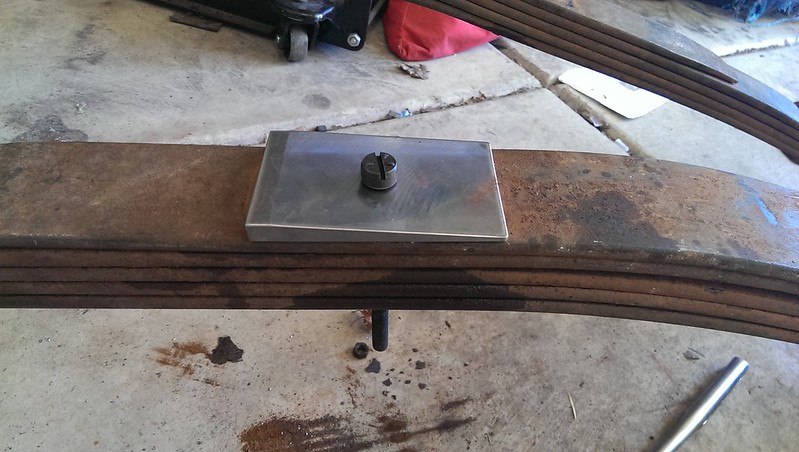
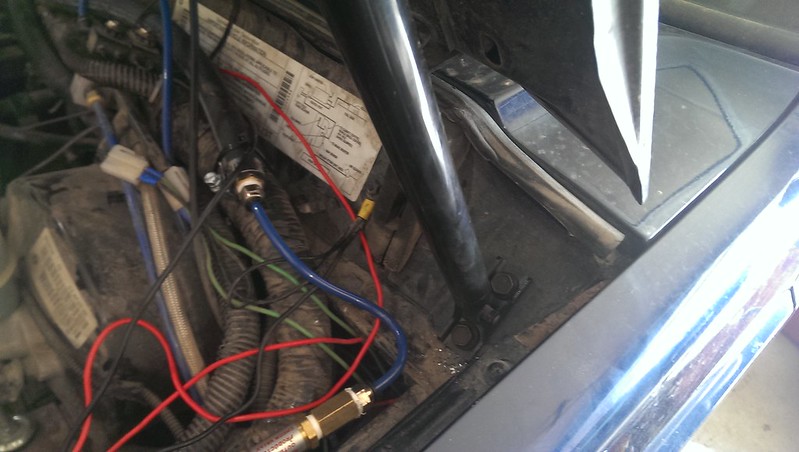
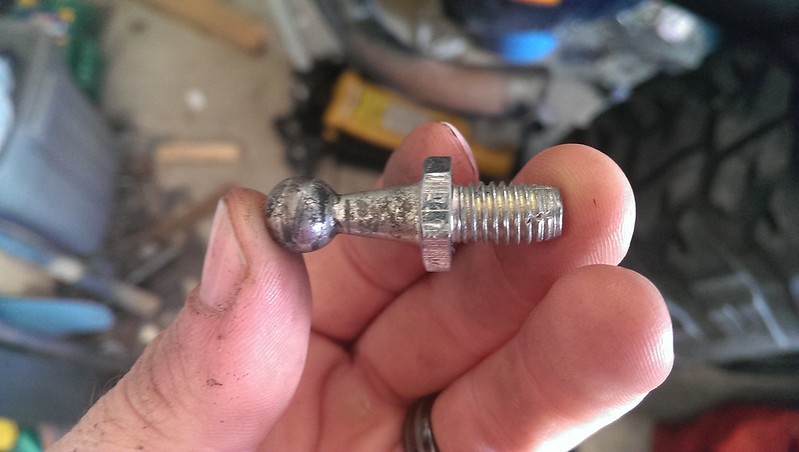
So back to the parts store and grabbed a new housing and threw that in:

9969566275_c5dbb33e69_c.jpg


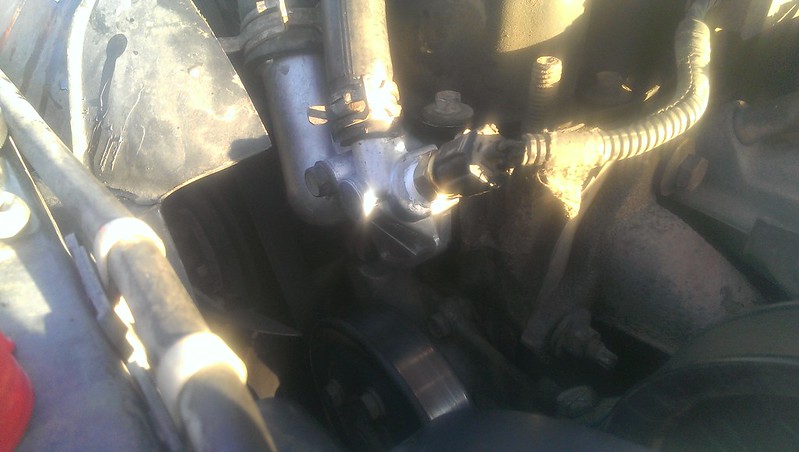
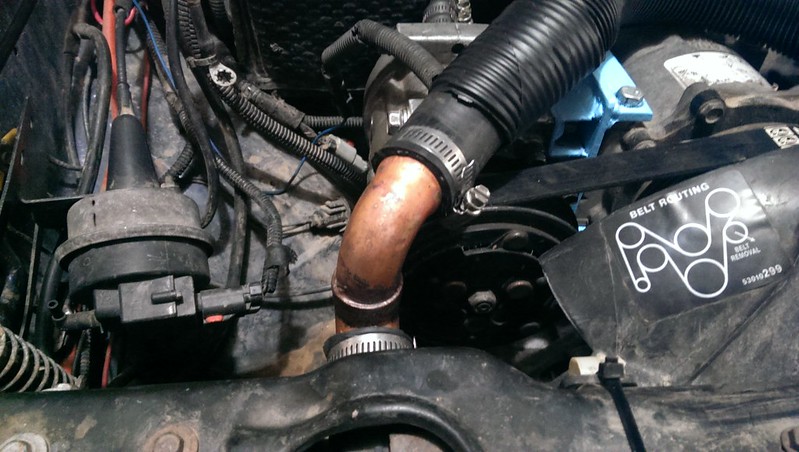
I ran back up the canyon and had the same result. This time when I popped the hood it looked like the radiator cap had squirted a little. So I drove straight to the parts store, replaced my radiator cap and ran back up the canyon (good thing it's close!) and had the SAME result...

So 
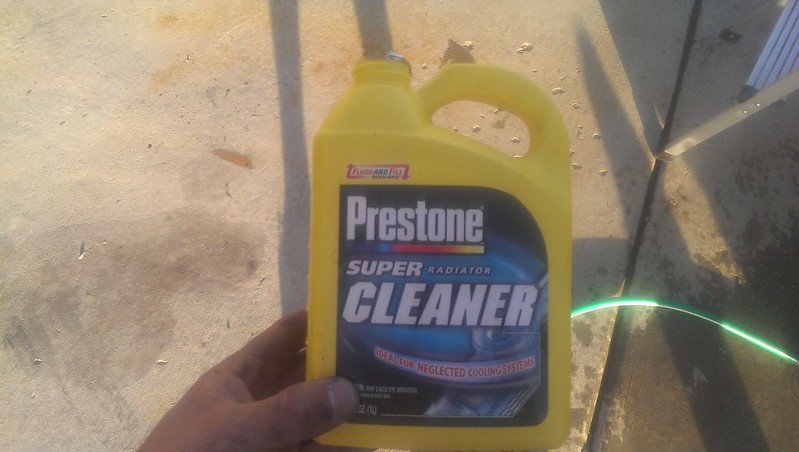
I started a thread asking what could be going on. Was recommended that I perform a coolant flush, so I did and ran some of this in it for a few days:

9969586884_351c768ae3_c.jpg


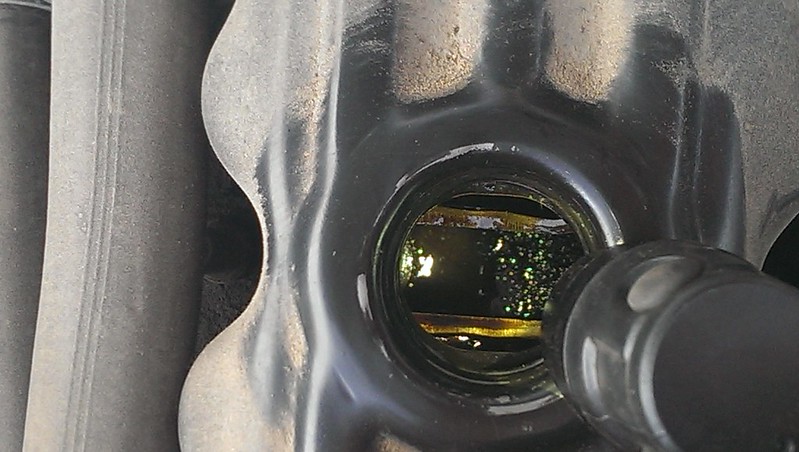
Doing research I discovered all about the infamous 0331 aluminum head my 2000 XJ came with and how they often crack... So I became more than a little worried about that possibility! When I picked up the coolant and cleaner I rented a pressure tester - I read that you can pump up the preasure on your system and then look inside the oil fill cap and often if there is a leak you will see it in there.

9969589404_48f8eb6f8b_c.jpg


Fortunately, no signs of a leak:

9969587344_6876b170d7_c.jpg


There also has never been any signs of condensation in my oil, nor were there any signs of coolant on top of the head.

I was happy about that but still unsure of what was causing my trouble. The good Dr. (Moab that is) told me about a neat little "feature" on these 2000-2001 XJs:
on the newer jeeps right past 220 the computer will peg the gauge, kick on the "check gauges" light and sound a chime.

I fought this forever in my jeep then found out it's programmed into the ECU. Your jeep isn't actually running that hot, it's just kind of like a sophisticated idiot light.

I'm pretty sure this is what you were seeing. If I'm guessing right, as soon as you saw it, you backed out of it and it dropped back down to 220 or so just as fast as it spiked...correct?
Well that was right on the money. This has to be just about the stupidest thing I've heard of on my Jeep! I would understand the dinging and flashing the "Check Guages" light if the temp is climbing above 220°, but to have the temp gauge reflect an inaccurate temperature reading??? That's just moronic. :nono: :flamemad: :puke:

Anyway, since I've done all this work I've only had this happen to me once more, and that was climbing a long hill doing about 55 MPH coming back from Lake Tahoe. I kept on the gas but we crested the hill before the 3 min was over. (that's how long I've read this "warning" lasts.) When the temp went back to normal it was back at 215°ish.

For now I'm calling this a non-issue. I plan to buy a bluetooth ODB-II scanner and leave it plugged in while I run Farmington Canyon again, but that will probably end up being next spring at this point... (The scanner connects to your phone and, using free software, can give you all sorts of information, to include engine temps. :thumbup:)

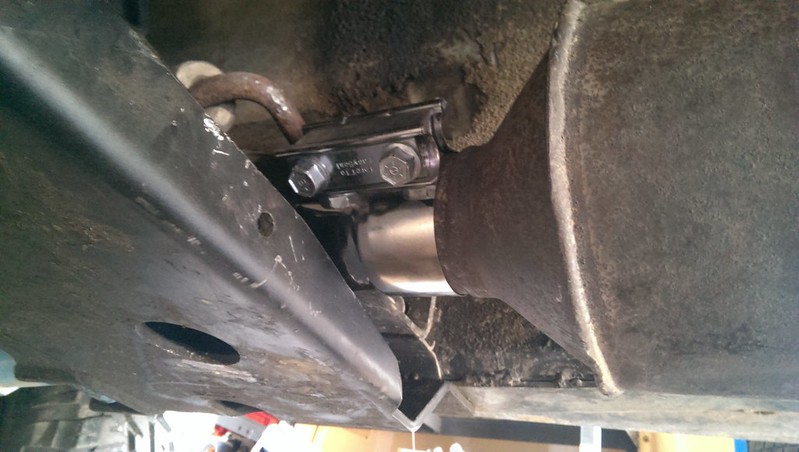
In another conversation about engine temps, a :NAXJA: member told me about how he never really knew how hot his tranny got until he installed a tranny temp guage (and now he wishes he never did!) So long-term I'm thinking I'd like to get an external tranny cooler and not route it through the radiator at all. I'd also prefer to have it AWAY from my radiator and not in front as most people run them, and of course with an axillary fan on it. But I have no idea where to fit it so that is an issue for another time/day/year...
 
Last edited:
Okay, so between the work I had been doing on the Jeep and some work on the motor home (brake cylinders and brakes, tune-up, etc) we were finally ready for our 2-week summer trip we had been planing and saving for for 8+ months. So we loaded up and hit the road:

9969843974_a8b3e99dfb_c.jpg


The Motor home is an oldie (1993, Chevy P30 chassis) but we picked it up from the original owners and it's been great to us. Of course, on this trip stressed it more than anything to date!

We were heading from Salt Lake City area to Pismo Beach. As we climbed up out of the valley just south of Bakersfield on HWY 166 we had some serious heat issues. I ended up resorting to pulling the dog-house off so the engine could vent/cool into the cabin... it was a brutal 20 min or so, crawling to the summit at 8 MPH! We finally summited and the engine cooled off immediately - thank goodness!

Anyway, we made it to Pismo, CA, and went straight to Oceano Dunes State Recreation Area. (The website states it is the only beach in California where you can drive and camp on the beach.) Naturally I was worried about the motor home on the beach so we took the Jeep off the trailer and I used my air-up hoses to air the tires down from 60 to 30 PSI:

9969822235_8c36cc2682_c.jpg


The sand was packed pretty nicely near the water so we stayed on that until we found a place to park not too far off the packed stuff. We set up camp and started having some fun:

9969954973_0ec6a639c2_c.jpg


Here you can see how close to the water we were, and the kids spent the days digging and digging:

9969890316_cdc6bb145e_c.jpg


One consequence of keeping it close to the hard-packed sand is when the tide came up it would hit our camp site. But it only came a few inches up the tires and kept the sand pretty well packed around us for an easy exit so it really was a non-issue for us (especially since while we were there the tide was always up at night.) Here's a pic from our first night:

9969902336_056592a46e_c.jpg


While at the beach I called my in-law and he helped me determine that the Motor home most likely had a bad mechanical fan clutch, so I replaced that. Also, the intake is positioned directly above the radiator and covered by this thing:

9969832765_aa64ff3b11_c.jpg


I figured that wasn't helping me any and rigged up a beach-bum/red-neck cold(ish) air intake:

9969830015_dca9889a6f_c.jpg


In between these quick fixes (and a leaky sink repair) we took some time to play in the dunes:

9969964843_3c5bf759e7_c.jpg


I don't know why I didn't take any better pictures ... anyway, after 4 days in the sand we headed to the lower Sierras for a family reunion near Shaver Lake, CA. Some of my cousins had their side-by-sides so we ran a trail up to the top of Bald Mountain. Not positive but I'm pretty sure this is called Bald Mountain trail, there is an great view at the top where you overlook Shaver Lake:

9969962043_2ca92436bf_c.jpg


When we go to this reunion (always in the same place) we make a habit of visiting the huge sequoia trees in McKinley Grove:

9969828155_9d02269256_c.jpg


After 4 days of reunion fun we hit the road again and drove up to Sacramento and then took I-80 to Reno. (Too bad there's not a road east to 395 from Shaver Lake...) In Reno we hooked up with my in-laws and I ditched the Motor home and we headed up toward Tahoe to run the Rubicon Trail. :clap:
 
Last edited:
As I stated in an earlier post, I posted a trip report, but I wanted to share a couple shots here as well. I was pretty happy with my heep and was able to navigate the Soup Bowl obstacle this time:

9232547132_83e8eaa752_c.jpg


9232546336_92d6df30b7_c.jpg


Of course camping in the High Sierras is always awesome:

9969846624_2e31f800a9_c.jpg


My rear leaf slider boxes took some hits and were worse for it...

9232842898_46670a4082_c.jpg


9230061925_a904714107_c.jpg


I think this problem would be completely resolved i they were boxed all the way down the back and even under of the first 1" or so. This would in no way restrict the travel of the leaves, and it is a mod I plan to make.

We had 4 XJs on the trail and after 2 days we all made it off and back to Reno without incident, which was nice for a change!

Then we spent a few more days in Reno and ended up catching the 4th of July fireworks at Donner Lake; It was a decent show for such a small town.

Anyway, after almost exactly 2 weeks we pulled back into the Salt Lake Valley, pretty worn out and with a depleted bank account! But it was definitely a trip we'll remember.
 
Awesome trip report man. And I have definitely seen the leaf sliders with the reinforcement mod you are talking about. I have a set waiting to be installed in the garage and I was planning on bracing them before install. Now I see it's definitely worth it as much as they stick out.
 
I would HIGHLY recommend doing it before you install them (obviously). They are a PITA to put in, enough so that I'm going to come up with a way to do the boxing with them on the jeep. Oh, and if you're installimg them and new bushings in your springs at the same time you may find you need to sand down the bushings to get them to fith with the washers and all.
 
Thanks for the props guys. I like reading other members trip reports so I try to post them up. The hard part is getting good photos while you're "in the moment." I'm always disappointed with the shots I end up with.

Quick go-back: when I was re-installing my RE lift springs I needed to replace the rear bushings. I was going to take them to a shop to have them pressed in but thought I'd give it a go myself first. I found that with a little bit of grease, and some serious hits with a 3lb hammer, the will go in:

10062178635_502cff1a5b_c.jpg


10062155804_fa64729764_c.jpg
 
Alright, so after our 2 week trip the Jeep was in need of some recovery work. I broke out both tail lights, smashed my down pipes right behind the transmission, had a noise in my steering and some pretty decent vibes above 50 MPH.

But first things first: my brother in law let me borrow his trailer for the trip and somewhere between Fresno and Reno the spare tire mount rattled off the trailer, along with the spare tire... So I've been taught you always return something in better shape than you got it. I bought a new spare and had him tell me exactly where he wanted it mounted. I welded the new mount on so there's no repeating what happened to the last spare:

10048504074_33617ec0db_c.jpg


He thought blue was the only color of paint I have ... he looked so confused when I said I have a can of black on the shelf right next to the blue! :D

Okay, next I addressed what I supposed was the biggest issue with the steering - the RE superflex joint on my trackbar. I took it apart, cleaned it and then decided I'd try greasing it as I reassemble it instead of greasing it after the fact:

10048558586_4cd3c1162f_c.jpg


10048498144_09bd5a5983_c.jpg


I may have gone a little overboard... :eyes:
That did help some, but there is still a pop when I turn the wheel on flat ground while standing still. I'm still looking into that...

So on to the smashed downpipes which were causing a leak at my header. I first attempted to straighten them some and tighten the bolts connecting them to the headers, but that did not solve the issue. So I found a local NAXJA member selling some off a parts XJ for cheap and threw those on. I ended up pull the whole exhaust to make sure I had everything all set:

10048571496_ec666b4846_c.jpg


10048657953_73846a3b30_c.jpg


I considered welding that joint together but thought better of it. I decided I've been having pretty good luck with exhaust straps lately so I installed my new-used downpipes and then the rest of the exhaust and clamped them together with the strap:

10048509624_fbba9640b9_c.jpg


I had to tweak the mounting point on the downpipes to get them into position without dropping the TNT skid plate, then once into position I had to tweak them again to get them not to hit the skid... I have about 3/8" clearance:

10048538755_8e9deb4c1d_c.jpg


I guess I could always notch the skid lip there if it continues to be an issues...

This resolved my exhaust leak and another parts jeep scored me some tail lights. So at this point I was able to take it in and get the inspection passed - street legal for another year! :cool:
 
Last edited:
Next I wanted to address the vibes I was now getting. I took it to a shop to have the wheels balanced and the manager took one look at it and said, "You sure you don't have bent wheels?" Right then I remembered that in fact I do. Actually I have 2 bent wheels! Once in Moab I taco'd my front inside lip to the point that I was loosing air... we pounded it back into shape and I hadn't thought of it since. Then this year on the Rubicon I did the same thing to another wheel. He looked at them and said it didn't make sense to balance them at this point. Lame.

Well, I'd been thinking about switching to some dynamic balancing material so I figured now was a good time - perhaps it would help some. So I bought a pack from eBay:

10048506924_695588c35d_c.jpg


The guy told me to start out with 10 ounces per wheel. I happen to have a food scale so that was easy enough to accomplish.

This seems like a great idea:

10048565396_fe7e787a4f_c.jpg


It worked for about half a second before getting clogged up:

10048650443_e1b44f8f8e_c.jpg


looking closely at the "beads" it's pretty obvious why this happens:

10048566246_8f05515f44_c.jpg


Not exactly uniformly round... Well, plan B: break the bead and drop them inside. I don't have a tool for this so I used the universal trail-side bead breaker tool:

10048563326_f51a8d26e0_c.jpg


Re-seating was a snap: I just put some pressure on the tire by leaning on it while filling with the air compressor. It was really a snap, I was able to work through all 5 tires in less than 30 min.

Here is a comparison of the weights on one wheel vs the material:

10048506334_99736826ac_c.jpg


And here you can see where some of my weights had obviously shifted on the trail:

10048501714_1865a44eaf_c.jpg


And all my discarded weights:

10048560636_44dfdac869_c.jpg


The ride is a bit smoother but I still get intermittent vibes at high speed... Looks like I'll eventually need new wheels - this time I'll be sure to reinforce the inner and outer lip.

Another quick fix - I needed to relocate my horn from it's temporary location (from 2 years ago...) On the passenger side there is a little window box on the fender near front. So I just flattened out the mount:

10048529965_e979306d07_c.jpg


And tossed it in there:

10048559056_d5d3262051_c.jpg


It's out of the way at least.
 
Okay, one more quick mod I've recently done.

My rear hatch struts have needed replacing for several years now - they work so-so in the summer and don't work in the winter. So I decided to pull them and put them on the hood. (while I waited for new ones to arrive for the rear hatch.)

the base I mounted on the angled portion of the engine compartment, directly in front of the wipers:

10048633004_8963c481d2_c.jpg


Using some bolts I had laying around, I drilled a hole in the sheet metal smaller than the bolts and then threaded the bolts in. Since they are always at an angle to the force they hold well without reinforcing the sheet metal, though admittedly rivet nuts would be better.

On the hood I first tried using this - though I new this might end poorly:

10048776253_870a4effae_c.jpg


Again I drilled a smaller hole then threaded it in:

10048692556_76739c268d_c.jpg


10048775053_fa765ef82e_c.jpg


But on this there was leverage, thin sheet metal and the single sheer point was just too weak:

10048691336_306d00d9b6_c.jpg


So, I picked this up from a local trailer/rv supply store:

10048690316_c3393acc90_c.jpg


And used two sheet metal screws in the side to attach it to the hood brace:

10048690906_a465c42541_c.jpg


That seems to be plenty sturdy - there's essentially no leverage on the screws and it's two sheer points. But if it ever get's loose I'll probably just weld the brackets in that location.

Last shot:
10048689886_6b82b39651_c.jpg


As it turns out, one hoe'd out rear hatch strut is enough to hold your hood open, though it won't lift it up by itself. I'm pretty sure 2 hoe'd out struts would accomplish that, so I think I'll go ahead and instal the other one on the other side.
 
Alright, so I can now confirm that 2 hoe'd out rear hatch struts will indeed lift the hood very nicely. Also, on the passenger side I was able to install the strut in the same location and leave the OEM hood support in place - in case I need it for some reason down the road...

So, more updates:

Before going to Moab for Fall Fling I realized that I absolutely had to straighten my rear leaf slider boxes. But I didn't want to do that without plating them because I knew they would only bend again and i didn't want to weaken them any more than they already are.

So I straightened them as much as I could:

10672915863_cc2a49a2c8_c.jpg


Then I cut some 3/16" plate to size and tacked them into place at the top:

10672705484_712f0fcbce_c.jpg


Then I BEAT THE LIVING SNOT out of it to get it to bend around the curve :D

10672702914_37d413015f_c.jpg


10672629725_3c56e113c7_c.jpg


Eventually I emerged the victor!

10672899593_00f38123af_c.jpg


I did paint them ... but apparently I don't have pics of that. I'll snap some later and post in my recap of my Moab experience.

So moving on, I've been working since last October on adding a second Sanden AC compressor to use for OBA ... so I was dead-set on finishing that project before Moab! I posted a lengthy write-up with pics so I'll just recap here:

Cleaning and greasing the compressor:

10048273794_32c708a898_c.jpg


10048313405_87d4e846bb_c.jpg


Bracket and mockup:

10048325346_4e1b81172c_c.jpg


10048437503_0073487bb2_c.jpg


10048359056_f97b8968d6_c.jpg


Installed:

10048342945_54709c649d_c.jpg


10048313134_044a162b3b_c.jpg


Birds-eye overview with the pertinent details called out:

10663125713_d9a3bd02c9_c.jpg


As I said in my write-up, I'm VERY pleased with this mod! Tons of air and it performed very well in Moab. Also, it is extremely quite, which is a nice bonus feature.
 
Back
Top