- Location
- Rainy side of Washington
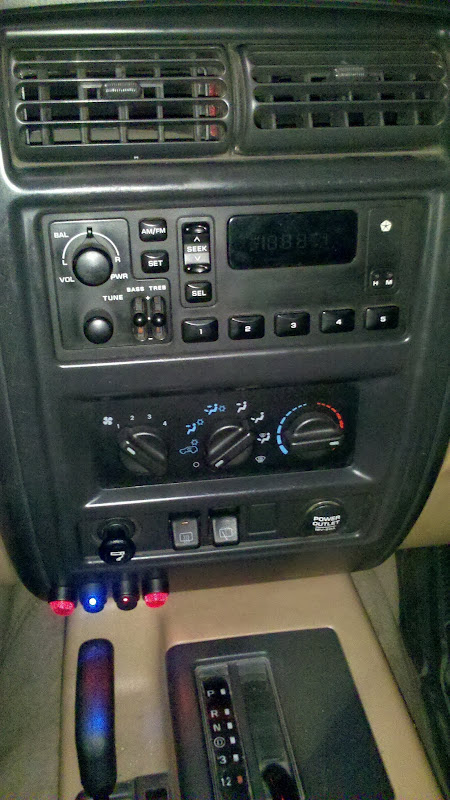
So I got a bit of work done on this project tonight.
Opening up the 97+ stereo is not that bad, it just takes a torx driver. Remove the 4 torx screws holding the front cover on (don't try to force it off) as well as the 4 along the top and bottom edges of the back side of the case. Use a small flat blade screwdriver to carefully separate the front cover from the unit, pull it out, and disconnect the ribbon cable from the board at the top of the stereo. You should be able to lift out the frame and bottom cover of the stereo now; this has the cassette tape deck connected to it, which is plugged into the circuit board in the main portion of the stereo. Press the two retention clips at the ends of the connector down and away from the center of the connector and it should push it out.
I am currently working on reverse engineering the small circuit board mounted to the back of the cover that has the cassette tape deck bolted to it. I have a partial pinout for the 16 pin connector on the grey ribbon cable leading from the cassette tape deck to the main circuit board; when I have a bit more info I will update this post and then call it a night. I would be much further along but for once (they are usually one of the easiest companies to deal with) Phillips/NXP did a terrible job of publishing datasheets, their TDA3612 cassette tape deck controller chip is obsolete and I cannot find a good datasheet anywhere so I am using a lousy quality schematic of a similar circuit based on the TDA3611 to draw as many conclusions as I can. Fortunately the TEA0675 Dolby Digital Noise Reduction chip (which handles the audio signal preprocessing) is much better documented so the audio half of the circuit is simpler to figure out.
Pin-out, as it currently stands:
(red stripe edge of cable is pin 1, connector has pin 1 on the side opposite the small polarizing notches, all odd pins are on one row and all even pins are on the other)
anything marked ??? is one I haven't figured out quite yet.
1 ground
2 ground
3 ??? - something to do with the audio side of things)
4 ??? - 10k resistor to AMS output, connects directly to a pin on the tape read head (audio side)
5 12V (unknown if this is regulated or straight automotive 12-15V unregulated, at this point)
6 audio side power? (unknown if regulated or not, voltage unknown)
7 goes to a wafer switch within the tape deck mechanical assembly. Not sure what this is, but probably for auto-detection of end-of-tape and switching to other track.
8 ??? - something to do with audio side voltage regulation, I believe, but I am not sure yet.
9 audio channel A (whether A is left or right is unknown at this point, whether this is line level or requires preamp to line level is unknown)
10 audio channel B (see pin 9)
11 audio side ground? (not sure if this is common ground with the other grounds listed above yet)
12 data bus select/enable (for controlling motor/deck direction shift mechanism via TDA3612, bus protocol is probably SPI but I'm not sure, no idea what commands the TDA3612 understands either)
13 data bus clock (see pin 12)
14 data bus data (see pin 12)
15 ??? - something to do with AMS output circuit on pin 4
16 ??? - something to do with headswitch input control on TEA0675. This effectively sets which side of the tape is being listened to, I believe.
If I can figure out the levels on the audio channels (not difficult) and the bus protocol and command set for the 3 wire bus controlling the TDA3612, it should be possible for a suitably motivated nerd to design an iPod dock module that will plug directly into the stock radio instead of the cassette deck, and allow control via the stock buttons on the radio.
... now to put it back together temporarily so I can listen to the radio on my way to work tomorrow :eyes:
Last edited: