So I have been using  for a few years now and want to put my build thread up here because I enjoy scanning through them and am always looking for advice on mine so here we go.
A while back, Junior Year of high school I was given a 92 jeep cherokee laredo after the transmission of my 88 Suburban died. My grandparents got is new off the lot in 92 and only put a few thousand on it a year kept in a garage. Then it was my older sister's car for two years then I got it. It wasn't very long until I had money to spend and begin what has been a five year and counting build. My full build is on NC4x4 where I have met and become good friends with a lot of board members.
My Jeep is currently outfitted with
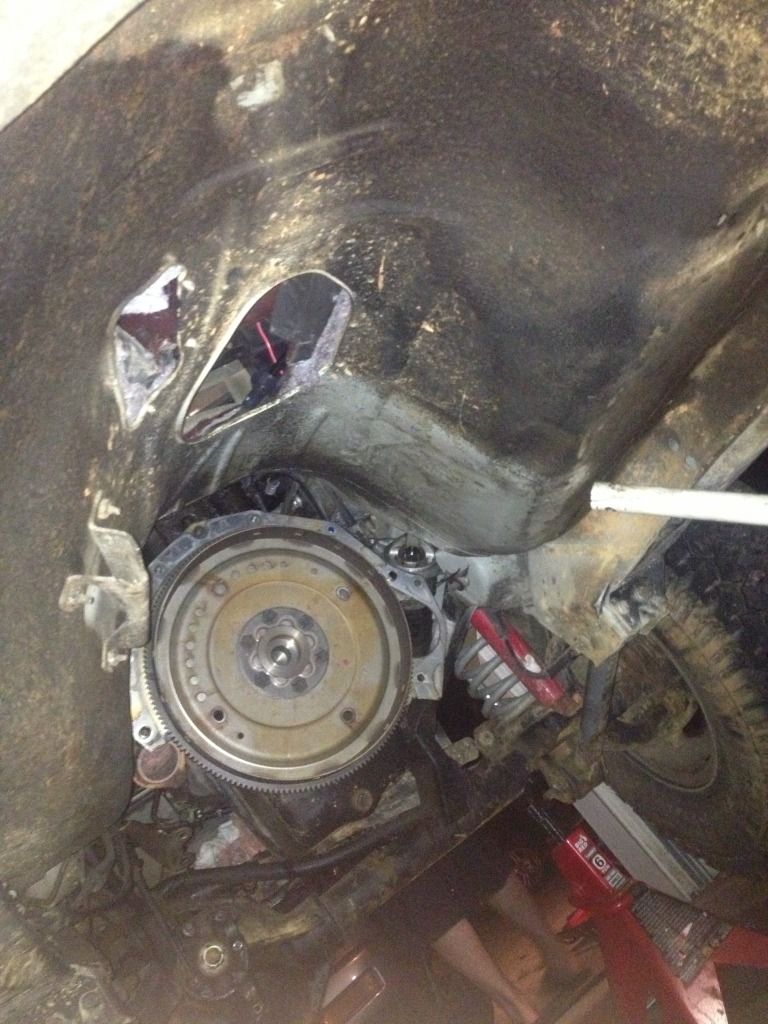
~4.0 HO
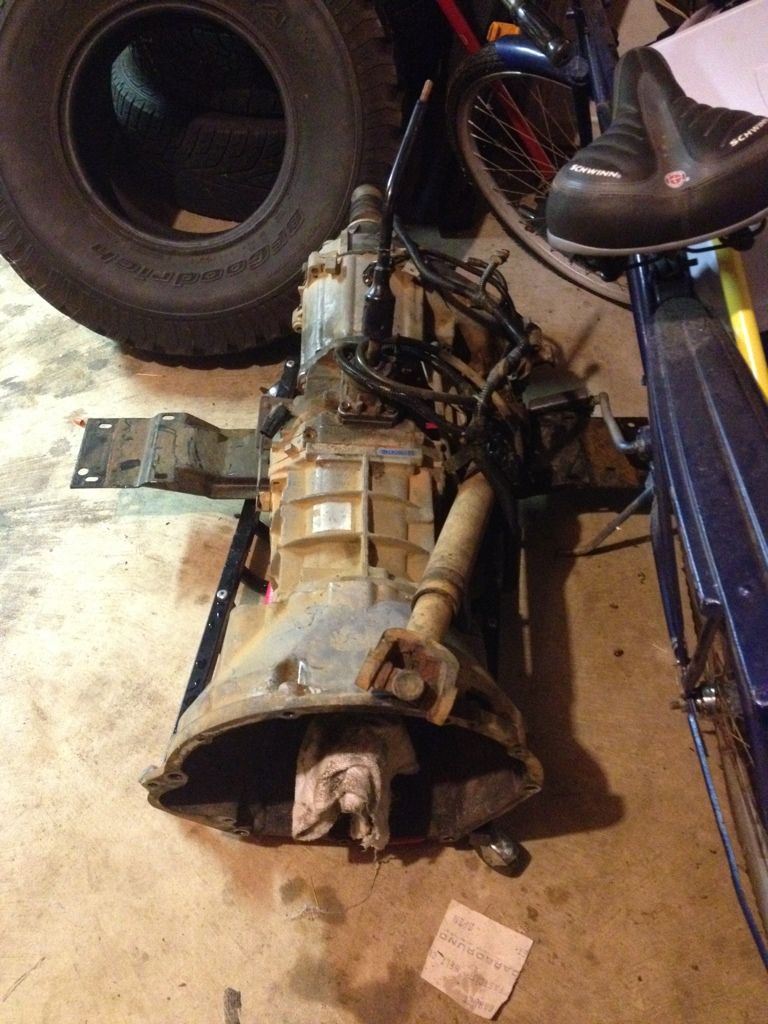
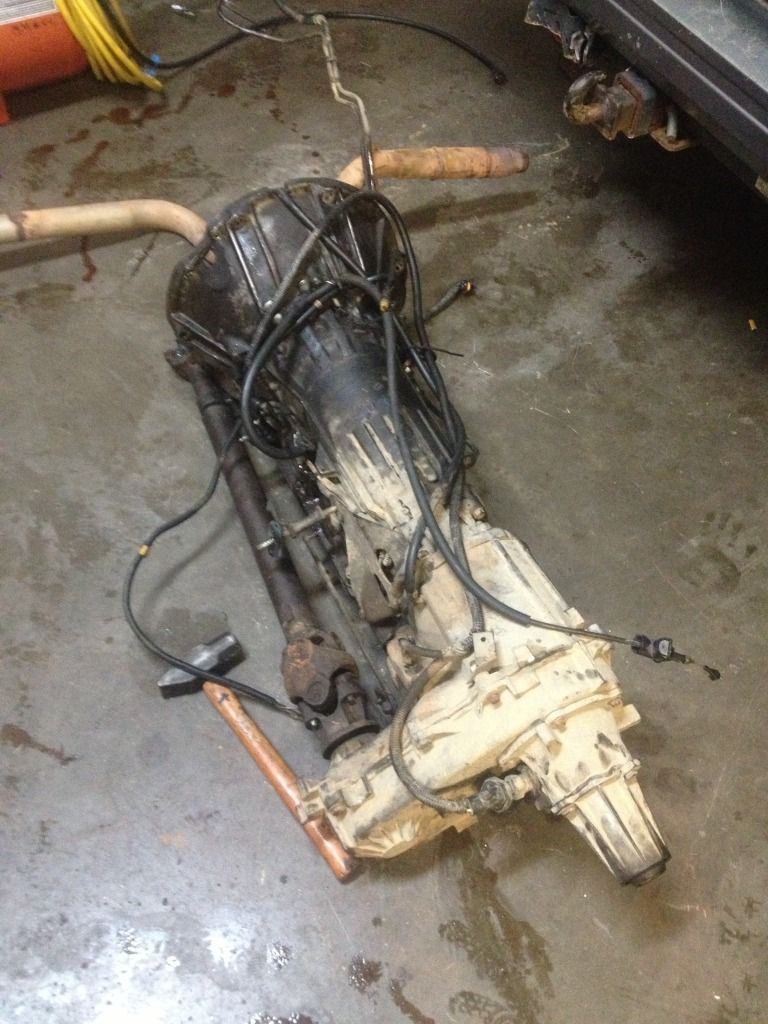
~AX15 (swap)
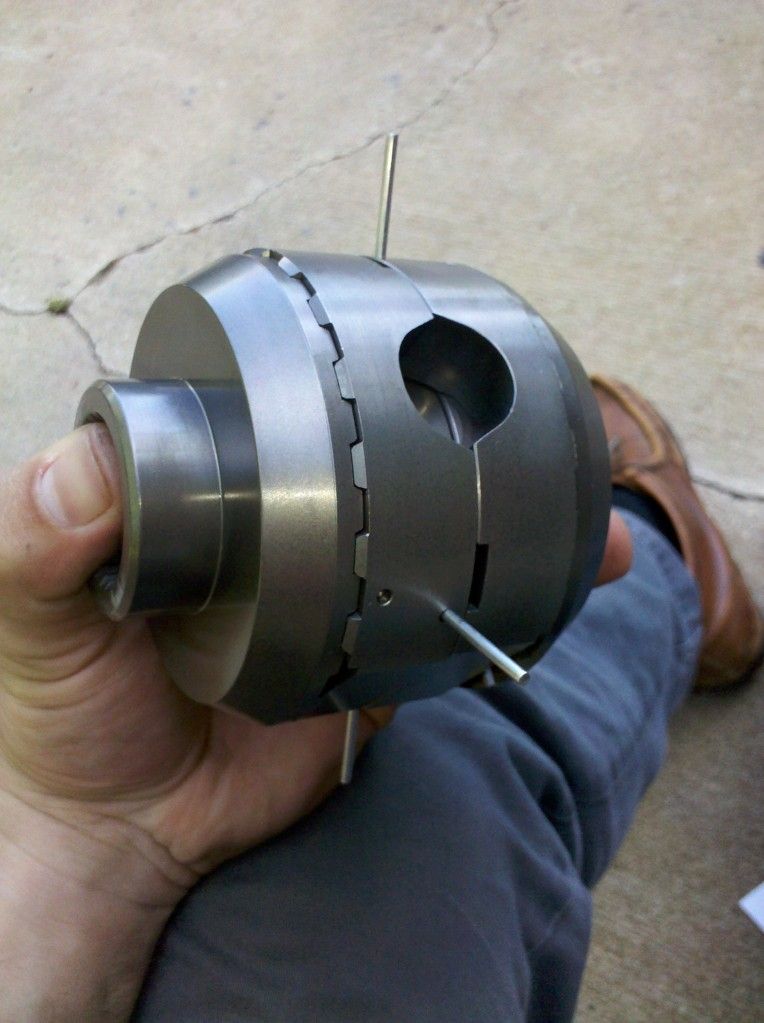
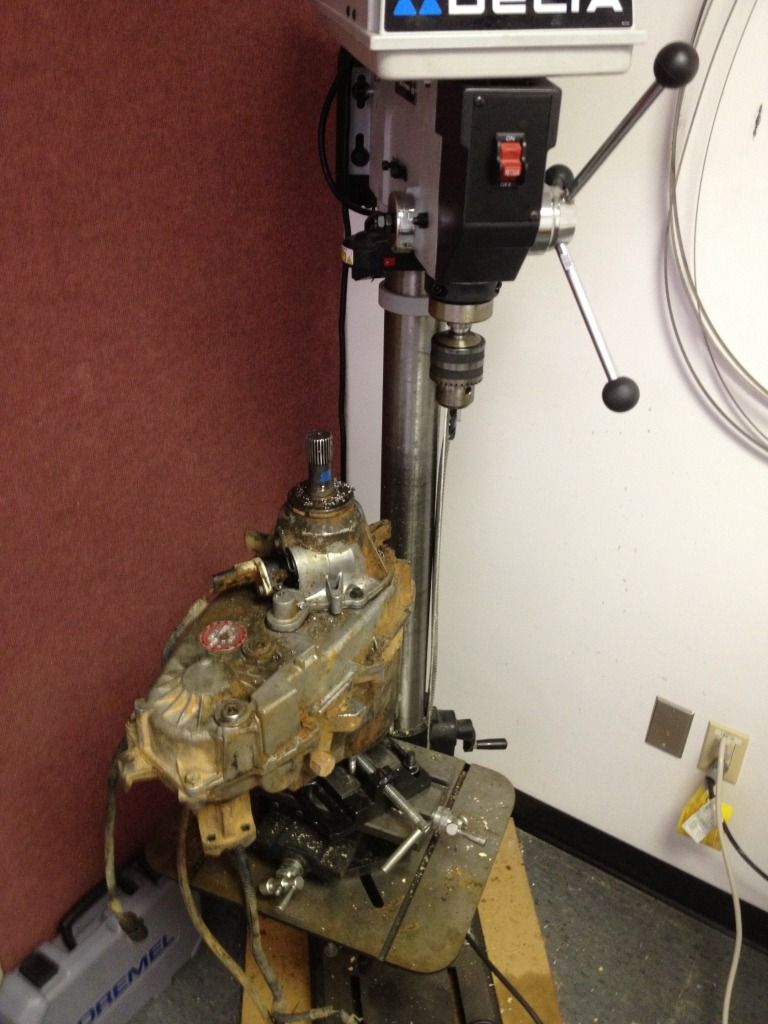
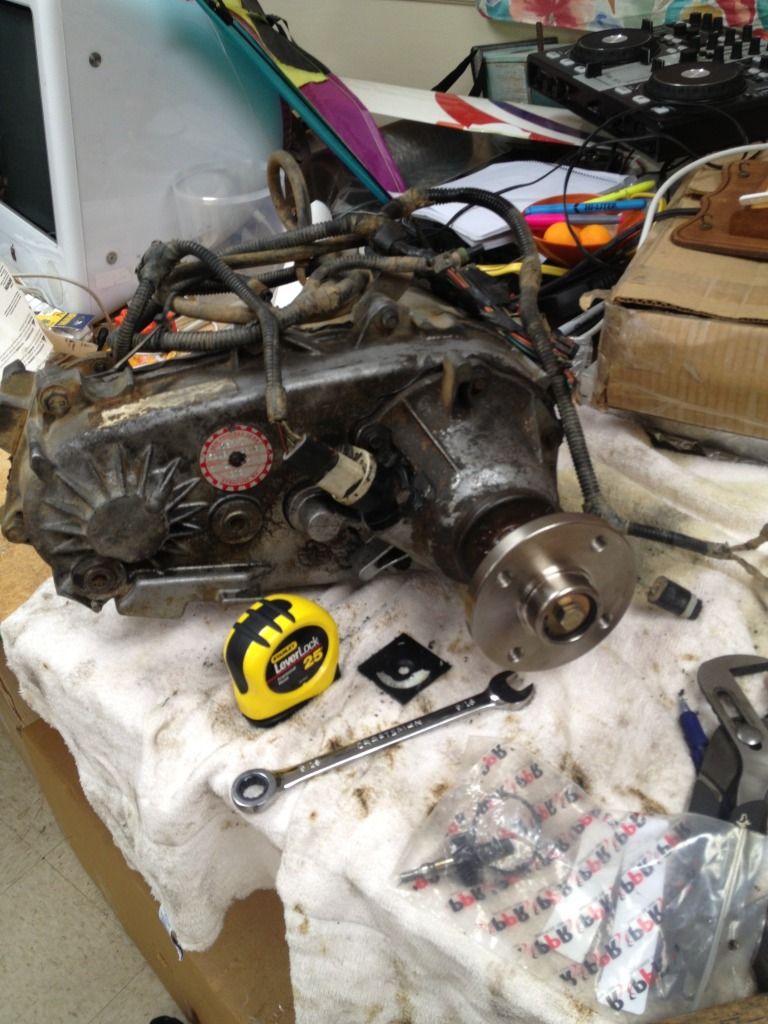
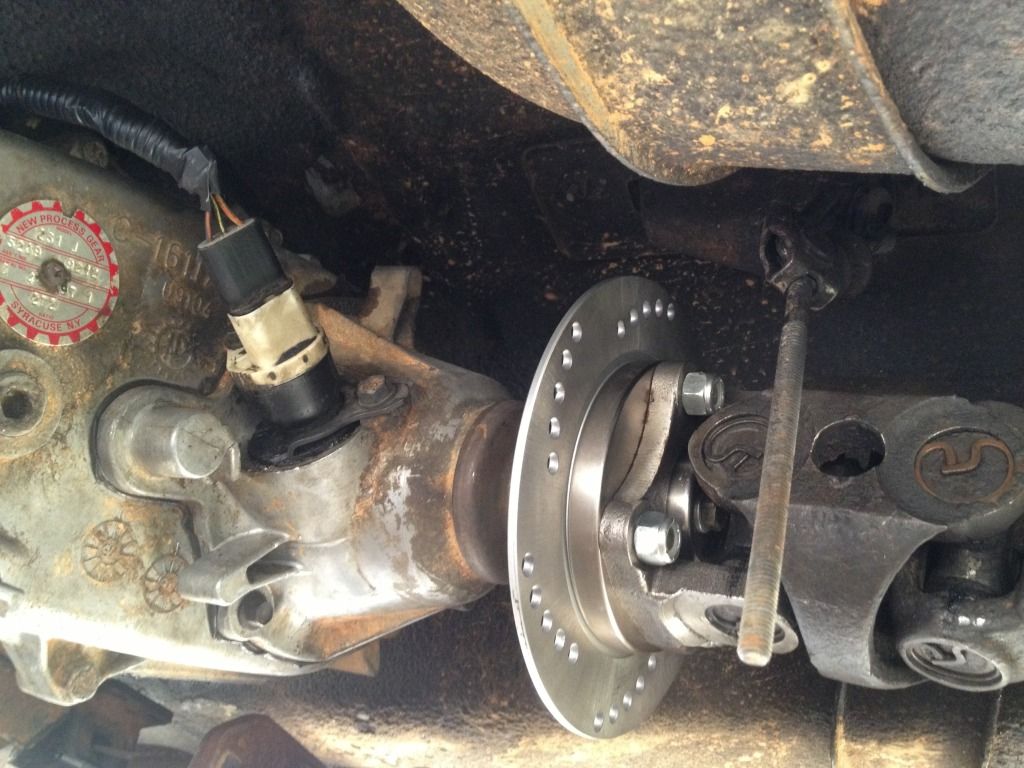
~NP231 w/ RE Flange HnT
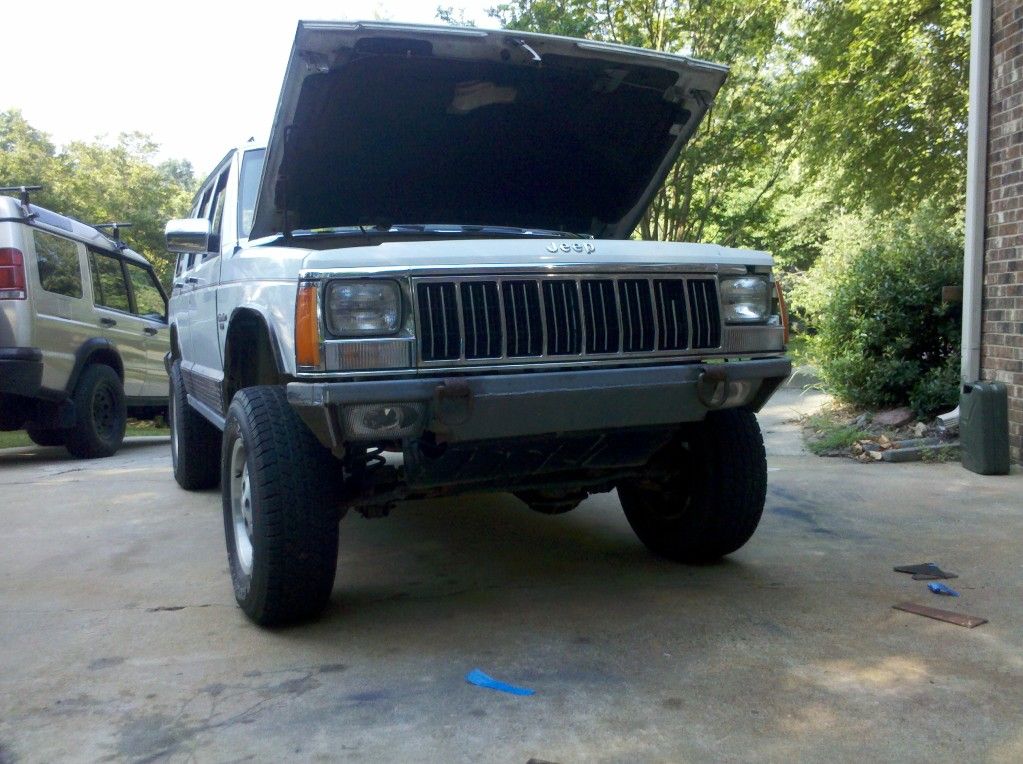
~RE 3.5" lift
~4.56 gears
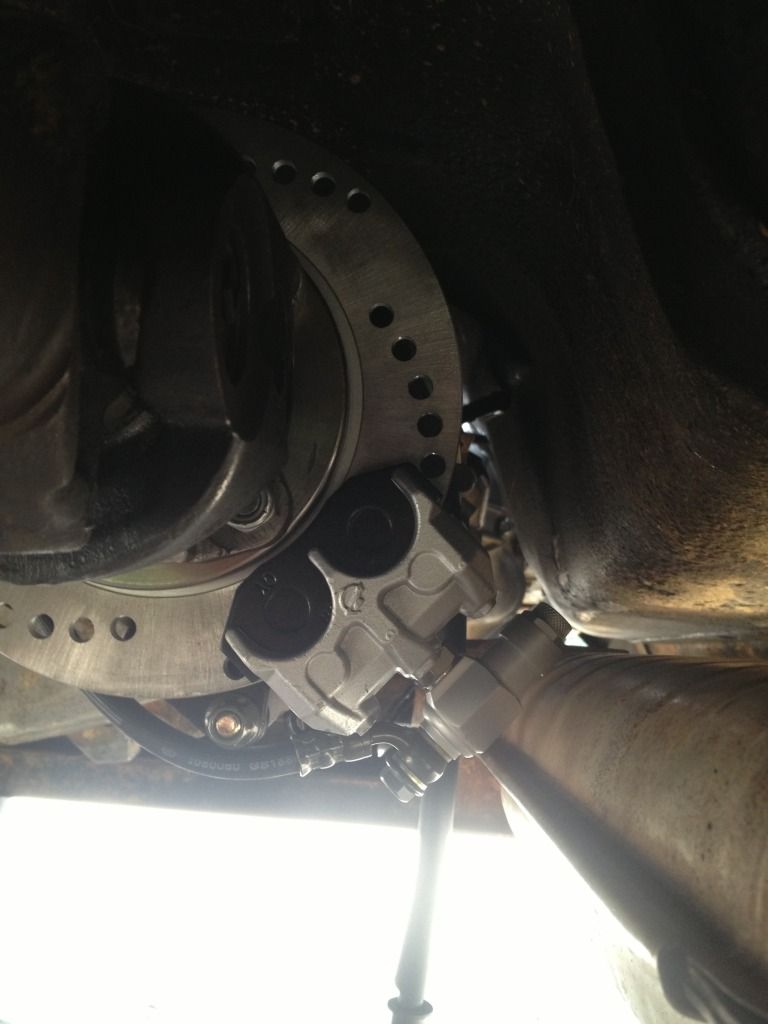
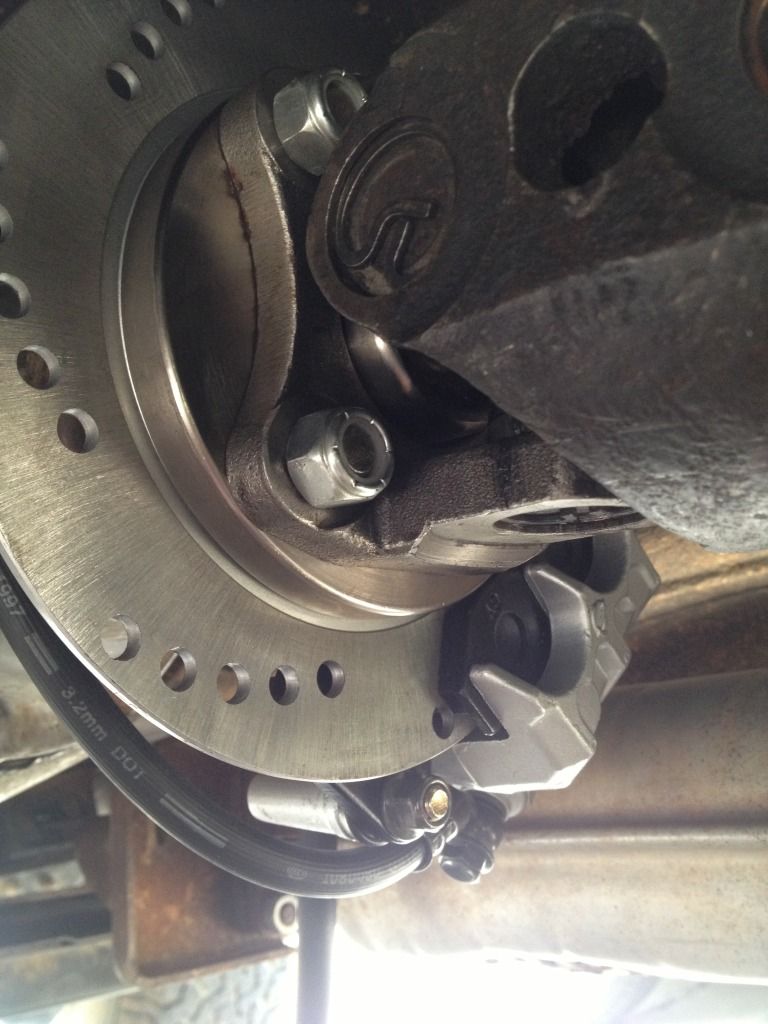
~Front aussie locker
~Rear Spartan Locker
~33" A/Ts
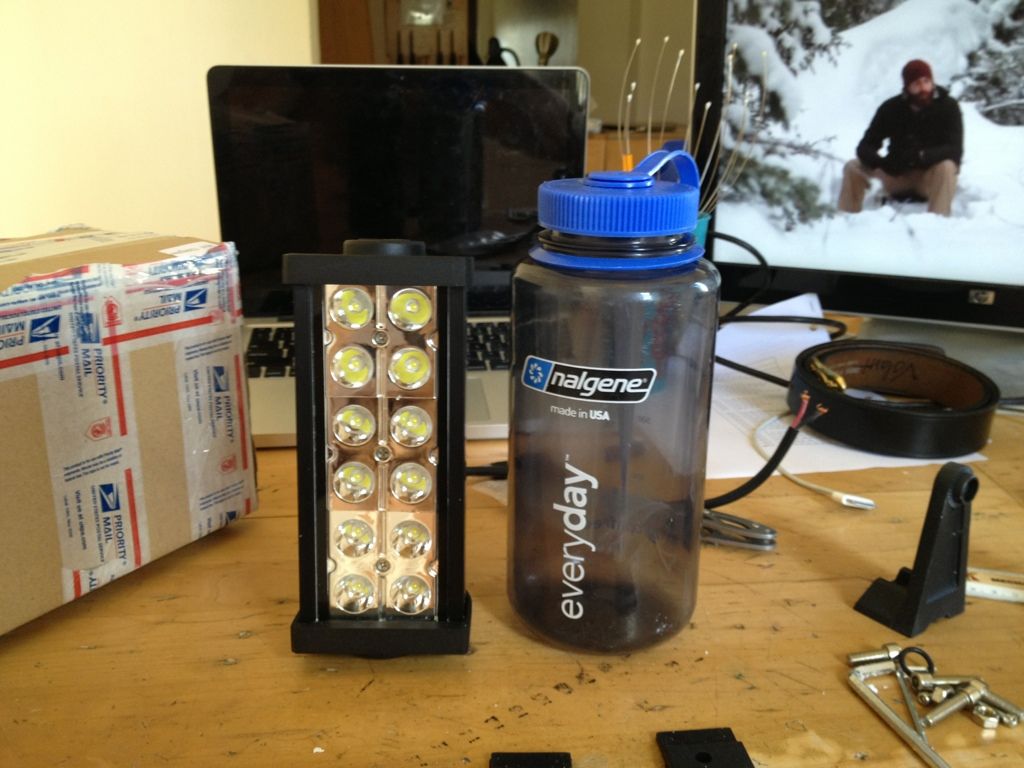
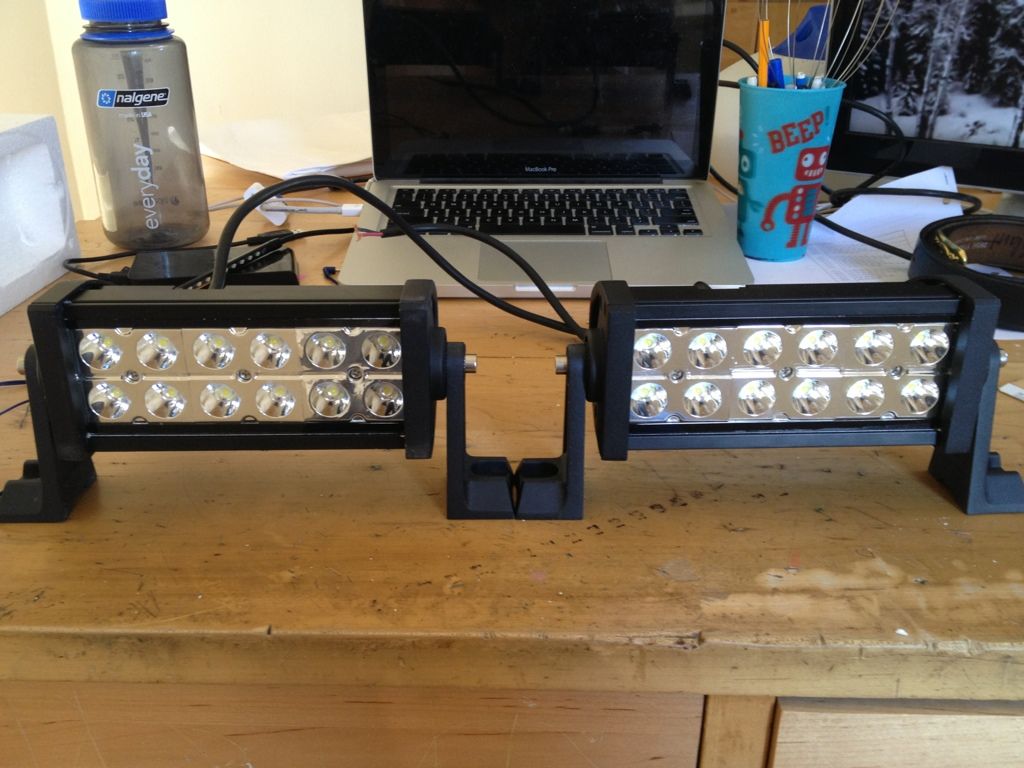
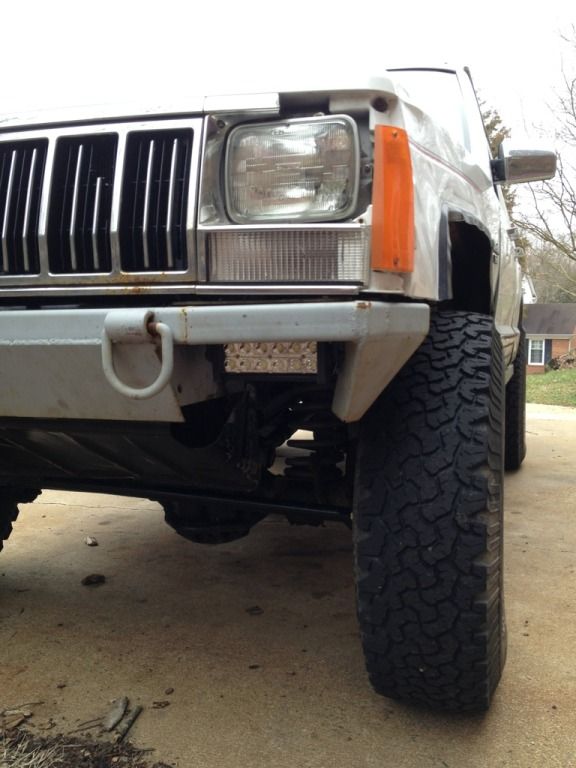
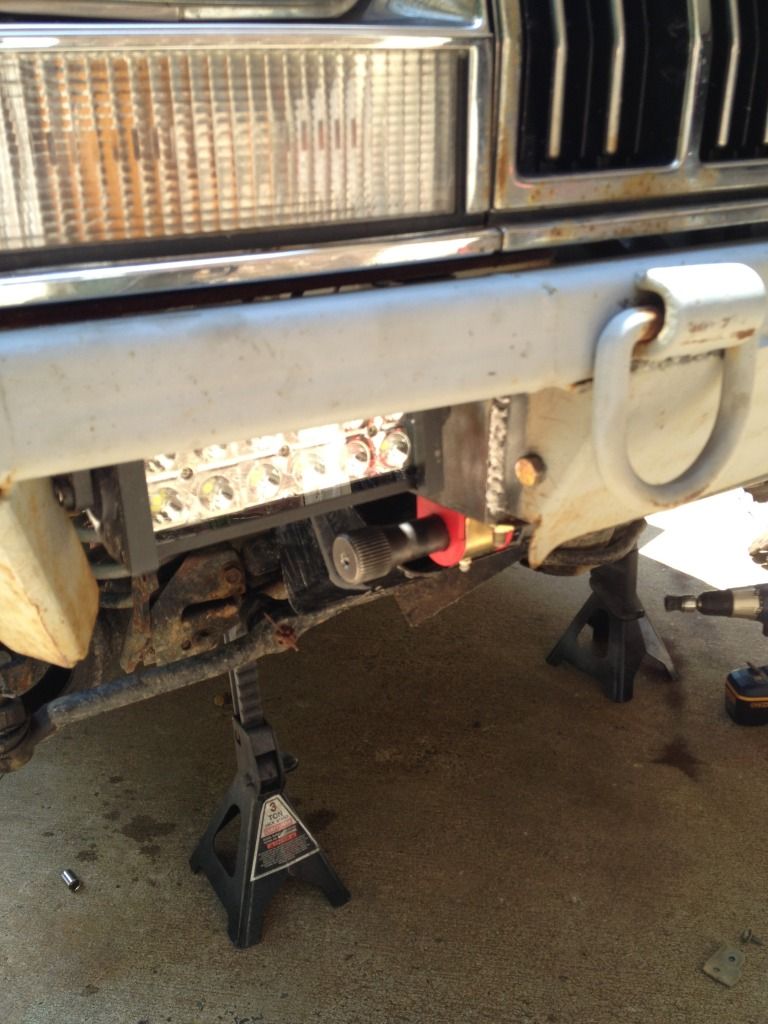
~(2) 6" LED Olympus Offroad Olympus Lights
~Trimmed Fenders
~CB
~Half Doors
~IRO tierod
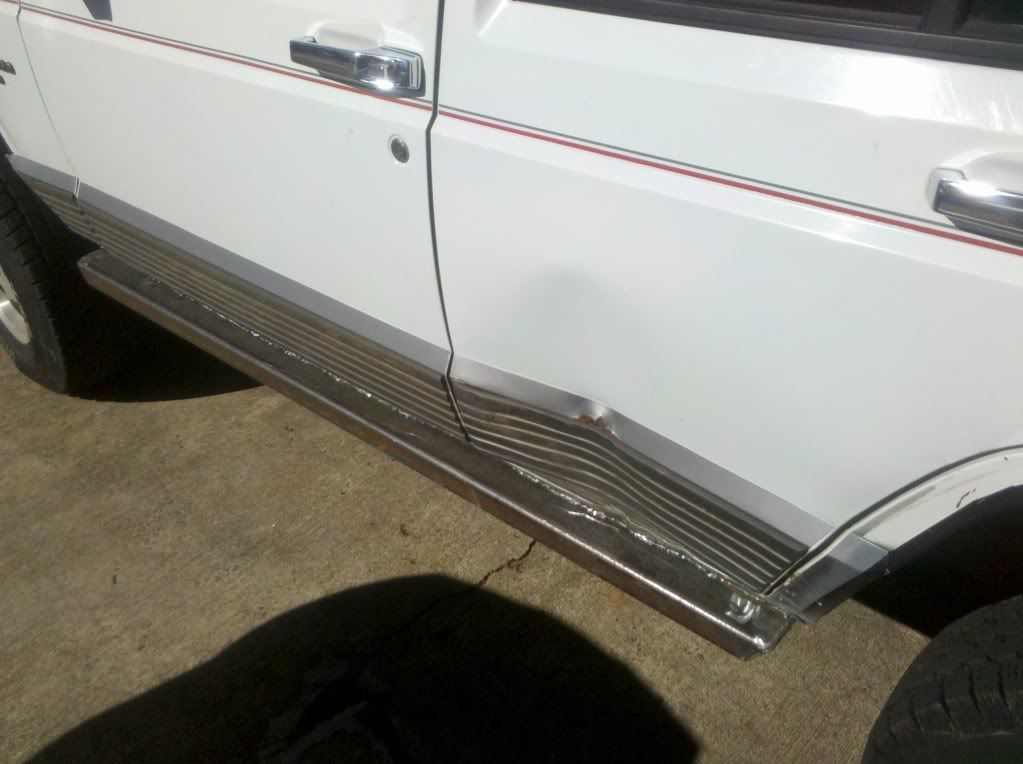
~Rocker Panel Replacement Rock Sliders
~3 Row Aluminum Radiator
I will try to condense this down with pictures the best I can!
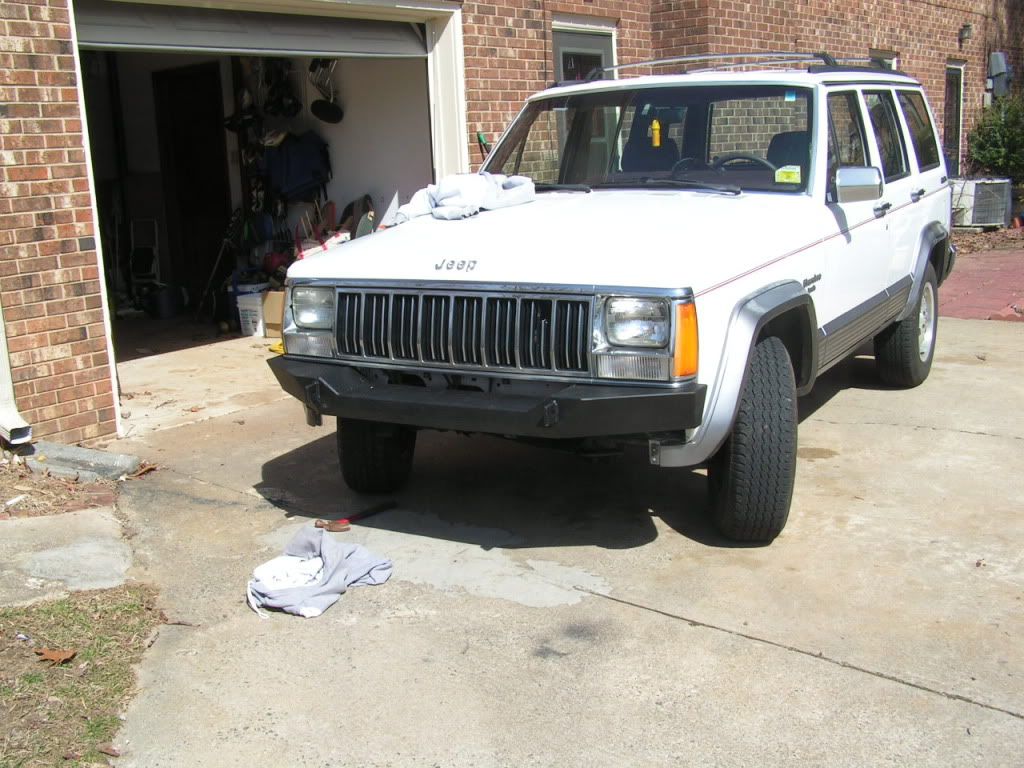
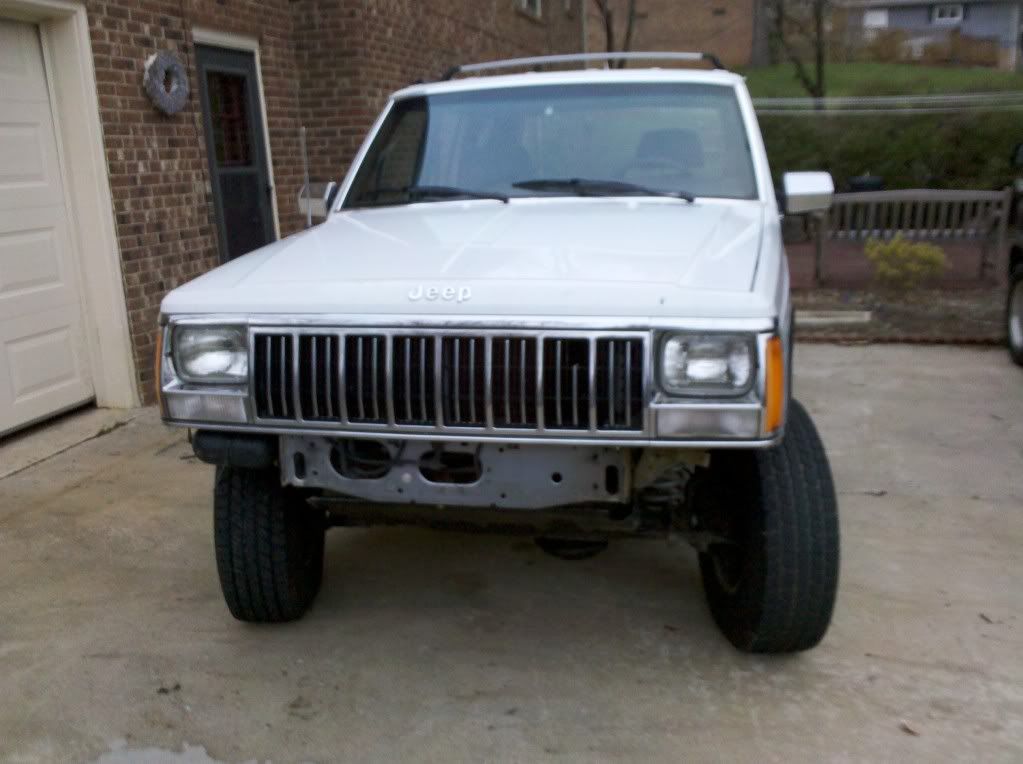
Back in the day....

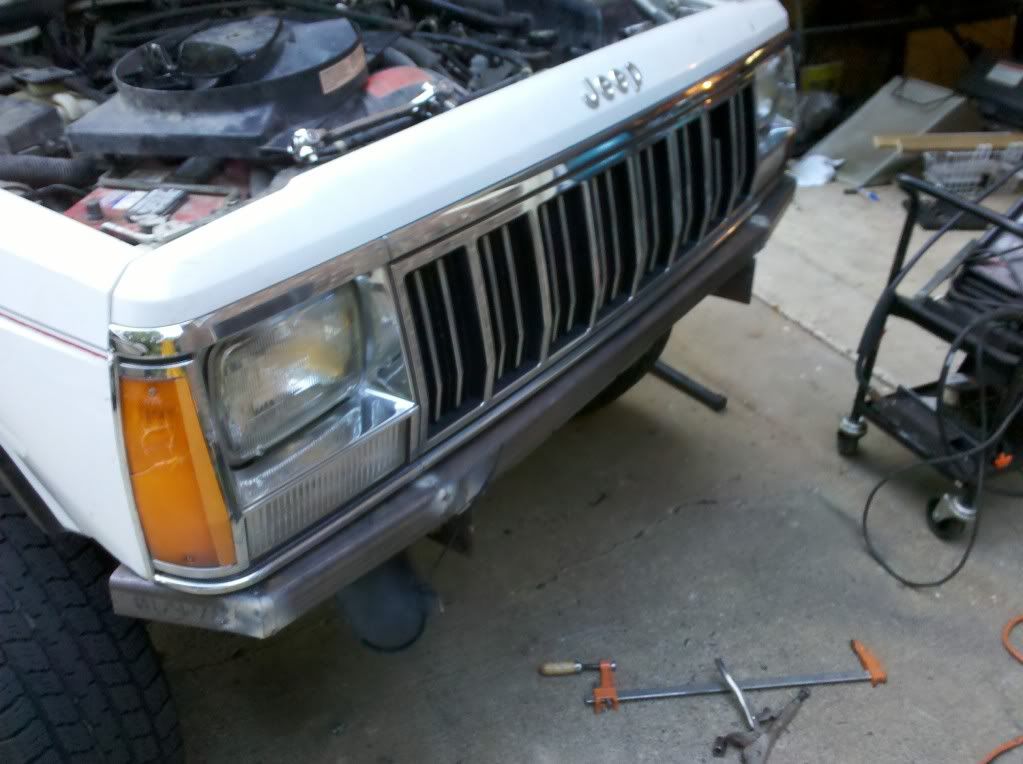
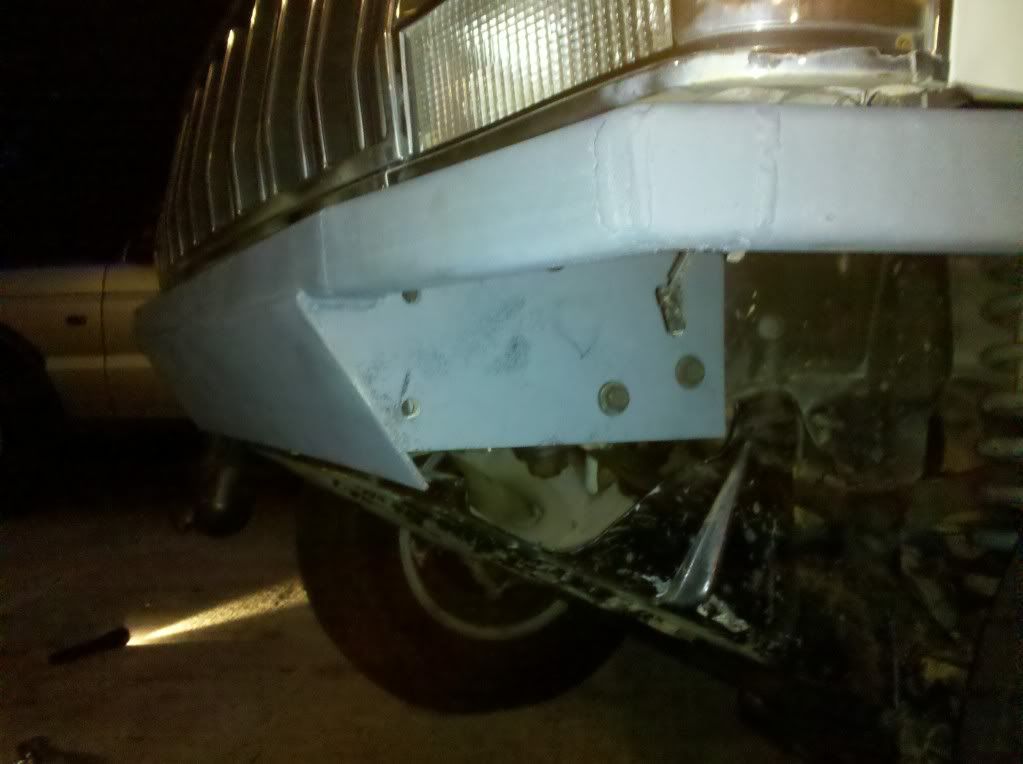
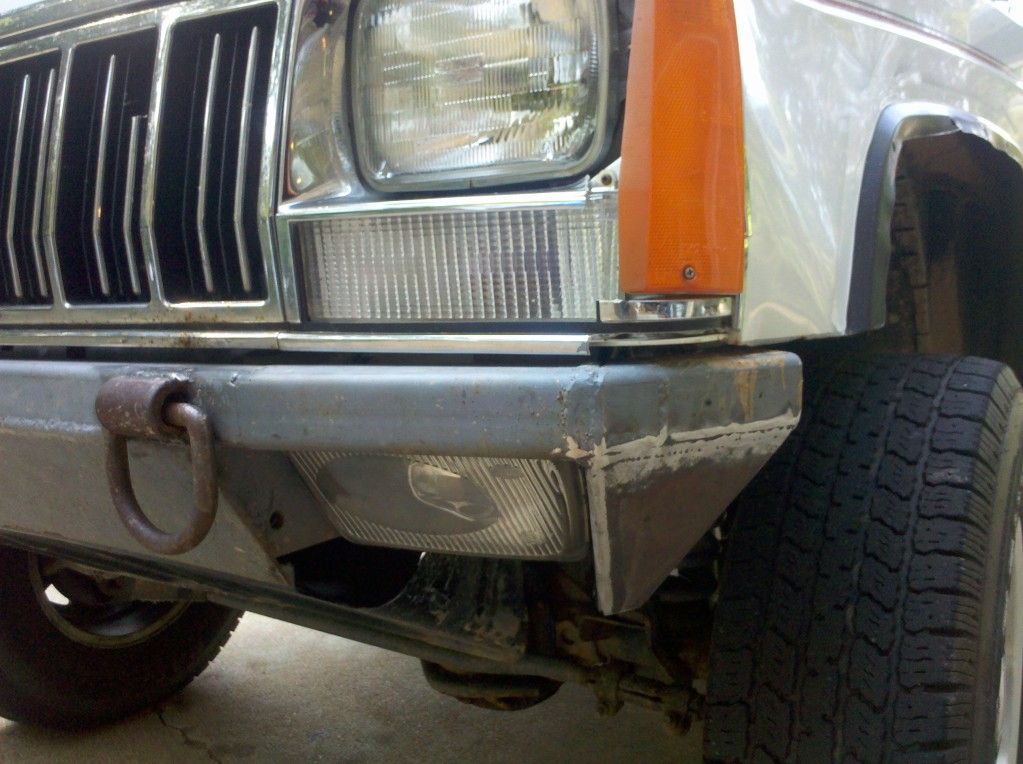
First Real Upgrade a Custom Bumper
Then scooped up 31" Thornbirds on steelies...and BTW these actually performed very well for me at URE contrary to how people bash them. Smooth on the road too.

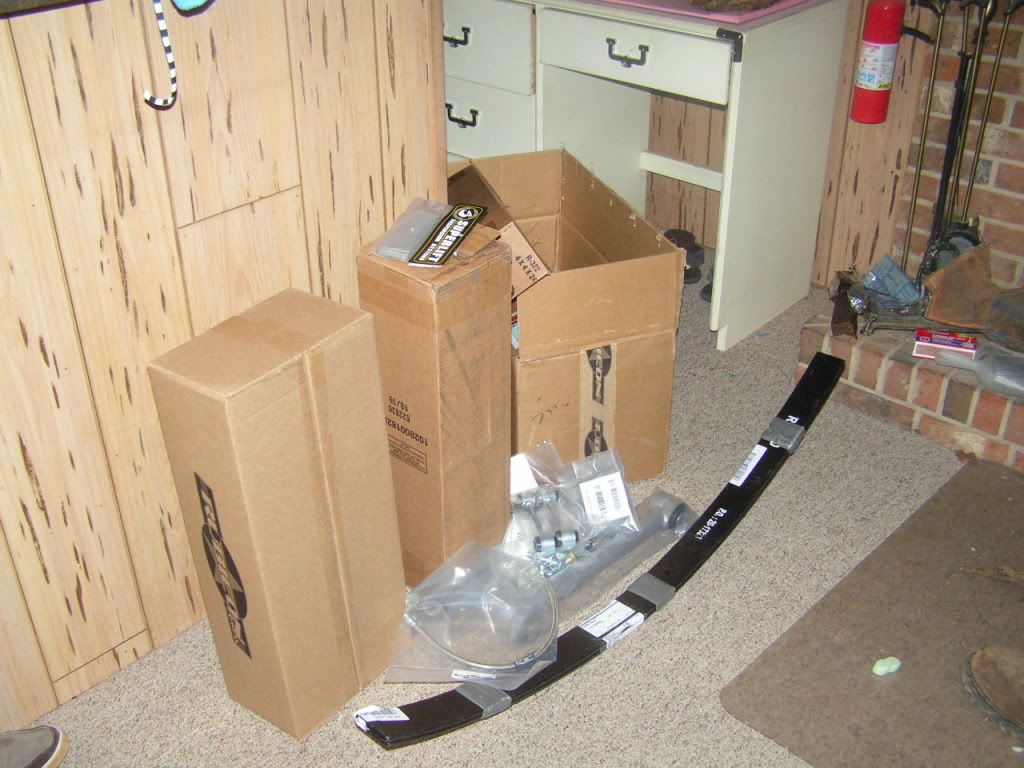
My First and Current Lift Kit...RE 3.5" w/AAL
Two Days Later...
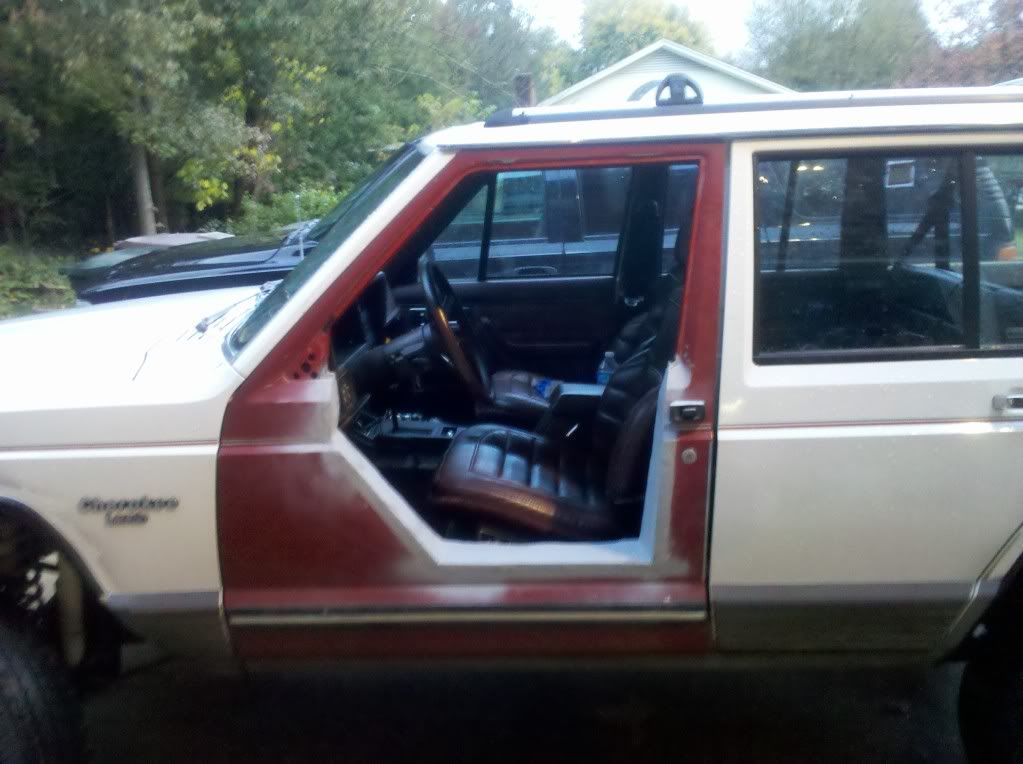
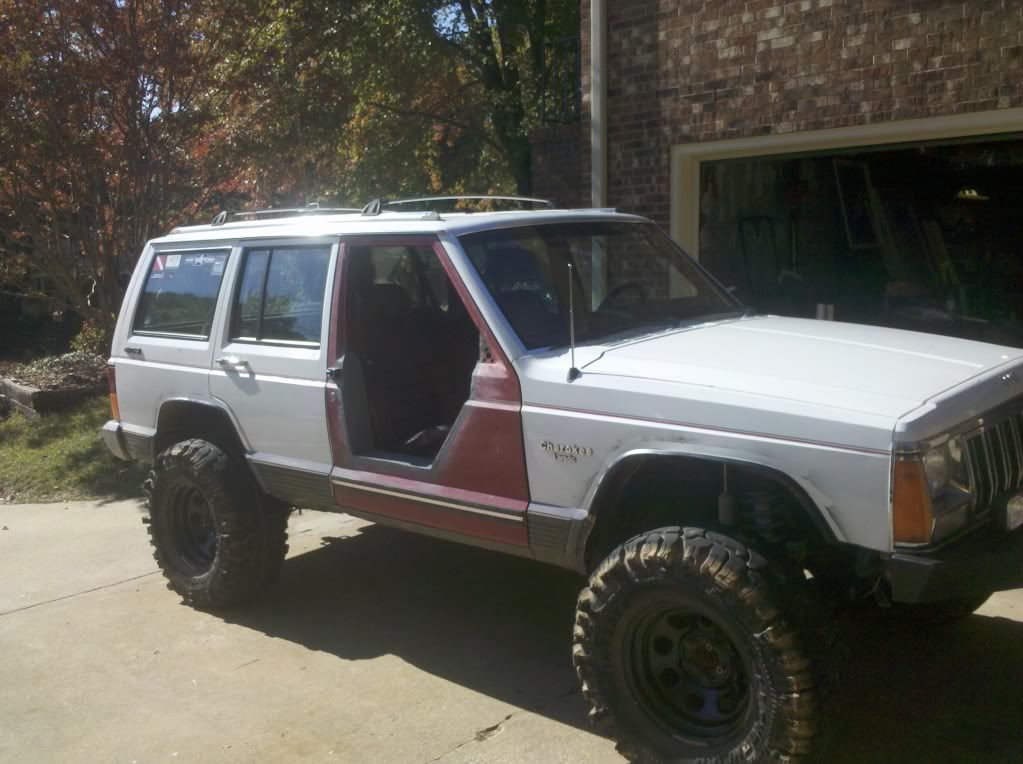
Got Around to Building Half Doors...
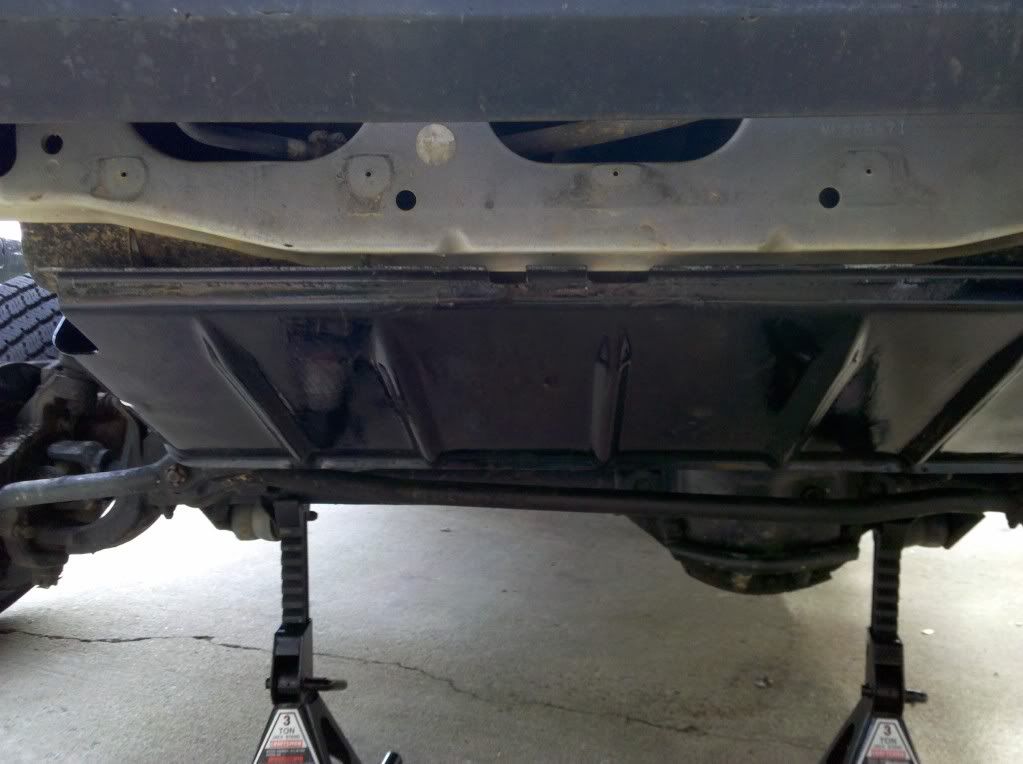
Install and OEM Skid
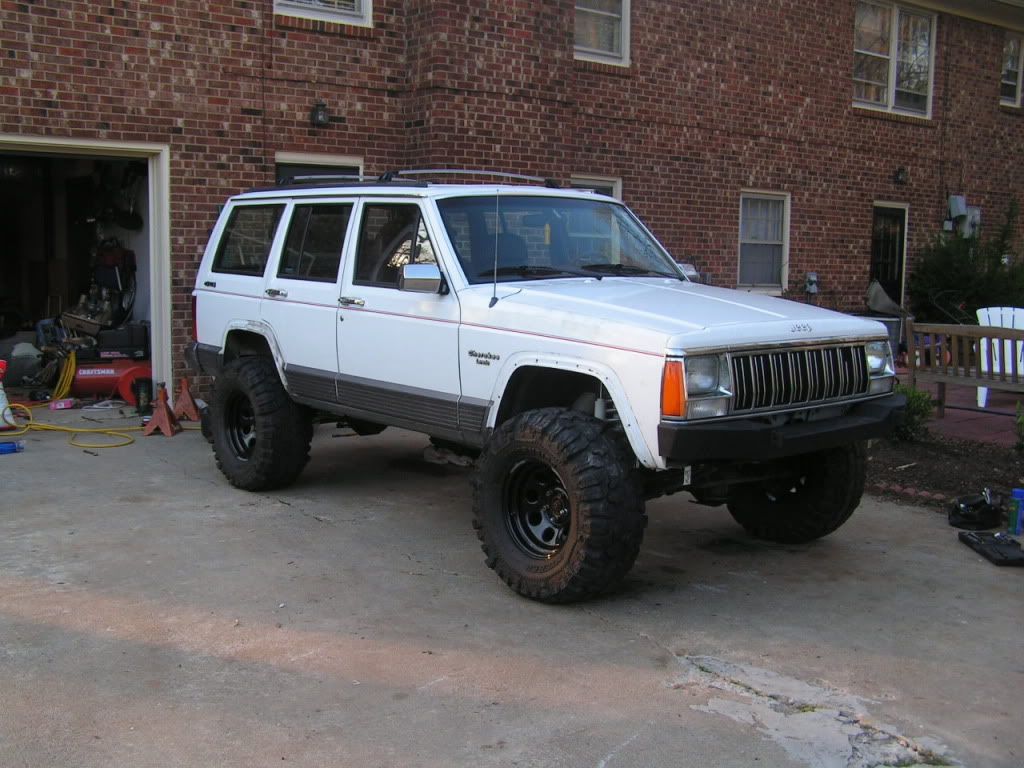
What it Looked Like Outfitted for the Trail
Finally Upgraded to some 34/10.5/15 Bias LTBs...Best tire I have ever had and experienced out on the trail/rocks

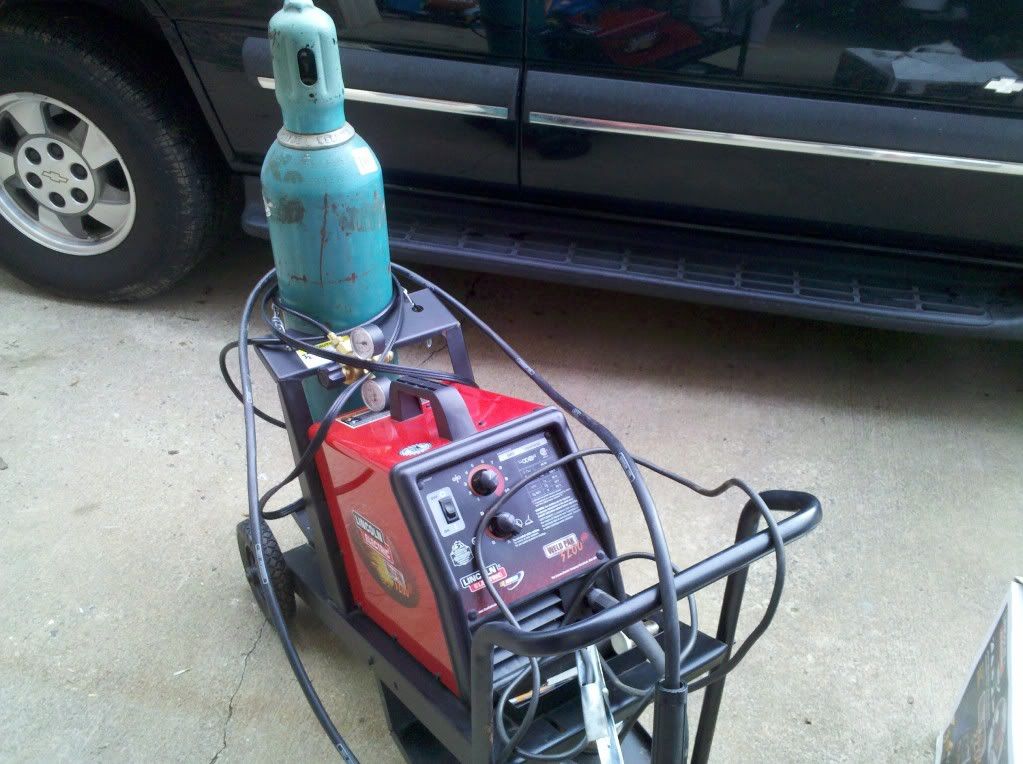
Then I got this and everything took off...Lincoln HD 3200 Weldpack
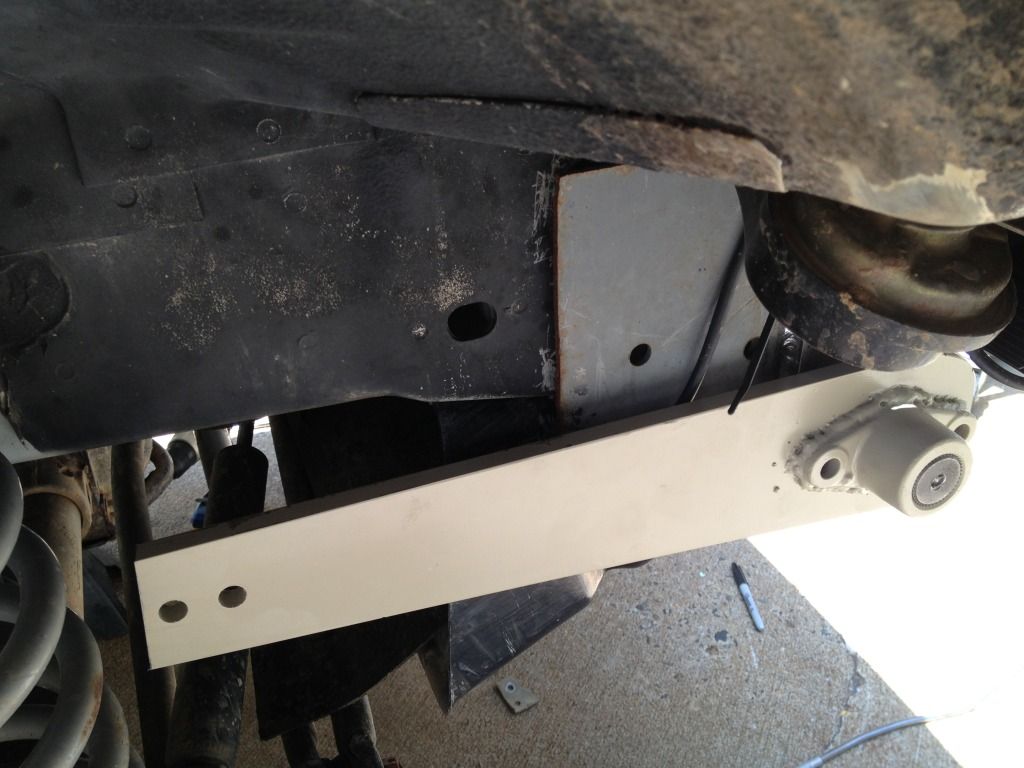
First Attempt at Quarter Panel Replacement Rock Sliders...Later Redone
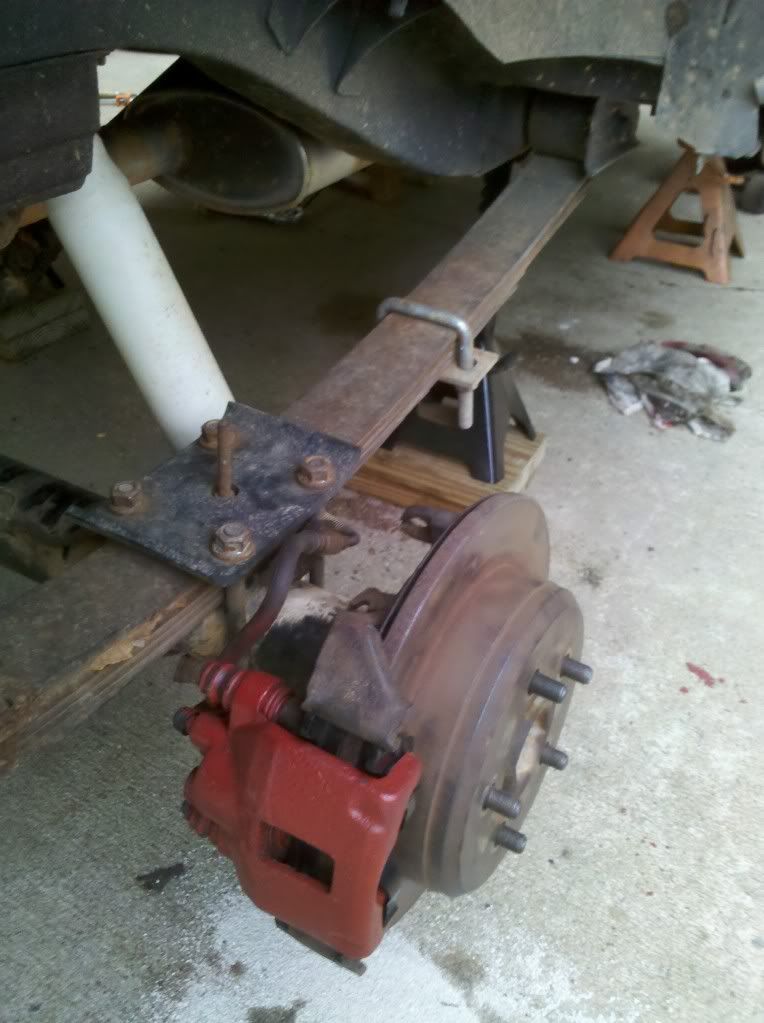
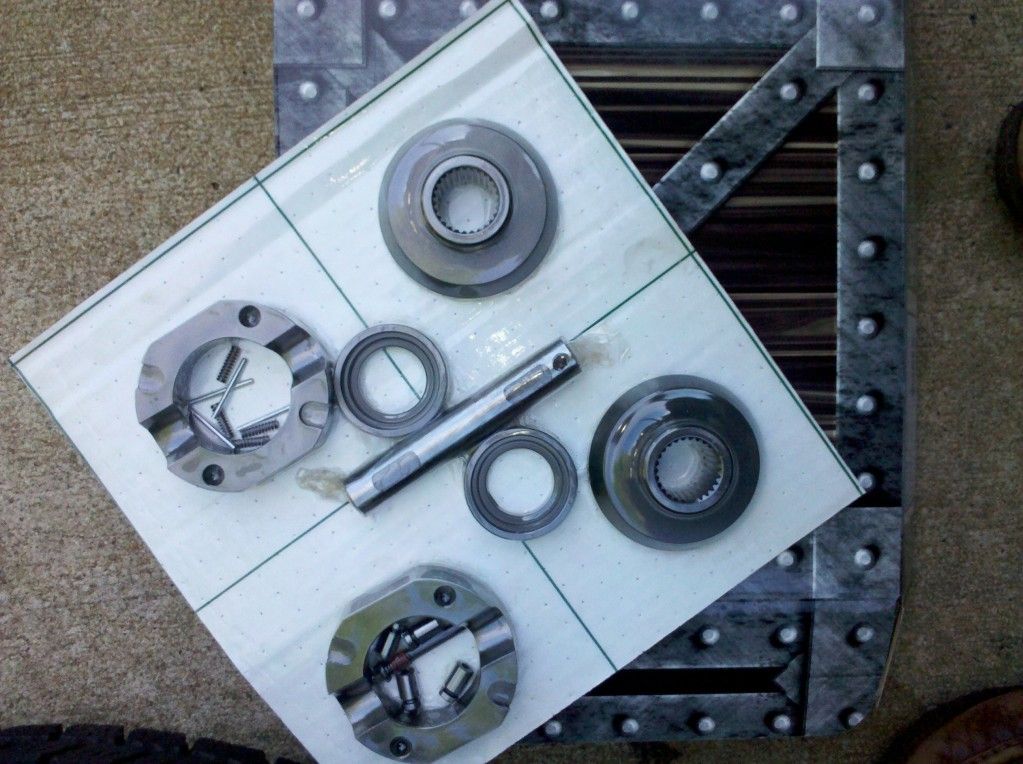
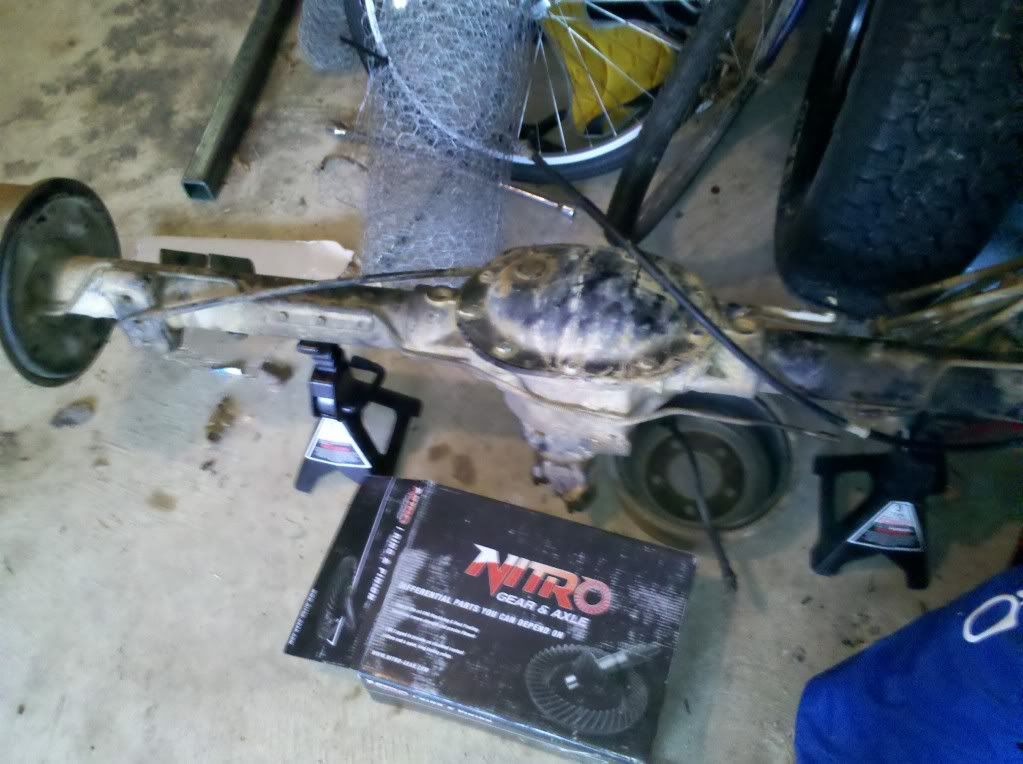
Traded Up My Bumper for an 8.25 w/4.56 Gears and a 4.56 R&P for the D30...
for a few years now and want to put my build thread up here because I enjoy scanning through them and am always looking for advice on mine so here we go.A while back, Junior Year of high school I was given a 92 jeep cherokee laredo after the transmission of my 88 Suburban died. My grandparents got is new off the lot in 92 and only put a few thousand on it a year kept in a garage. Then it was my older sister's car for two years then I got it. It wasn't very long until I had money to spend and begin what has been a five year and counting build. My full build is on NC4x4 where I have met and become good friends with a lot of board members.
My Jeep is currently outfitted with
~4.0 HO
~AX15 (swap)
~NP231 w/ RE Flange HnT
~RE 3.5" lift
~4.56 gears
~Front aussie locker
~Rear Spartan Locker
~33" A/Ts
~(2) 6" LED Olympus Offroad Olympus Lights
~Trimmed Fenders
~CB
~Half Doors
~IRO tierod
~Rocker Panel Replacement Rock Sliders
~3 Row Aluminum Radiator
I will try to condense this down with pictures the best I can!
Back in the day....
First Real Upgrade a Custom Bumper
Then scooped up 31" Thornbirds on steelies...and BTW these actually performed very well for me at URE contrary to how people bash them. Smooth on the road too.
My First and Current Lift Kit...RE 3.5" w/AAL
Two Days Later...
Got Around to Building Half Doors...
Install and OEM Skid
What it Looked Like Outfitted for the Trail
Finally Upgraded to some 34/10.5/15 Bias LTBs...Best tire I have ever had and experienced out on the trail/rocks
Then I got this and everything took off...Lincoln HD 3200 Weldpack
First Attempt at Quarter Panel Replacement Rock Sliders...Later Redone
Traded Up My Bumper for an 8.25 w/4.56 Gears and a 4.56 R&P for the D30...
Last edited: