• Welcome to the new NAXJA Forum! If your password does not work, please use "Forgot your password?" link on the log-in page. Please feel free to reach out to [email protected] if we can provide any assistance.

Please share photos of your cargo area.

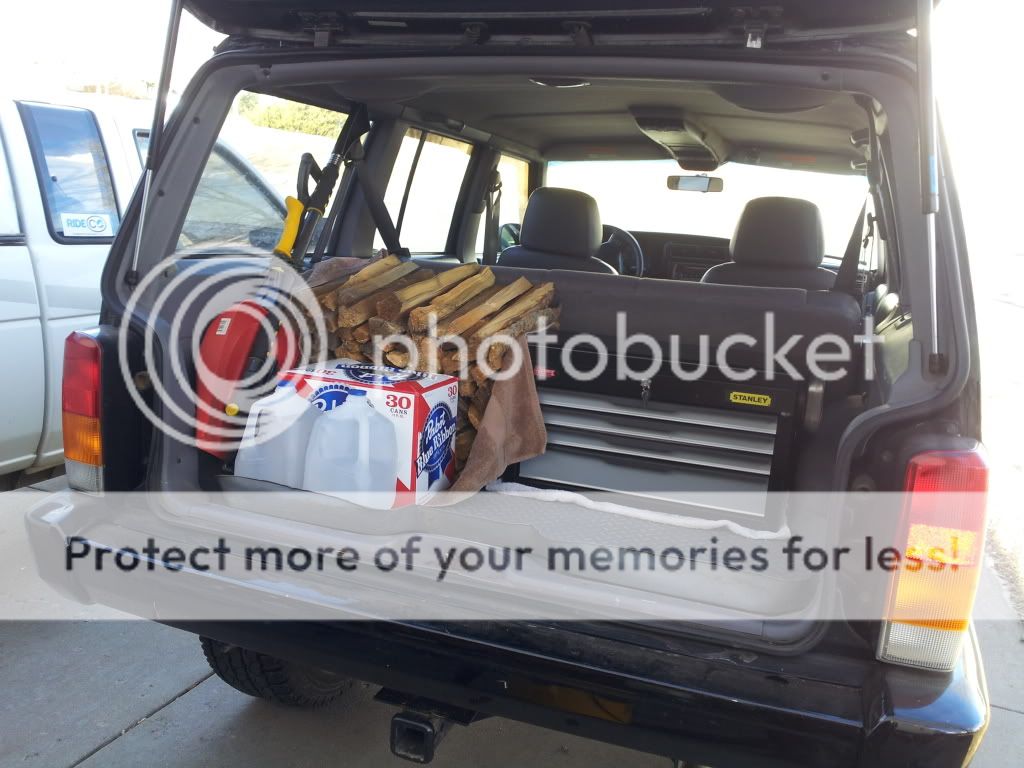
It's not as sweet as I wanted it to be but this fits everything but my nitrogen tank
(This is before I added the top, I ran out of light and it wouldn't stop raining, but they are flip tops the small back box holds my axle shafts"
B9C22024-318B-48B7-9B48-B3B38D559F7A-1969-000001443911E79D_zps98e5a385.jpg

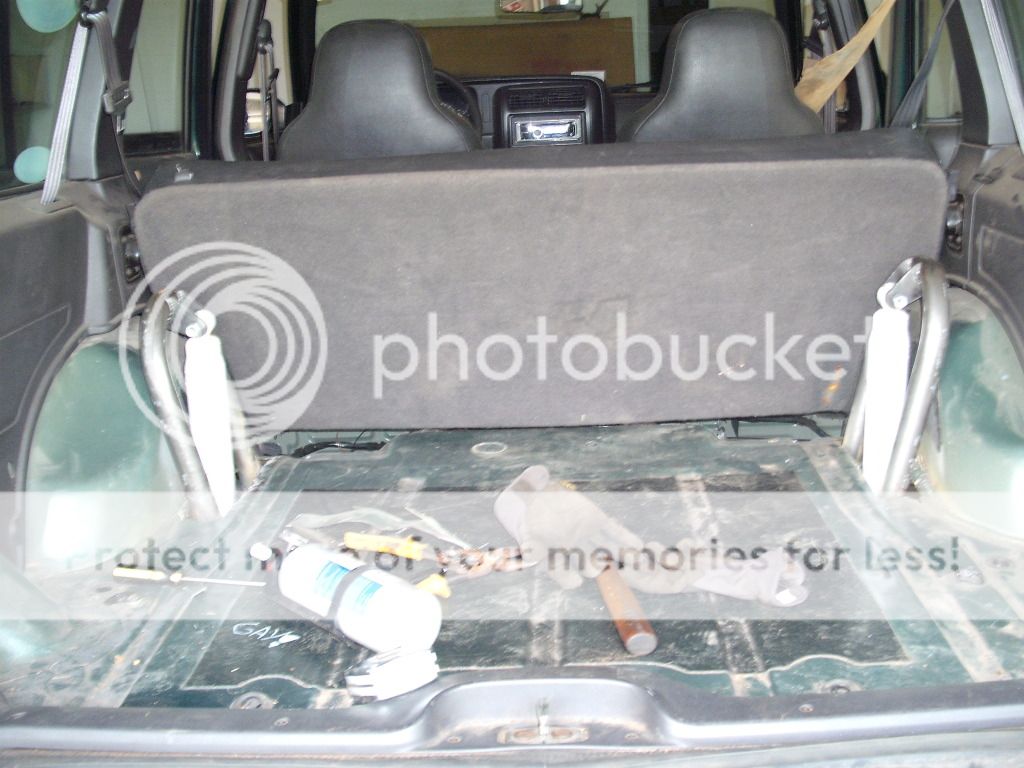
Half way done but shows the back box better
73171050-F244-4BC0-BB19-6E471D9A07CF-1969-000001456F6C7DF1_zpsc9ebe80c.jpg
 
Wow man, love the shock hoops. The fact that you maintained most of your cargo space is awesome. May steal your idea in the future!

Thanks. Like I said, I still ran another piece of pipe between them to brace them, but yeah, lots of space left. I usually squeeze my 35" spare in there so I guess I lose my space then. :D
 
IMG_20121015_083849.jpg

314173_4917062917334_339186479_n.jpg


549828_4917064637377_686573174_n.jpg


68459_4910307588455_624833816_n.jpg


Im also going to be building another section in the middle like MaxxXj did. I no longer have the ammo boxes in there like that or the fluid holder. My box will go from the seats all the way to the hatch.
 

33 x 10.50-15 BFG KO, inflated
Wheel well needs massaging to fit. Tie-down bolt needs straightening
Seat back latch moved forward to allow the extra space needed for the 33" spare.
http://jeep-xj.info/HowtoSpareWheel32inch.htm
Tire and wheel sit on top of a 2X4 block, for clearance.
Also in rear, 2 cargo boxes, tool bag, jumper battery, large 12-volt compressor, CO2 tank, plywood jack base, bug-out pack and a first aid kit. Extra clothes and a blanket are stuffed behind the spare tire along with jumper cables.


Hi-Lift jack under back seat
Floor is massaged to provide clearance for jack.
Two long 1/2" bolts and wing nuts secure jack.
Under Hi-Lift is a 6-ton hydraulic jack, a folding shovel, a snatch-strap and two tarps. Seat still locks
 
So is it just a matter of sewing skills and ballistic nylon? Or is there some kind of kit you use?

Sewing skills, a commercial grade machine, ballistic nylon, and sewed to Mil-spec dimensions.

The rack is 1/2" sched 80 with a piece of tailgate bedliner for the top tray. Drawer has tool foam inside to keep tools from sliding around and can be slid out with top and bottom of cargo tray stuffed with gear. Gear hanging on panel backside of rack is hidden until seat is flipped forward.

Great idea hanging the Molle gear on the back of the rack. I was thinking about doing my rear seat back up similar to Ehall, but with ALICE gear instead of a cargo net. The MOLLE stuff much different / better?
 
Great idea hanging the Molle gear on the back of the rack. I was thinking about doing my rear seat back up similar to Ehall, but with ALICE gear instead of a cargo net. The MOLLE stuff much different / better?

Since so many various MOLLE compatible components are available, I have to say yes it's better. Also, simply lashing non-compatible items with webbing and buckle works as well. I have a half pocket built into the tire cover for maps/manuals and they stay clean and flat. A small pocket on the bottom of the cargo carrier holds tire spoons/breaker bars and closes full length with velcro so tools won't fly around if vehicle tips. Netting might require long bags to keep those same tools from sliding thru if vehicle tipped.
 
Back
Top