adamusmc2002
NAXJA Forum User
- Location
- Wichita, KS
Well, just finished last night after a whole weekend of cutting, griding and welding, but so far(the ride home from Poulsbo to Fed Way) it's a success, and works great(we flexed it out in my buddy Derek's backyard before I went home).
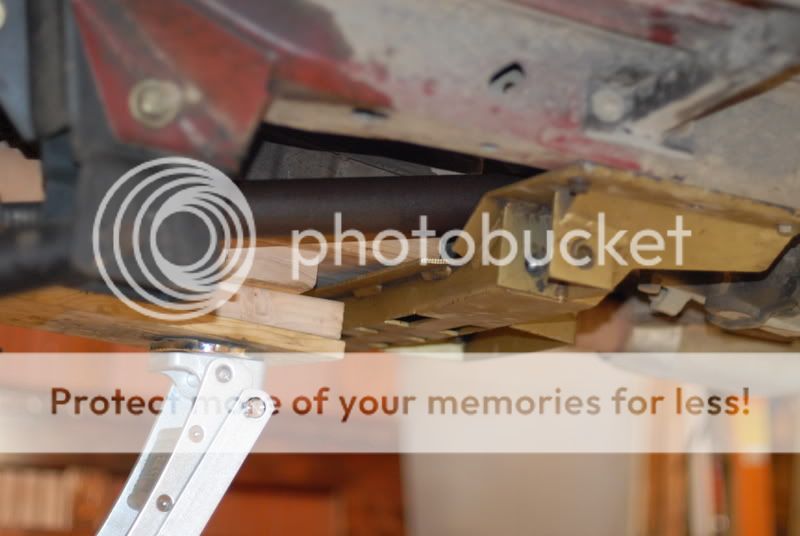
We started with a Tomken crossmember. After getting that thing installed, it was time for the lower arm mockup.

After installing the johnny joint(currie) and measuring to the lower axle mount, we came up with 29 1/2". Then we placed the pre-made lower bushing ring in place and marked where to cut our cutout in the arm to accomodate the bushing ring. Then with a hole saw, we made that cut, and welded the ring on.

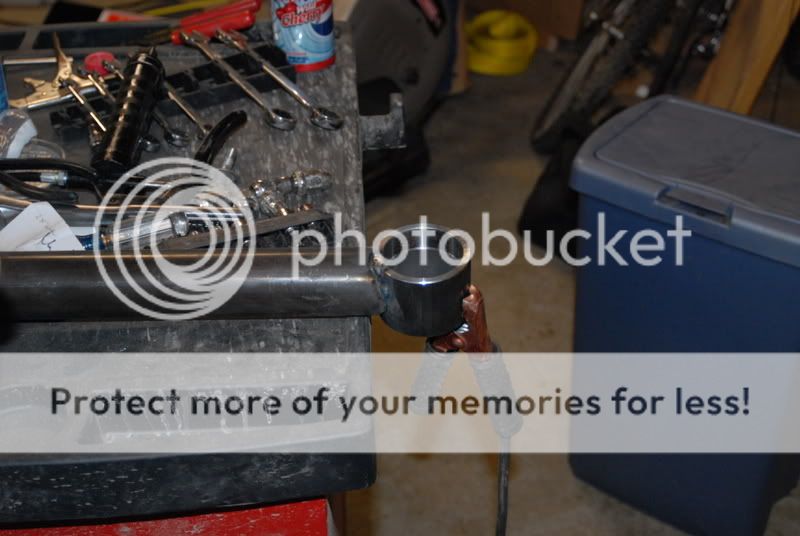
Here's the completed arm, before install.

Then it was time for the upper mockup/build. With some work from my buddy Derek, he got the brackets mocked up, and we ended up with an upper tube length of 13 5/16".

Here's a shot of them drying.

Then it was time to get rid of the stock mounting brackets! What would we do without the beloved saw zaw?

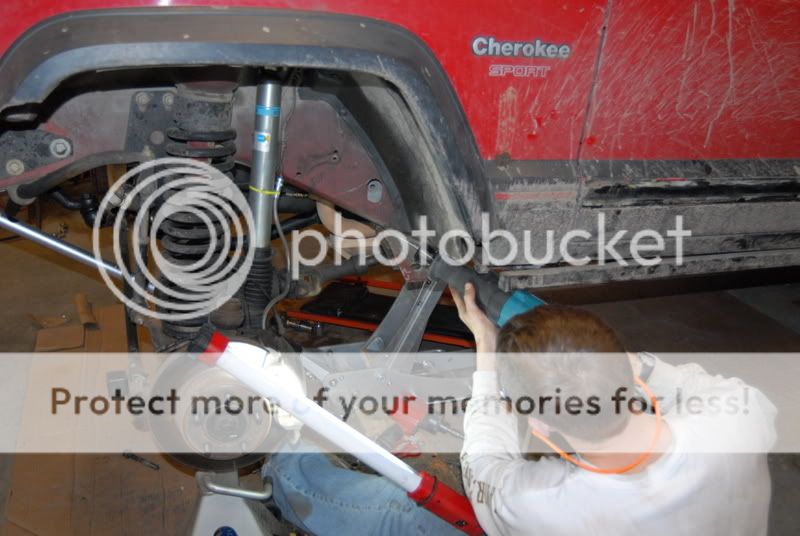
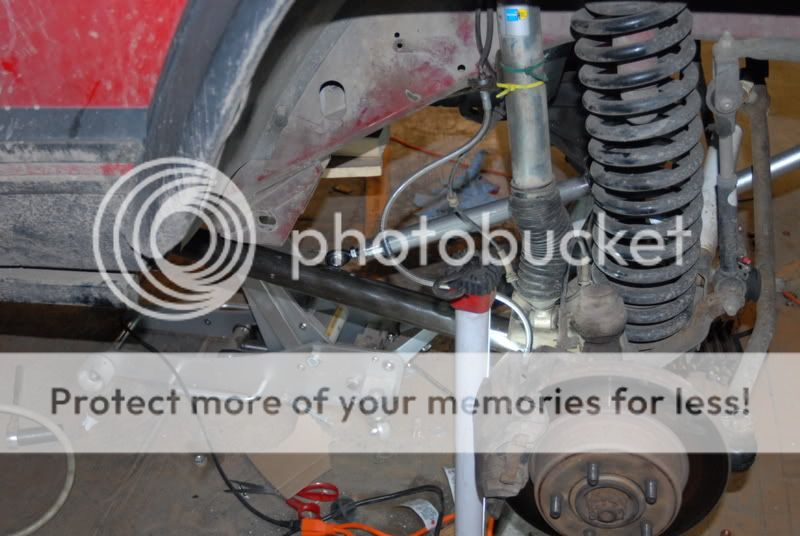
A picture of the finished product, left side at least. Then we repeated the process on the other side. We did run into one problem though, with the tomken crossmember. Maybe it wasn't designed to hold the currie johnny joints, but we had to cut out the back of the pocket of the crossmember mount for the joint, because the joint was binding, so it couldn't rotate back and forth. If you look close, you can see the missing material behind the johnny joint. Anybody else have this problem? Anyway, we cut it out enough, then reinforced it again at the end with some 3" .25 wall square stock, cut in half.


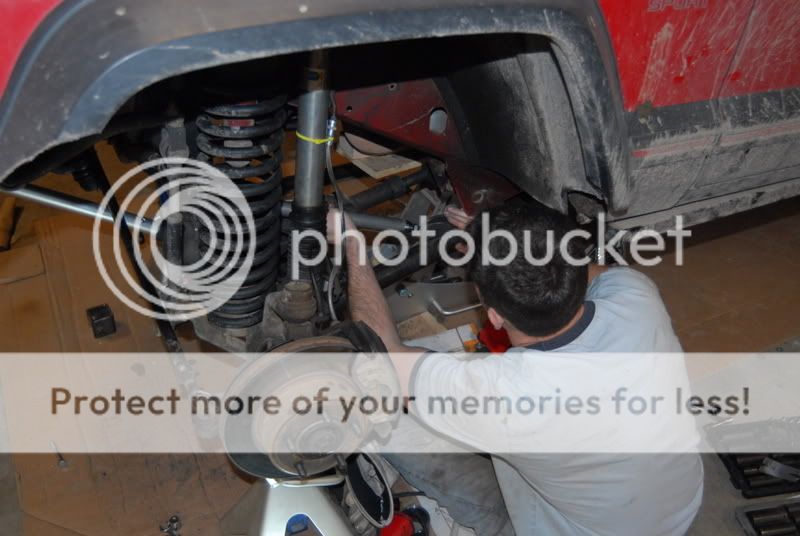
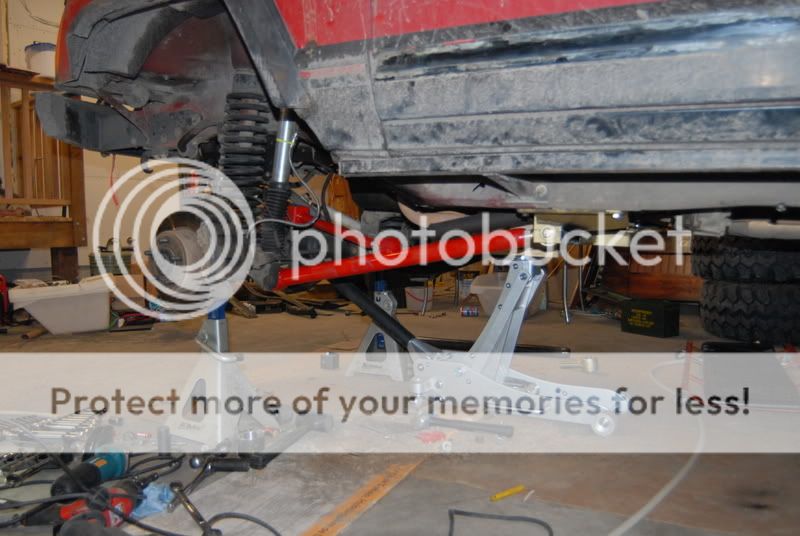
And finally, the test. Everything works well so far. The paint was barely dry, but I had to get back home Sunday night. Didn't even end up going to school today cuz I was so exhausted/tired, but had to try") Let me know what you guys think, good or bad.
Let me know what you guys think, good or bad.


We started with a Tomken crossmember. After getting that thing installed, it was time for the lower arm mockup.
After installing the johnny joint(currie) and measuring to the lower axle mount, we came up with 29 1/2". Then we placed the pre-made lower bushing ring in place and marked where to cut our cutout in the arm to accomodate the bushing ring. Then with a hole saw, we made that cut, and welded the ring on.
Here's the completed arm, before install.
Then it was time for the upper mockup/build. With some work from my buddy Derek, he got the brackets mocked up, and we ended up with an upper tube length of 13 5/16".
Here's a shot of them drying.
Then it was time to get rid of the stock mounting brackets! What would we do without the beloved saw zaw?
A picture of the finished product, left side at least. Then we repeated the process on the other side. We did run into one problem though, with the tomken crossmember. Maybe it wasn't designed to hold the currie johnny joints, but we had to cut out the back of the pocket of the crossmember mount for the joint, because the joint was binding, so it couldn't rotate back and forth. If you look close, you can see the missing material behind the johnny joint. Anybody else have this problem? Anyway, we cut it out enough, then reinforced it again at the end with some 3" .25 wall square stock, cut in half.
And finally, the test. Everything works well so far. The paint was barely dry, but I had to get back home Sunday night. Didn't even end up going to school today cuz I was so exhausted/tired, but had to try
Let me know what you guys think, good or bad.