In order to use the aftermarket fuel gauge a corresponding float and sender must be used as well. VDO includes a float/sender in their kits, at least they did in the one that I bought. The sender must have a rating of 10 ohms empty and 180 when full.
So here's how it's done:.
Step #1
Get your junk in the general vacinity of the gas tank.
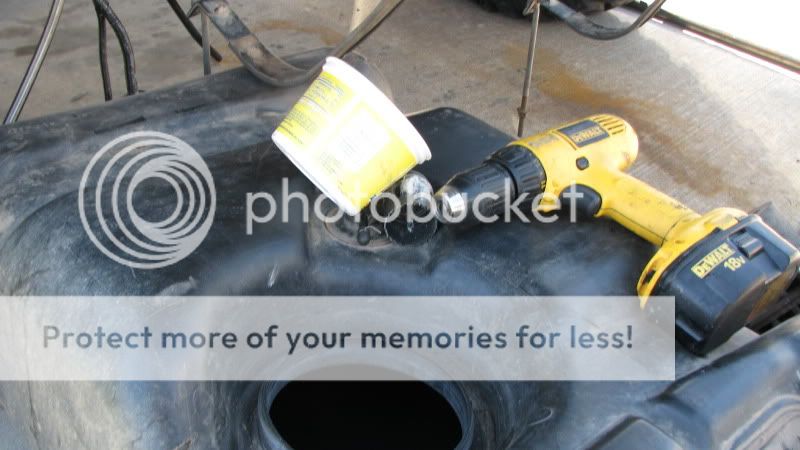
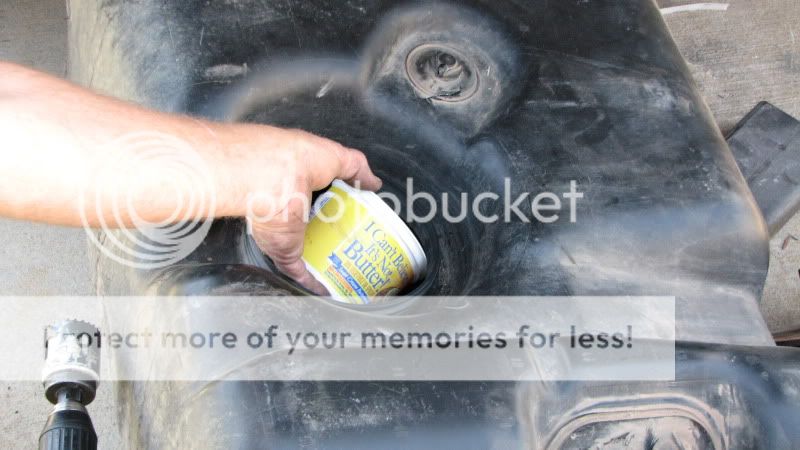
Step #2
Obtain the appropriately sized
"I Can't believe it's not Butter! container, 1.75" holesaw, and a drill.
Step #3
After confirming that there is no butter present in said recptacle, insert thusly into the gastank.
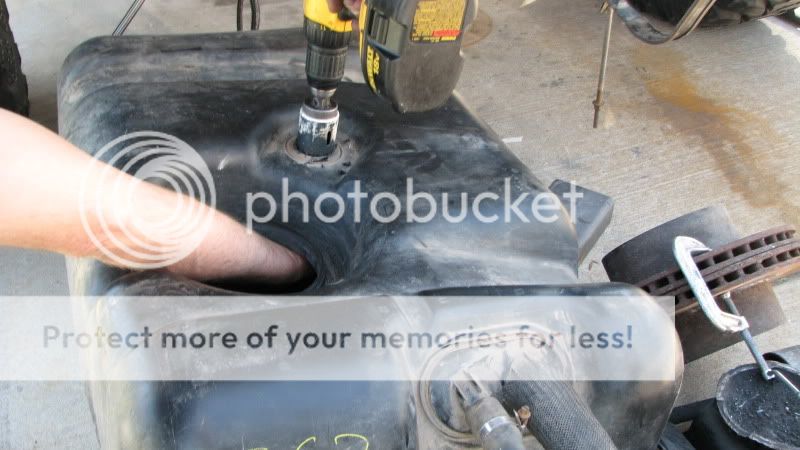
Step #4
Whilest holding the aforementioned container, proceed with using the holesaw to cutout the Rollover Valve.
Step #5
Upon completion of the boring operation, remove the container from the gastank. DO NOT LEAVE IT IN THE TANK!!!! You may need it for another project.
Step#6
Verify that you had the container positioned properly by confirming the presence of debris from the boring operation. DO NOT DUMP BACK INTO THE GAS TANK!! That would be silly.
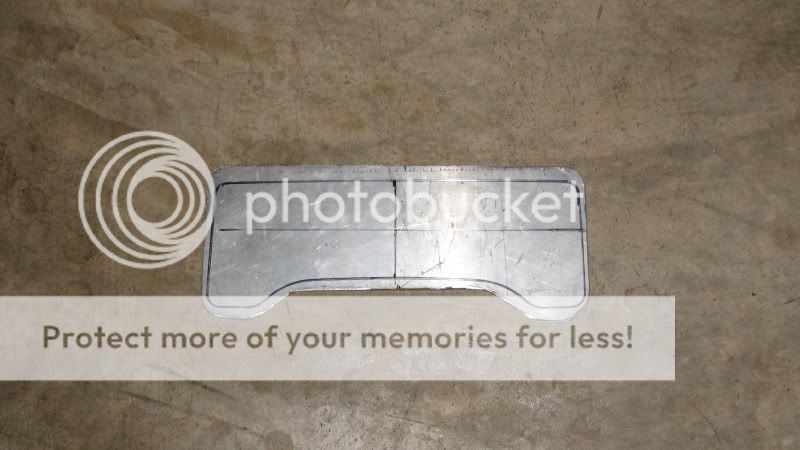
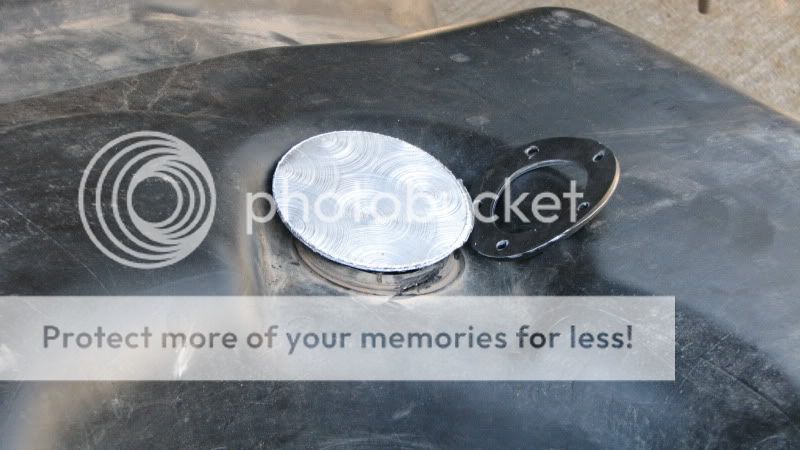
Step #7
Disregard the piece of circular steel you fabricated prior to getting started on the tank in favor of a piece of aluminum from a different project. It looks better and won't rust from all the water in the cheap gas you buy.
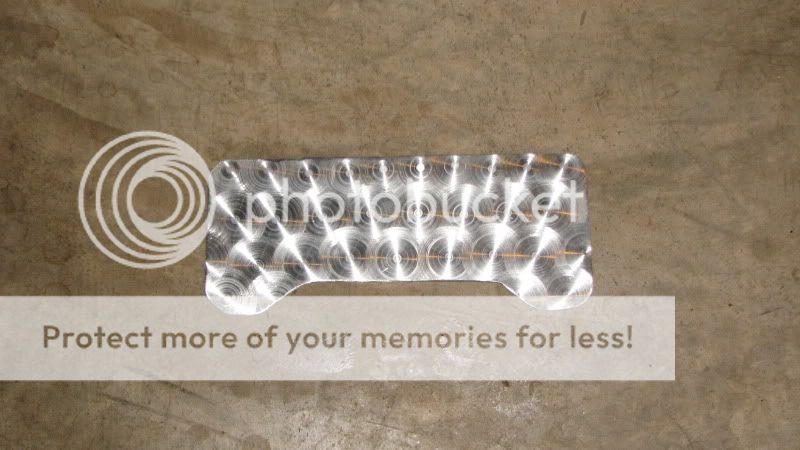
Step #8
Using the gasket as a template, pilot drill the correct bolt pattern and bore out the center of the disc as well.
Step #9
Double check that you did a good job locating holes. If done correctly you may pat yourself on the back.
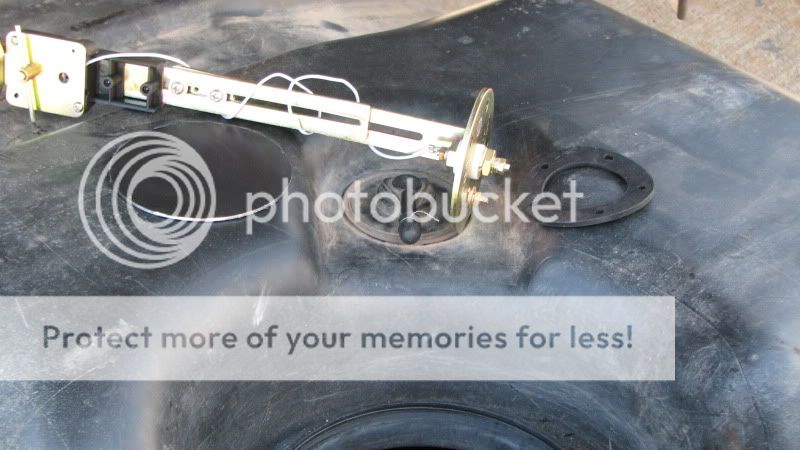
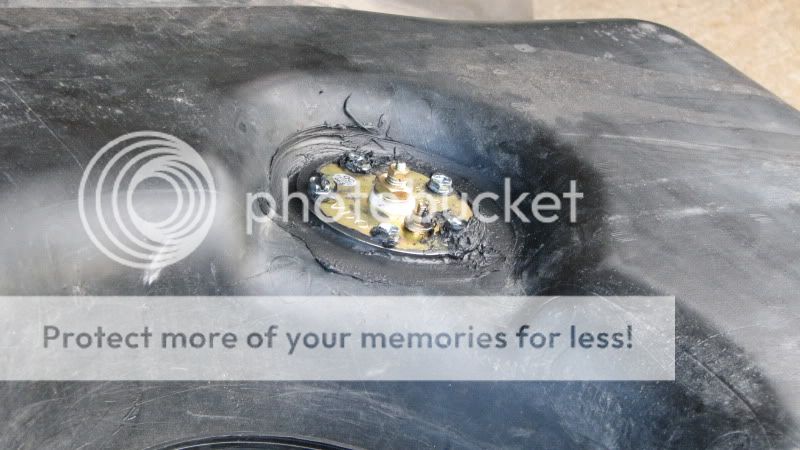
Step #10
Insert the float assembly into the tank with a liberal coating of Right Stuff Gasket maker to the float assy flange, the aluminum disc, and both sides of the gasket. Install the gasket through the pump assembly hole followed by the aluminum clamping flange (formerly known as the aluminum disc).
***NOTE***
You must fumble around for a minumum of 15 minutes before getting all 5 self-tapping screws started in the appropriate hole. If your hands, wrists and forearms are not stained with Gasket Maker....your doing it wrong.
Step #11
Make sure the float is in the correct location and moves freely.
Step # 12
Order another fuel pump assembly since you broke a nipple off the damn thing when you lowered the tank.