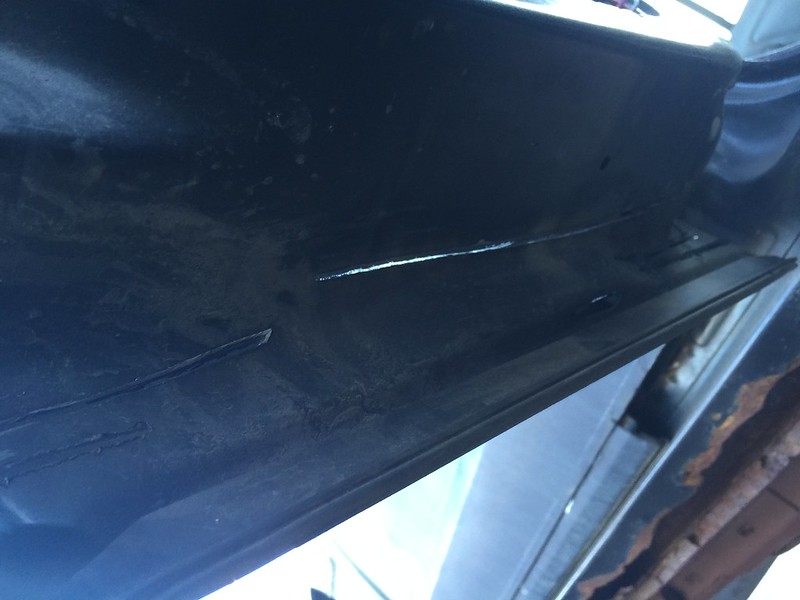
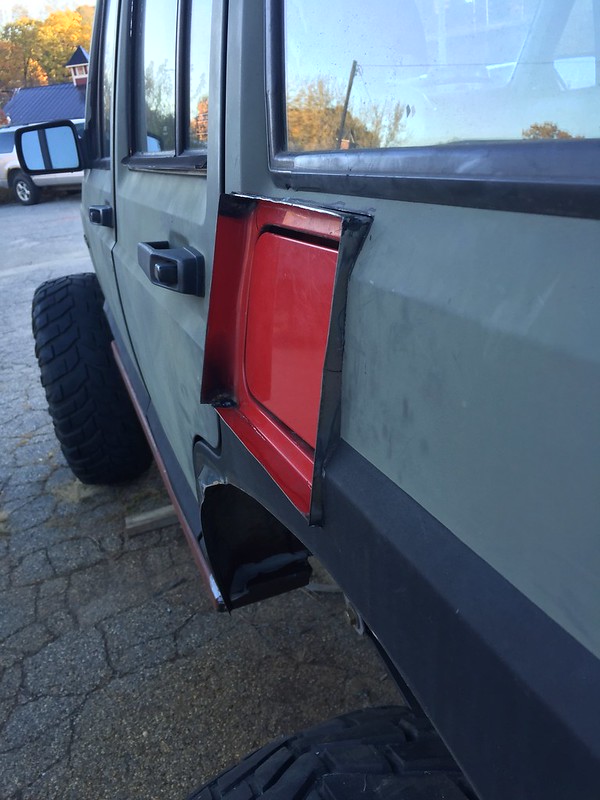
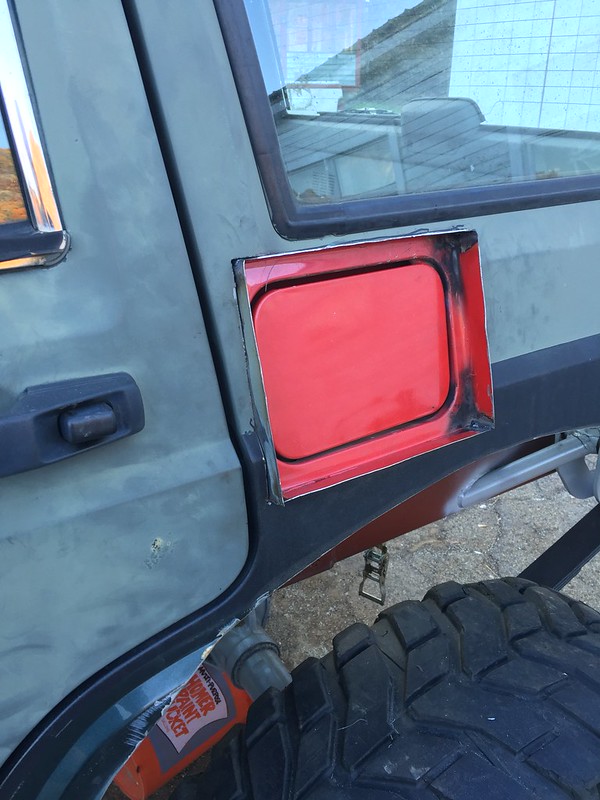
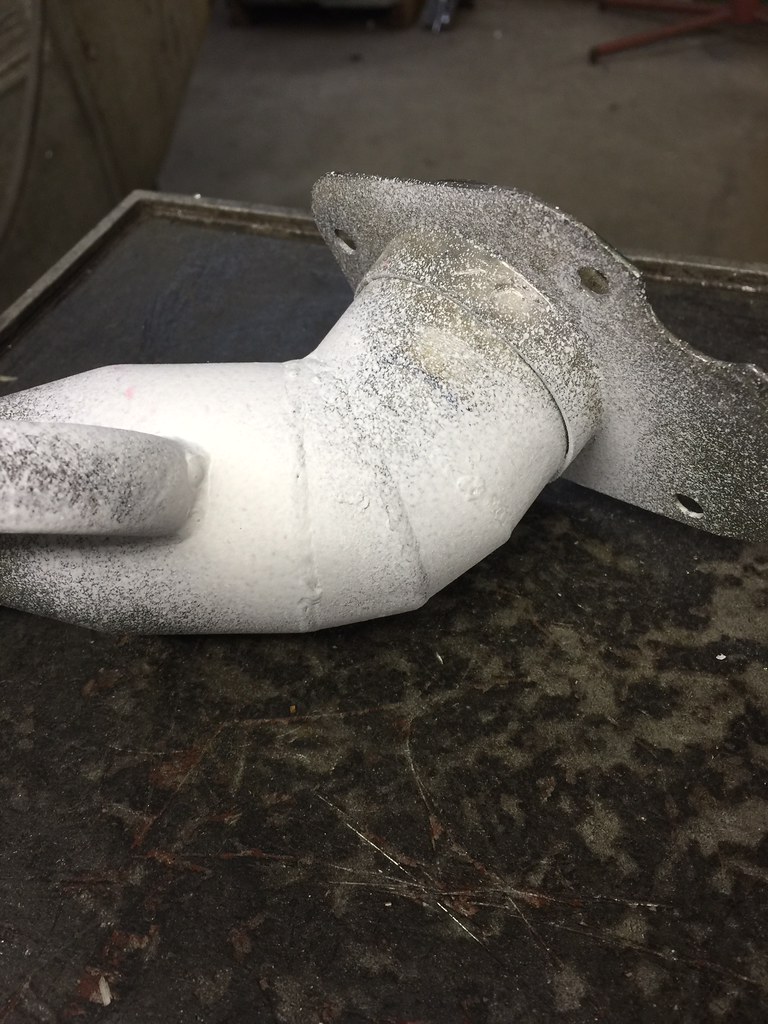
Update as promised. when I was cutting the bottom of the doors I noticed a ****up. The electric window regulators use a screw type mechanism with a coiled wire to drive the window up and down. I chopped part of it off. Before clipping the doors, remove the inner panel and relocate the tube from the bottom on the door well. the stub can be seen here. Ill replace and tuck this thing later.
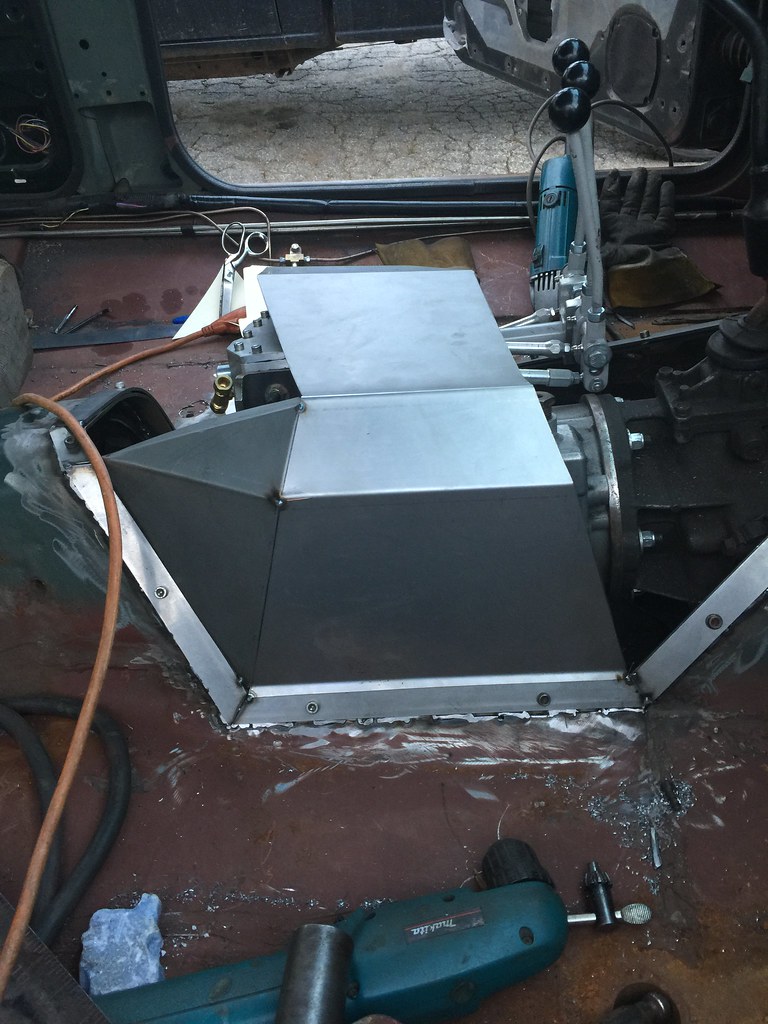
 Untitled
 by
barnstormerbikes, on Flickr
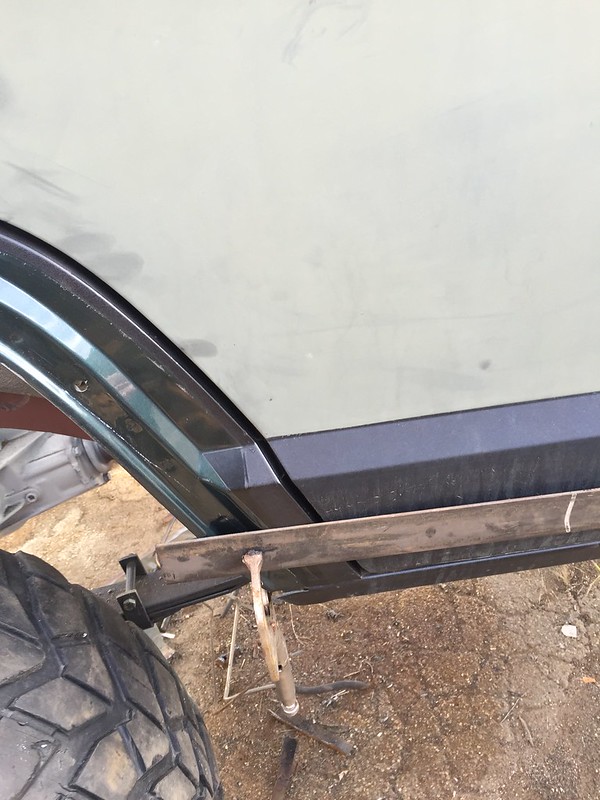
my method was to locate the lower surface of the inner door panel and cut the door just below that level. I marked what I figured was a good height and clamped my cut guide 3/8" below that point.
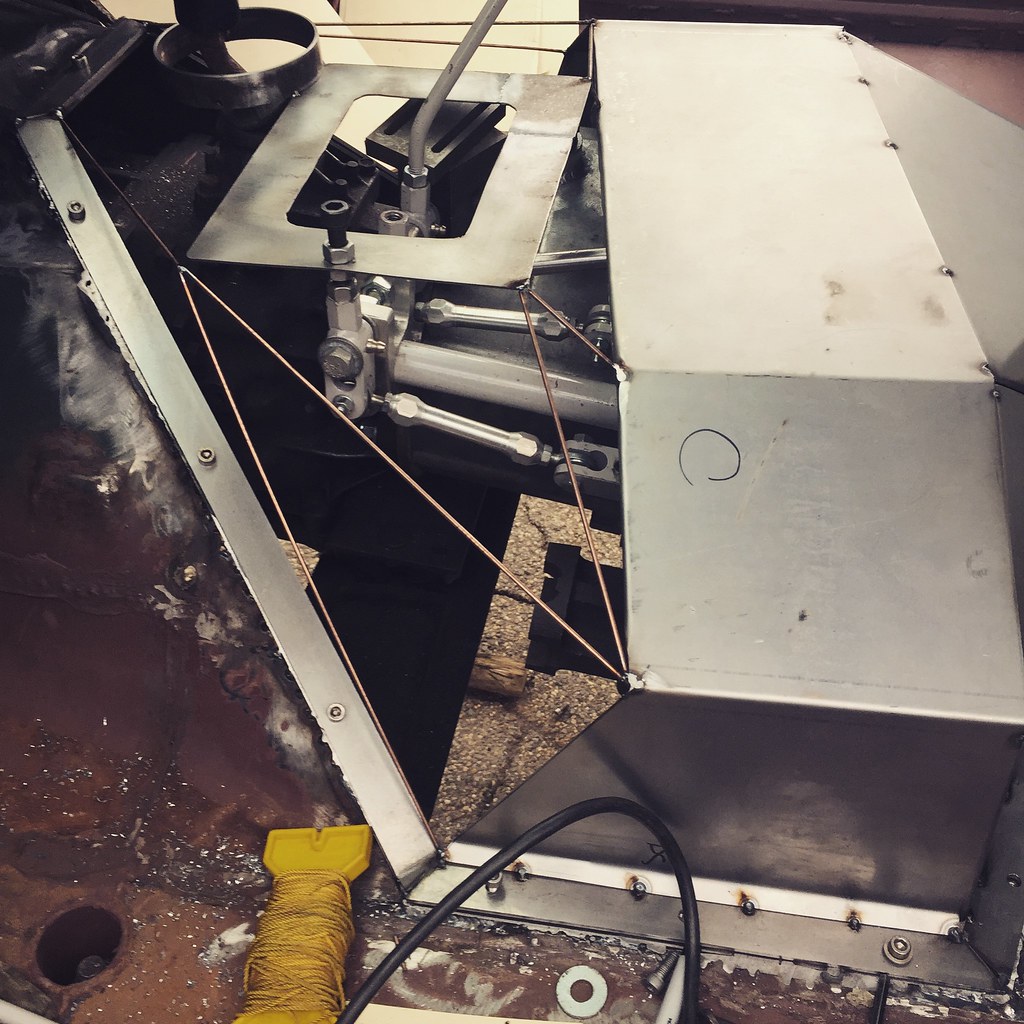
 Untitled
 by
barnstormerbikes, on Flickr
I modded that little c-clamp to fit the gap between the doors. I used Irwin (Vice-grip) "C" clamps to hold the ends. I use that guide to run my 5" grinder down the edge to cut the door. I changed wheels and cut to be able to cut as deep as I could.
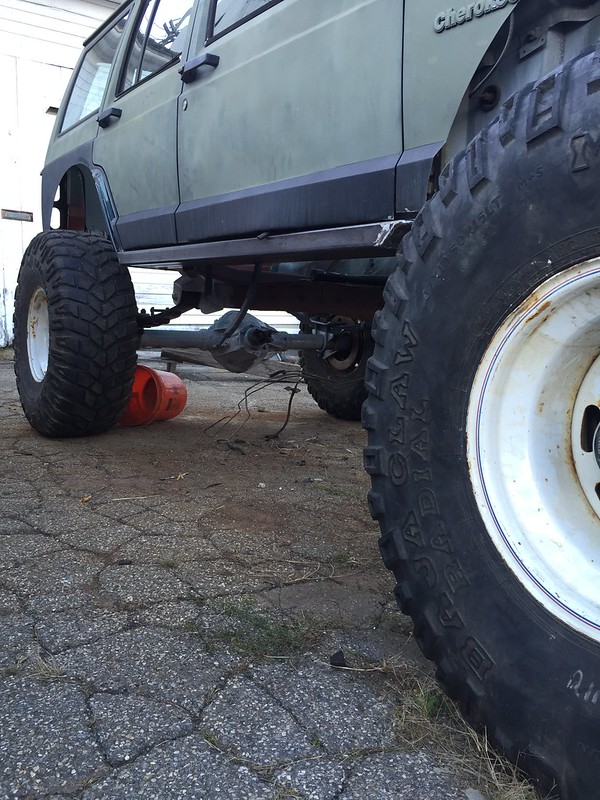
This is inside the front fender down at the bottom. I transferred the line all the way around the A pillar at the same level. It's my cut line. I hit as much of this as I can reach with the 5" cutoff grinder.
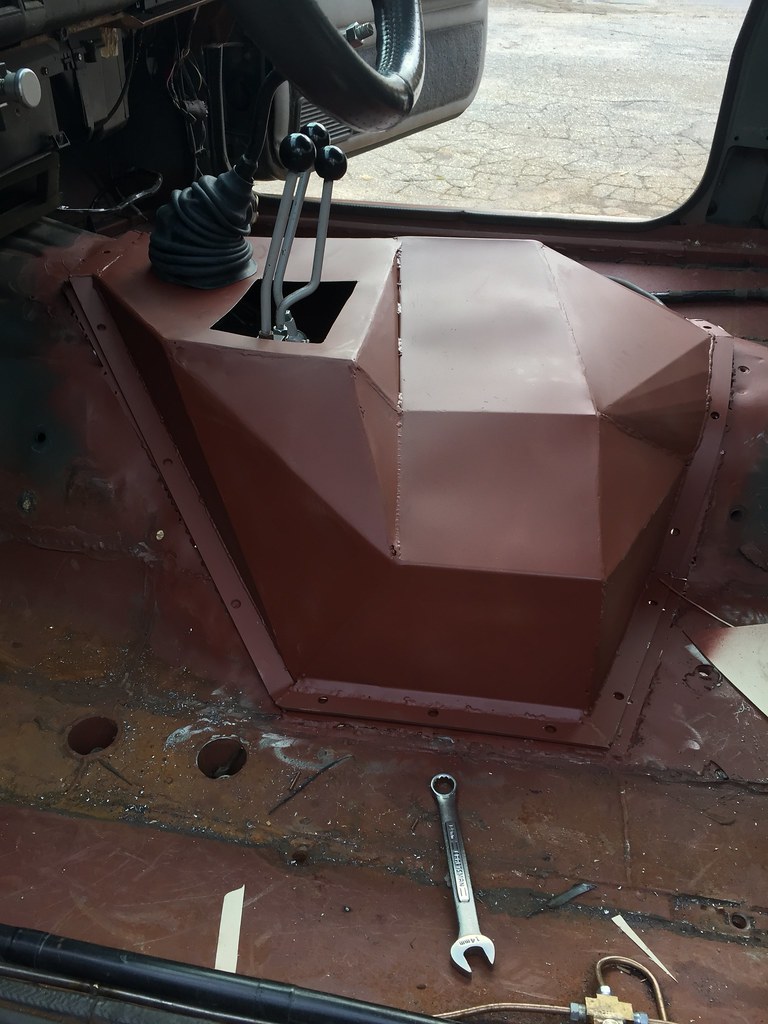
 Untitled
 by
barnstormerbikes, on Flickr
Since my floors are already out I was comfortable hacking all this crap away from the line down. Remember the "cut line" is still 3/8" below the "hard" line on the door so there is a margin to work with.
The next thing is the bottom of the doors. The hard line on the doors is the fold line so everything between the cut line and the hard line needs to be removed from everything but the skin. This took a 2" cut off tool as well as the plaz cutter and 5" grinder. In this image, the cut to the left is a horizontal cut on the inner door panel through only the inner layer, the cut to the right is with the wheel vertical and through the bottom of the inner door well. Easier the second time.
 Untitled
 by
barnstormerbikes, on Flickr
I used the plaz to slice between these two lines to drop the bottom of the door. May be a better view. This is the bottom of the door.
 Untitled
 by
barnstormerbikes, on Flickr
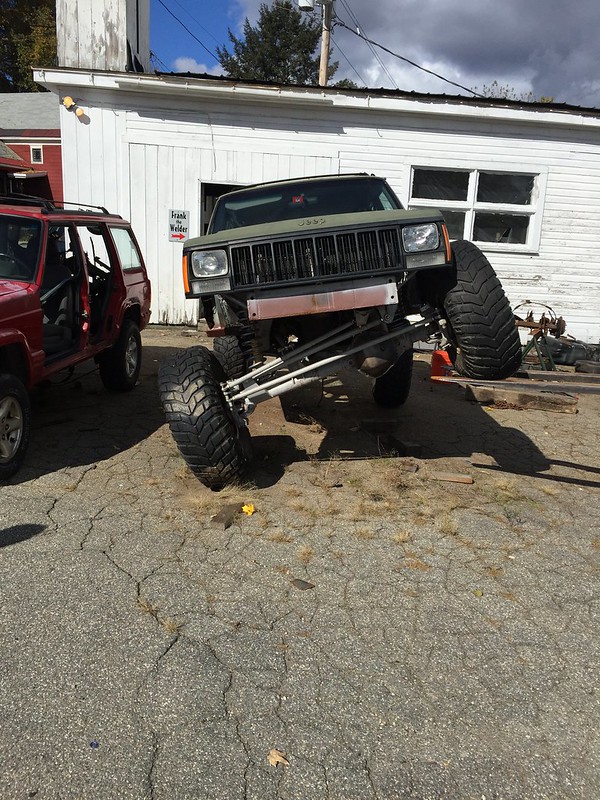
More later. :dunce:
 Untitled by barnstormerbikes, on Flickr
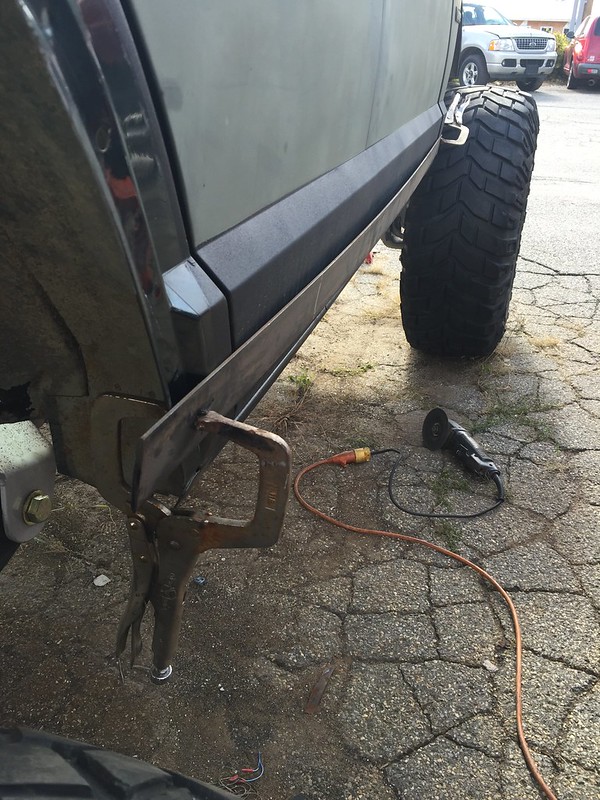 Untitled by barnstormerbikes, on Flickr
 Untitled by barnstormerbikes, on Flickr
 Untitled by barnstormerbikes, on Flickr
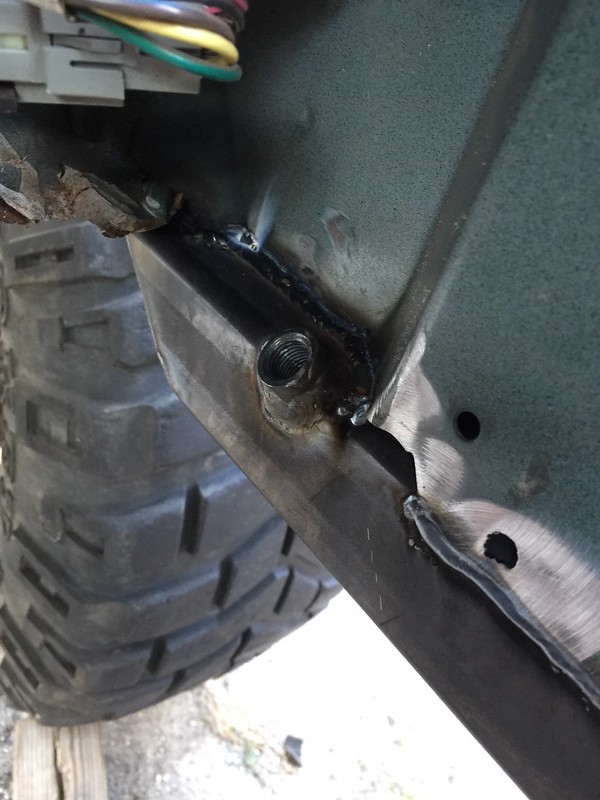


")