Vanimal
NAXJA Forum User
- Location
- escondido, ca
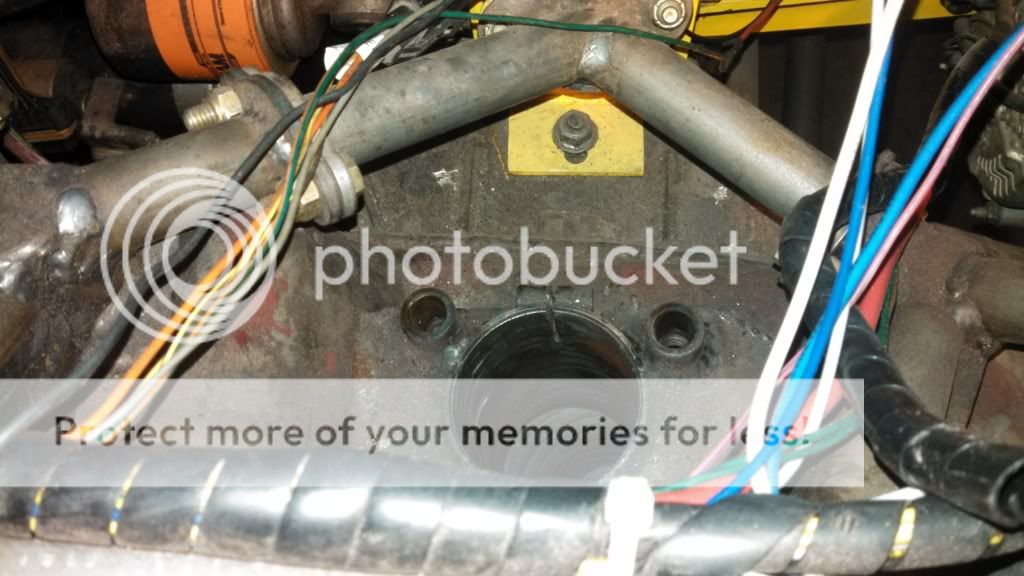
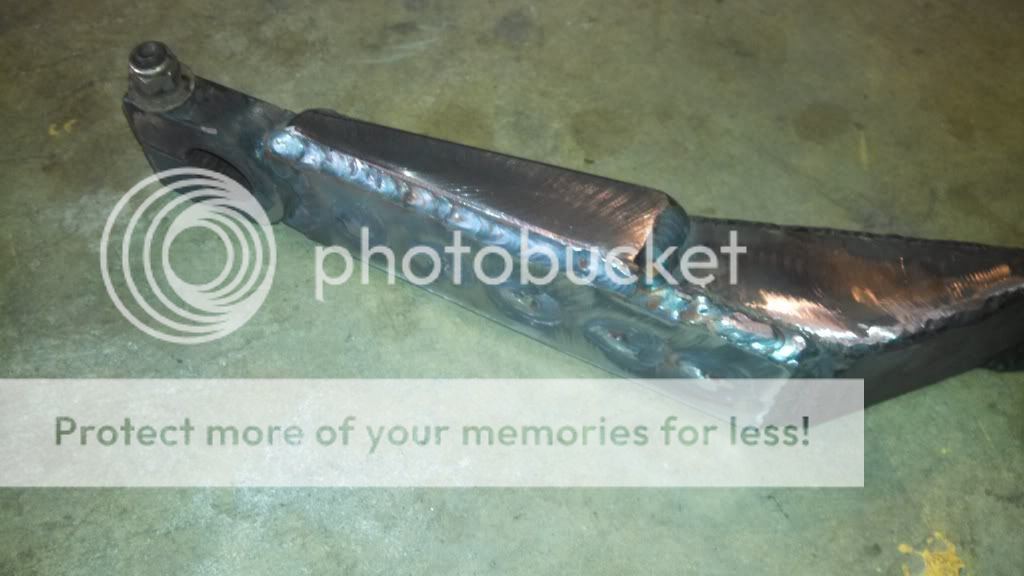
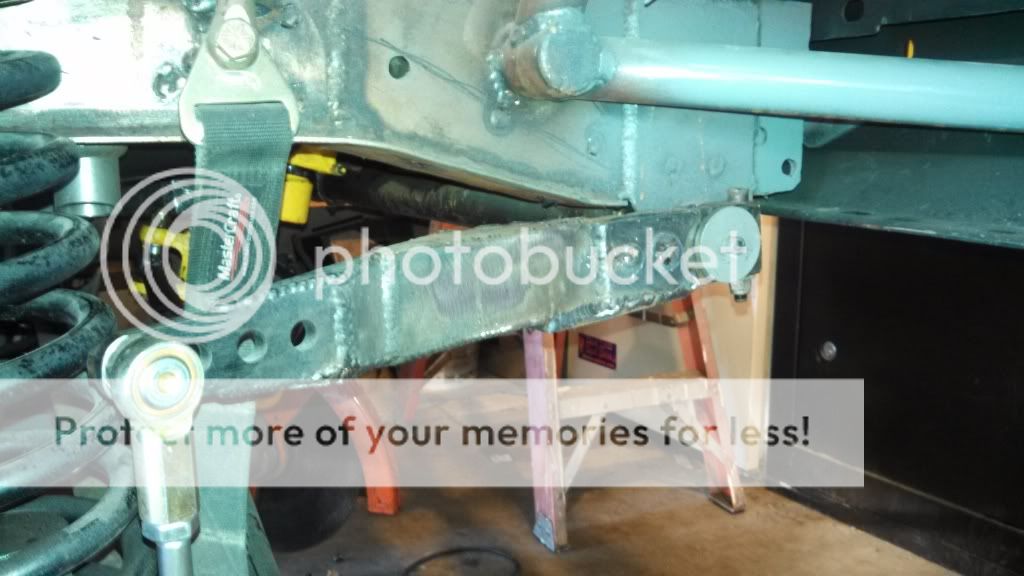
the currie steel antirock arms are crap, especially the bent ones. Thought about trying the aluminum ones when i can afford some lol
Great build! I recently bought a jeepspeed but after seeing your build I think it may be lacking some import design elements. I'm local to you and would love to see your jeep. Let me know if you would be available.
Bud
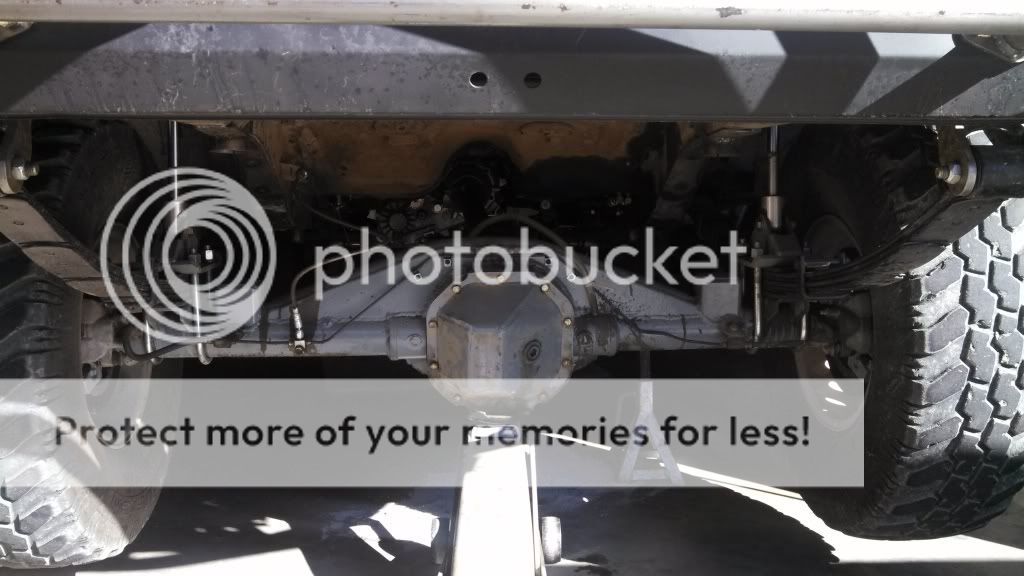
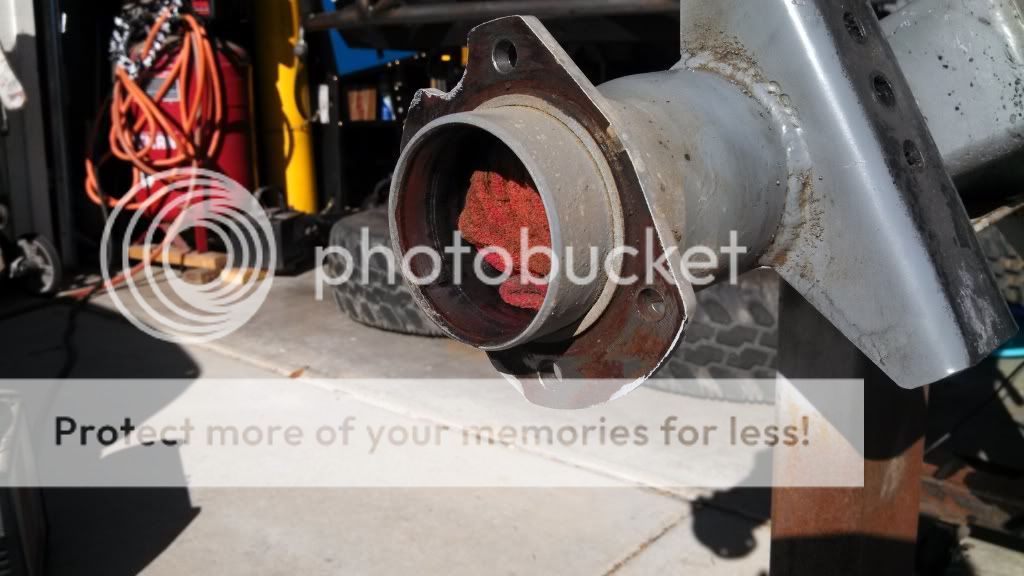
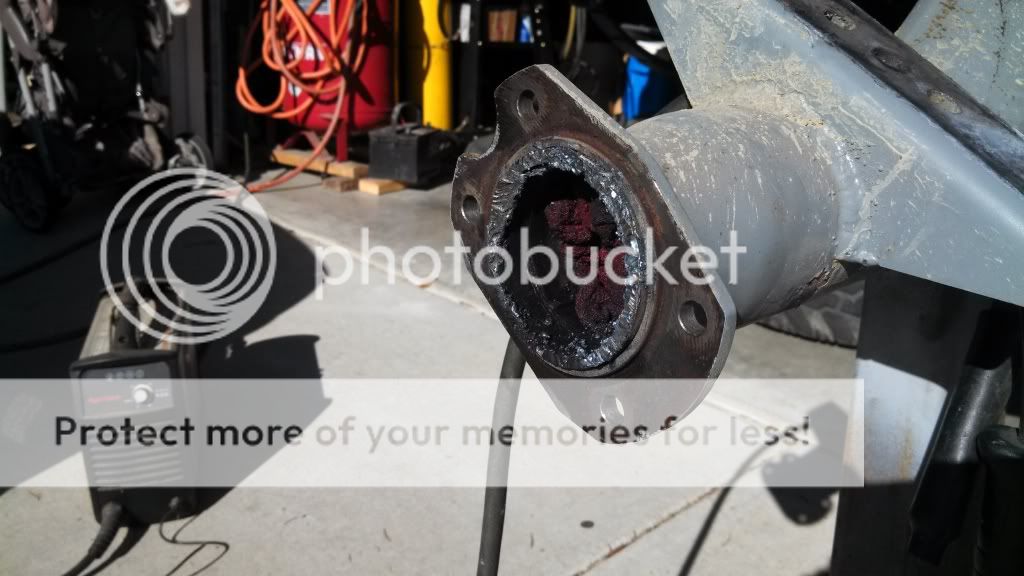
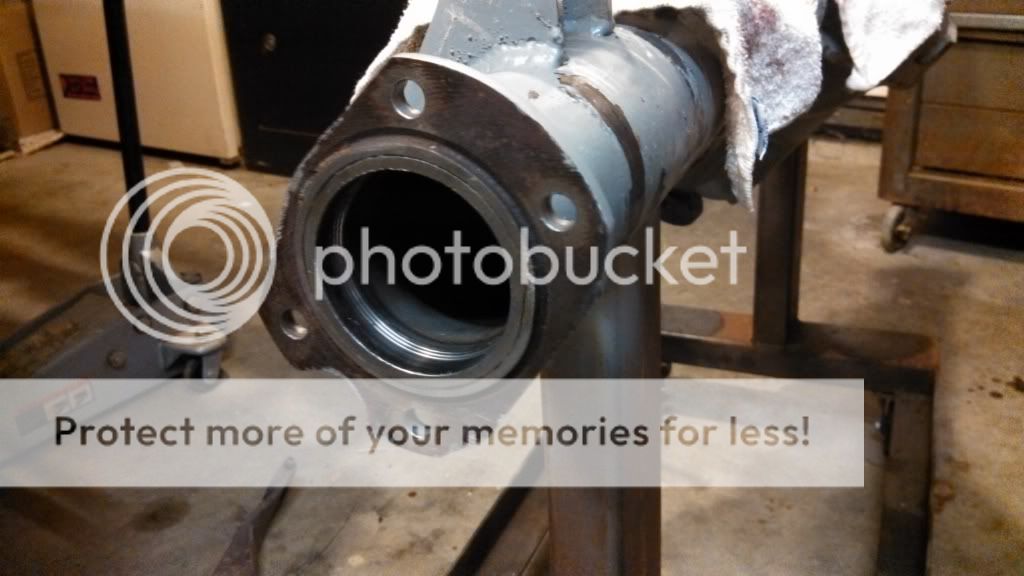
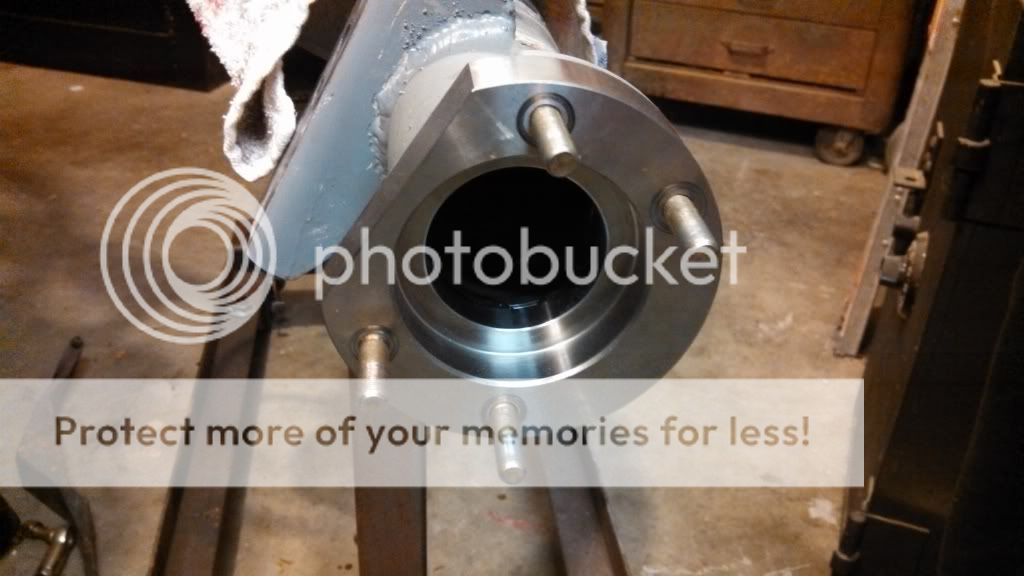
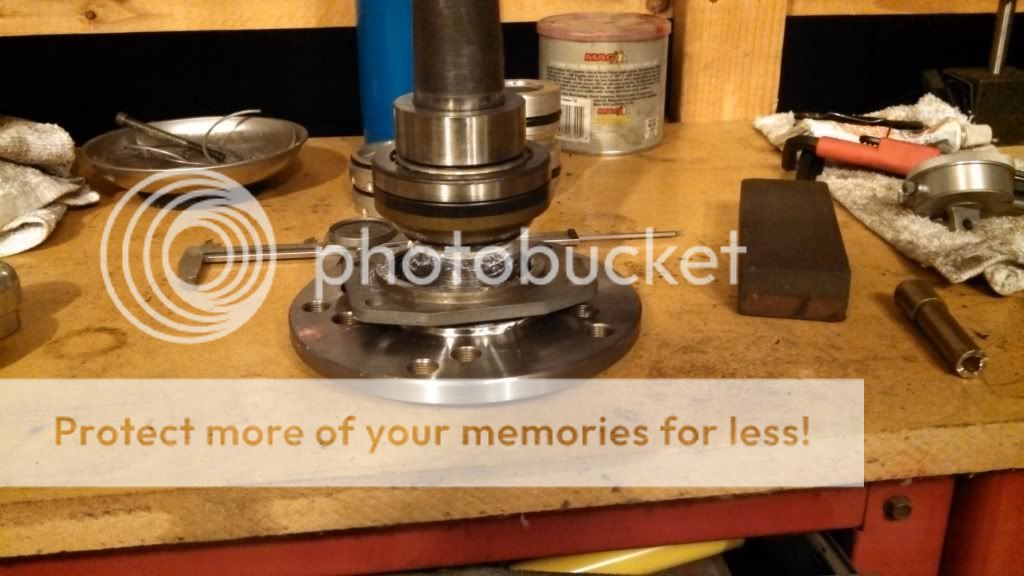
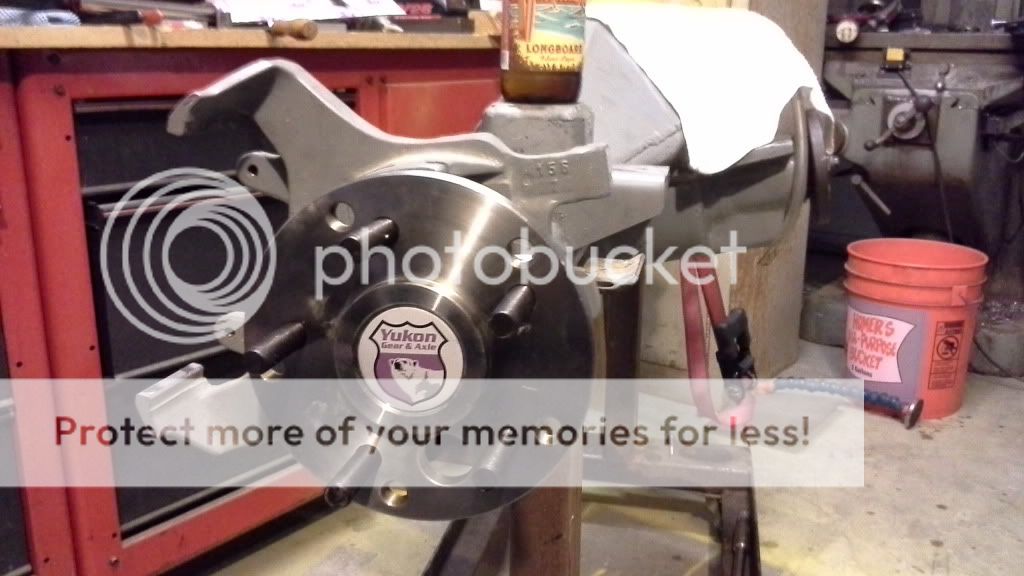
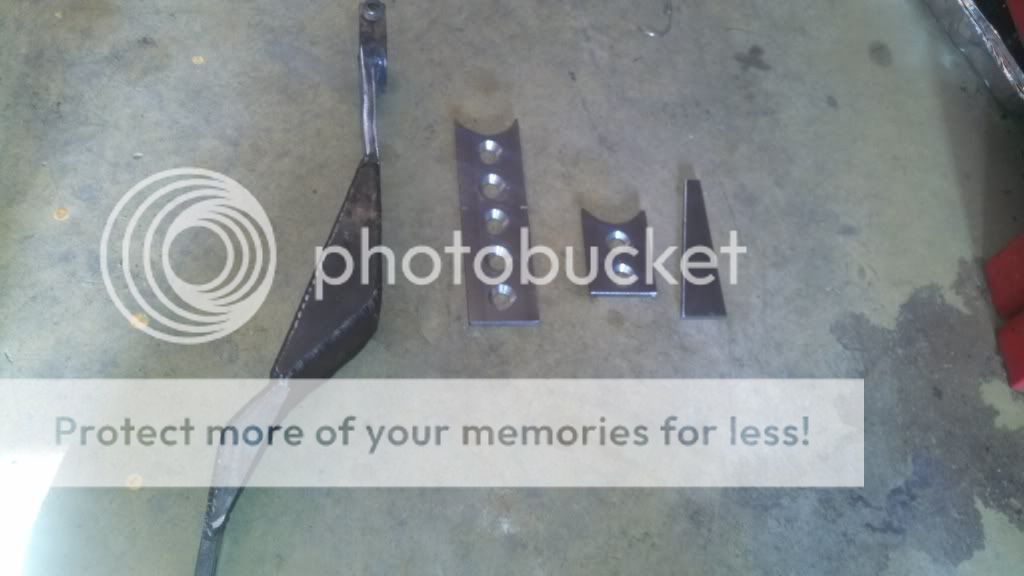
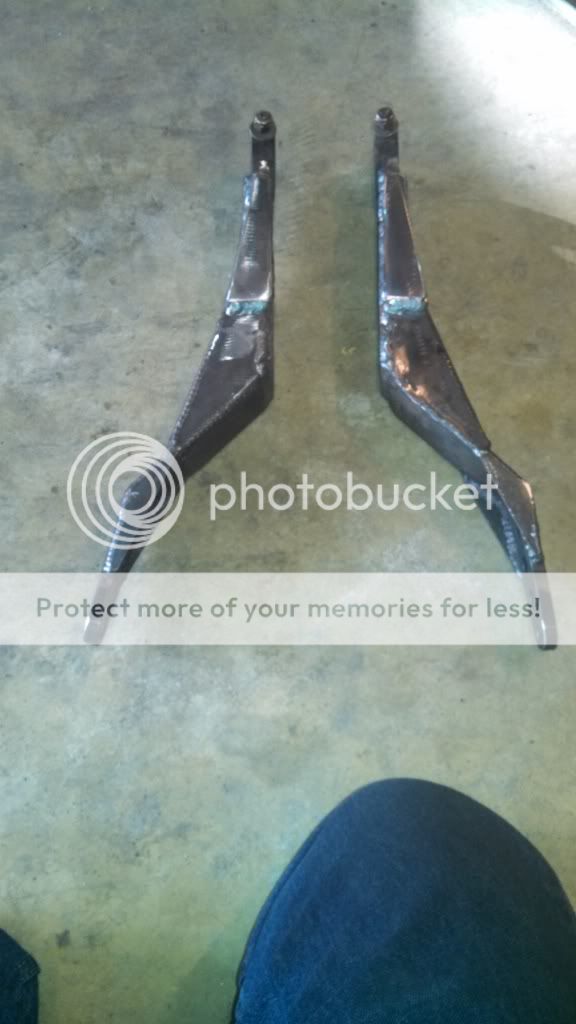
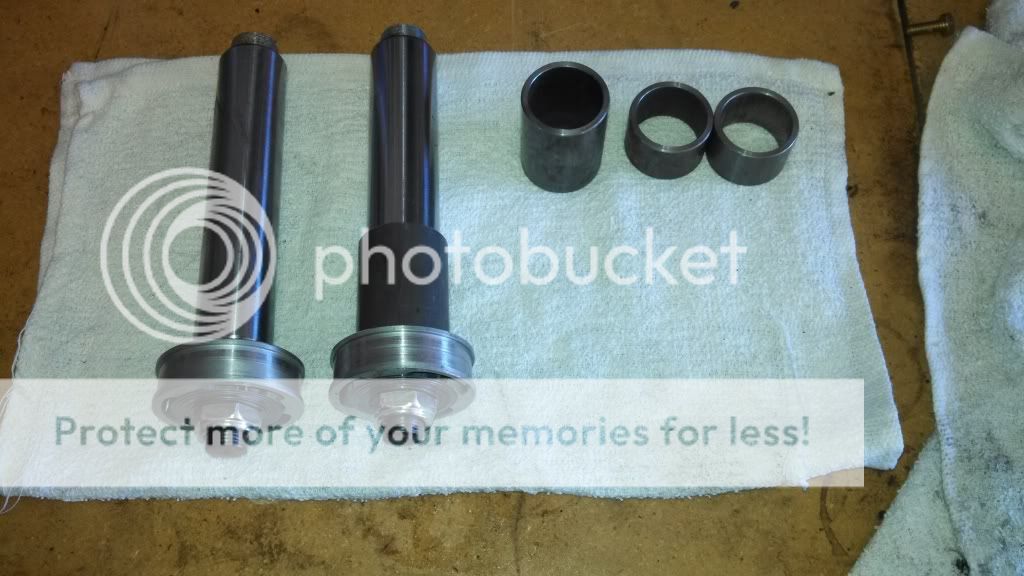
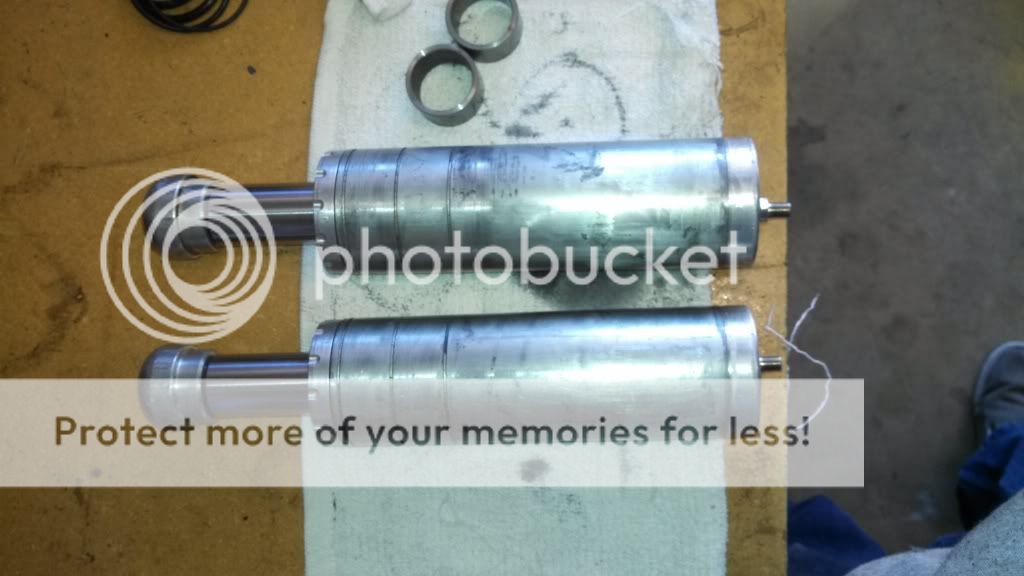
Ca you tell me more about those bearing flanges?