• Welcome to the new NAXJA Forum! If your password does not work, please use "Forgot your password?" link on the log-in page. Please feel free to reach out to [email protected] if we can provide any assistance.

Project Florida Crawler 2

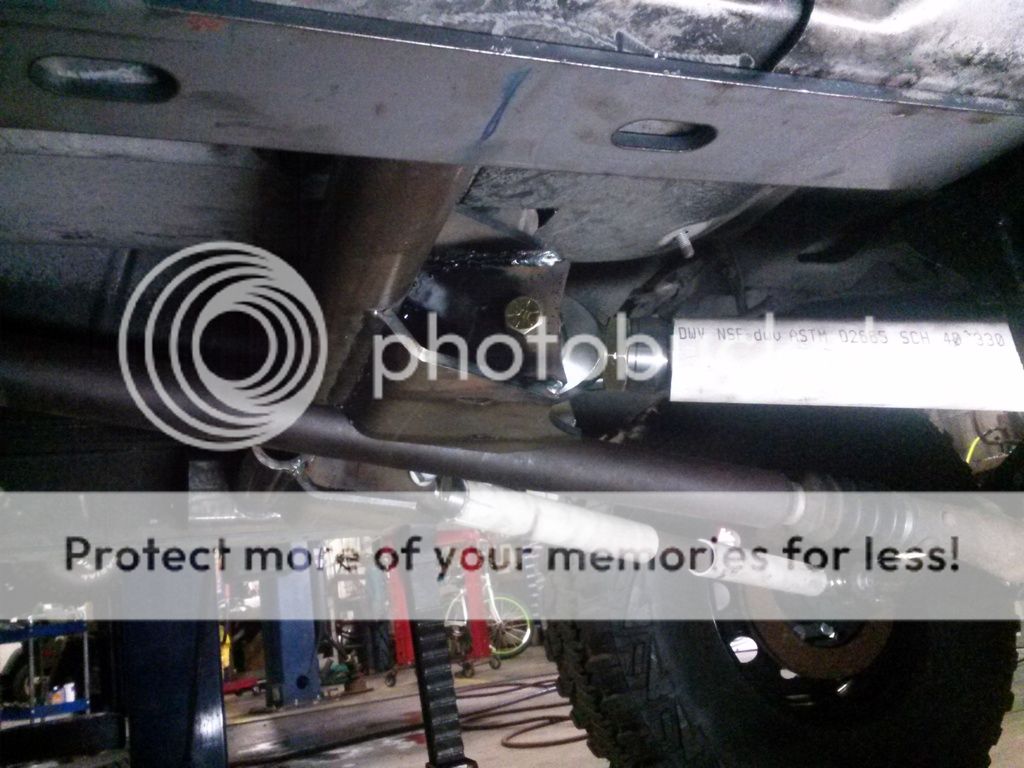
decided to change my crossmember mounting. on the last XJ i sleeved the frame rail and through bolted it with 2 1/2" grade 8 bolts per side. it worked ok, but was always a pain to drop down and line back up. so i decided since i was installing stiffeners anyways and that i would have to modify it to fit the stiffeners that i would bolt it up from the bottom instead. so i cut off the outer 1/4" plate (left the inner, because it helps position the crossmember and it doesn't get in the way.) mocked up the stiffeners, marked everything, and drilled.

i drilled 5 holes per side, and welded in 5 1/2x13tpi nuts into the stiffeners per side. as of now i will just be using normal hex grade 8 bolts to secure it. and down the line i may run countersunk bolts. either way shouldn't be an issue since it will all be covered in a UHMV belly so i won't have an issue with hitting the bolt heads on everything.
 
don't know why i wrote "may countersink them" they will be countersunk bolts.
 
decided I'm going to weld on a 1/4" strip of flat stock over the bolt holes along with countersinking the bolts. so should be good to go.

as for updates, i got the center stiffeners welded on and crossmember bolted in place.

also got the hoops and over engine brace welded on. it will also get a couple pieces to tie the hoops to the fire wall also after i run the engine and get the engine accessories completely situated. along with mounting the dodge master cylinder and giving the shocks an initial charge.

ride height is a couple inches higher than it will end up at, but for now it gives me some room to work under it without having to work around the jack stands.


and i mounted 2 of my 37s on my wheels and pulled out the leaf springs and set the axle up at its end position. Wheelbase will likely end up around 112".
 
played around with my 4 link. pretty much have the rear crossmember figured out. its a little complicated, but should work out. ill post better pictures of it when its all welded together.

it will end up with 106%AS and 0.75 RAA. and will have 7" up travel and 9" down.


uppers end up in the storage area under the rear seats.
 
got my hydro assist back from a buddy

so i got the box intstalled and the assist tacked in place. along with making the template to make my knuckle double sheer.

still need to cut it out, but it will be 1/4' flat bar.


finished building my rear crossmember, the only thing left to build is the two supports that will go from the LCA mounts triangulating them to the frame rails. just to give it a little more support. but those won't be made until i run the exhaust and make the rear T case mount.

But, here it is. made from 2"x.25 DOM and 1.5 x .25 DOM. the lowers go through the frame rails.

the upper portion ties through the floorboard right on top of the LCA mount.

the upper is also welded to a plate that is welded right on top of the frame rails. its stitched and rosette welded to the floor.

i added in some 1/4" box tube that is big enough for the exhaust to pass through.

the whole setup hides pretty well under the backseat. and i will be adding rubber boots around the holes in the floor to seal it off.
 
played a little more with the 4 link


bent up some rear hoops and cut out some tabs for the shocks.

and cleaned up the rails to weld on the stiffeners.
 
shocks and rear hoops setup took quite a few tries of tacking, flexing, cutting, tacking, flexing, cutting , ect...but, i think i got it all figured out now. if i ever go up in tire size i will probably need different wheels with a little better backspacing


dropped the axle out and welded everything up and tossed some paint on it.
waiting on the locker to show up, but all that is left with the 14bolt is to gear it, install the locker, the new cover, and brakes
 
been a little slow with the updates, but i have been working on this thing.

Ordered the grizzly locker and finished putting together the rear axle and tossed some paint on it.


also got the gears and spool installed in the 60, made the double sheer tab for the steering, and tossed the rest of the axle together along with finish welding everything
 
ok, got some updates...

pretty much have the d300 shifters figured out. they shift fine. only thing I'm considering now is whether to leave them like this.


or add some small handles to each side....like so.


also, picked up the battery, battery box, 15' of 0/2 cable, and a 15gallon fuel cell.


Now it was time to work on this mess. The 231 half came into the floorboards a fair bit, so i had to cover that up. also i needed to build a shifter for the 231crawl box. and since i can't spring for cable shifters at the moment it will have to come through the floor.


despite my hatred of welding to the factory sheet metal i don't think it turned out to bad. the shifter will be a little awkward to reach from the driver seat if I'm fully harnessed up, but i don't think it will be to big of an issue for now.


high range is all the way down, N is middle, and low range is all the way up. so the majority of the time it will be in high range so it should be ok next to the passenger


also tossed together something to cover up the dana300. wasn't to concerned with overall finish since it will be covered with carpet. the blobs of stuff is sean sealer.
 
started messing with the rear inner fenders.


after a lot of cutting, folding drilling, and spot welding i ended up with this


tank and battery tuck up decent, but i will need to add a rack above them if i want any sort of storage space.
 
ill be making some boots to seal off where the shocks come through also
 
finally time to mess with the cage.

i used some bolt in plates this time around. so i just went ahead and bolted plates for the B and C pillars and just starting fitting tube.


the goal was to try and keep a reasonable amount of space for the kids riding in the backseat.
so the B pillar needs to be right up against the back of the front seats.


(the lower diagonal tubes will be moved closer to center for final welding


B pillar goes through the floor onto a piece of 2x2x.25 square tube that will be welded to both the slider and stiffener

welded up
 
grabbed the old dirty ass PO carpet and pressure washed the shit out of it and dried it off for a couple days.

then started fitting the carpet to the jeep.


started putting seats back and and bolting up the rear harnesses. still need to weld some double shear seatbelt tabs in when they show up
 
I can't even begin to imagine how many hours you have invested in that thing.... however from where I'm sitting it was worth every minute... very cool.
 
Back
Top