woody431
NAXJA Forum User
- Location
- Virden, IL
I just read this from page 1. Looks great, keep up the good work
I saw a mint set of silverstars for sale on craigslist a month ago and was determined to get one of my brothers to hook up their Jeep. I'll post a pic tomorrow.
Its been half a year and I see no pics?
My Bad:
I wonder how many threads I've left hanging. . .
speaking of progress -- hows that CRD swap coming man? Some of us are anxious to see it!:yelclap:
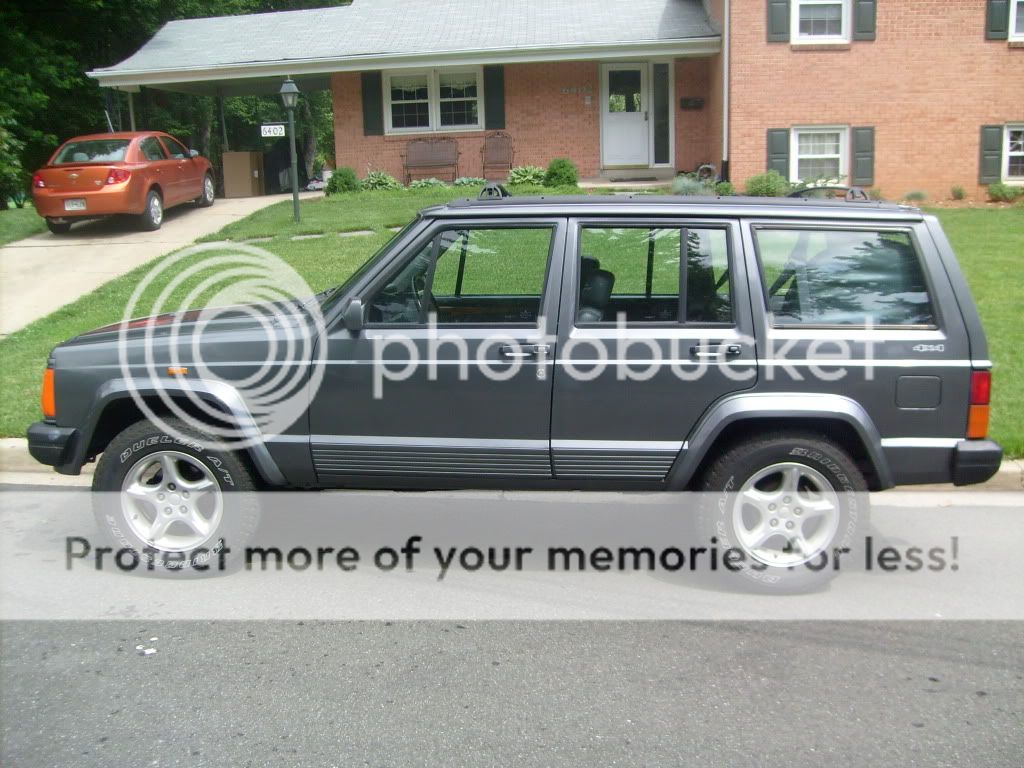
Time to bring this one back to life. I've been drooling over a CRD swap in my XJ for years now. Any progress?
")
I feel you on that one. You wanna give me the CRD engine and tranny? I'll take them off your hands for you.
:shocked: That's rediculously cheap! :tear: I've been drooling over a CRD swap since I saw it on dieselpowermag.com.
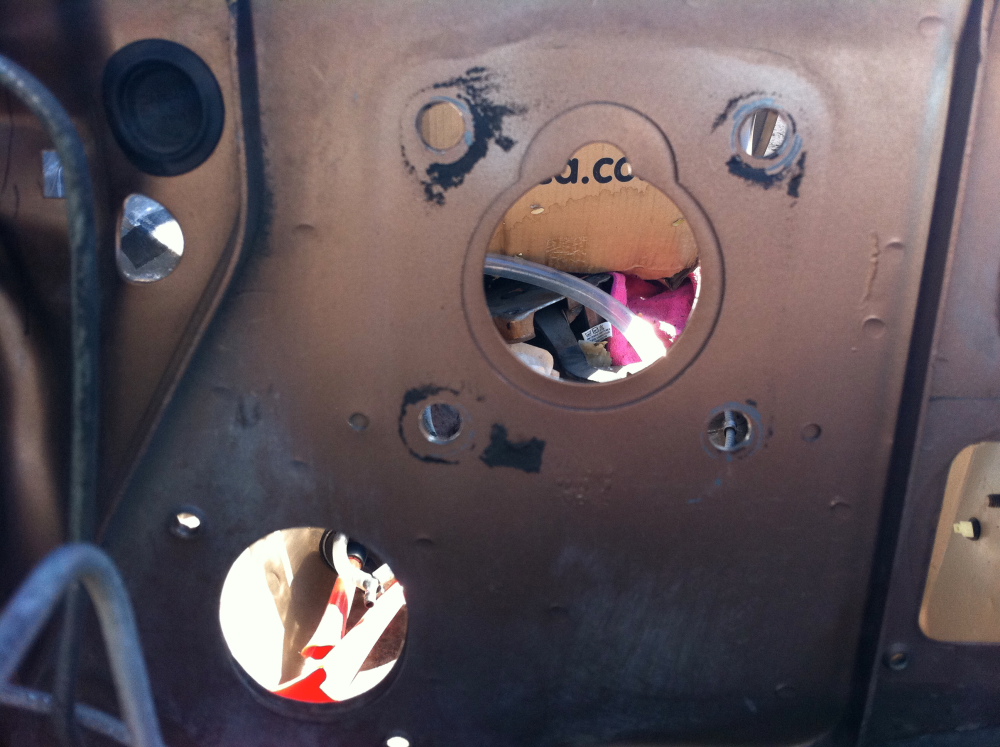
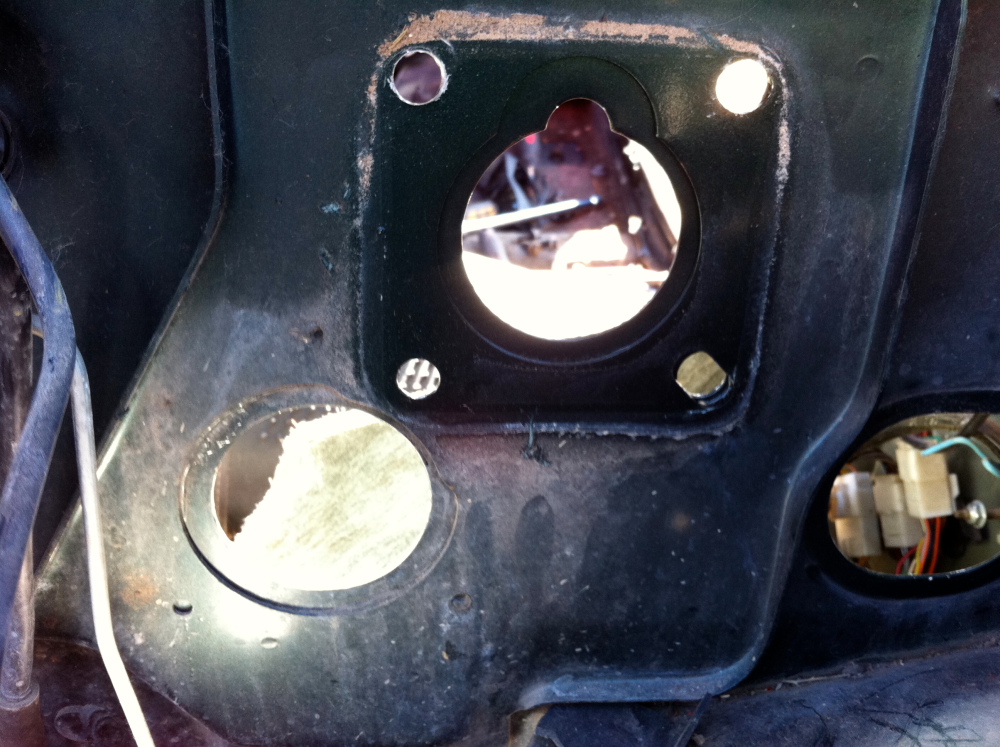
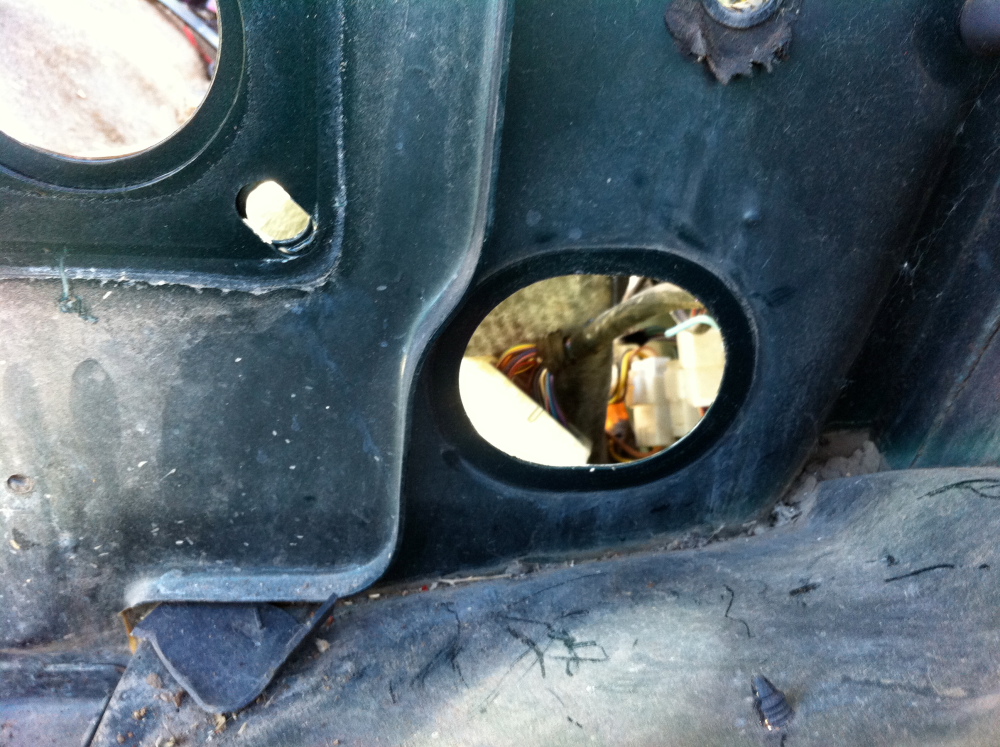
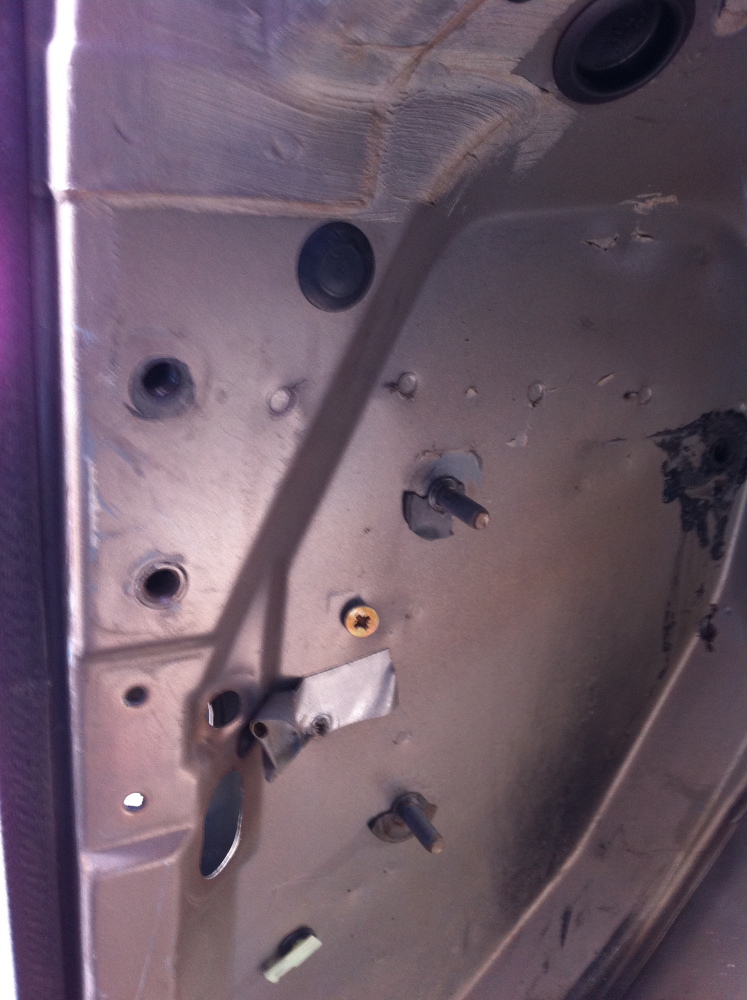
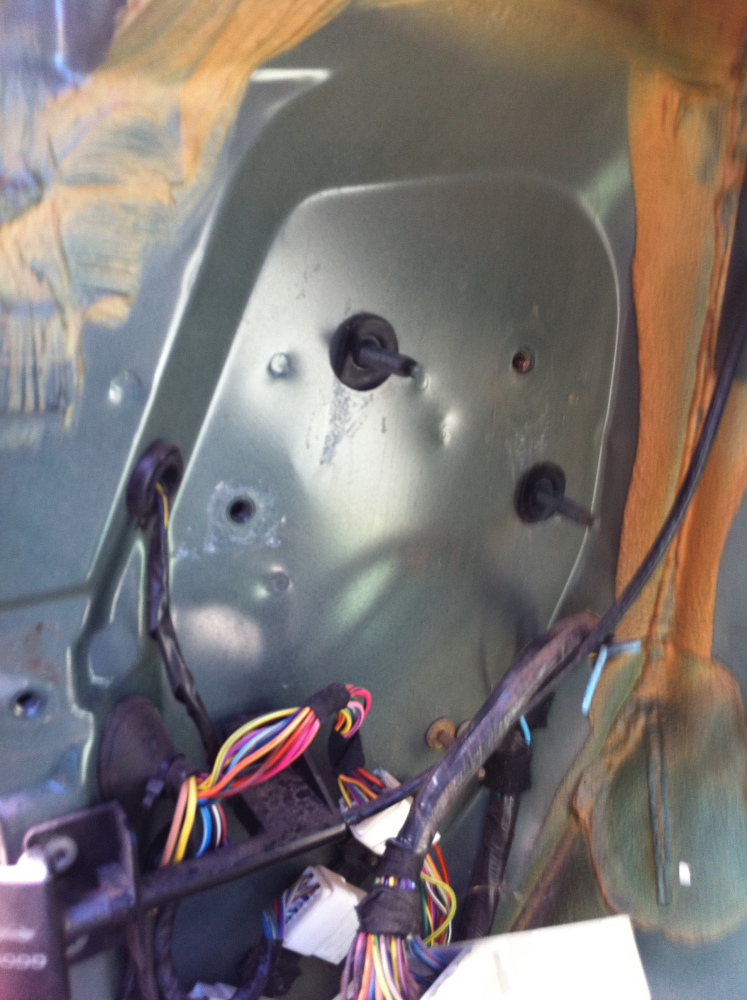


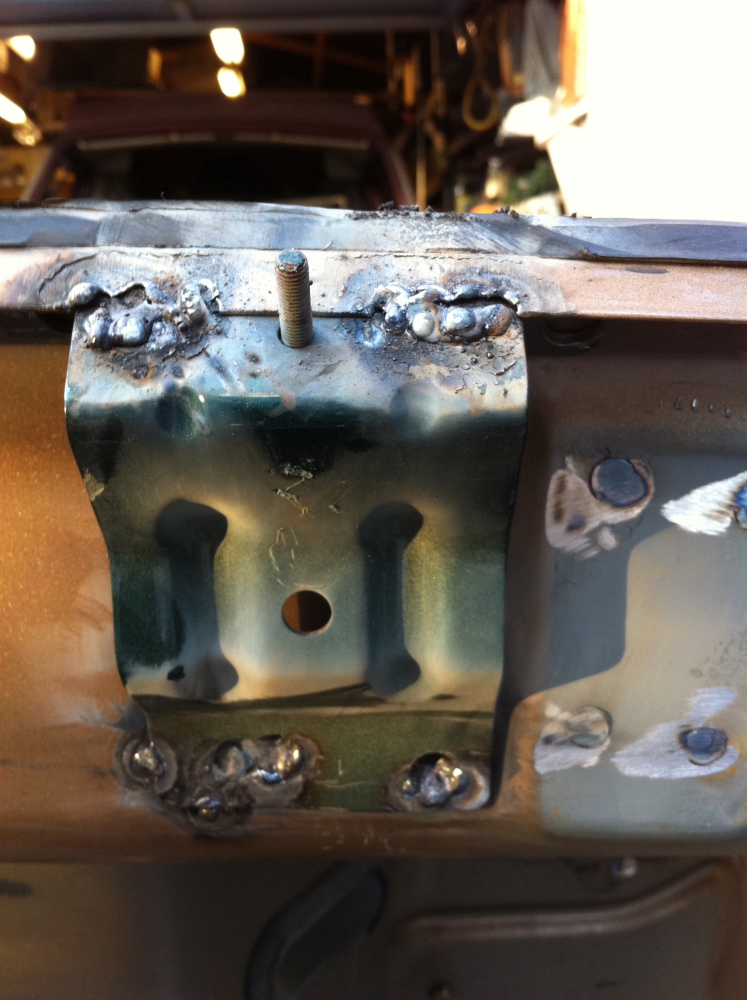
You are welding with way to much heat and wire speed. You need to start on the solid metal and "wick" the puddle onto the thin sheet metal edge... This will keep you from blowing through so much. You also need to clean the metal first, paint and dirt will just contaminate the weld and make heat less consistant. This will make it harder to control.
Just some tips.
-Chris.
I did start the puddle on the thicker material but the second to you try pull the puddle up onto the thin thin stuff of that upper bit it just burns through.