Lowrange2
NAXJA Forum User
- Location
- Abbeville, SC
It is apparently the color of my kids ceiling in their bedroom.
WTF is Minecraft?
It is apparently the color of my kids ceiling in their bedroom.
Google is your friend http://lmgtfy.com/?q=What+is+minecraft
From the pics, looks as if that "band" is from the fan clutch.
The band used to wrap around the radiator core-- mine ate one too. I got lucky and heard it hitting the clutch before it exploded into a catastrophic mess (no radio= nothing to listen to except odd noises)
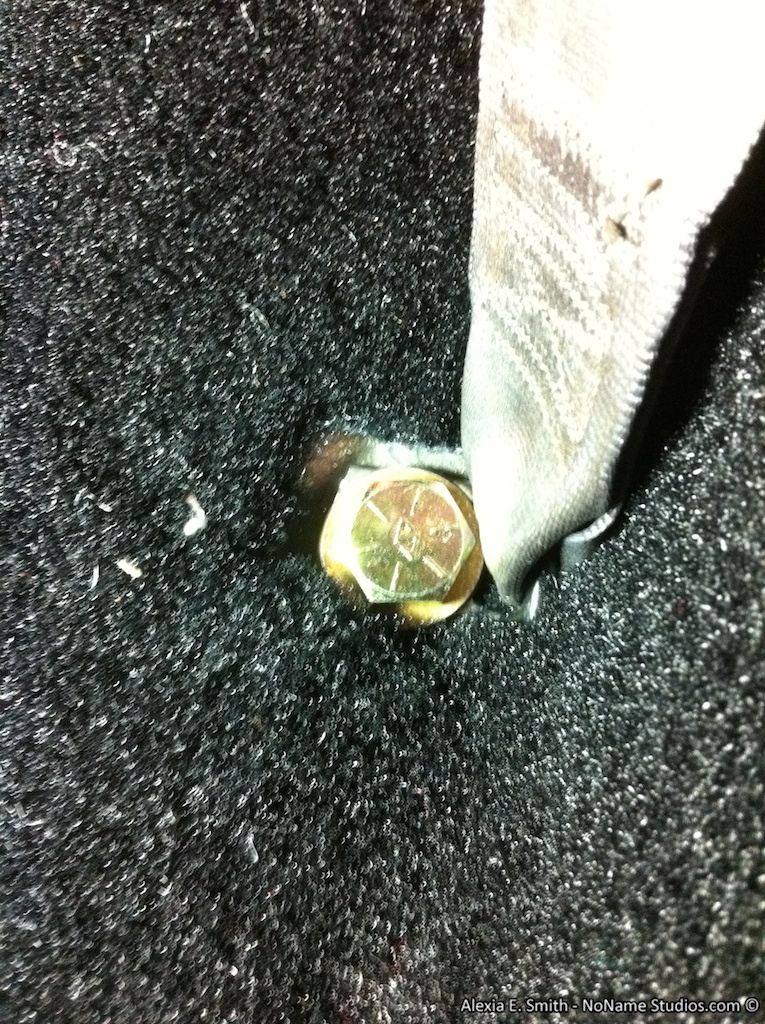
edit-- go out and check the driver side band clamp while you're thinking about it-- don't want it to give out once everything is put back together!
I am confused as the why this is a minecraft build? Maybe a Creeper paintjob? I apologize if you said why in the thread, I just skimmed through the pics...
Ha... Yep, that is what it is or was is this case. Looks like it was a combination of how close the fan clutch is to the radiator now and hard acceleration would cause the engine to flex forward enough to catch it.
I will just pick up a spare radiator at the junk yard to keep in case this one fully falls apart.
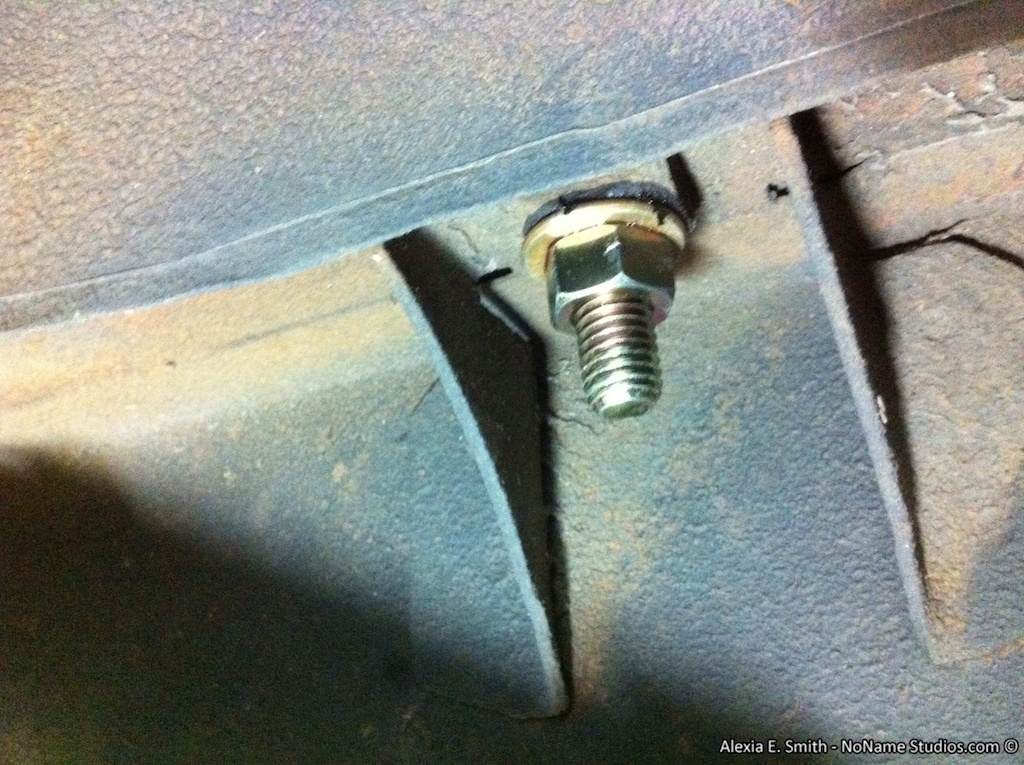
plan to change yer motor mounts-- if it's that close, they're gonna cause problems in the future.
P.S. did you check the driver side band yet?
I would look at your transmission mount too.
 Trying to find one locally before getting one shipped freight from Ohio.
 .
.
 being slow and double posting. D: