• Welcome to the new NAXJA Forum! If your password does not work, please use "Forgot your password?" link on the log-in page. Please feel free to reach out to [email protected] if we can provide any assistance.

MetalCloak 4.5" Coils + CAD

NOTNSUV

You Guys ROCK!
Location
Spring Creek, NV
Spit-balling this for y'all. Ya might think I'm nuts for messing with this but I'm getting after it anyway. Keepin' me outta the 'home'. Wanted to get to 4.5 for the CAD per manufacturer recommendation.

Current setup:
OME 3.5" (2" spacers)
OME Shocks
OME SS
JKS Adj. Lower control arms.
JKS Upper control arms (not sure if they're adj)
JKS Trackbar
JKS Discos
Rusty's steering (new end-links on drag link)
Flexed this yesterday as much as I could on my own and never hit bumpstops or full extension or compression of shocks.

Next up:
4.5" Metalcloak dual rate coils (due here Friday)
New OEM spring perches
New OEM bumpstops (hockey pucks in hand)
Rough Country Control Arm Drop Brackets.

I'm sure Metalcloak knows their stuff. Looks like this step will eliminate the need for a spring compressor (hate those things).
D. Disconnect the front track bar at the axle using a T55 Torx socket & wrench
So far they've been great. I got a follow up phone call the day after I placed my order advising it would be 1 - 2 weeks for delivery (I already knew that) then check email and it's scheduled delivery is Friday.. so 5 days basically. Nice personal touch with the call.

Pretty much everything will be disconnected since I'm doing all the above at the same time.

I'm seeing YouTube recommendation to remove upper control arm from the uni-body first, while still on the ground, to ease the process (CAD).

Gonna give this a shot on my own but hope for another pair of hands over the weekend.

Stop on by if you're in the neighborhood.. free beer and pizza.
 
I did Rubicon Express brackets by myself in the garage in a day, looks like it was around Thanksgiving. No lift, no air tools.

3” lift kit was already on the rig.

I did one side at a time so the axle was always positioned. Pulling the upper and lower, I don’t think it matters too much which end of each arm you do first.

Make sure you have a long enough drill bit if you need to drill out the factory UCA holes for a larger bolt. You don’t want to try drilling from the inside, you will have to drill both layers from outside.

Don’t tighten anything down until all bolts are stabbed and nuts are started, as per usual.

Getting the fourth control arm bolt started will suck, on each side. I messed with lifting and lowering the side of the axle, ratchet strap from the UCA mount to the rear axle, floor jack under the pinion, it just sucks but it goes eventually.
 
Make sure you have a long enough drill bit if you need to drill out the factory UCA holes for a larger bolt. You don’t want to try drilling from the inside, you will have to drill both layers from outside.

Yup, I have a 12"-ish 1/2" bit from drilling oil passages in a Buick 455 block. Shouldoughta do it.

Thanks.
 
I don’t recall the factory UCA frame side needing to be drilled for the rough country drop brackets. Doesn’t appear that way in their instructions either.

I also noticed in th instructions they recommended stockish length arms for 4.5” of lift. I can echo that. I used rubicon express super flex arms (non adjustable... stock length lower, slightly longer upper) and found that the castor adjuster in the drop bracket was all I needed to get the axle where it was happiest.

My suggestion... do the drop bracket install and set the springs aside for a minute. A common misconception is to want the tire centered on the wheel well at ride height, but the tire is traveling fore and aft as the suspension cycles, which is more pronounced with short arms. After the install, your control arms will be flatter at ride height and you’ll get a better travel patter (the tire won’t be mooring fore/aft, as much, as the suspension cycles) but you still want to check full bump. Articulate the axle, and check tire clearance from lock to lock. Now is a good time to check that your bumps are hitting square and nothing is rubbing. Make sure your steering isn’t contacting anything. Also a good time to measure full compression/extension, even if you don’t plan to buy new shocks right away, put those numbers somewhere safe. Install the springs and set it on the ground, ride height and wheel base will be what it is.

Be sure to check castor and pinion angle when it’s on the ground. If you make any dramatic changes... pul the springs, and double check full bump.
 
I don’t recall the factory UCA frame side needing to be drilled for the rough country drop brackets. Doesn’t appear that way in their instructions either.

Correct, it's Rubicon Express that requires 1/2"

I also noticed in th instructions they recommended stockish length arms for 4.5” of lift. I can echo that. I used rubicon express super flex arms (non adjustable... stock length lower, slightly longer upper) and found that the castor adjuster in the drop bracket was all I needed to get the axle where it was happiest.

Right again. JKS tells me theirs are stock length at minimum adjustment.

Yup, the videos I've watched are re-using the castor shims that came out of the stock setup


My suggestion... do the drop bracket install and set the springs aside for a minute. A common misconception is to want the tire centered on the wheel well at ride height, but the tire is traveling fore and aft as the suspension cycles, which is more pronounced with short arms. After the install, your control arms will be flatter at ride height and you’ll get a better travel patter (the tire won’t be mooring fore/aft, as much, as the suspension cycles)

the whole point of the exercise, right?

but you still want to check full bump. Articulate the axle, and check tire clearance from lock to lock. Now is a good time to check that your bumps are hitting square and nothing is rubbing. Make sure your steering isn’t contacting anything. Also a good time to measure full compression/extension, even if you don’t plan to buy new shocks right away, put those numbers somewhere safe.

I asked Metalcloak about shocks and they use the same OME shocks I already have with their XJ 4.5" setup. I have extended/compressed shocks on all 4 and marked for reference to verify bumpstops requirement. I'll turn those into numbers for reference

Install the springs and set it on the ground, ride height and wheel base will be what it is.

Be sure to check castor and pinion angle when it’s on the ground.

Yes, as I did with the rear before swapping springs. Rear pinion angle went from 2.5* to 3* in the rear.

If you make any dramatic changes... pull the springs, and double check full bump.

Where's a good spot from which to measure castor?

All good stuff - thanks!
 
Where's a good spot from which to measure castor?

i use the top of the upper ball joint. it sits on one of the only machined surfaces on the C.

if your happy with the ride and steering right now, take a measurement. that would be a good starting point for after the drop bracket/spring install. not measuring castor specifically, but the delta.
 
i use the top of the upper ball joint. it sits on one of the only machined surfaces on the C.

if your happy with the ride and steering right now, take a measurement. that would be a good starting point for after the drop bracket/spring install. not measuring castor specifically, but the delta.

Delta? As in M A T H ? Please enlighten me.. :dunno:
 
You need to measure the surface your parked on, then take the angle on the ball joint and either add/subtract(depending on the incline, if any) the ground number.
 
Delta? As in M A T H ? Please enlighten me.. :dunno:

delta = change or difference.

if you start at 5 degrees, do the install, set it back down, and measure 3.5 degrees, 1.5 degrees is your delta/change.

using this method, your driveway can be uphill, downhill, doesnt matter. doesnt matter as long as your taking the measurement from the same spot on the C and same patch of concrete.

realistically you can move your degree measurement a few points or even whole degree by rotating the instrument a tiny bit on the ball joint which can be frustrating. and youll likely find that the Cs are off from each other. dont sweat it. your not Elon Musk sending a rocket into space. get it close and see how it drives.... need more castor? driveline vibes?
 
Ok, banging my head.."C"?

Sent from my Pixel 4a using Tapatalk
 
If I get it close and it drives ok I'll still take it in for an alignment.

Sent from my Pixel 4a using Tapatalk
 
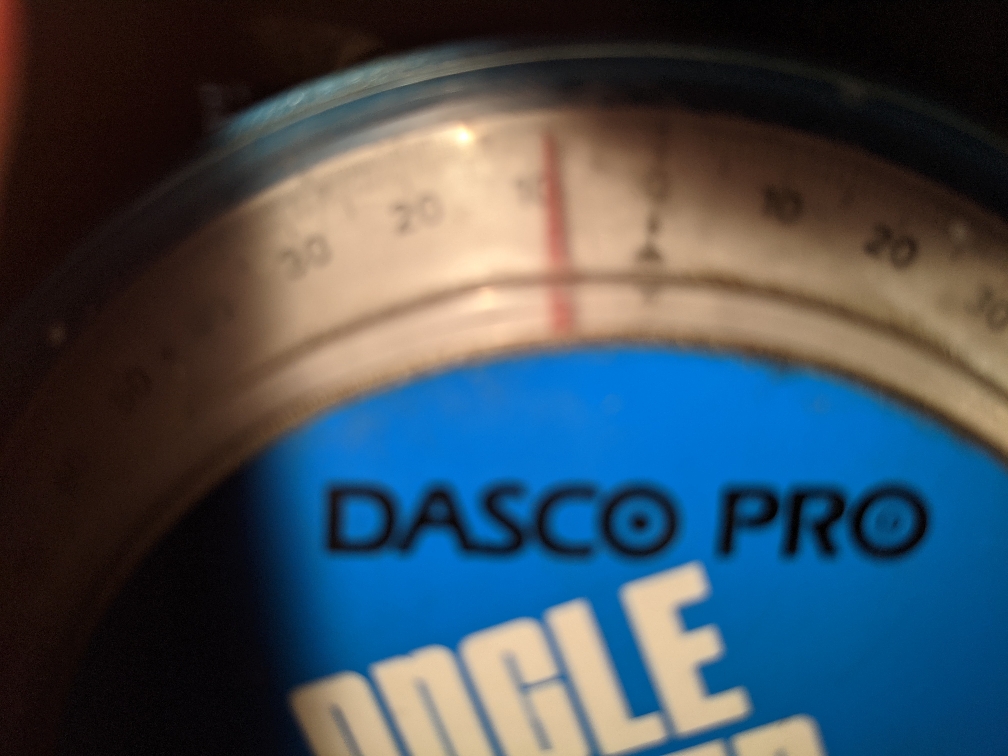
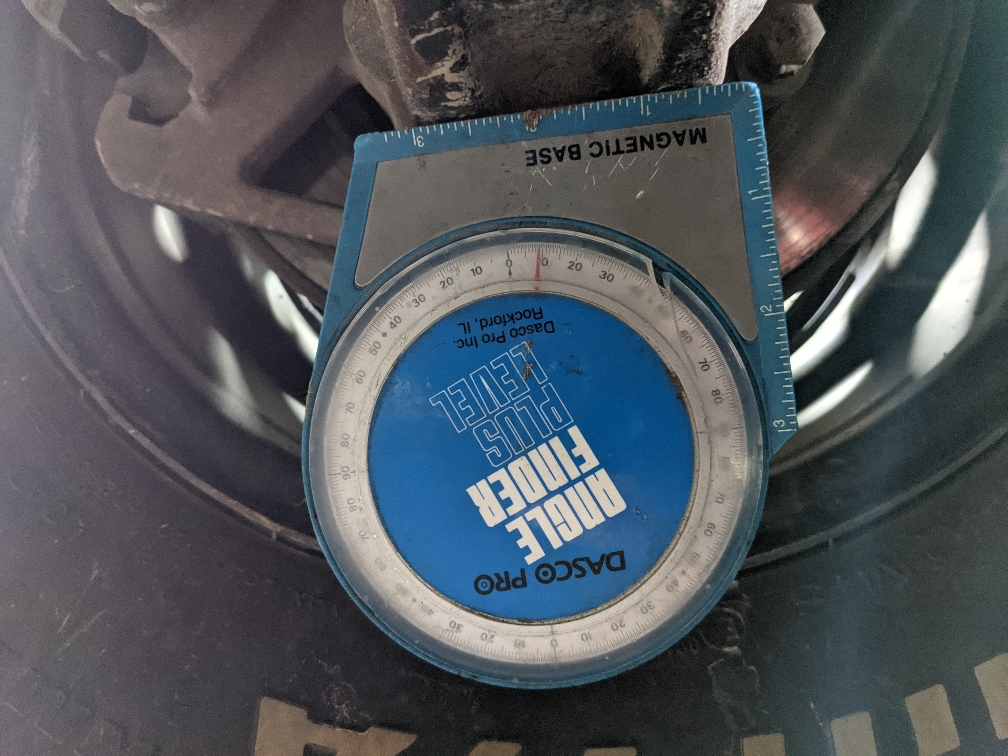
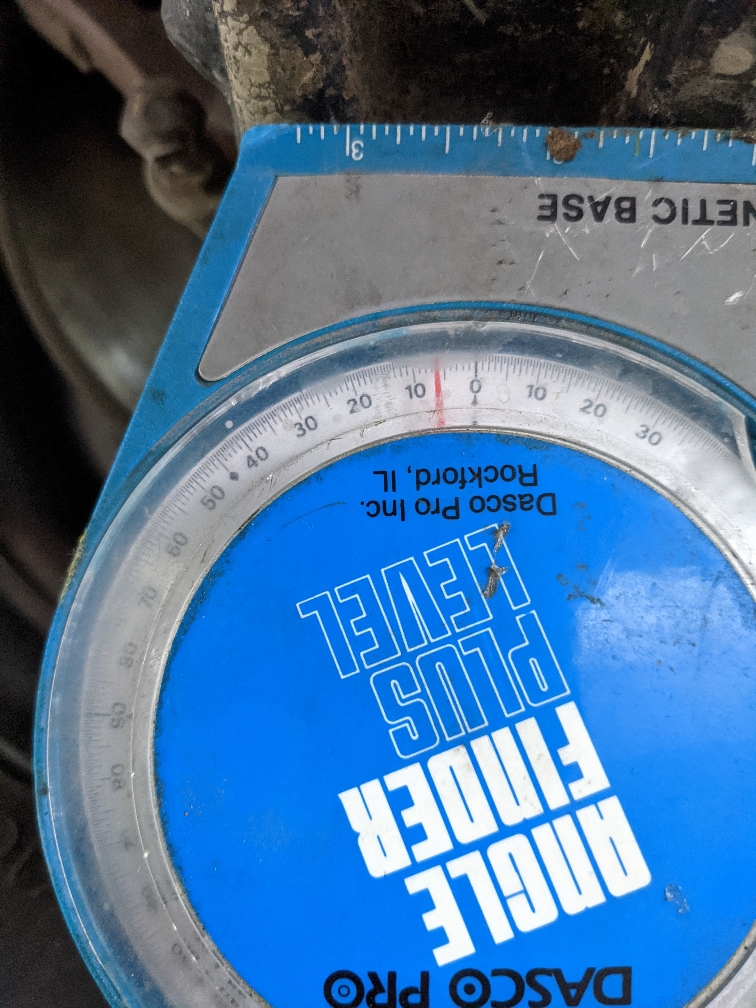
Measurements from out of focus upper ball joint and lower surface of 'C'. Pretty near the same. Will check and doc passenger side also.
Floor at 0*.
Does it matter which point I use as reference?

Thanks.
96bce96833e416127daeaa9e8465aee0.jpg
9dc25fba98b0bbaaf27480b26cf149e2.jpg


Sent from my Pixel 4a using Tapatalk
 
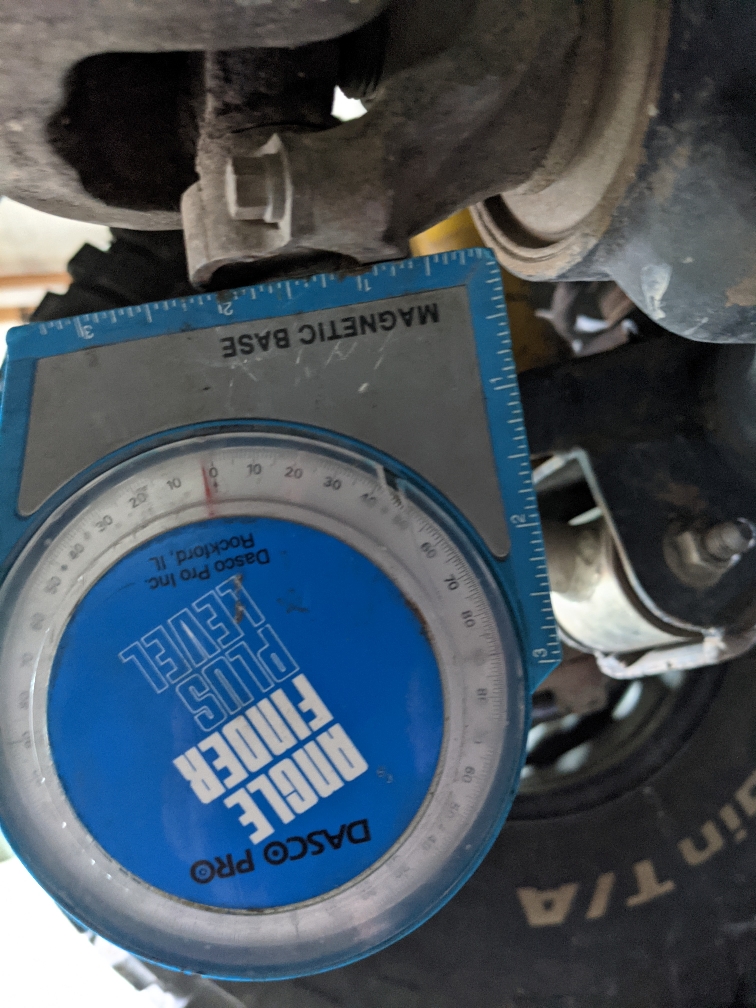
Passenger under C.
Pinion.
36e4c1c6d7281f6b1e145a3f9f2b21c8.jpg
4ef7276ff7ca5493d71f609254c06bcb.jpg


Sent from my Pixel 4a using Tapatalk
 
"My suggestion... do the drop bracket install and set the springs aside for a minute. A common misconception is to want the tire centered on the wheel well at ride height, but the tire is traveling fore and aft as the suspension cycles, which is more pronounced with short arms. After the install, your control arms will be flatter at ride height and you’ll get a better travel patter (the tire won’t be mooring fore/aft, as much, as the suspension cycles) but you still want to check full bump. Articulate the axle, and check tire clearance from lock to lock. Now is a good time to check that your bumps are hitting square and nothing is rubbing. Make sure your steering isn’t contacting anything. Also a good time to measure full compression/extension, even if you don’t plan to buy new shocks right away, put those numbers somewhere safe. Install the springs and set it on the ground, ride height and wheel base will be what it is."

Install CAD with no springs and measure/check the above? Or with existing springs?
Sounds like I'll be going through the process twice..or I'm flat missing it.

Much of the reasoning for 4.5" springs is it's the recommended minimum for CAD.

Thanks.

Sent from my Pixel 4a using Tapatalk
 
I've found the actual numbers of things dont matter. Even the floor doesn't need to be perfectly flat. My 6deg positive castor may be actually 4 or 5 due the difference in my floor or how my rig is sitting.

Just make sure when tunning to make sure its sitting on the same floor in the same position that way you can toss the angle finder back in the same spot know you've decreased or increased castor then go for a test drive.

Some or even alot of this tunning can be done with no angle finder. If pinion angles appear decent the thing steers returns to center and your happy with the results thats really all that matters.

By this point in the tunning you visually can see what works and what doesn't you now know what adjustments to make to affect driving characteristics.

Im not entirely sure why 4.5" springs are recommended for drop brackets as I have no on hands experience.

I do know most long arm manufacturers suggest 4" lift minimum for long arms due to upper arm clearance but I made it work with 2" lift. And arms raised at the axle i did have to clearance the floor pan but it drove extremely well set up low like that. Im always shooting to stay as low as possible for better angles better handling ill work around every thing I have to too accomplish that.

Looking forward to seeing how this works out for you

Sent from my SM-G960U using Tapatalk
 
Your taking measure from a lot of strange "inaccurate" places, pick one and maintain that use though-out the build, done!
 
Your taking measure from a lot of strange "inaccurate" places, pick one and maintain that use though-out the build, done!
That'd be the plan. Did the top of ball joint and bottom of C, not too strange.

Sent from my Pixel 4a using Tapatalk
 
Last edited:
OEM upper control arm length is 15-3/4" if I remember, correct?

JKS uppers on the XJ measure 16-1/8". JKS tells me they'll adjust to OEM length for CAD installation.
 
Back
Top