• Welcome to the new NAXJA Forum! If your password does not work, please use "Forgot your password?" link on the log-in page. Please feel free to reach out to [email protected] if we can provide any assistance.

Quadtrails

BPB

NAXJA Forum User
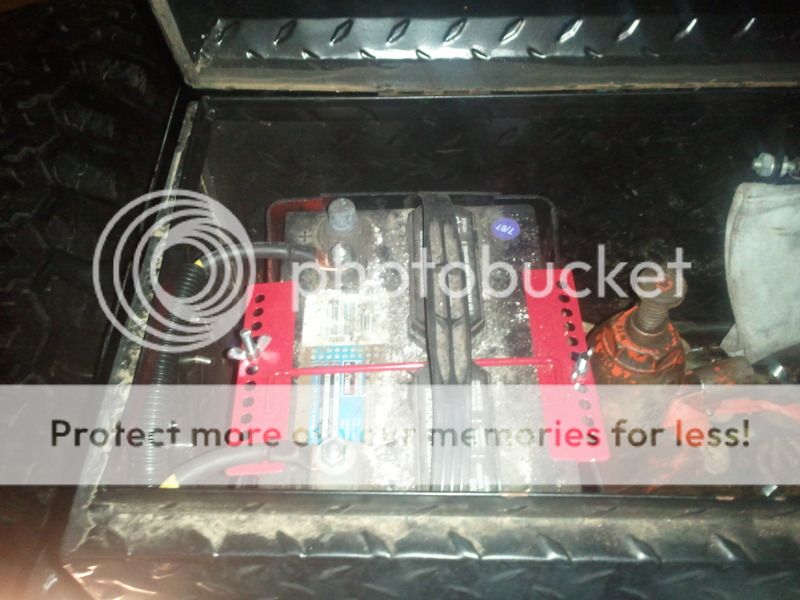
Ok so I decided that it is time for an official build thread for my MJ. This is how it started.

192_9990014964_4616_n.jpg


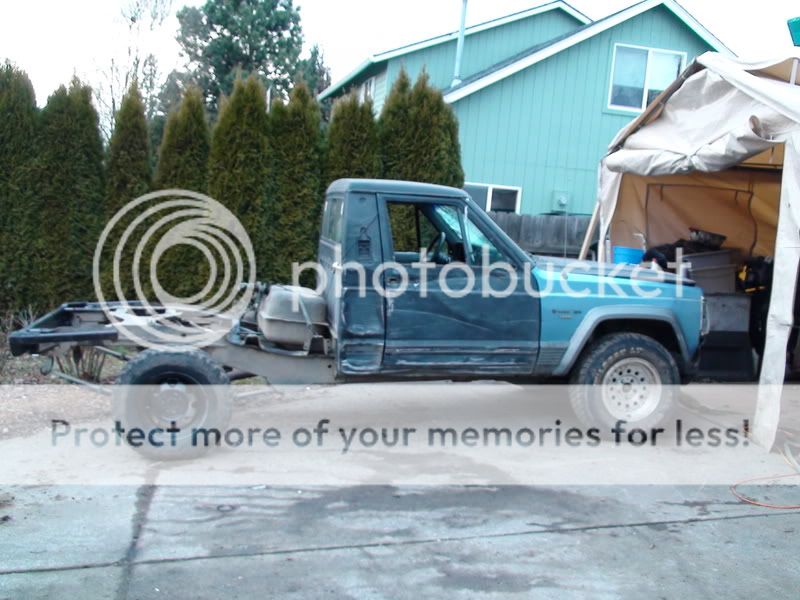
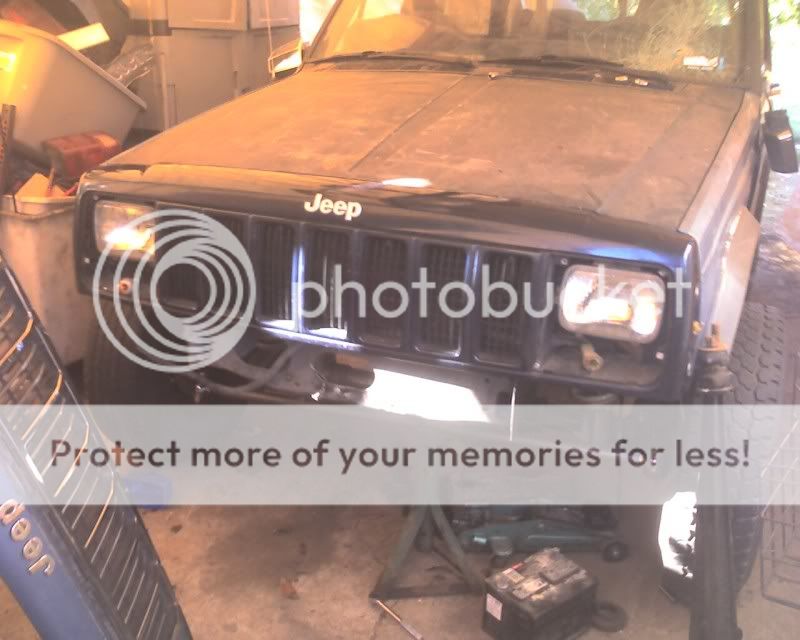
I bought a 1990 Jeep Comanche. 4.0 ax15 swb and bucket seats with 150k for a Daily driver 6 years ago. It had a dented front fender and a bend control arm and I paid $250

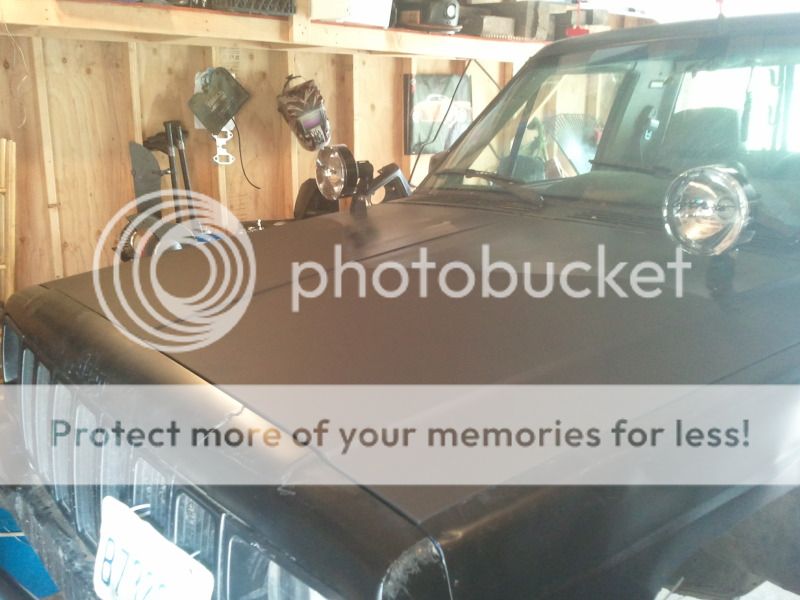
A couple years later It gota lumber rack and some flat black paint.

DSC04362.jpg


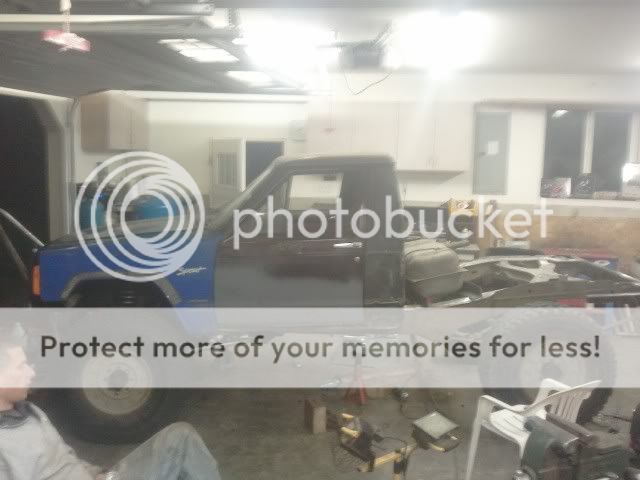
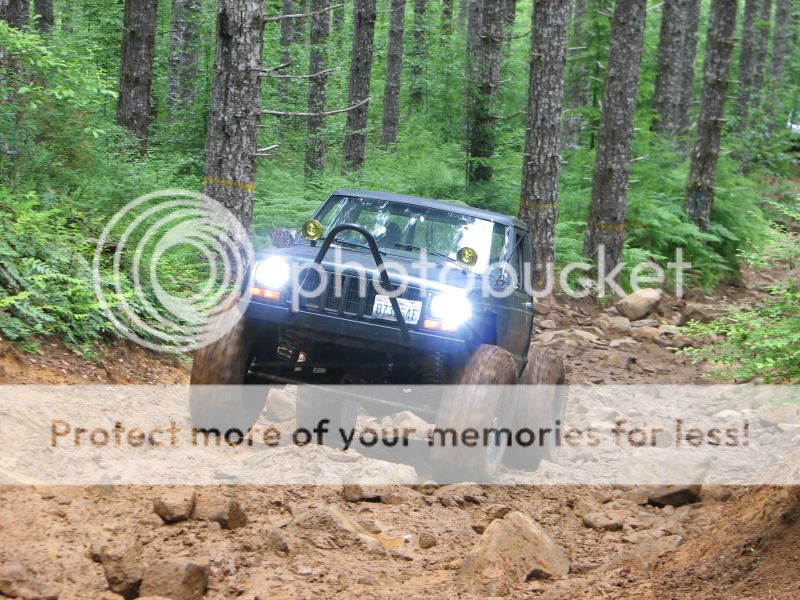
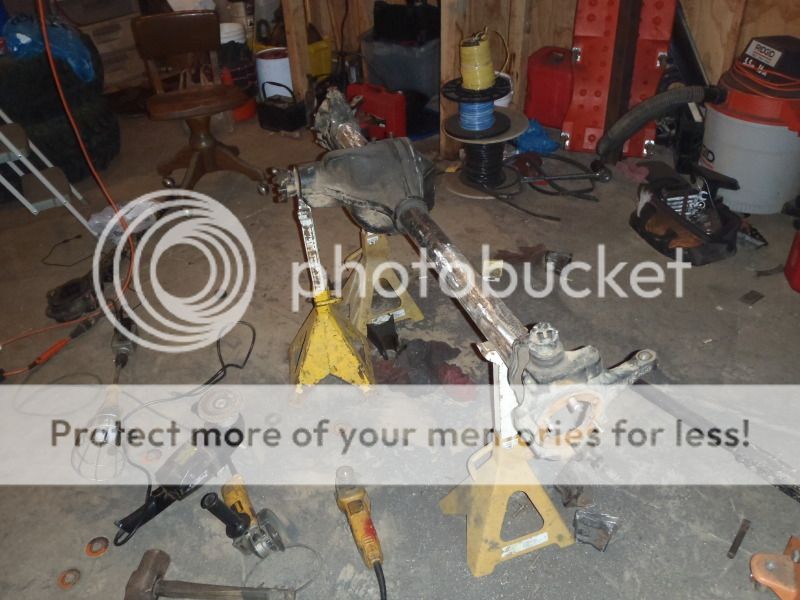
Then after a lesson learned the hard way I started over. I have no pictures until it got the 60 rear and spring over.

DSC00034.jpg


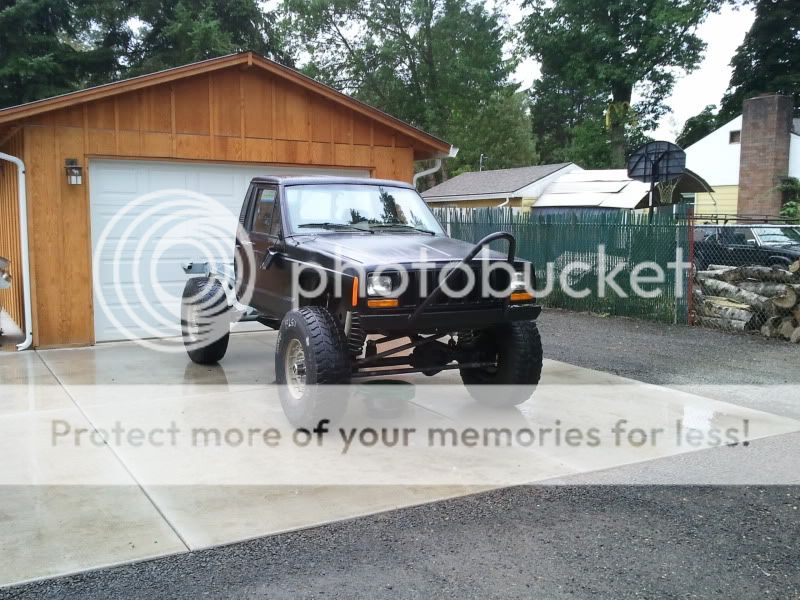
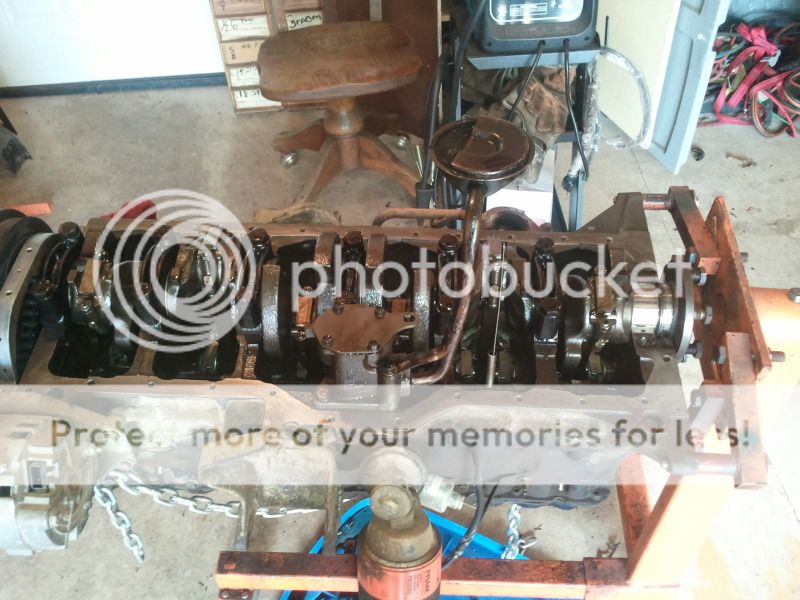
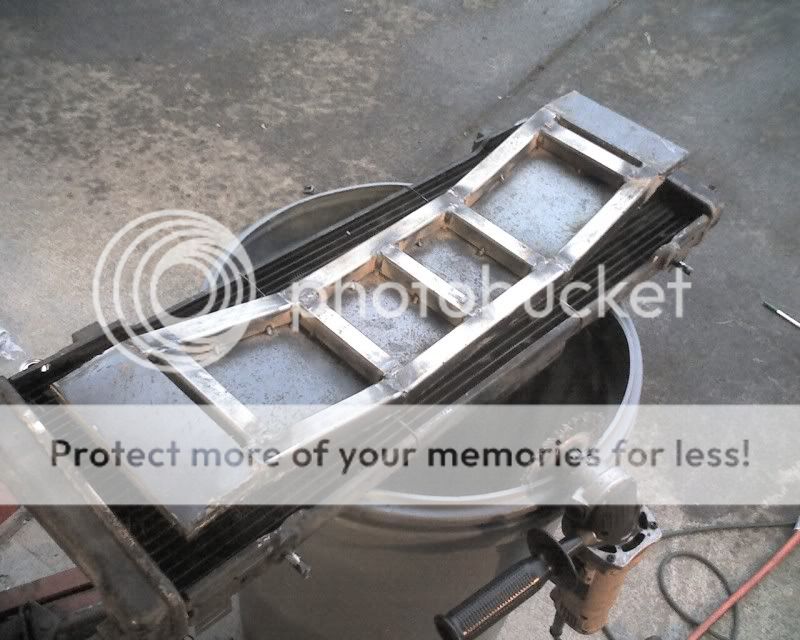
Then after taking a welding class and buying a $50 welder I started the front end by building a cross member.

Photo_092809_004.jpg


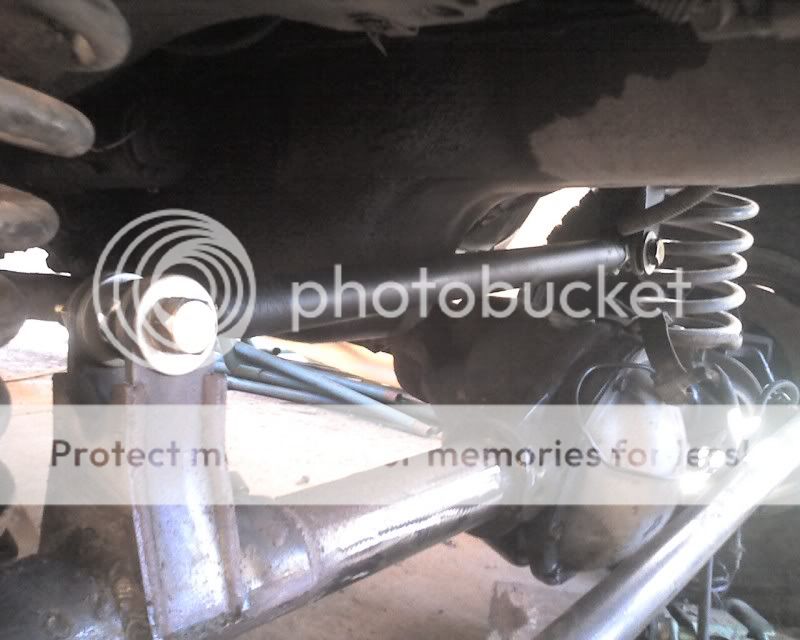
made some heim joint / DOM steering
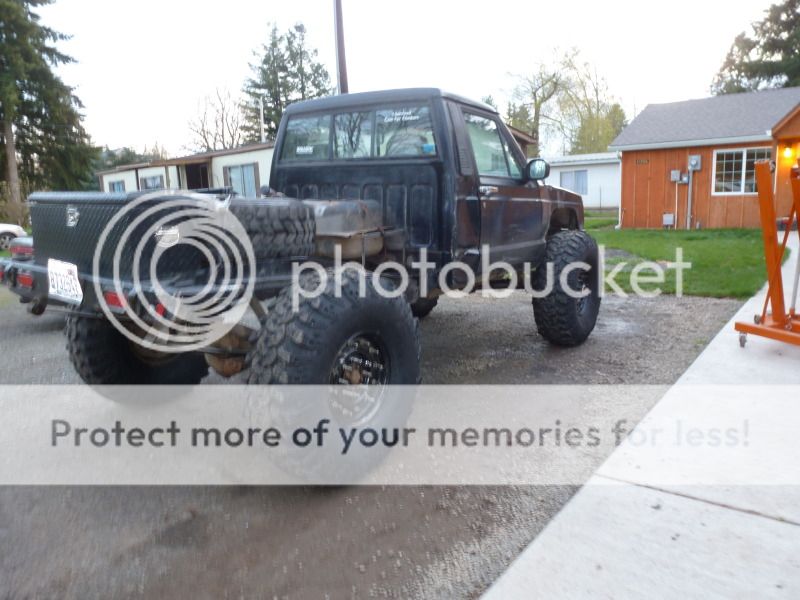
Photo_092709_003.jpg


Did some plating

frame10.jpg


Changed the nose

Photo_092709_002.jpg


Build some radius arms

2011-01-08171125.jpg
 
What..... no details on the run-flats?
With that much drain pipe under your rig, i'd figure you'd at least mention it! :thumbup:
 
ok for the sake of nw99xj and all of you who haven't had the pleasure of dealing with H1 bead locks. They are a true double bead lock because the wheel unbolts in half and then there is a run flat inside the bead of the tire. The runflat is great in a combat situation, not so much in the offroad, do it yourself world that I live in. Here is how you remove the runflat when you don't have a large tree and a truck.

2012-04-10122247.jpg


PVC Inserts replace the runflat. i was really impressed with the quality of these. Trailworthy Fab turns them on a lathe and machines them out for the valve stem. They are made to compensate for the thickness of the bead on each specific tire.

2012-04-12090518.jpg


On to my recent electrical work

I now have a deep cycle battery mounted in the back.

2012-06-27032631.jpg


Next pics suck.
Reverse lights

2012-06-27032552.jpg


HID's and lightforces

2012-06-11005548.jpg


Rock lights

2012-06-15031347.jpg


Oh I forgot to mention a basically new motor from Eric's red mustache ride with a fresh rear main and oil pan gasket

2012-05-09130733.jpg


2012-05-10015649.jpg


Then onto current day I just finished with my spartan install. It would have been as easy as the instructions say if my ring gear bolts wern't old enough to be my dad.

2012-06-26124935.jpg


After a trip to I5 drive line I was back in business.

2012-06-26124911.jpg


And then just got the axle back together about an hour ago. I'll put my wheels on in the morning. and test to make sure that the locker is working properly

2012-06-27032426.jpg


Oh and today I got my Oregon ATV Permit. The most convenient place to get it off I5 is Land Rover of Portland. BTW the average monthly payment on a new Range Rover is $1300.

2012-06-26152846.jpg


I also got the bright idea to paint the area that my Light Forces hit the hood flat to minimize glare. So I turned on the lights and masked off the area that they shine on.

2012-06-22141107.jpg
 
ok for the sake of nw99xj and all of you who haven't had the pleasure of dealing with H1 bead locks......
Awwww...... I feel so special now...... :laugh3:

Then onto current day I just finished with my spartan install. It would have been as easy as the instructions say if my ring gear bolts wern't old enough to be my dad......After a trip to I5 drive line I was back in business.
Oh SNAP! So I take it that old ass bolt broke off in the carrier?!?! That sucks!
I-5 Driveline to the rescue! So did they have to EDM it out?

.....BTW the average monthly payment on a new Range Rover is $1300.
Two words: "F" THAT!!!!!


I also got the bright idea to paint the area that my Light Forces hit the hood flat to minimize glare. So I turned on the lights and masked off the area that they shine on.
Thats an awesome Idea actually.... looks like a decent paint job.... you happy with the results?
 
I just got the new set of ring gear bolts from them I was able to extract the m out and chase the threads on the two that had the bolts leave their threads behind. And I am happy with the paint. It's not range rover quality but it works.
 
Time for an update. I took it to tsf

IMG_0030.jpg


Maybe an hour after unloading it I decided to break it on fire break 5

aaa1.jpg


After breaking the rear drive line I decided that it was time to rebuild the front end using the clayton 3 link kit that I won at NW Fest. After a week of evenings, 13 cut off wheels, 1 7" grinding wheel, 2 carbide burs, 1 time meeting Casper, a huge mess, and 23 beers I have a clean slate to work with.

P7240240.jpg
 
What tool did Casper fly out of?
 
Pics or it didn't happen.
 
Should be able to see in the fog now

P6290148.jpg


Yes you should. Love my lightforce's! I have the yellow wide angle filters for mine.
 
Well after three nights of grinding out crappy welds and trying every method I have come to the conclusion that my welder just doesn't have the balls to weld up my axle tubes. So I decided to tack together my new axle mounts.
43bd6b5c-6960-89c9.jpg
 
Whats the plan?
Gonna sell what you have - buy bigger?
Rent one, and try and bust it out in one night?
 
Back
Top