tjmwr7
NAXJA Forum User
- Location
- Under your bed, UT
What kind of frame does your tmaxx have????:laugh3:


macgyvr said:i have contemplated that...i'm trying to get the dang thing done by winterfest...but time is not on my side...off the top of your head or anyone's head do you know what the threads are in the block for bolts? and how deep they go...wouldn't take to much to fab something up...
a buddy of mine recently jumped his 4.0 powered tj buggy and blew the block apart on the passengers side...he's using the same block in a new buggy (he's competing in XRRA East this year) only he braced the motor mounts all down the side of the block...(where I actually initially started thinking about doing it myself seeing his)...might check and see if he knows the thread pitch...
mac 'goatee...see you with the buggy in october' gyvr


Richard, Richard, RichardGoatman said:
Roxtar said:Richard, Richard, Richard
Grade 5 bolts?!
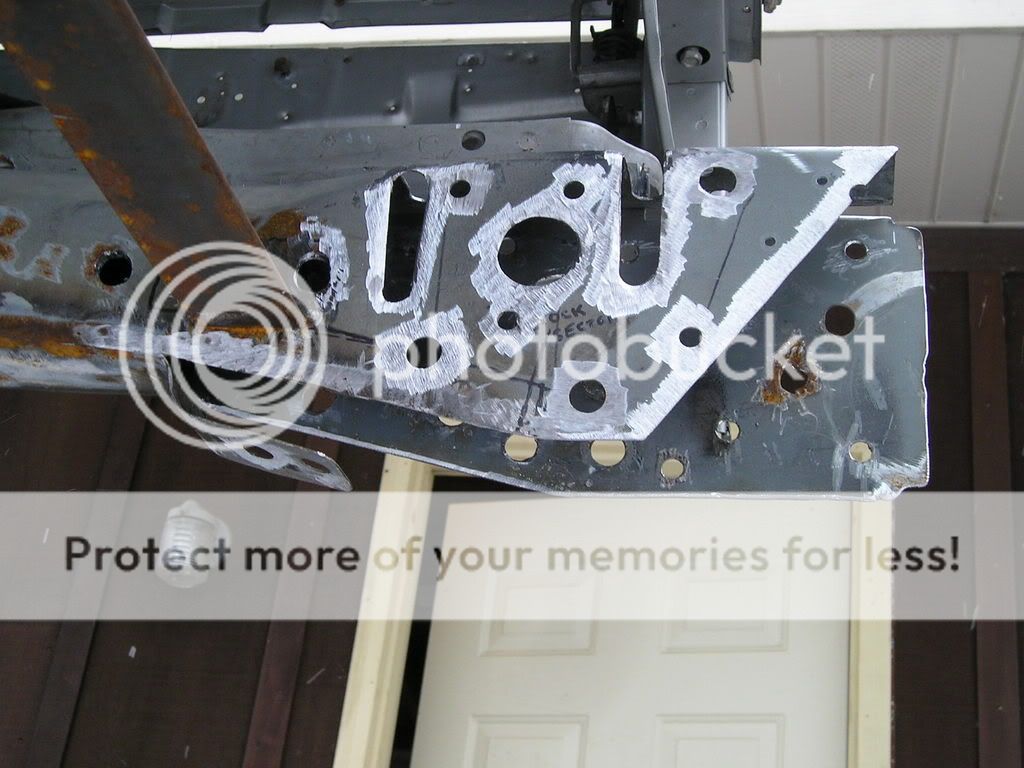
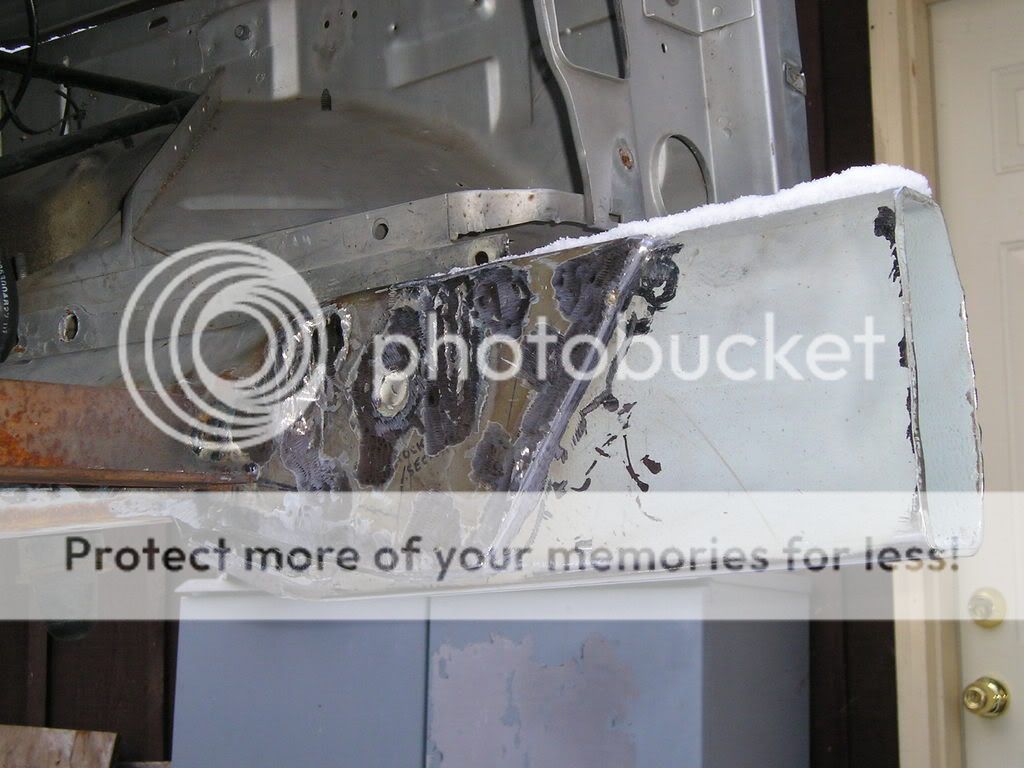
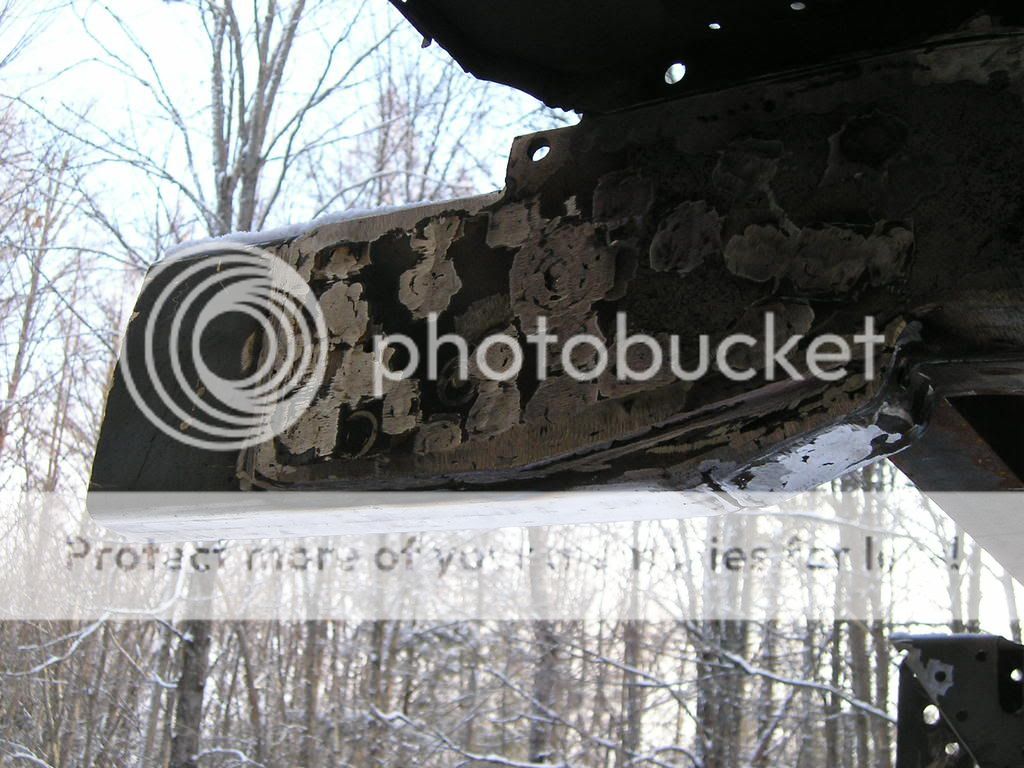
Goatman said:Mac, here's how I did mine. There are two bolt holes right in front of the motor mounts, on both sides, that aren't used for anything. It ties into them, increasing the bolts from 3 to 5 per side. Also, the additional two holes are in a position that it significantly reduces the leverage on the motor mount brackets and bolts.
I'm in the process of doing the same thing to the buggy.