ftwelder
NAXJA Forum User
- Location
- Rockinham, Vermont
Thanks, something interesting, I measured the ID/OD of the 14B and the walls are 5/8" thick. That is pretty amazing.
 Onto the 14b by barnstormerbikes, on Flickr
 Onto the 14b by barnstormerbikes, on Flickr
 Onto the 14b by barnstormerbikes, on Flickr
 Onto the 14b by barnstormerbikes, on Flickr
 Onto the 14b by barnstormerbikes, on Flickr
 11_2014 021 by barnstormerbikes, on Flickr
 Untitled by barnstormerbikes, on Flickr
 Untitled by barnstormerbikes, on Flickr
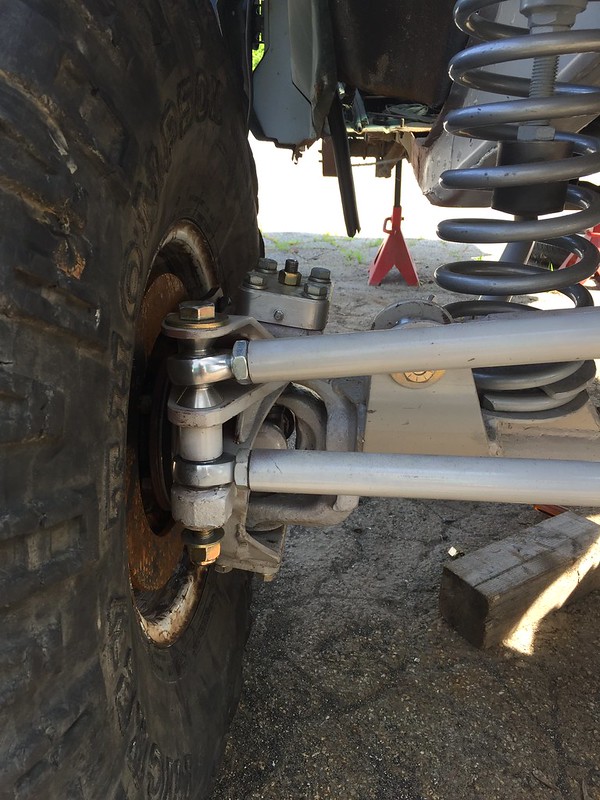 Untitled by barnstormerbikes, on Flickr
 Untitled by barnstormerbikes, on Flickr
 Untitled by barnstormerbikes, on Flickr
 Untitled by barnstormerbikes, on Flickr
 Untitled by barnstormerbikes, on Flickr
 Untitled by barnstormerbikes, on Flickr
 Untitled by barnstormerbikes, on Flickr
 Untitled by barnstormerbikes, on Flickr
 Untitled by barnstormerbikes, on Flickr
 Stuff by barnstormerbikes, on Flickr
 Untitled by barnstormerbikes, on Flickr
 Untitled by barnstormerbikes, on Flickr
 Untitled by barnstormerbikes, on Flickr
Love the clearanced inner fenders.
 Untitled by barnstormerbikes, on Flickr
 Untitled by barnstormerbikes, on Flickr
 Untitled by barnstormerbikes, on Flickr
 Untitled by barnstormerbikes, on Flickr
 Untitled by barnstormerbikes, on Flickr
 Untitled by barnstormerbikes, on Flickr
 Untitled by barnstormerbikes, on Flickr
 Untitled by barnstormerbikes, on Flickr
 Untitled by barnstormerbikes, on Flickr
 Untitled by barnstormerbikes, on Flickr
 Untitled by barnstormerbikes, on Flickr
 Untitled by barnstormerbikes, on Flickr
 Untitled by barnstormerbikes, on Flickr
 Untitled by barnstormerbikes, on Flickr
 Untitled by barnstormerbikes, on Flickr
 Untitled by barnstormerbikes, on Flickr
 Untitled by barnstormerbikes, on Flickr
 Untitled by barnstormerbikes, on FlickrUntitled by barnstormerbikes, on Flickr
 Untitled by barnstormerbikes, on Flickr
 Untitled by barnstormerbikes, on Flickr
 Untitled by barnstormerbikes, on Flickr
 Untitled by barnstormerbikes, on Flickr
 Untitled by barnstormerbikes, on Flickr
 Untitled by barnstormerbikes, on Flickr
 Untitled by barnstormerbikes, on Flickr
 Untitled by barnstormerbikes, on Flickr
 Untitled by barnstormerbikes, on Flickr
 Untitled by barnstormerbikes, on Flickr
 Untitled by barnstormerbikes, on Flickrarty: