- Location
- sacramento
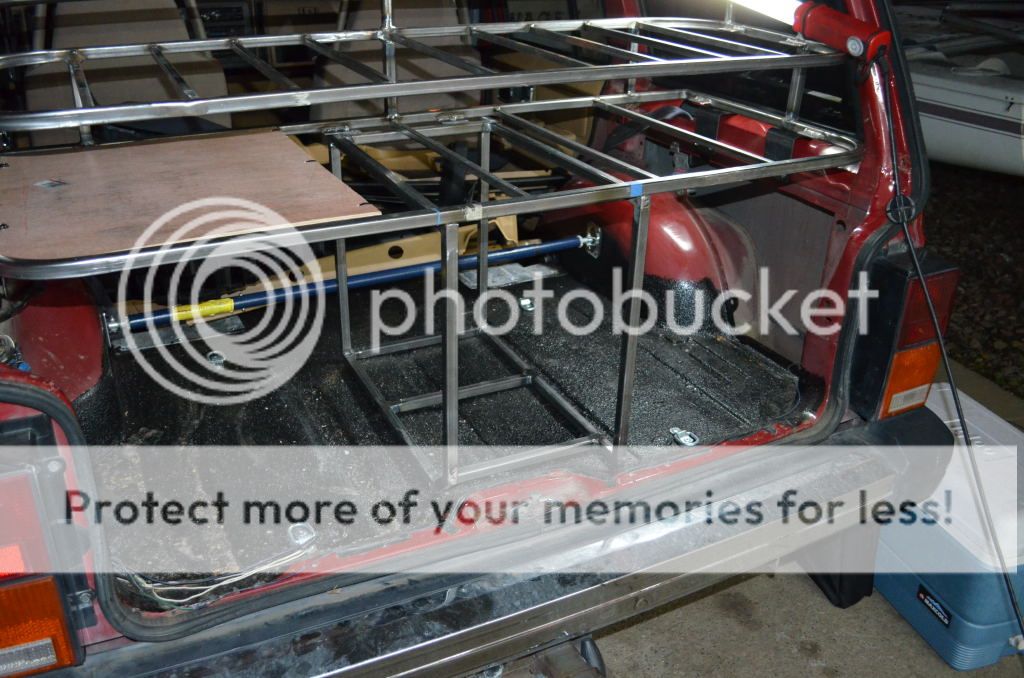
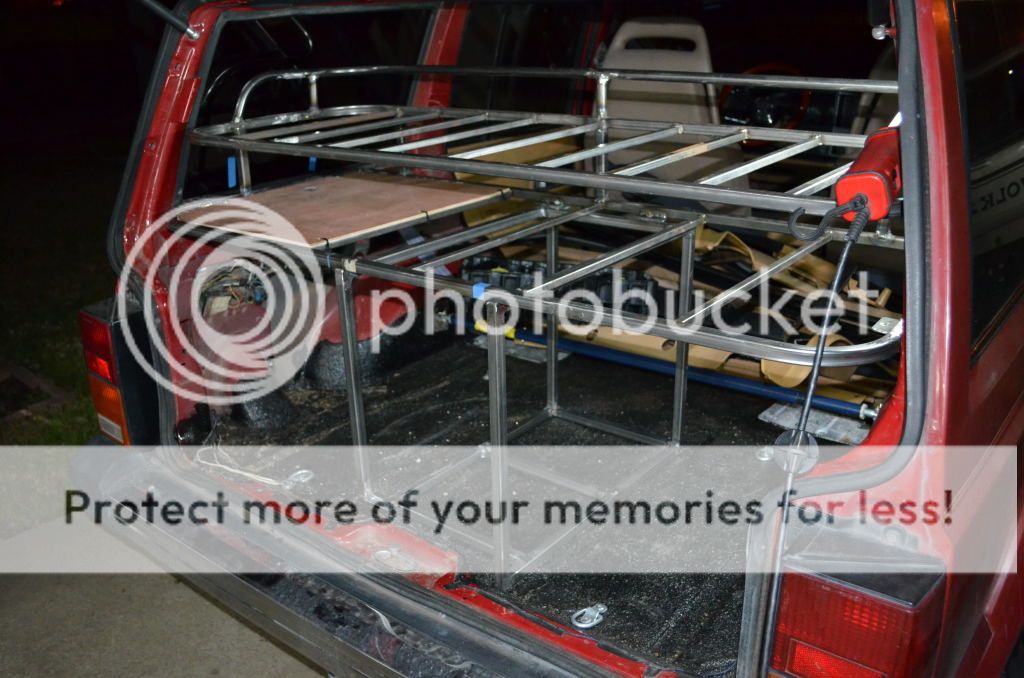
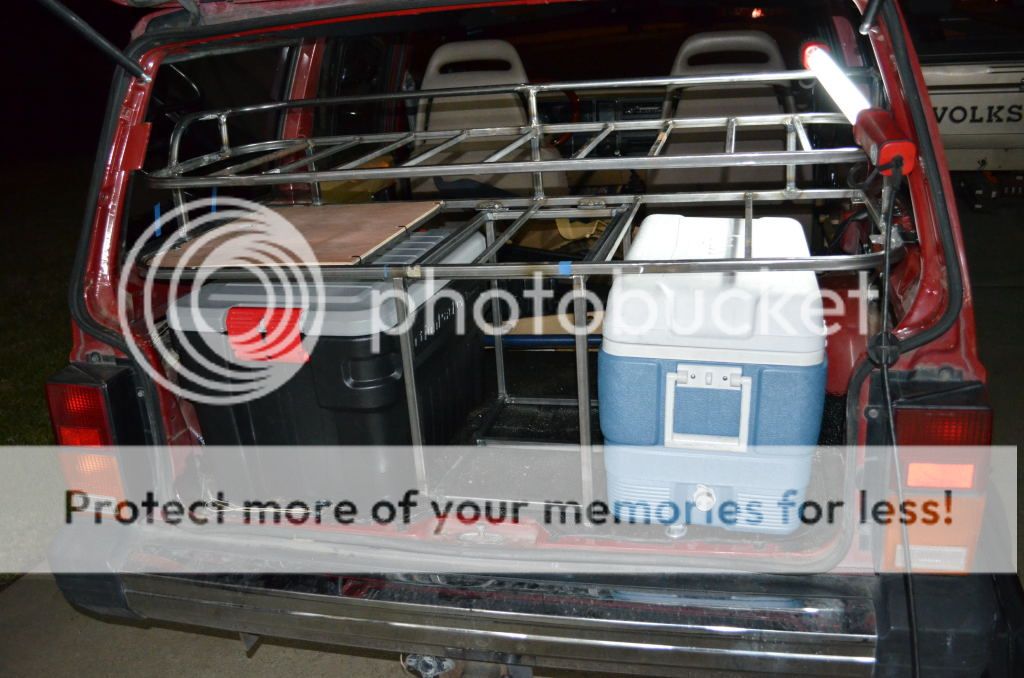
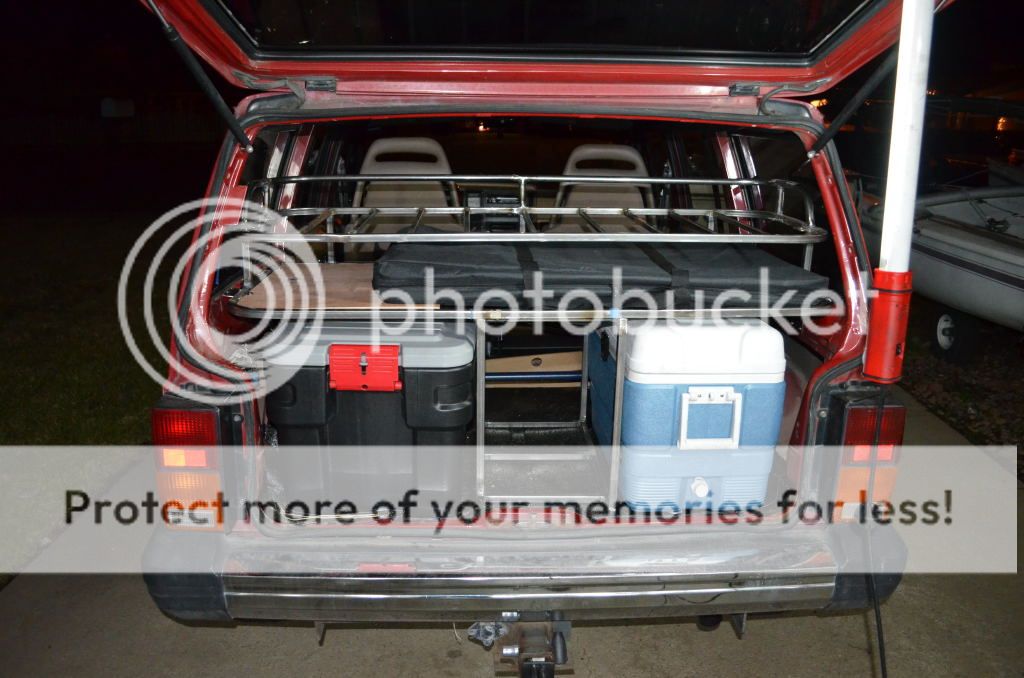
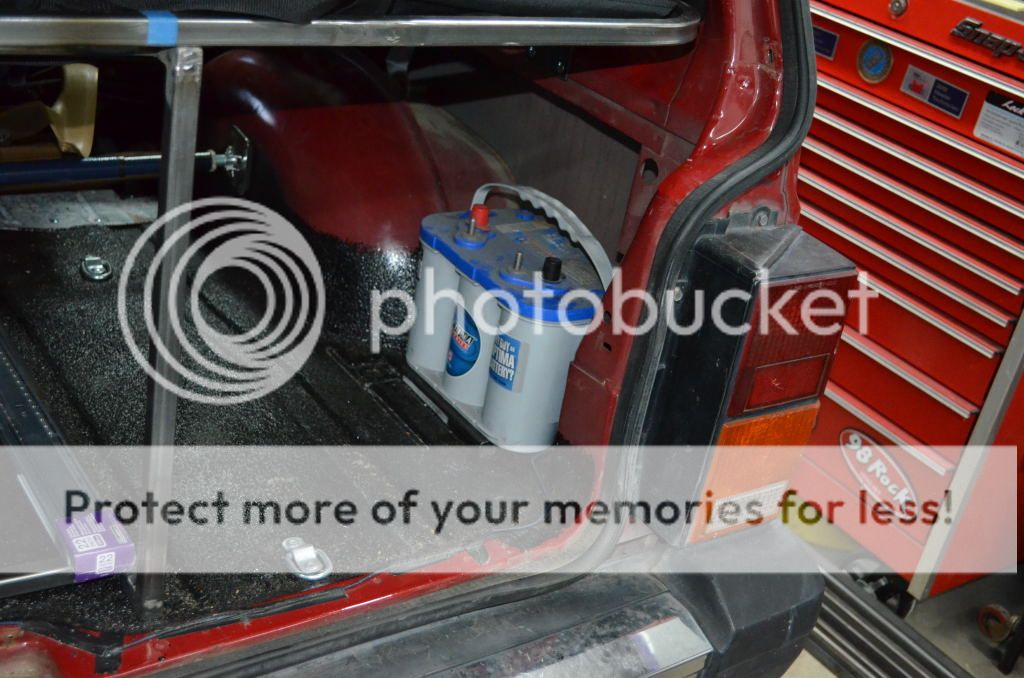
I really like the rear cargo rack. that thing is sweet.
How long did it take to make the brackets?Had to build some brackets to install the Discovery seats in the XJ
How long did it take to make the brackets?
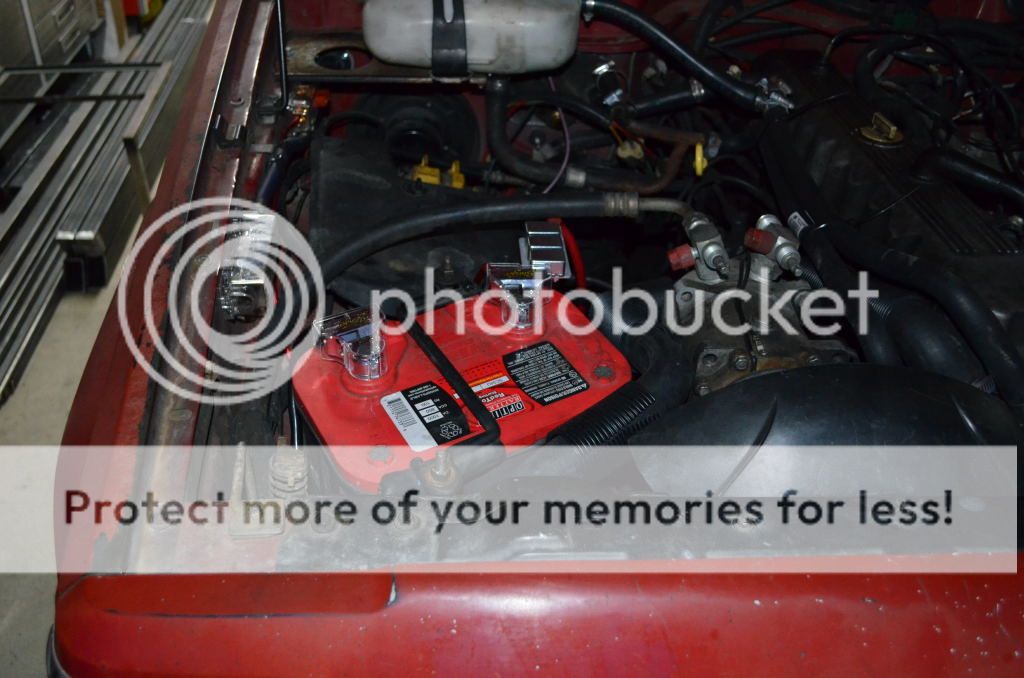
I do have a question; Who here has had a difficult time getting a thermostat housing to seal?
I just replaced my t-stat and it took several attempts to get the damn housing to stop weeping.
RTV on the lower bolt and inside where the lower bolt goes. I usually use a sticky gasket and lots of RTV . never leaks. what exactly are you doing such that it always leaks?
hell yes i love it, this is what xj's are all about. Picking one up dirt cheap, throw some cheap used parts at it, and your out wheeling and camping for next to nothing. And after you've crinkled the unibody to no return you move onto the next.
Nice project